

本文档介绍在VMware虚拟机搭建es伪集群,用于平时的开发
VMware 版本 VMware® Workstation 15 Pro
linux 版本 centos7
es 版本 5.4.2
一、安装elasticsearch
1、首先要安装jdk,不会安装的自行百度,这里不再赘述,我使用的jdk版本是1.8.0_231
2、下载elasticsearch-5.4.2.tar.gz,可通过wget下载,也可以从官网下载后,复制到虚拟机中
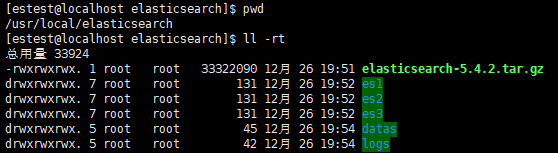
3、切换到自己想安装的目录下 并新建elasticsearch目录
cd /usr/local
mkdir elasticsearch
4、将es压缩包复制到此目录下,并解压
tar -zxvf elasticsearch-5.4.2.tar.gz
5、将解压的文件复制3份
cp -rf elasticsearch-5.4.2 es1
cp -rf elasticsearch-5.4.2 es2
cp -rf elasticsearch-5.4.2 es3
6、创建datas目录和logs目录,并在datas中创建data1、data2、data3目录,同理在logs中创建log1、log2、log3目录
mkdir datas
mkdir logs
7、修改节点1配置,配置文件在es1/config/elasticsearch.yml
在文件中添加内容
cluster.name: common
node.name: node-1
network.host: 0.0.0.0
http.port: 19201
transport.tcp.port: 19301
discovery.zen.ping.unicast.hosts: ["192.168.114.143:19301", "192.168.114.143:19302", "192.168.114.143:19303"]
discovery.zen.minimum_master_nodes: 2
path.data: /usr/local/elasticsearch/datas/data1
path.logs: /usr/local/elasticsearch/logs/log1
http.cors.enabled: true
http.cors.allow-origin: "*"
8、修改节点2配置,同理添加内容
cluster.name: common
node.name: node-2
network.host: 0.0.0.0
http.port: 19202
transport.tcp.port: 19302
discovery.zen.ping.unicast.hosts: ["192.168.114.143:19301", "192.168.114.143:19302", "192.168.114.143:19303"]
discovery.zen.minimum_master_nodes: 2
path.data: /usr/local/elasticsearch/datas/data2
path.logs: /usr/local/elasticsearch/logs/log2
http.cors.enabled: true
http.cors.allow-origin: "*"
9、修改节点3配置
cluster.name: common
node.name: node-3
network.host: 0.0.0.0
http.port: 19203
transport.tcp.port: 19303
discovery.zen.ping.unicast.hosts: ["192.168.114.143:19301", "192.168.114.143:19302", "192.168.114.143:19303"]
discovery.zen.minimum_master_nodes: 2
path.data: /usr/local/elasticsearch/datas/data3
path.logs: /usr/local/elasticsearch/logs/log3
http.cors.enabled: true
http.cors.allow-origin: "*"
注意3个节点配置的不同之处,node.name、http.port、transport.tcp.port、path.data、path.logs这几个属性改完与节点目录相同的“编号”,至此,es主要配置完成。
10、先不要着急启动,因为实在虚拟机中,内存有限,需要修改jvm配置
切换到/usr/local/elasticsearch/es1/config目录下,找到jvm.options文件
vim jvm.options

注意:3个节点,都需要更改

11、为了方便,编写简单的启动脚本,目录切换到/usr/local/elasticsearch,创建启动文件
touch start.sh
vim start.sh
添加如下内容:
    #!/bin/sh
    echo "开始启动..."
    /usr/local/elasticsearch/es1/bin/elasticsearch -d
    sleep 3
    /usr/local/elasticsearch/es2/bin/elasticsearch -d
    sleep 3
    /usr/local/elasticsearch/es3/bin/elasticsearch -d
    sleep 3
    echo "es启动完成"
12、创建estest用户
useradd estest
修改elasticsearch目录权限
chmod -R 777 /usr/local/elasticsearch

13、切换到estest用户,执行启动脚本
su estest
./start.sh

14、如果启动失败,可能出现以下错误,对应修改相关配置
[1]: max file descriptors [4096] for elasticsearch process is too low, increase to at least [65536]
解决办法:
编辑 /etc/security/limits.conf,追加以下内容;
* soft nofile 65536
* hard nofile 65536
此文件修改后需要重新登录用户,才会生效
[2]: max virtual memory areas vm.max_map_count [65530] is too low, increase to at least [262144]
解决办法:
编辑 /etc/sysctl.conf,追加以下内容:
vm.max_map_count=655360
保存后,执行:
sysctl -p
15、开放19201,9202,19203端口
firewall-cmd --zone=public --add-port=19201/tcp --permanent
firewall-cmd --zone=public --add-port=19202/tcp --permanent
firewall-cmd --zone=public --add-port=19203/tcp --permanent
刷新
firewall-cmd --reload
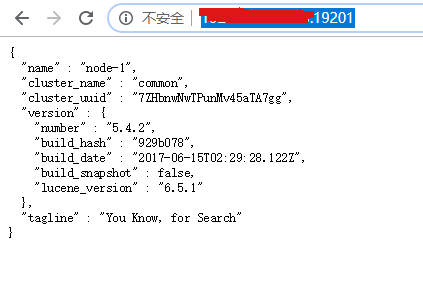
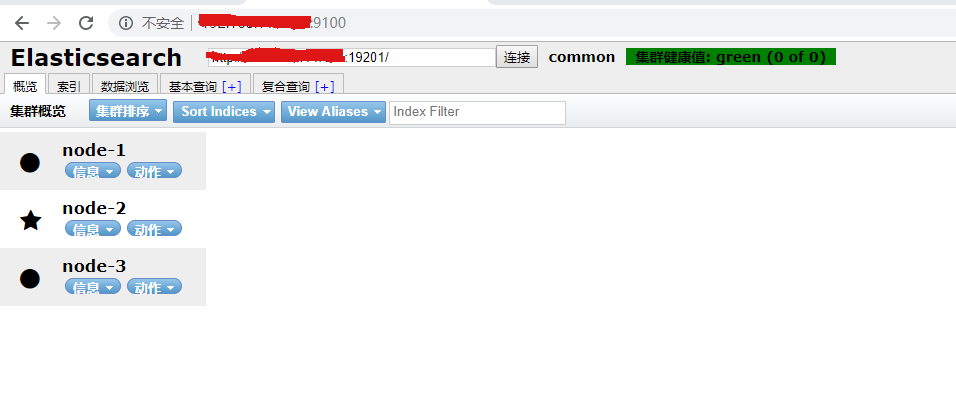
16、在浏览器中输入http://ip:19201/
二、安装head插件
1、准备 elasticsearch-head-master.zip, node-v4.4.7-linux-x64.tar.gz
2、首先解压elasticsearch-head-master.zip 到/usr/local/elasticsearch目录中
unzip elasticsearch-head-master.zip
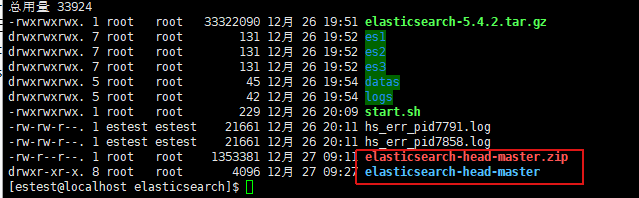
tar -zxvf node-v4.4.7-linux-x64.tar.gz

配置环境变量vim /etc/profile
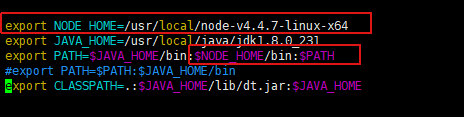
刷新 source /etc/profile
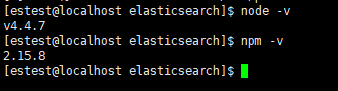
4、查看 node -v;npm -v
5、安装grunt
切换到elasticsearch-head-master目录下
配置镜像源 npm config set registry https://registry.npm.taobao.org

npm install -g grunt-cli
npm install

修改连接地址:elasticsearch-head/_site/app.js,修改成你自己ip和端口

6、启动head
cd /usr/local/elasticsearch/elasticsearch-head //先跳转到head目录下
grunt server //若想在后台运行,结尾追加“&”

完!
