专业完整版请参考(www.appcoda.com/learnswift/)
上面网址的教程文档为试用版,需要购买。(支持正版从我做起💪)
各位看官注意啦,本文章不是教程,只是我的一个分享而已,有错误还请指出。
本人也只是一个刚学习的小白而已,写文章是想起到回顾和记录作用,同时也给大家分享一下。
如果哪里有错误,还请大家指正。
注意本文是基于iOS 12和Xcode 10
开头
本文将记录如何使用面向对象程序来简化我们之前的代码,以及整理标记自己的文件。
很多人觉得整理麻烦,实则是必须的。这可以方便你找到自己想要的文件,文件少的时候可以效果不大,但是文件一多,这种做法的好处就体现出来了。
创建Restaurant类别
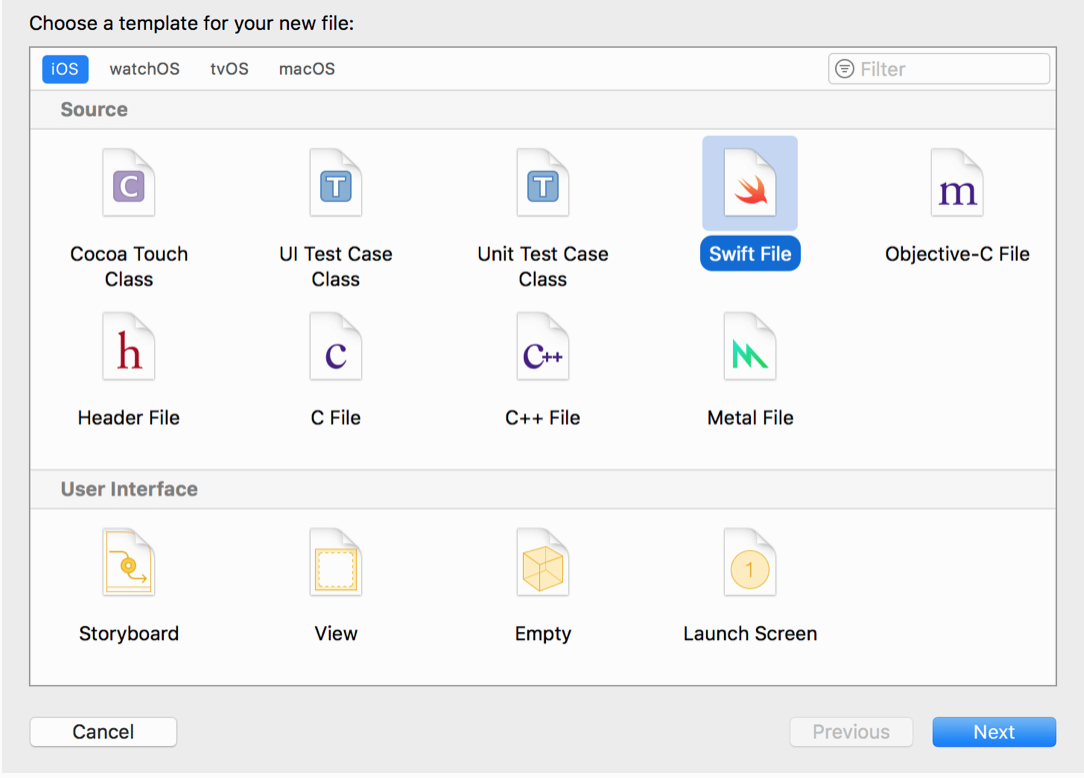
首先我们需要创建Restaurant类别,选取“New File...”,在“Source”中选取“Swift File”模版,并将其命名为Restaurant.swift.
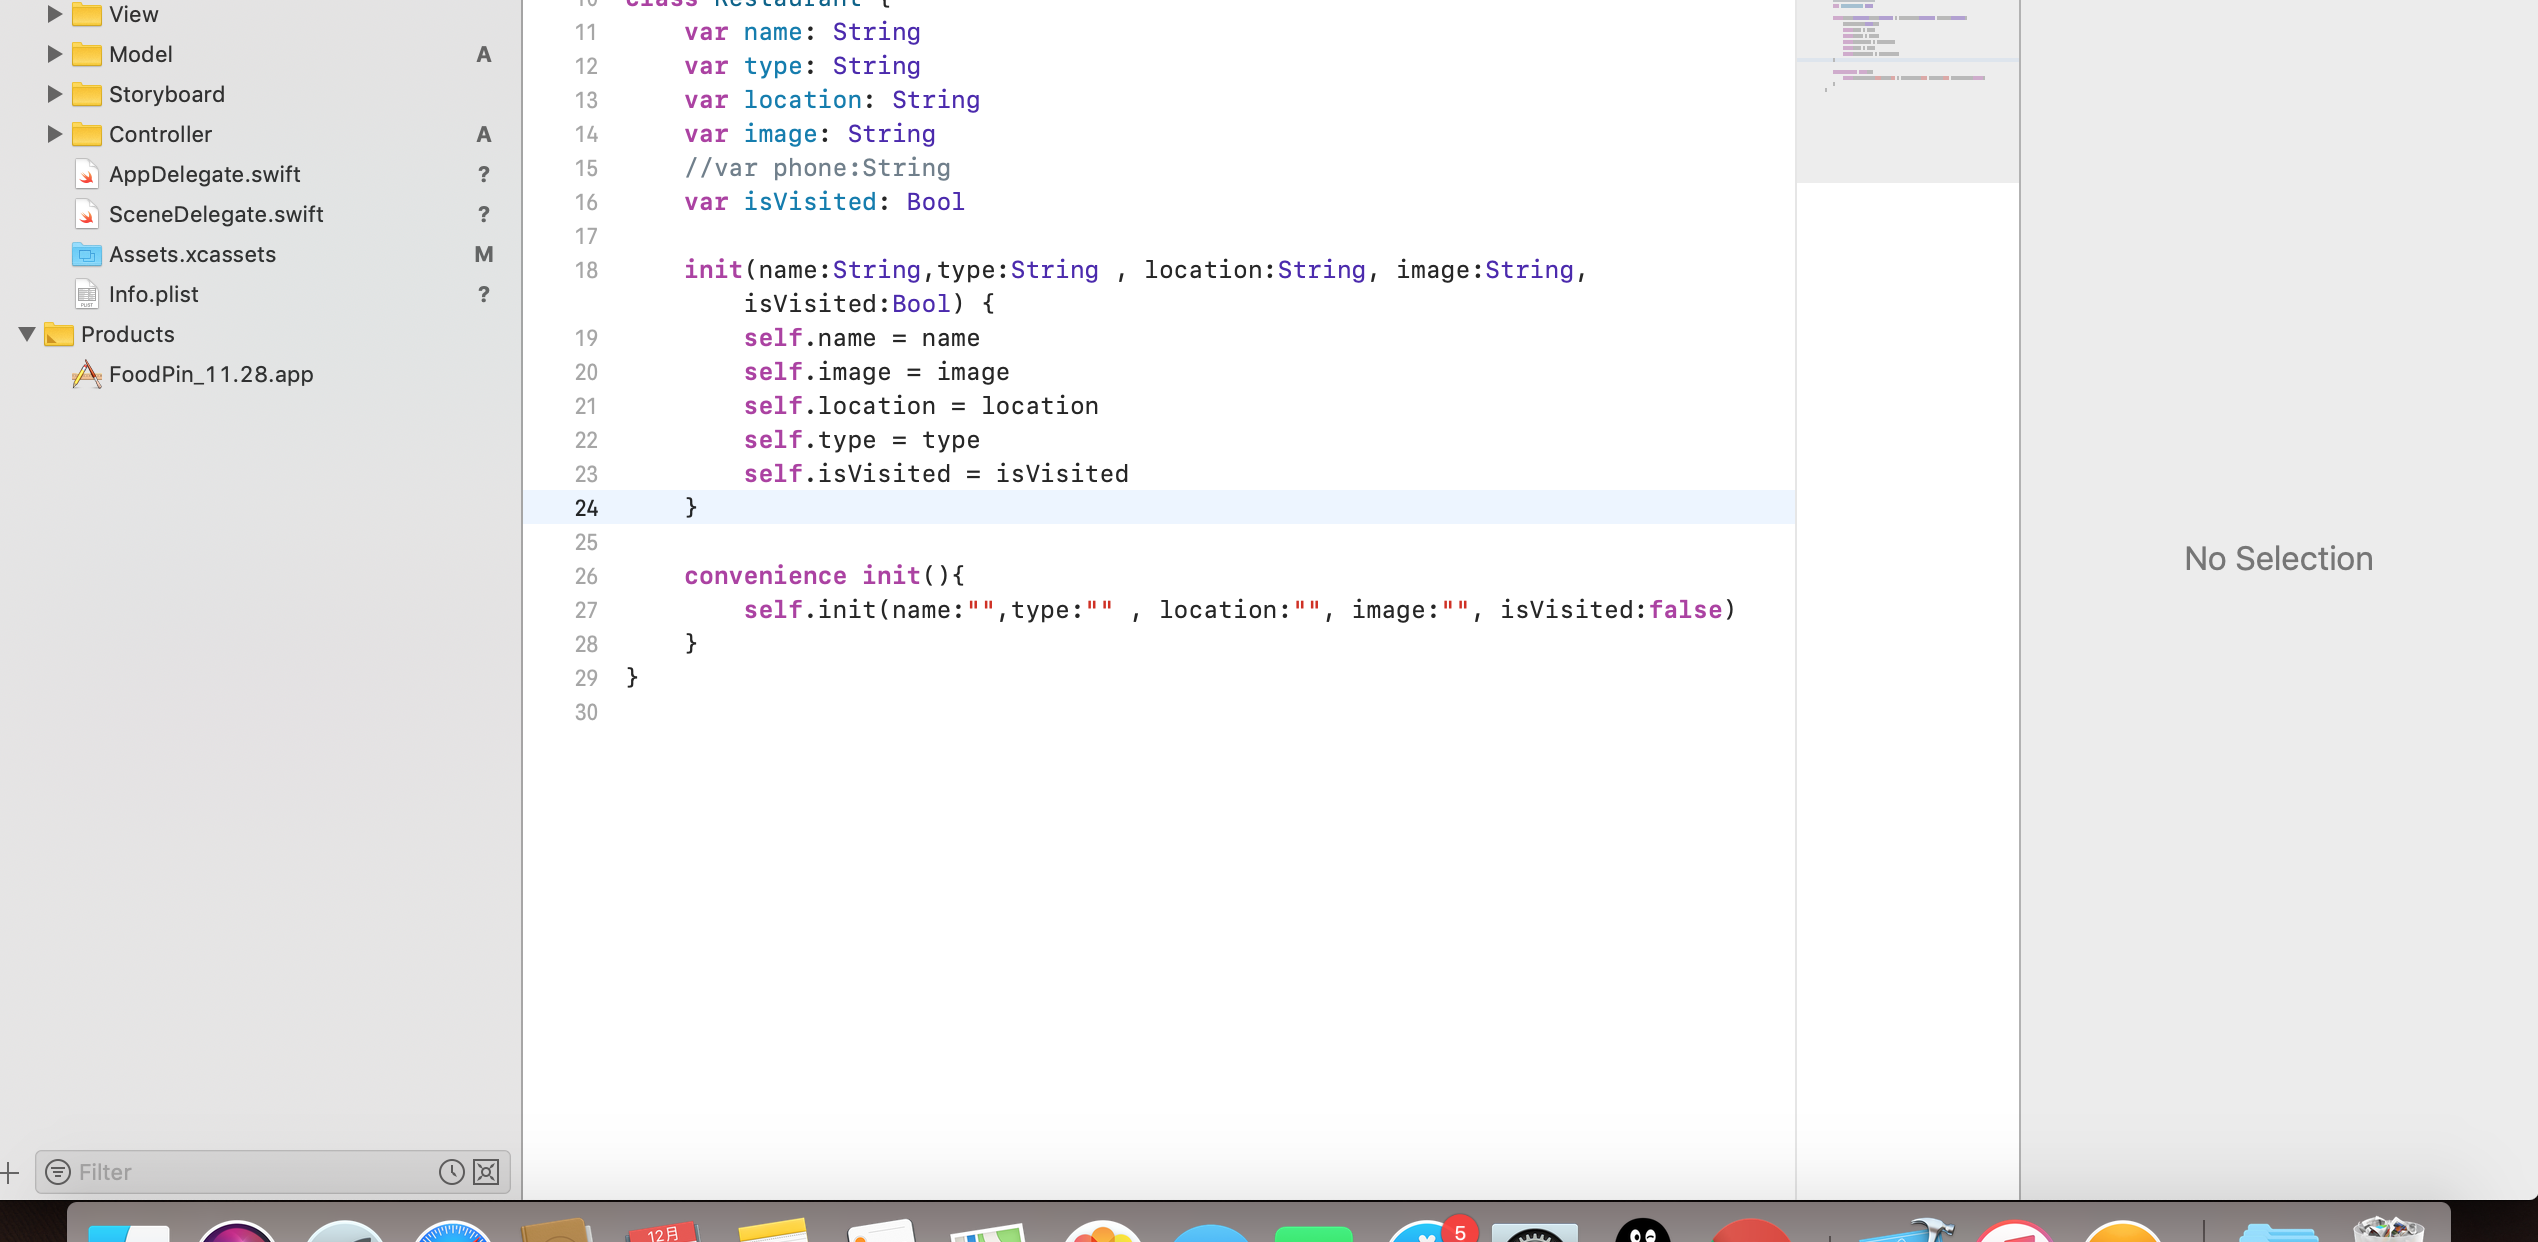
class Restaurant {
    var name: String
    var image: String
    var location: String
    var type: String
    //var phone:String
    var isVisited: Bool

    init(name:String, image:String, location:String, type:String, isVisited:Bool) {
        self.name = name
        self.image = image
        self.location = location
        self.type = type
        self.isVisited = isVisited
    }

    convenience init(){
        self.init(name:"", image:"", location:"", type:"", isVisited:false)
    }
}
init()的作用是初始化,当你创建一个物件,在实例准备使用前,初始器便会被呼叫来设定该实例每一个属性的初始值并执行其他设置。
当然你也可以根据自己的需求而定,像这样子初始化一个空的物件:
Restaurant(name: "", type: "", location: "", image: "", isVisited: false)
修改
接下里我们在RestaurantTableViewController的文件中修改,将原本定义的数组改成以下内容:
var restaurants:[Restaurant] = [
        Restaurant(name: "Cafe Deadend", type: "Coffee & Tea Shop", location: "Hong Kong", image: "cafedeadend", isVisited: false),
        Restaurant(name: "Homei", type: "Cafe", location: "Hong Kong", image: "homei", isVisited: false),
        Restaurant(name: "Teakha", type: "Tea House", location: "Hong Kong", image: "teakha", isVisited: false),
        Restaurant(name: "Cafe loisl", type: "Austrian / Causual Drink", location: "Hong Kong", image: "cafeloisl", isVisited: false),
        Restaurant(name: "Petite Oyster", type: "French", location: "Hong Kong", image: "petiteoyster", isVisited: false),
        Restaurant(name: "For Kee Restaurant", type: "Bakery", location: "Hong Kong", image: "forkeerestaurant", isVisited: false),
        Restaurant(name: "Po's Atelier", type: "Bakery", location: "Hong Kong", image: "posatelier", isVisited: false),
        Restaurant(name: "Bourke Street Backery", type: "Chocolate", location: "Sydney", image: "bourkestreetbakery", isVisited: false),
        Restaurant(name: "Haigh's Chocolate", type: "Cafe", location: "Sydney", image: "haighschocolate", isVisited: false),
        Restaurant(name: "Palomino Espresso", type: "American / Seafood", location: "Sydney", image: "palominoespresso", isVisited: false),
        Restaurant(name: "Upstate", type: "American", location: "New York", image: "upstate", isVisited: false),
        Restaurant(name: "Traif", type: "American", location: "New York", image: "traif", isVisited: false),
        Restaurant(name: "Graham Avenue Meats", type: "Breakfast & Brunch", location: "New York", image: "grahamavenuemeats", isVisited: false),
        Restaurant(name: "Waffle & Wolf", type: "Coffee & Tea", location: "New York", image: "wafflewolf", isVisited: false),
        Restaurant(name: "Five Leaves", type: "Coffee & Tea", location: "New York", image: "fiveleaves", isVisited: false),
        Restaurant(name: "Cafe Lore", type: "Latin American", location: "New York", image: "cafelore", isVisited: false),
        Restaurant(name: "Confessional", type: "Spanish", location: "New York", image: "confessional", isVisited: false),
        Restaurant(name: "Barrafina", type: "Spanish", location: "London", image: "barrafina", isVisited: false),
        Restaurant(name: "Donostia", type: "Spanish", location: "London", image: "donostia", isVisited: false),
        Restaurant(name: "Royal Oak", type: "British", location: "London", image: "royaloak", isVisited: false),
        Restaurant(name: "CASK Pub and Kitchen", type: "Thai", location: "London", image: "caskpubkitchen", isVisited: false)
    ]
由于我们修改了数组,会出现了大量的错误,这里简单修正一下即可。 如:
override func tableView(_ tableView: UITableView, numberOfRowsInSection section: Int) -> Int {
    return restaurants.count
}

 override func tableView(_ tableView: UITableView, trailingSwipeActionsConfigurationForRowAt indexPath: IndexPath) -> UISwipeActionsConfiguration? {
        let deleteAction = UIContextualAction(style: .destructive, title: nil){(atcion,sourceView,complertionHandler) in
            self.restaurants.remove(at: indexPath.row)
            self.restaurantIsVisited.remove(at: indexPath.row)

            self.tableView.deleteRows(at: [indexPath], with: .fade)
            complertionHandler(true)
        }


        let shareAction = UIContextualAction(style: .normal, title: nil){(action,sourceView,completionHandler) in
            let defaultText = "just checking in at " + self.restaurants[indexPath.row].name

            let actitvityController:UIActivityViewController

            if let imageToShare = UIImage(named: self.restaurants[indexPath.row].image) {
                actitvityController = UIActivityViewController(activityItems: [defaultText,imageToShare], applicationActivities: nil)
            }else{
                actitvityController = UIActivityViewController(activityItems: [defaultText], applicationActivities: nil)
            }

            self.present(actitvityController, animated: true, completion: nil)
            completionHandler(true)
        }

        shareAction.image = UIImage(named: "share")
        deleteAction.image = UIImage(named: "delete")
        shareAction.backgroundColor = UIColor(red: 254.0/255.0, green: 149.0/255.0, blue: 38.0/255.0, alpha: 1.0)
        let SwipController = UISwipeActionsConfiguration(actions: [deleteAction,shareAction])
        return SwipController
    }
归纳整理文件
我们现在的文件是随意摆放没有进行归纳,等文件多了之后容易造成查找困难,所有我们现在要进行文件的分类和收纳。如图所示:

整理后:
归纳以及注释代码
文件夹整理好后,我们要来归纳和注释我们的代码。我们可以在代码的开头来用注释写上这处代码的用处或者在一行代码后面写上这句代码的用处,这里将不再累赘。
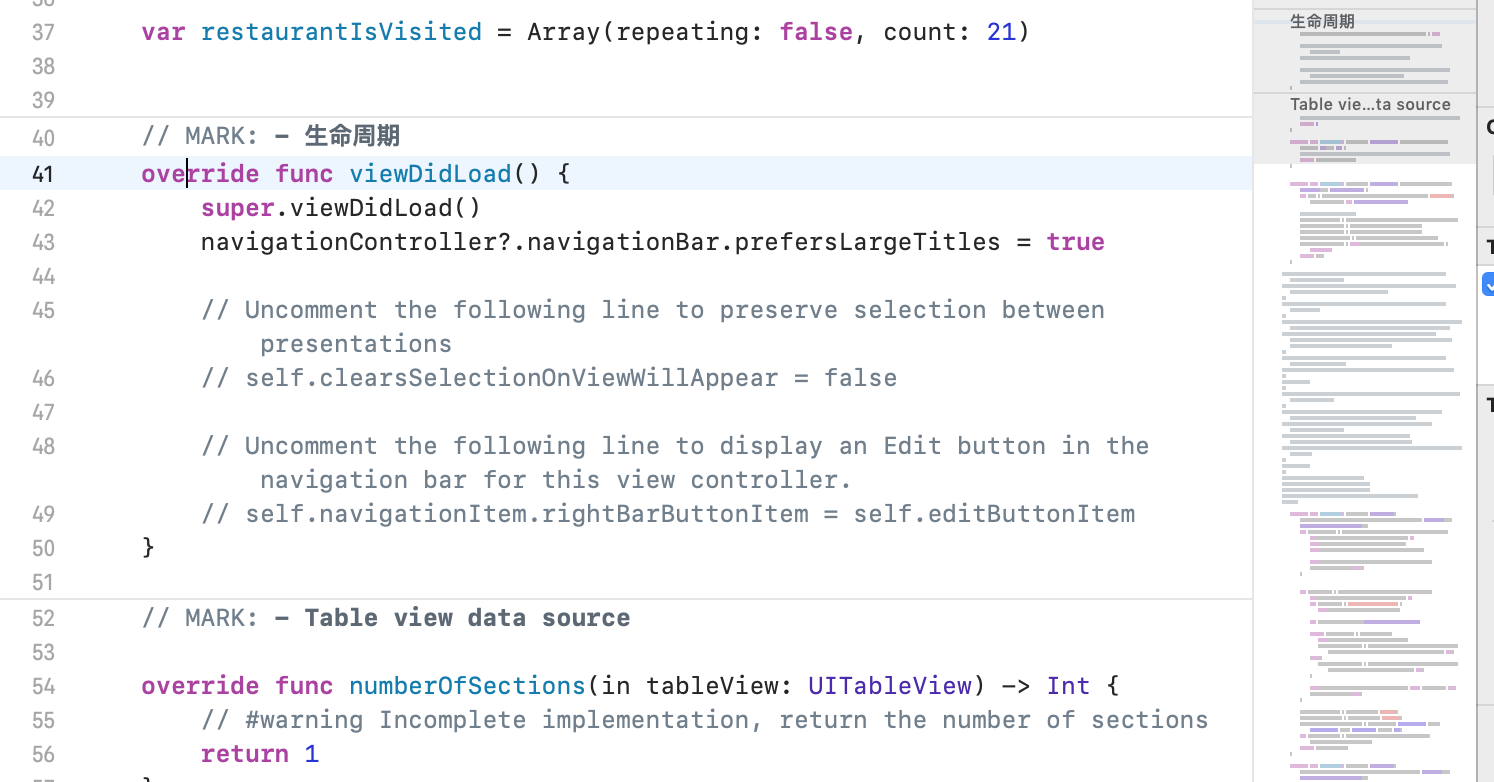
而我们主要要讲的是MARK这个特定的注解。
这个注解的主要作用将你的代码归纳至导览区块。
比如我有两个代码一个左滑和右滑,我们就可以使用MARK将这两个代码分成两个代码块,且在右侧可以快速导览。