一、IDEA 设置项
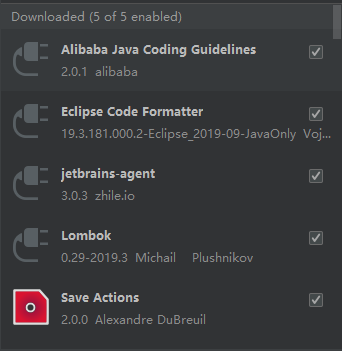
IDEA 代码规范阿里p3c插件安装
解决Idea @author取不到希望的用户名
在idea.exe.vmoptions/idea64.exe.vmoptions 文件中增加配置
-Duser.name=FeianLing
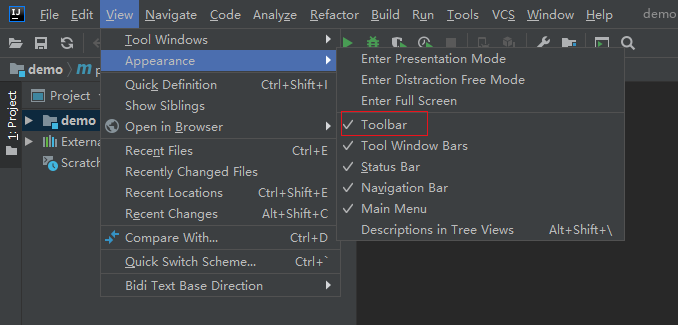
打开常用工具栏
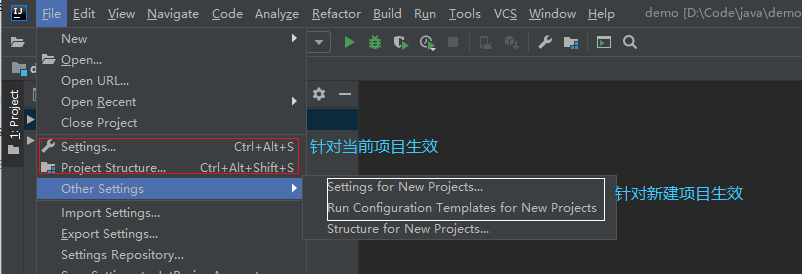
Settings说明
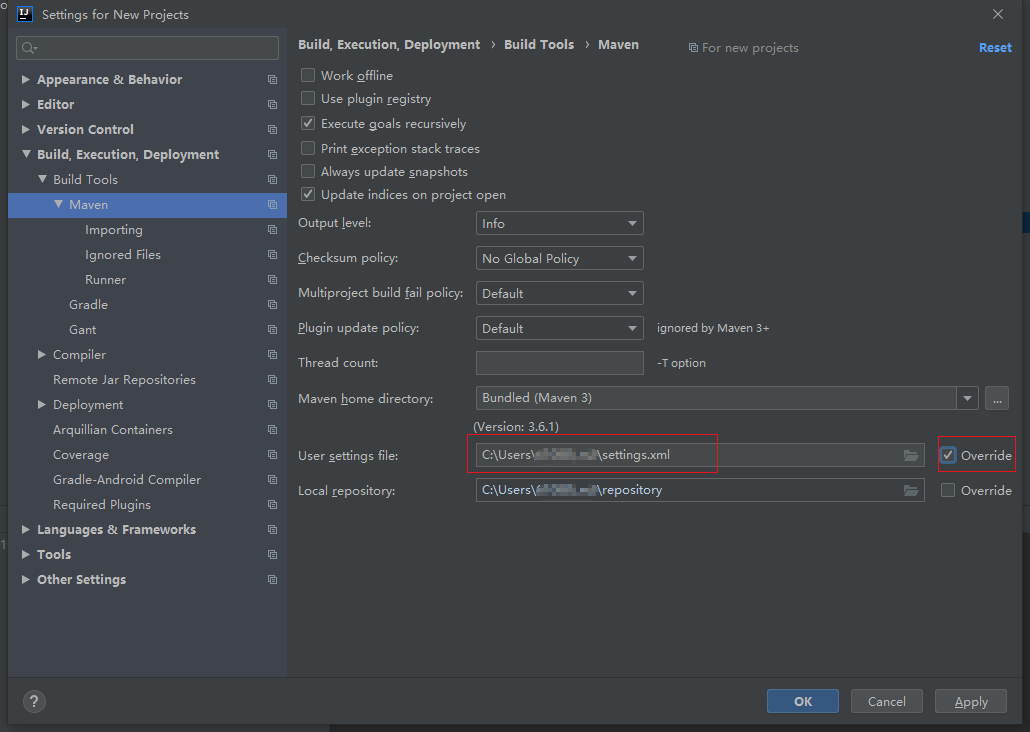
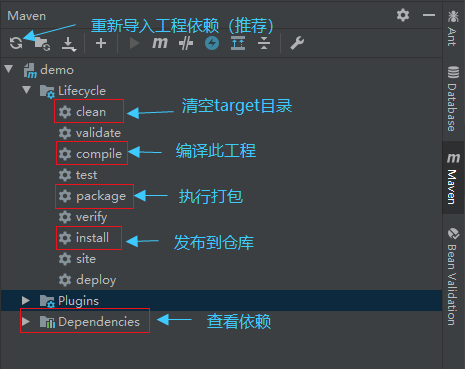
Maven配置修改处
Maven神器
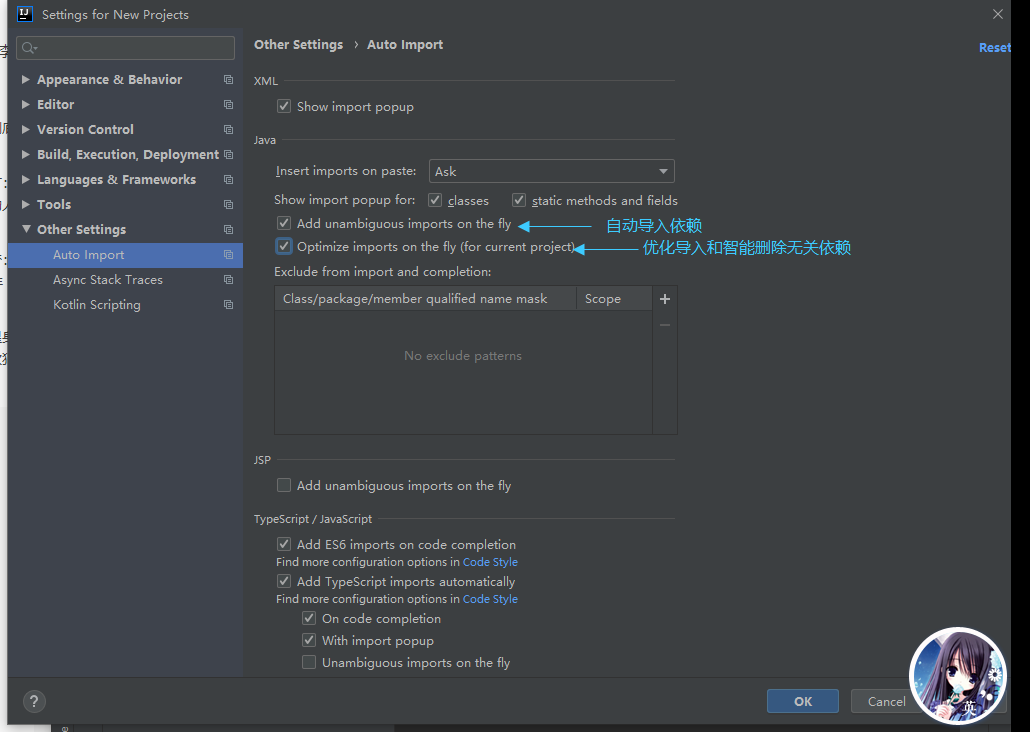
自动导包和智能移除
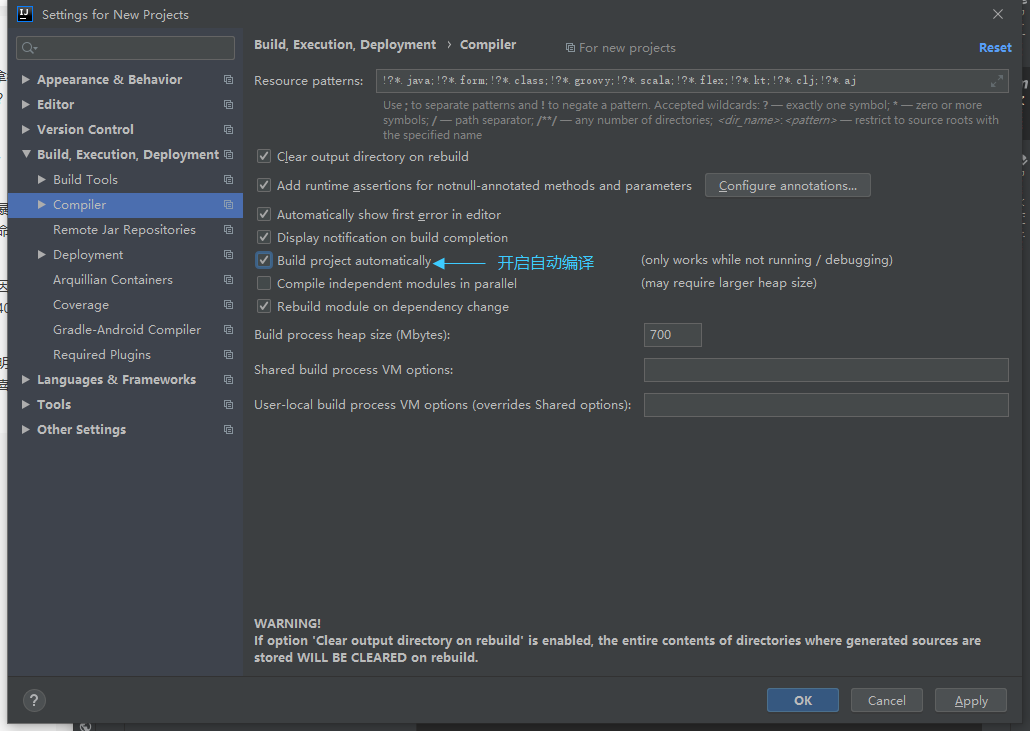
自动编译
说明:开启自动编译之后,结合Ctrl+Shift+F9会有热更新效果。
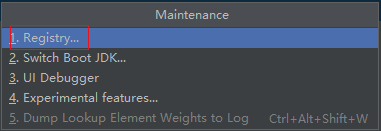
自动编译(Runtime)
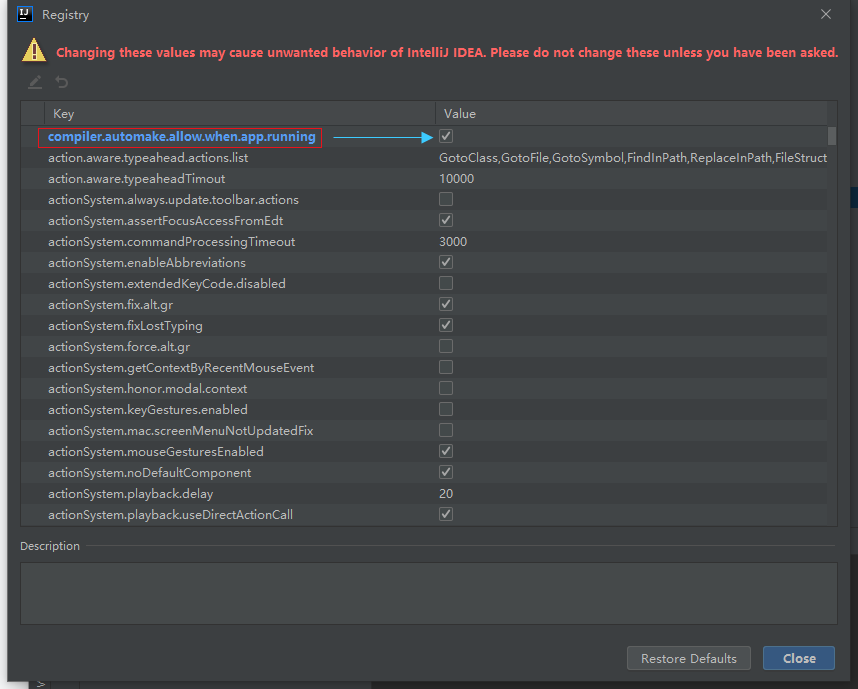
键入Ctrl + Shift + Alt + /,进入Registry,找到compiler.automake.allow.when.app.running,然后勾选上。
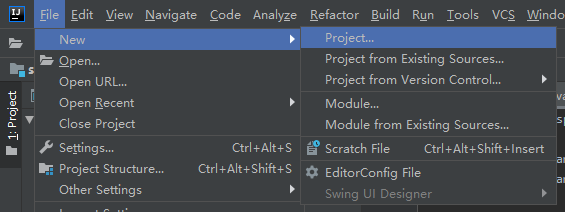
二、创建项目
首先创建新项目
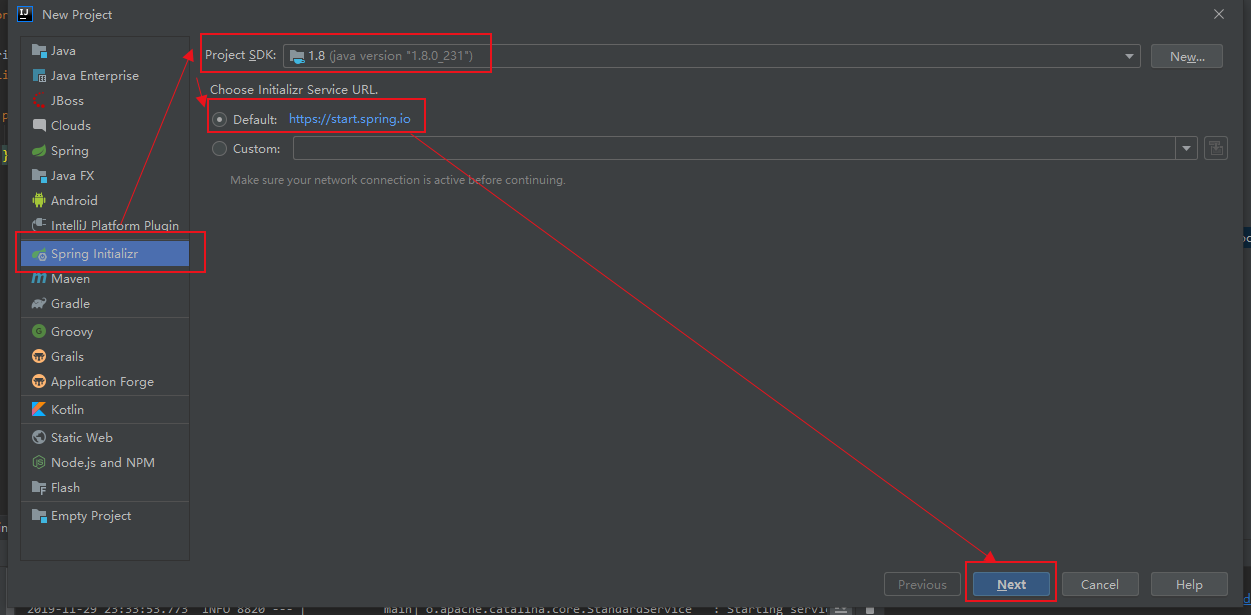
选择JDK版本
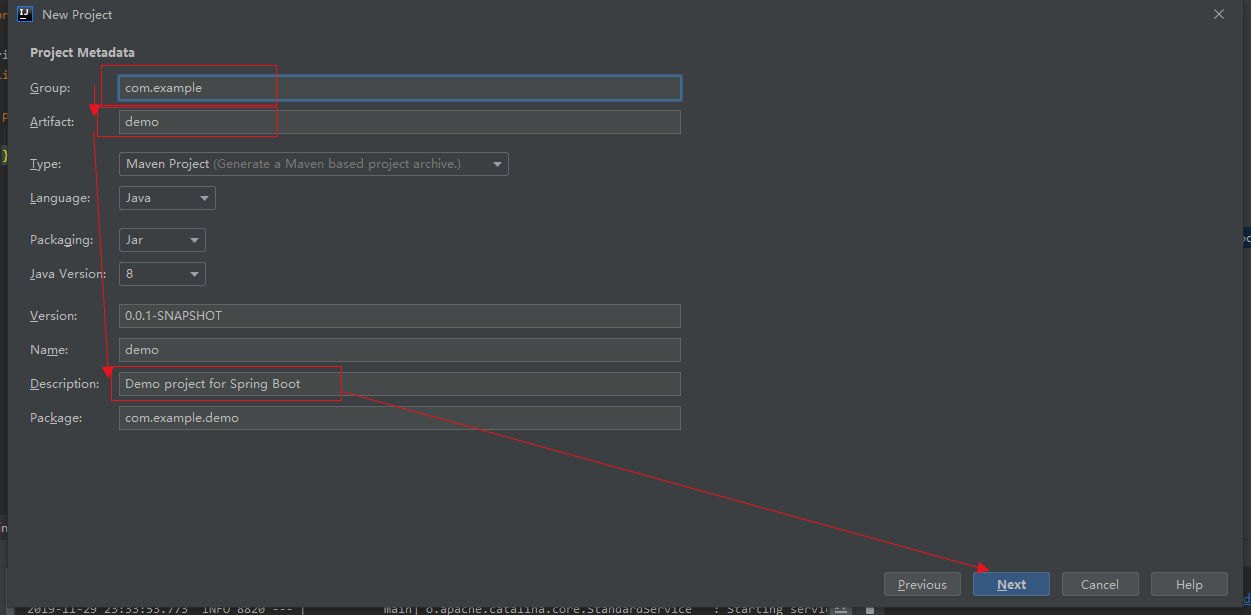
填写项目信息
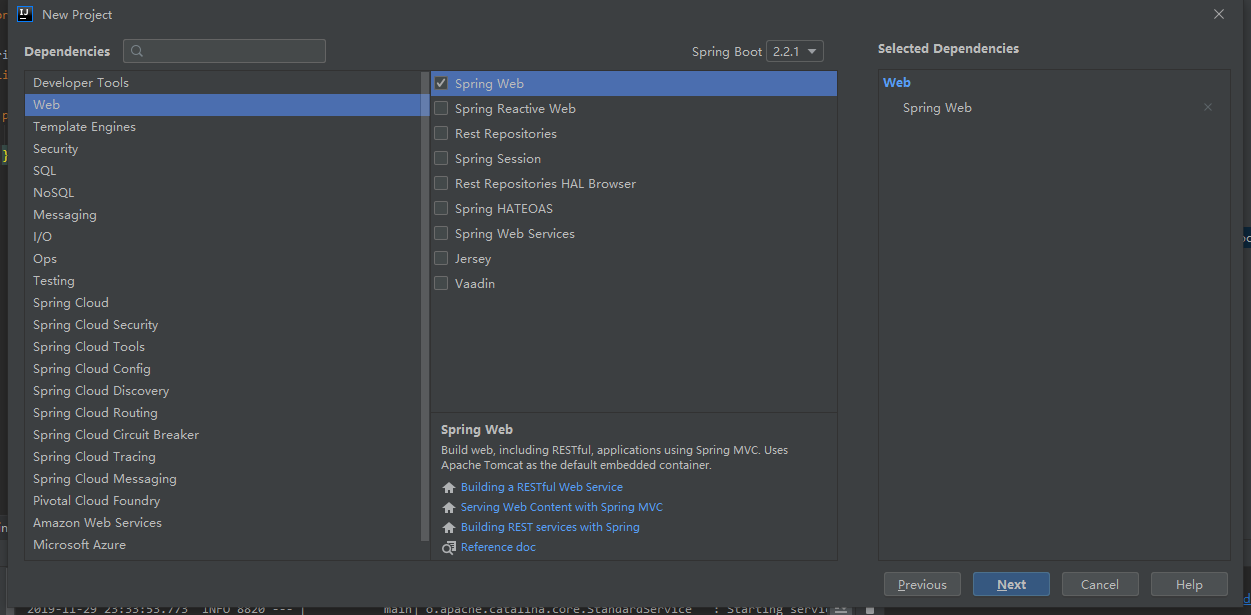
选择web
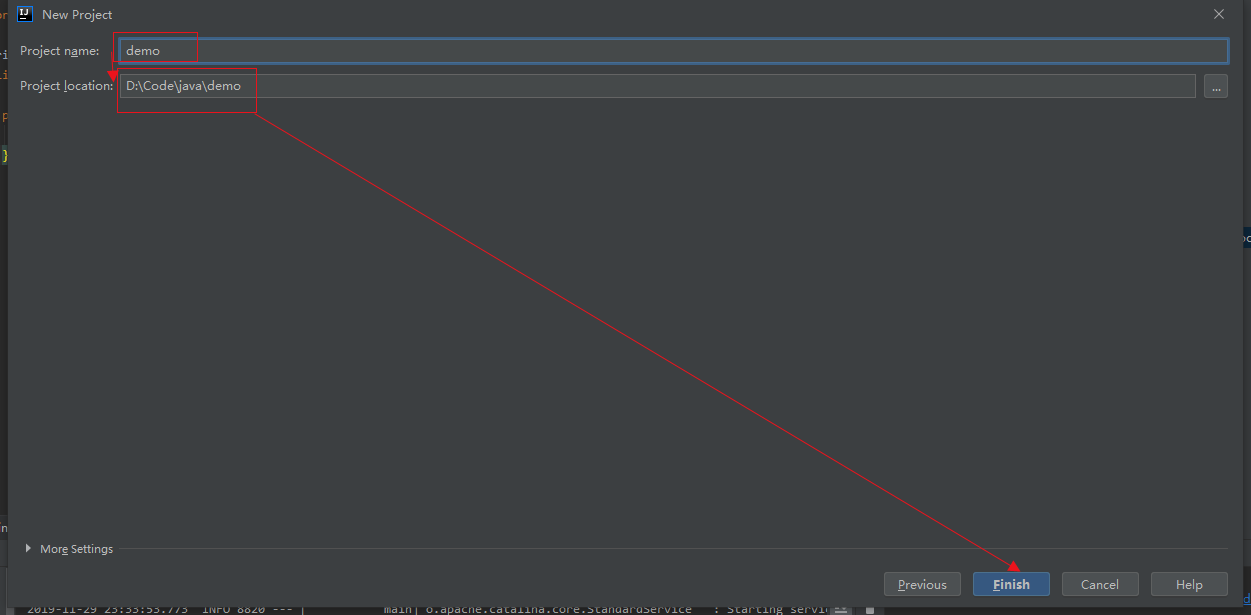
填写项目名字和项目创建的目录
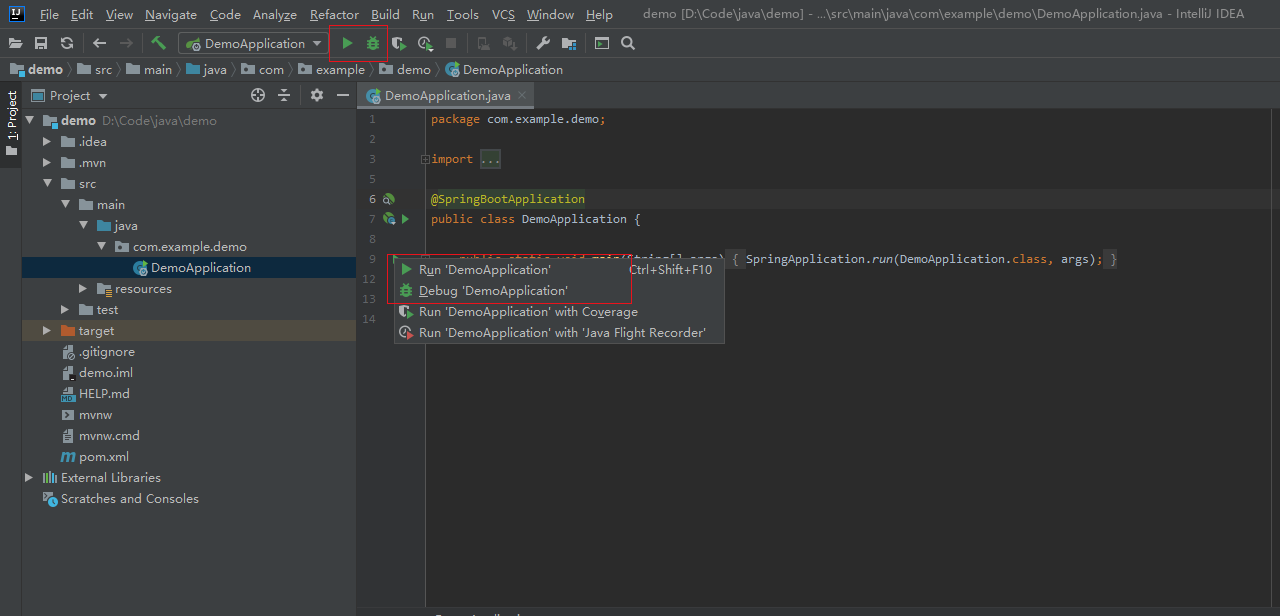
启动项目
启动或者调试选择一个
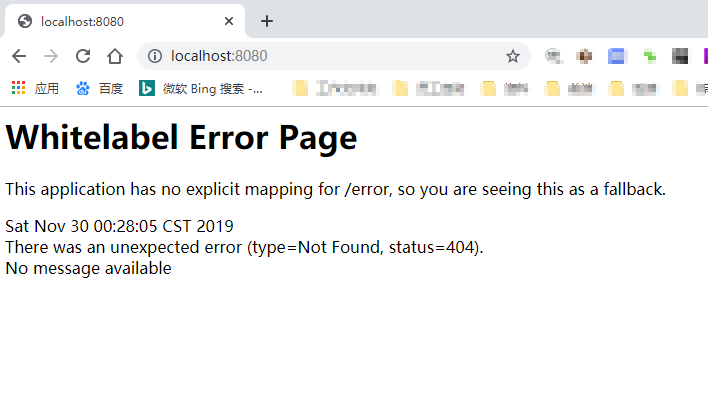
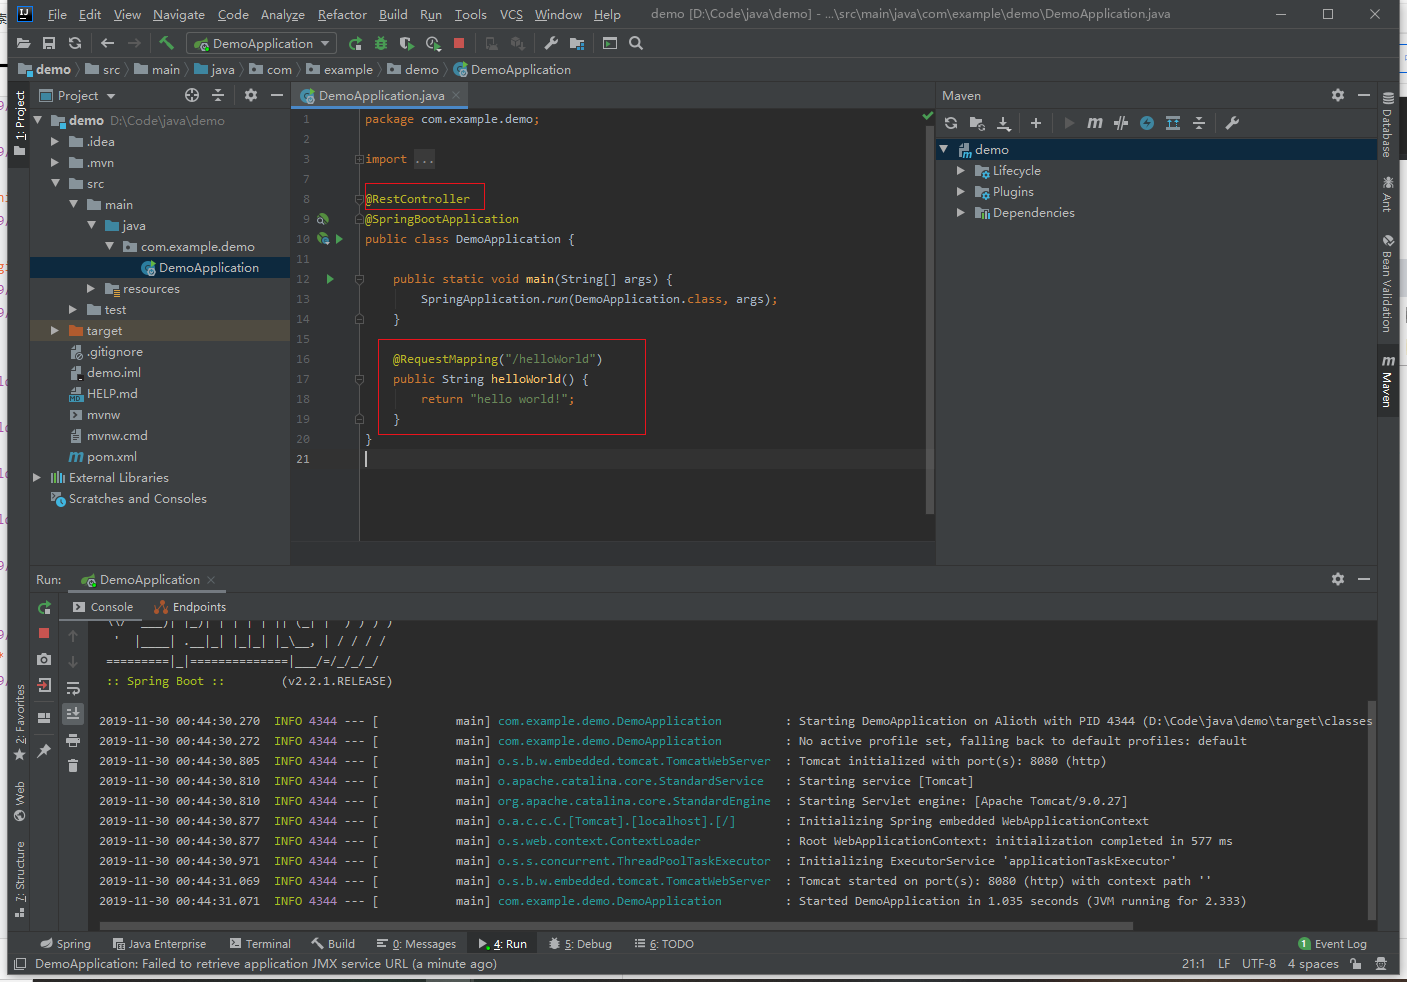
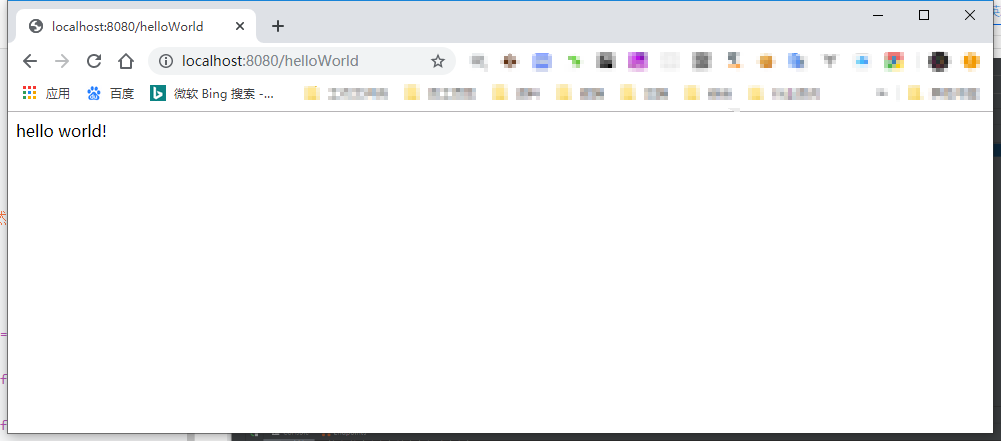
编写接口helloWorld
@RestController //等价于 @Controller+@ResponseBody 用于返回json
@SpringBootApplication
public class DemoApplication {

    public static void main(String[] args) {
        SpringApplication.run(DemoApplication.class, args);
    }

    @RequestMapping("/helloWorld") //路由path
    public String helloWorld() {
        return "hello world!";
    }
}
编写web
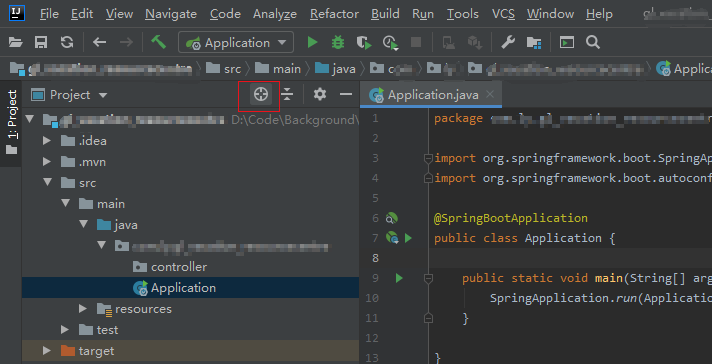
- 项目目录结构

- springboot官方不推荐使用jsp页面 这边要用需要如下引用包
        <!-- tomcat 依赖包 -->
        <dependency>
            <groupId>org.springframework.boot</groupId>
            <artifactId>spring-boot-starter-tomcat</artifactId>
            <!--<scope>provided</scope>-->
        </dependency>
        <dependency>
            <groupId>org.apache.tomcat.embed</groupId>
            <artifactId>tomcat-embed-jasper</artifactId>
        </dependency>
        <!-- servlet 依赖包 -->
        <dependency>
            <groupId>javax.servlet</groupId>
            <artifactId>javax.servlet-api</artifactId>
            <!--<scope>provided</scope>-->
        </dependency>
        <!-- JSTL (JSP standard Tag Library) JSP 标准标签库 -->
        <dependency>
            <groupId>javax.servlet</groupId>
            <artifactId>jstl</artifactId>
        </dependency>
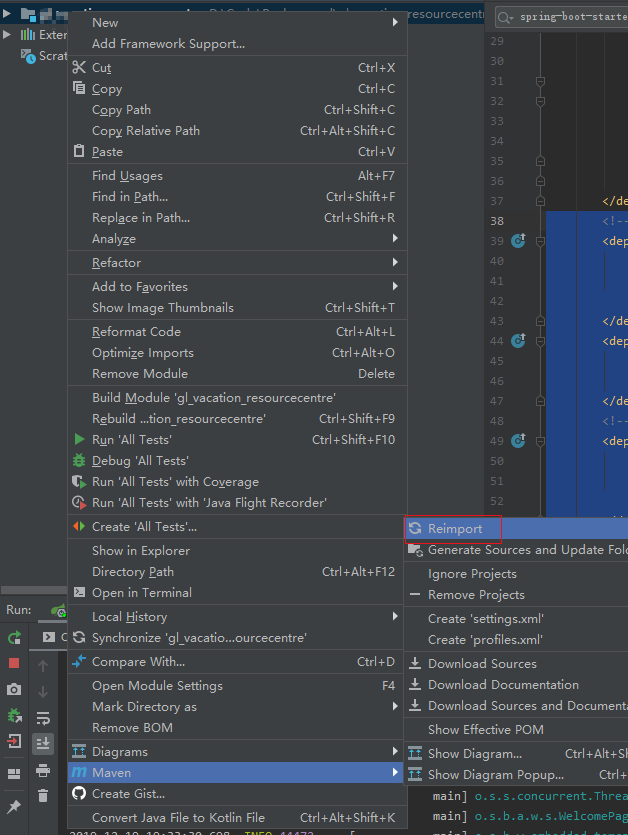
并用maven重新还原依赖
spring:
  mvc:
    view:
      prefix: /WEB-INF/views/
      suffix: .jsp
server:
  port: 8090
控制器代码
package xxx.xxx.xxx.controller;

import org.springframework.stereotype.Controller;
import org.springframework.web.bind.annotation.RequestMapping;

@Controller
public class HomeController {
    @RequestMapping("/")
    public String index() {
        return "index";
    }
}
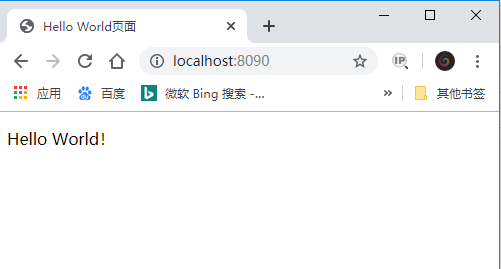
jsp代码
<%@ taglib prefix="c" uri="http://java.sun.com/jsp/jstl/core"%>
<%@page language="java" import="java.util.*" pageEncoding="utf-8" %>
<!DOCTYPE html PUBLIC "-//W3C//DTD XHTML 1.0 Transitional//EN" "http://www.w3.org/TR/xhtml1/DTD/xhtml1-transitional.dtd">
<html xmlns="http://www.w3.org/1999/xhtml">
<head>
    <meta http-equiv="Content-Type" content="text/html; charset=UTF-8" />
    <meta http-equiv="X-UA-Compatible"content="IE=9; IE=8; IE=7; IE=EDGE" />
    <title>Hello World页面</title>
    <link href="<%=basePath %>css/all.css" rel="stylesheet" type="text/css" />
</head>
<body>
<p>Hello World!</p>
</body>
</html>
最终效果
三、使用技巧
定位当前文件路径
- 查看路径

- 点击下图项目工程上的
狙击图标,自动定位到文件所在位置