

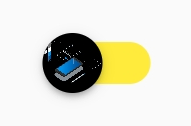
switch与Android中的一样,如果需要ios风格下的实例, 我们可以使用Switch的子类adaptive,其余的参数与switch一样。
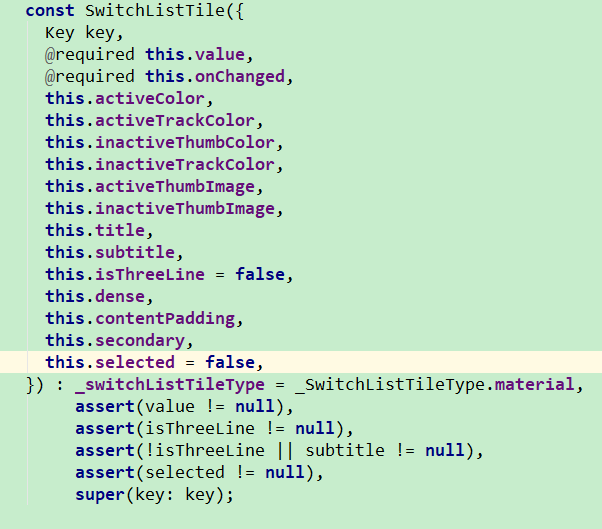
class SwitchDemo extends StatefulWidget{
  @override
  State<StatefulWidget> createState() {
    return _SwitchState();
  }
}

class _SwitchState extends State<SwitchDemo>{
  bool check=false;

  @override
  Widget build(BuildContext context) {

    return Scaffold(
      body: Center(
        child: Column(
          children: <Widget>[
            Padding(
              padding: EdgeInsets.only(left: 20, top: 80),
              child: Switch(
                value: check,
                activeTrackColor:Colors.green,
                inactiveThumbColor: Colors.black,
                inactiveThumbImage: NetworkImage('https://flutter.io/images/homepage/header-illustration.png'),
                activeThumbImage: NetworkImage(
                    "https://flutter.io/images/homepage/screenshot-2.png"
                ),
                inactiveTrackColor: Colors.yellow,
                activeColor: Colors.blue,     // 激活时原点颜色
                onChanged: (bool val){
                  if(mounted) {
                    setState(() {
                      check=val;
                    });
                  }
                },
              ),
            ),
          ],
        ),
      ),
    );
  }

}

除了这两种switch之外还有一种AnimatedSwitcher,如果你切换的足够快.超过了间隔时间, 组件只会隐藏第一个 .并渐渐显示最后一个生效的组件。 如果你变更的组件,只是同一个组件, 不同的state或者不同的显示数据与状态. 请为当前组件每一个状态加入一个Key. 强制生效动画效果.,比如点击按钮使得Text中的数字自增
AnimatedSwitcher(
  duration: const Duration(milliseconds: 500),
  transitionBuilder: (Widget child, Animation<double> animation) {
    return ScaleTransition(child: child, scale: animation);
  },
  child: Text(
    '$_count',
    // This key causes the AnimatedSwitcher to interpret this as a "new"
    // child each time the count changes, so that it will begin its animation
    // when the count changes.
    key: ValueKey<int>(_count),
    style: Theme.of(context).textTheme.display4,
  ),
)
