定时任务schedule
什么是定时任务
- 某个时间定时处理某个任务
- 发邮件、短信等
- 消息提醒
- 订单通知
- 统计报表系统
常见的定时任务
- Java⾃带的java.util.Timer类配置⽐较麻烦,有时间延后问题
- Quartz框架: 配置更简单,xml或者注解适合分布式或者⼤型调度作业
- SpringBoot框架⾃带
springboot使用注解方式开启定时任务的例子
- 启动类⾥⾯ @EnableScheduling开启定时任务,⾃动扫描
- 定时任务业务类 加注解 @Component被容器扫描
- 定时执⾏的⽅法加上注解 @Scheduled(fixedRate=2000) 定期执⾏⼀次
简单实现
@Component
class TimeTask {
@Scheduled(fixedRate = 2500)
public void sum(){
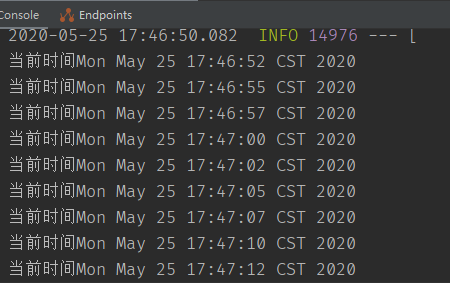
System.out.println("当前时间"+new Date());
}
}
启动项目,看到每2秒打印一次信息
cron 定时任务表达式 @Scheduled(cron="*/1 * * * * *") 表示每秒,crontab ⼯具 tool.lu/crontab/ fixedRate: 定时多久执⾏⼀次(上⼀次开始执⾏时间点后xx秒再次执⾏;) fixedDelay: 上⼀次执⾏结束时间点后xx秒再次执⾏
使用fixedDelay
@Component
class TimeTask {
    @Scheduled(fixedDelay = 2500)
    public void sum(){
        try {
            System.out.println("当前时间"+new Date());
            Thread.sleep(2500);
        } catch (InterruptedException e) {
            e.printStackTrace();
        }
    }
}

可以看到变成5秒执行一次
异步任务
什么是异步任务
想吃泡面了,在烧水的时候,同时能把泡面包装拆掉。即多个任务同时进行 适⽤于处理log、发送邮件、短信……等
- 下单接⼝->查库存 1000
- 余额校验 1500
- ⻛控⽤户1000
启动类⾥⾯使⽤@EnableAsync注解开启功能,⾃动扫描
定义异步任务类并使⽤@Component标记组件被容器扫描,异步⽅法加上@Async
简单演示
编写异步方法,启动类⾥⾯使⽤@EnableAsync注解开启功能
@Component
@Async
public class AsyncTask {
    public void task1(){
        try {
            Thread.sleep(4000L);
        } catch (InterruptedException e) {
            e.printStackTrace();
        }
        System.out.println("task 1");
    }
    public void task2(){
        try {
            Thread.sleep(4000L);
        } catch (InterruptedException e) {
            e.printStackTrace();
        }
        System.out.println("task 2");
    }
    public void task3(){
        try {
            Thread.sleep(4000L);
        } catch (InterruptedException e) {
            e.printStackTrace();
        }
        System.out.println("task 3");
    }
}
在controller调用
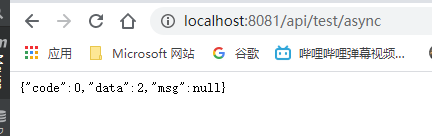
@RequestMapping("async")
public JsonData testAsync(){
long start = System.currentTimeMillis();
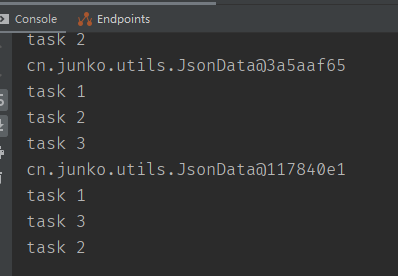
asyncTask.task1();
asyncTask.task2();
asyncTask.task3();
long end = System.currentTimeMillis();
System.out.println(end-start);
return JsonData.buildSuccess(end-start);
}
可以看到方法的打印是随机的并且同时完成,而非等待4s轮流调用
异步任务Future获取结果
定义异步任务类获取结果
要把异步任务封装到类⾥⾯,不能直接写到Controller 增加Future 返回结果 AsyncResult("task执⾏完成"); 如果需要拿到结果 需要判断全部的 task.isDone()
在之前的异步代码中添加
    public Future<String> task4(){
        try {
            Thread.sleep(4000L);
        } catch (InterruptedException e) {
            e.printStackTrace();
        }
        return new AsyncResult<String>("task4");
    }
    public Future<String> task5(){
        try {
            Thread.sleep(4000L);
        } catch (InterruptedException e) {
            e.printStackTrace();
        }
        return new AsyncResult<String>("task5");
    }
然后进行判断调用
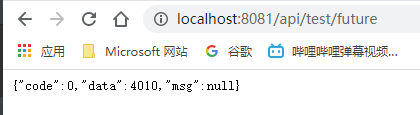
@RequestMapping("future")
    public JsonData testAsyncFuture(){
        long start = System.currentTimeMillis();

        Future<String> task4 = asyncTask.task4();
        Future<String> task5 = asyncTask.task5();
        System.out.println(task4+">>>and<<<"+task5);

        while (true){
            if (task4.isDone() && task5.isDone()){
                try {
                    String s = task4.get()+"<<<>>>"+task5.get();
                    System.out.println(s);
                } catch (InterruptedException e) {
                    e.printStackTrace();
                } catch (ExecutionException e) {
                    e.printStackTrace();
                }finally {
                    break;
                }
            }
        }
        long end = System.currentTimeMillis();
        System.out.println(end-start);
        return JsonData.buildSuccess(end-start);
    }