

简介
本次内容主要在实践操作上,原理上不会讲解过多,只是帮助那些不想看官方文档,又想快速熟悉这一套工具的同学,希望通过本次的教程能够帮助大家完成一个GraphQL的小DEMO,在这里我不会过多的强调 Nest 与 GraphQL 是干嘛,需要了解的同学可以自行寻找相关内容。
需要了解知识:
- typescript
- graphql
- nodejs 相关server框架
安装Nest
npm i -g @nestjs/cli全局安装nest cli
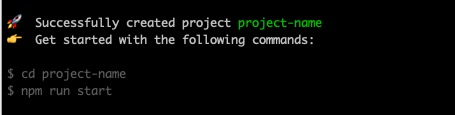
nest new project-name执行命令,会生成对应的工程文件
查到对应目录 执行 npm run start:dev 默认端口 3000 访问 localhost:3000 这样一个 Nest 服务就起来了
安装GraphQL
npm i --save @nestjs/graphql apollo-server-express graphql-tools graphql type-graphql- @nestjs/graphql 是 graphql 驱动与 nestjs 结合的一个库
- apollo-server-express 是 Express 集成 GraphQL 的服务端库
- graphql-tools 是查询 GraphQL 工具视图的一个库
- graphql GraphQL 库
- type-graphql 是 Typescript 结合 GraphQL 的一个库,主要是为了生成GraphQL DSL文件, 同时是TS的接口声明文件
依赖安装好后,接下来进行代码编写
代码编辑
入口文件 app.module.ts
在imports 里添加GraphQLModule
import { Module } from '@nestjs/common';import { GraphQLModule } from '@nestjs/graphql';import { AppController } from './app.controller';import { AppService } from './app.service';@Module({ imports: [ GraphQLModule.forRoot({ autoSchemaFile: 'schema.gql', }), ], controllers: [AppController], providers: [AppService],})export class AppModule {}这一步主要是注册 GraphQL 模块在 Nest 里, autoSchemaFile 是自动生成 DSL 的配置项
增加模块
执行
nest g module author
nest g service author
nest g resolver author
利用脚手架创建 author 下的 module service resolver 三个模块
- module 可以提供 imports providers 类似一个入口
- service 相当于与 orm 打交道的位置
- resolver 是 GraphQL 里的 resolver 用来解析 DSL 结构的数据
修改模块
author.module.ts
import { Module } from '@nestjs/common';import { AuthorResolver } from './author.resolver';import { AuthorService } from './author.service';@Module({ providers: [AuthorService, AuthorResolver],})export class AuthorModule {}将 Service, Resolver 注入到 Module 里
author.service.ts
import { Injectable } from '@nestjs/common';import { Author } from './model/author';@Injectable()export class AuthorService { private readonly author: Author = { id: 1, firstName: "makuta", lastName: "bb", }; findOneById(id: number): Author { return this.author; }}这块 Service 后期可以通过从数据库中获取, 这时候可以发现 Author 的 Model 是一个数据接口定义, 我们这一块先放着后面会讲 通过 type-graphql 来写
author.resolver.ts
import { Args, Query, Resolver } from '@nestjs/graphql';import { AuthorService } from './author.service';import { Author } from './model/author';@Resolver(of => Author)export class AuthorResolver { constructor( private readonly authorsService: AuthorService, ) {} @Query(returns => Author, { name: 'author'}) async getAuthor(@Args('id') id: number) { return await this.authorsService.findOneById(id); }}这里通过修饰器 @Resolver @Query 来确定最后生成 DSL 文件, 然后会发现这里也有个 Author 的定义
大家会发现 接口定义 和 GraphQL 里的 Resolver 定义指向同一个文件,也就是通过 type-grpahql来生成的
接下来就来看看 model 下到底是什么!
author.ts
import { Field, Int, ObjectType } from 'type-graphql';@ObjectType()export class Author { @Field(type => Int) id: number; @Field({ nullable: true }) firstName?: string; @Field({ nullable: true }) lastName?: string;}访问http://localhost:3000/graphql
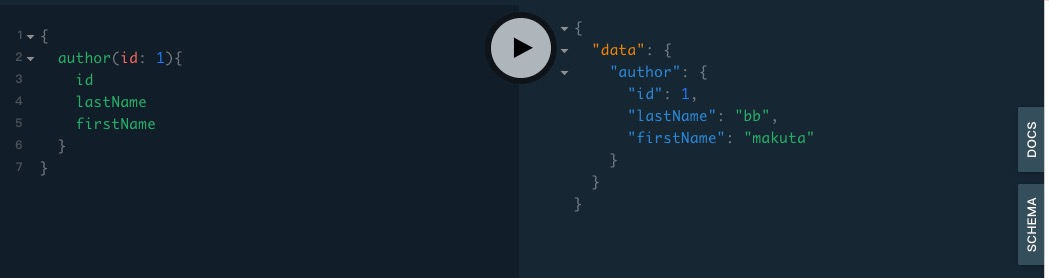
大功告成!!!
参考教程:
