

01. 手动将 Pass 继承到 Xcode 项目
可参考 www.jianshu.com/p/b2f9efea4… 05 部分的步骤。
必须手动去修改 xcode 工程配置,这自己玩还可以,但如果应用于 ci 脚本自动化肯定不行的。
02. 通过 cocoapods 将 Pass 集成到 Xcode 项目
02-01. pod lib create 创建一个 pod 项目模板
删除掉多余的文件,结构如下即可。
╭─xiongzenghui at xiongzenghui的MacBook Pro in ~/Desktop/XZHFuncPlace on master✘✘✘ using ‹ruby-2.4.1›
╰─± tree
.
├── LICENSE
├── README.md
├── XZHFuncPlace
└── XZHFuncPlace.podspec

1 directory, 3 files
02-02. 拷贝 LLVM Build 目录下的 clang 可执行文件

注意:
最好使用 Release 模式, 构建生成 clang 可执行文件。
因为 Debug 模式, 构建得到的 clang 文件大小有 400 MB+。放到一个 git 仓库来管理的话,就特别大了。
而 Release 模式, 构建生成 clang 文件大小只有 86 MB+ 左右。
02-03. 拷贝 LLVM Build 目录下的 include 头文件

02-04. 拷贝 LLVM Build 目录下的 pass dylib

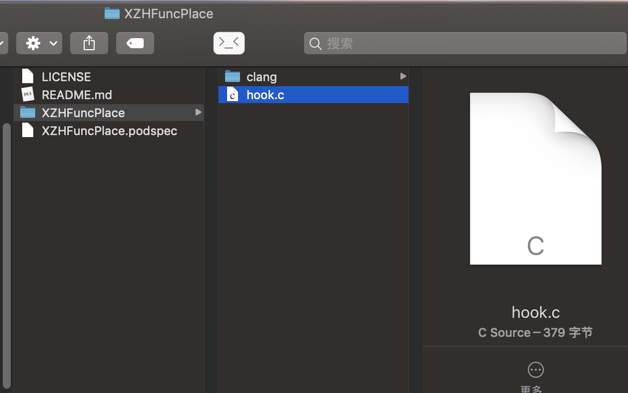
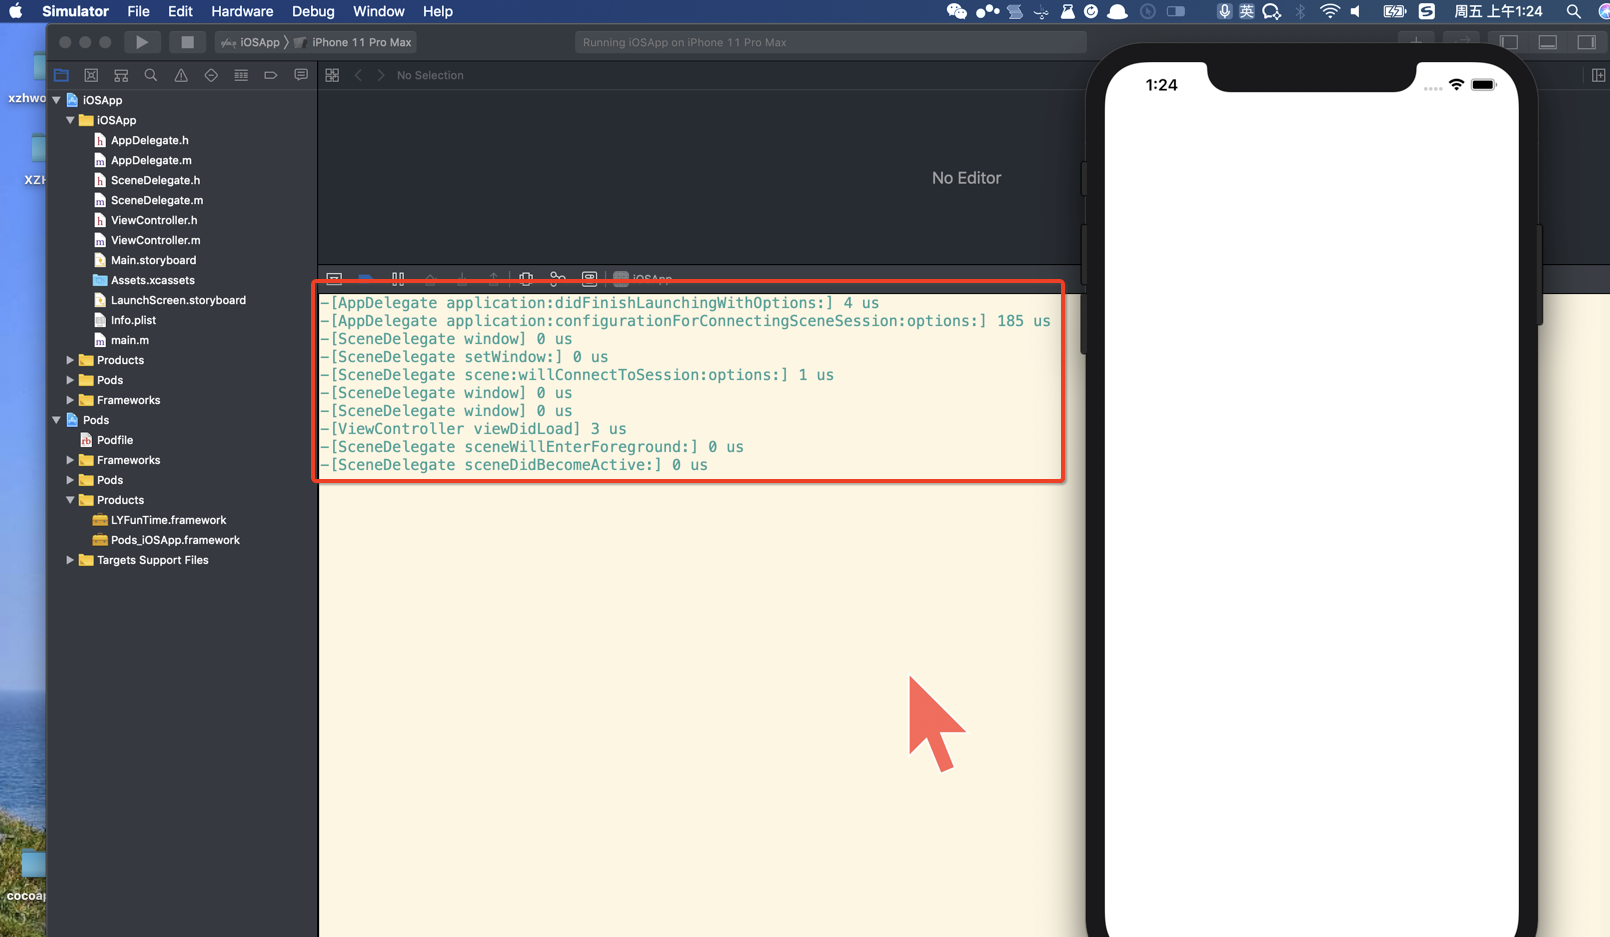
02-05. 增加 hook.c
#include "stdio.h"
#include "sys/time.h"
#include "time.h"

long _ly_fun_b(){
  struct timeval star;
  gettimeofday(&star, NULL);
  long b = star.tv_sec * 1000000 + star.tv_usec;
  return b;
}

void _ly_fun_e(char *name, long b){
  struct timeval end;
  gettimeofday(&end, NULL);
  long e = end.tv_sec * 1000000 + end.tv_usec;
  long t = e - b;
  printf("%s %ld us\n",name, t);
}
02-06. 修改 podspec 集成 pass
XZHFuncPlace.podspec
Pod::Spec.new do |s|
  s.name             = 'XZHFuncPlace'
  s.version          = '1.0.0'
  s.summary          = 'A short description of XZHFuncPlace.'
  s.description      = <<-DESC
                        🚗 🚕 🚙 this is a very simple LLVM Pass 🚗 🚕 🚙
                       DESC

  s.homepage         = 'https://github.com/xzhhe/XZHFuncPlace'
  s.license          = { :type => 'MIT', :file => 'LICENSE' }
  s.author           = { 'xiongzenghui' => 'zxcvb1234001@163.com' }
  s.source           = { :git => 'https://github.com/xzhhe/XZHFuncPlace.git' }
  s.requires_arc = true

  ############################################ 核心部分 ################################################

  # 1. 源文件
  s.source_files  = "src/*"

  # 2. 需要保留的文件路径
  # https://guides.cocoapods.org/syntax/podspec.html#preserve_paths
  s.preserve_paths = "clang/bin/clang", "clang/lib/MyPlacementPass.dylib", "clang/lib/clang/8.0.1/include/*"

  # 3. 修改 xcode 工程配置文件
  s.xcconfig = {
    "OTHER_CFLAGS" => "-Xclang -load -Xclang ${PODS_ROOT}/XZHFuncPlace/clang/lib/MyPlacementPass.dylib",
    "COMPILER_INDEX_STORE_ENABLE" => "No",
    "CC" => "${PODS_ROOT}/XZHFuncPlace/clang/bin/clang"
  }
end
02-07. iOS App 项目,集成 pass pod
Podfile
# Uncomment the next line to define a global platform for your project
# platform :ios, '9.0'

target 'iOSApp' do
  # Comment the next line if you don't want to use dynamic frameworks
  use_frameworks!

  # Pods for iOSApp
  # pod 'XZHFuncPlace', path: '/Users/xiongzenghui/Desktop/XZHFuncPlace'
  pod 'XZHFuncPlace', :configurations => ['Debug'], :git=>'git@github.com:xzhhe/XZHFuncPlace.git'
end
pod install, 然后运行 iOS App 项目
02-08. 发布 pass pod
这个基本就跟发布一个 iOS 开源组件 到 cocoapods 的步骤是一样的了,大家可以自己网上搜一下,按照步骤即可完成。
03. 通过 脚本 将 Pass 集成到 Xcode 项目
脚本的核心内容,也就是如下三步,通过 Xcodeproj 应该是比较容易办到。
-
- Build Settings 增加 CC、CXX 两项用户定义设置, 指向自己编译的 clang
-
- Build Settings 修改 OTHER_CFLAGS 加载 pass dylib
-
- Build Settings 修改
"COMPILER_INDEX_STORE_ENABLE" => "No"
- Build Settings 修改
可以将 clang、pass 上传到内网,而不使用 git 来管理。
