

1、安装使用脚手架工具下载vue项目
vue create testdemo
2、在根目录文件夹下新建vue.config.js文件,目录结构如下:
3、编写vue.config.js文件的内容。
var glob = require('glob');
var path = require('path');

//配置pages多页面获取当前文件夹下的html和js
function getEntry(globPath) {
	let entries = {};
	glob.sync(globPath).forEach(function(entry,i) {
		let filename=entry.split('src/pages/')[1]
		let middlePath=filename.split('/index.html')[0]
		let dirList=middlePath.split("/")
		entries[dirList[dirList.length-1]] = {
			entry: 'src/pages/' + middlePath + '/main.js',
			template: 'src/pages/' + middlePath + '/index.html',
			filename: middlePath + '.html',
		};
	});
    // console.log(entries)
    return entries;
};

module.exports = {
    publicPath: '/', // 官方要求修改路径在这里做更改,默认是根目录下,可以自行配置
    outputDir: 'dist', //标识是打包哪个文件
    pages: getEntry('src/pages/**/index.html'),
    productionSourceMap: false,
    devServer: {
      open: true, // 项目构建成功之后,自动弹出页面
      host: 'localhost', // 主机名,也可以127.0.0.0 || 做真机测试时候0.0.0.0
      port: 8081, // 端口号,默认8080
      https: false, // 协议
      //跨域代理
      proxy: {
          '/api':{
            // target:'http://127.0.0.1:80',//dev环境
            // target:'http://23.33.256.23:80',//test环境
            target:'http://www.baidu.com',//正式环境
            changeOrigin:true,
            timeout:5000,//设置超时时间
            pathRewrite:{
                "^/api":""
            }
          }
      }
    }
};
4、新建页面进行测试,目录结构如下:
5、本地启动和build之后的效果:
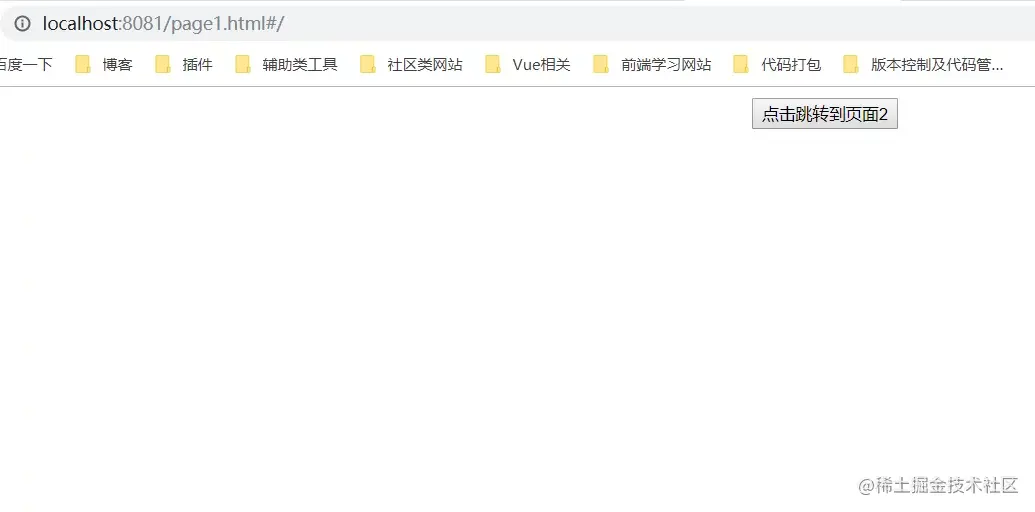
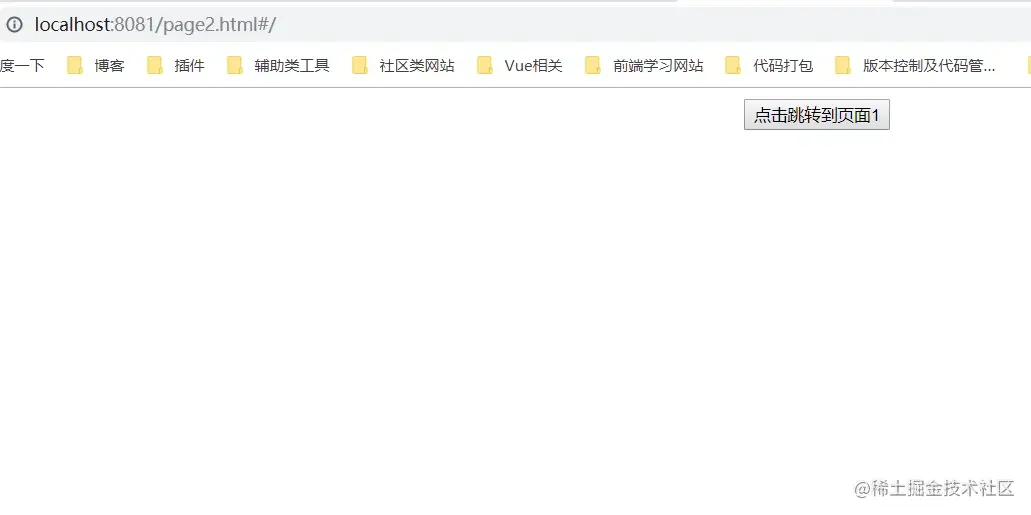
5、完成收工。。。
