

100行代码实现一个极简&快速&免费的博客
接下来我将讲解在不用臃肿的库(JQuery)和框架(React)的情况下,如何用100行HTML/CSS/JS代码,实现一个类似当然我在扯淡的极简博客。
为什么做一个极简博客
过去几年里,我已经见过无数人(包括我在内),费了半天劲建了个像模像样的博客,结果根本就没更新几篇博文,完全就是本末倒置。
在开始写博客的时候,博客本身一点也不重要,重要的是持续更新,建立写博客的习惯,提高写作技能等等。
那么为什么不直接到写作平台写呢? 这就关系到一个写作流程的问题,如果直接在写作平台写,就得用它提供的不好用的编辑器,熟悉一套不可复用的写作流程。
而自己建博客,就可以在本地编辑,并且用git做版本管理,用github做线上备份和发布,而这一系列的流程都是通用的,以后升级博客以后也不会有太大改变。
要实现什么
首先因为是极简博客,所以主体只有3部分:
- 顶部的导航栏
- 首页的文章列表
- 点击后的文章内容
然后是一些网站的基本功能:
- 为了提高速度所以做个简单的缓存。
- 由于没有后端所以做个前端路由
- 为了免费所以用Github Pages来部署。
初始化Git项目
Git是目前最好最流行的版本管理工具,未来基本上所有个人项目里都会用到。
Git项目可以直接用命令行git创建,个人推荐用Github Desktop创建,方便直接上传到Github。
在Github Desktop里新建项目,输入name和description,勾上Initialize … README,然后在编辑器里打开项目。
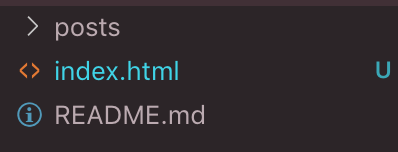
文件结构
由于只有100行代码,所以一个index.html文件即可。
然后再建一个posts文件夹用于存放markdown博文。
最后是项目默认的README.md说明文件。
初始化HMTL
编辑器里安装了emmet插件的话会提供一个html:5的snippet,得到:
<!DOCTYPE html>
<html lang="en">
<head>
  <meta charset="UTF-8">
  <meta name="viewport" content="width=device-width, initial-scale=1.0">
  <meta http-equiv="X-UA-Compatible" content="ie=edge">
  <title>Document</title>
</head>
<body>

</body>
</html>
把title删掉,再加上style和script就得到了基本的骨架:
<!DOCTYPE html>
<html lang="en">
<head>
  <meta charset="UTF-8">
  <meta name="viewport" content="width=device-width, initial-scale=1.0">
  <meta http-equiv="X-UA-Compatible" content="ie=edge">
</head>
<body>

</body>
</html>

<script>
</script>

<style>
</style>
实现导航栏
由于导航栏是静态的,不会随着文章更新而改变,所以直接用HTML写即可。
<row id="header">
  <a id="blogTitle" href="." style="width: 100%;"></a>
  <a href="https://www.github.com/u9u/minimal-blog-tutorial">GitHub</a>
  <a href="mailto:u9uwen@gmail.com" title="u9uwen@gmail.com">Email</a>
</row>
这里把blogTitle博客标题留空是为了方便之后动态设置,然后是相关的CSS:
  body {
    max-width: 43em;
    margin: .5em auto;
    padding: 0 .5em;
  }
  row {
    display: flex;
  }
  #header {
    padding: .5em 1em;
  }
  #header a {
    display: inline-block;
    text-decoration: none;
    padding: .5em;
  }
  #header, #content {
    box-shadow: 0 0.175em 0.5em rgba(2, 8, 20, .1), 0 0.085em 0.175em rgba(2, 8, 20, .08);
  }
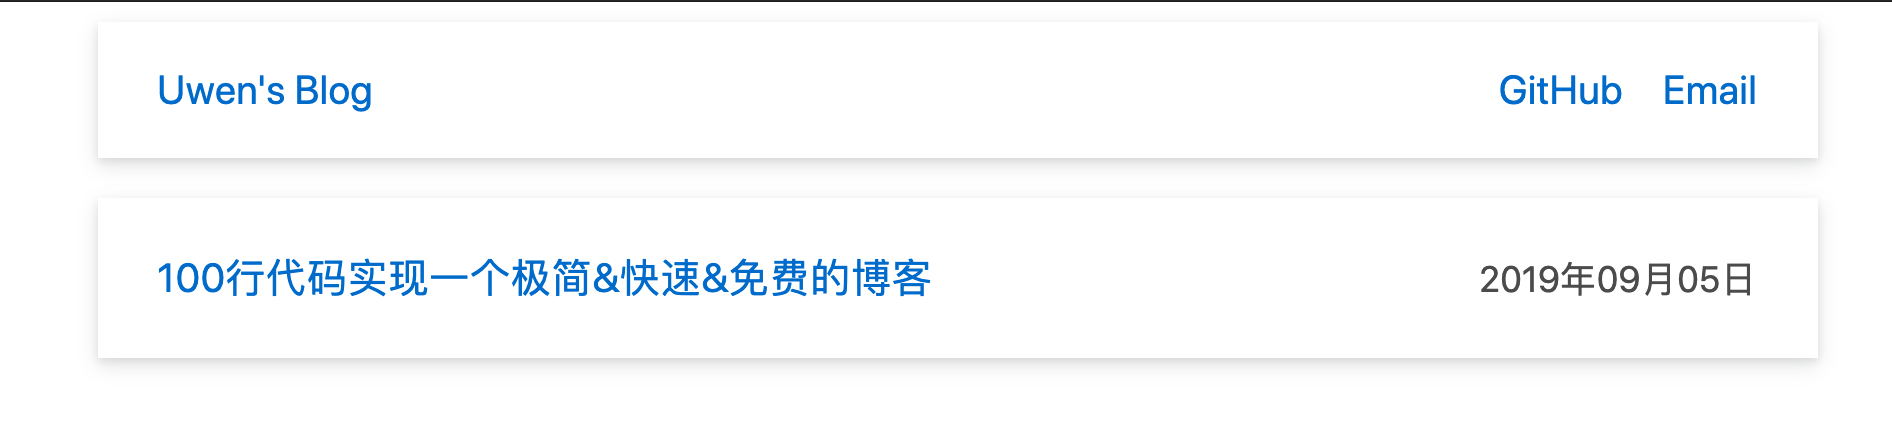
效果如下(补充了标题之后):

实现文章列表
类似GitBook或者VuePress之类的工具往往需要自己声明一个”目录”来提供文章列表,而这里通过把博文都存在一个文件夹里面,再在文件名前面加上日期,就可以通过Github的API来获取文章列表: Contents | GitHub Developer Guide
在body HTML后面加上<div id="content">loading...</div>用于显示列表,最终的body标签为:
<body>
  <row id="header">
    <a id="blogTitle" href="/" style="width: 100%;"></a>
    <a href="https://www.github.com/u9u/minimal-blog-tutorial">GitHub</a>
    <a href="mailto:u9uwen@gmail.com" title="u9uwen@gmail.com">Email</a>
  </row>
  <div id="content">loading...</div>
</body>
设置基本的变量,方便以后需要的话做修改:
  blogTitle = "Uwen's Blog"
  repoPath = 'qiubaiying/qiubaiying.github.io'
  postPath = '_posts'
  content = document.querySelector('#content')
这里由于posts里面还没有文章,而且也还没上传到github,所以我就在github搜了个把文章存在一个文件夹里的项目(qiubaiying/qiubaiying.github.io)用于测试,这样就不用自己去mock初始数据。
定义一个renderPostList函数,先检查localStorage是否有缓存,然后调用Github API获取文件夹的JSON列表,取出列表里的name(文件名),拆分出日期和文章标题,最后转成HTML string并设置到content.innerHMTL和localStorage里做缓存:
  function renderPostList (){
    document.title = blogTitle
    if(localStorage.postListHTML) content.innerHTML = localStorage.postListHTML
    fetch(`https://api.github.com/repos/${repoPath}/contents/${postPath}`)
      .then(a => a.json())
      .then( posts => {
        let rows = posts.map( ({name}) => {
          let [year, month, day, ...rest] = name.split('-')
          let date = year + '年' + month + '月' + day + '日'
          let title = rest.join('-').slice(0, -3)
          return `<row>
            <a href="?${name}">${title}</a>
            <date>${date}</date>
          </row>`
        })
        content.innerHTML = `<postlist>${rows.reverse().join('')}</>`
        localStorage.postListHTML = content.innerHTML
      })
  }
补充相应的列表CSS:
  #content {
    margin: 1em 0;
    padding: .5em 1em;
  }
  postlist row {
    justify-content: space-between;
    align-items: center;
    padding: 0.8em .5em;
    border-bottom: .5px solid #ddd;
  }
  postlist row:last-child {
    border: none;
  }
  date {
    color: #555;
    white-space: nowrap;
    font-size: .9em;
  }
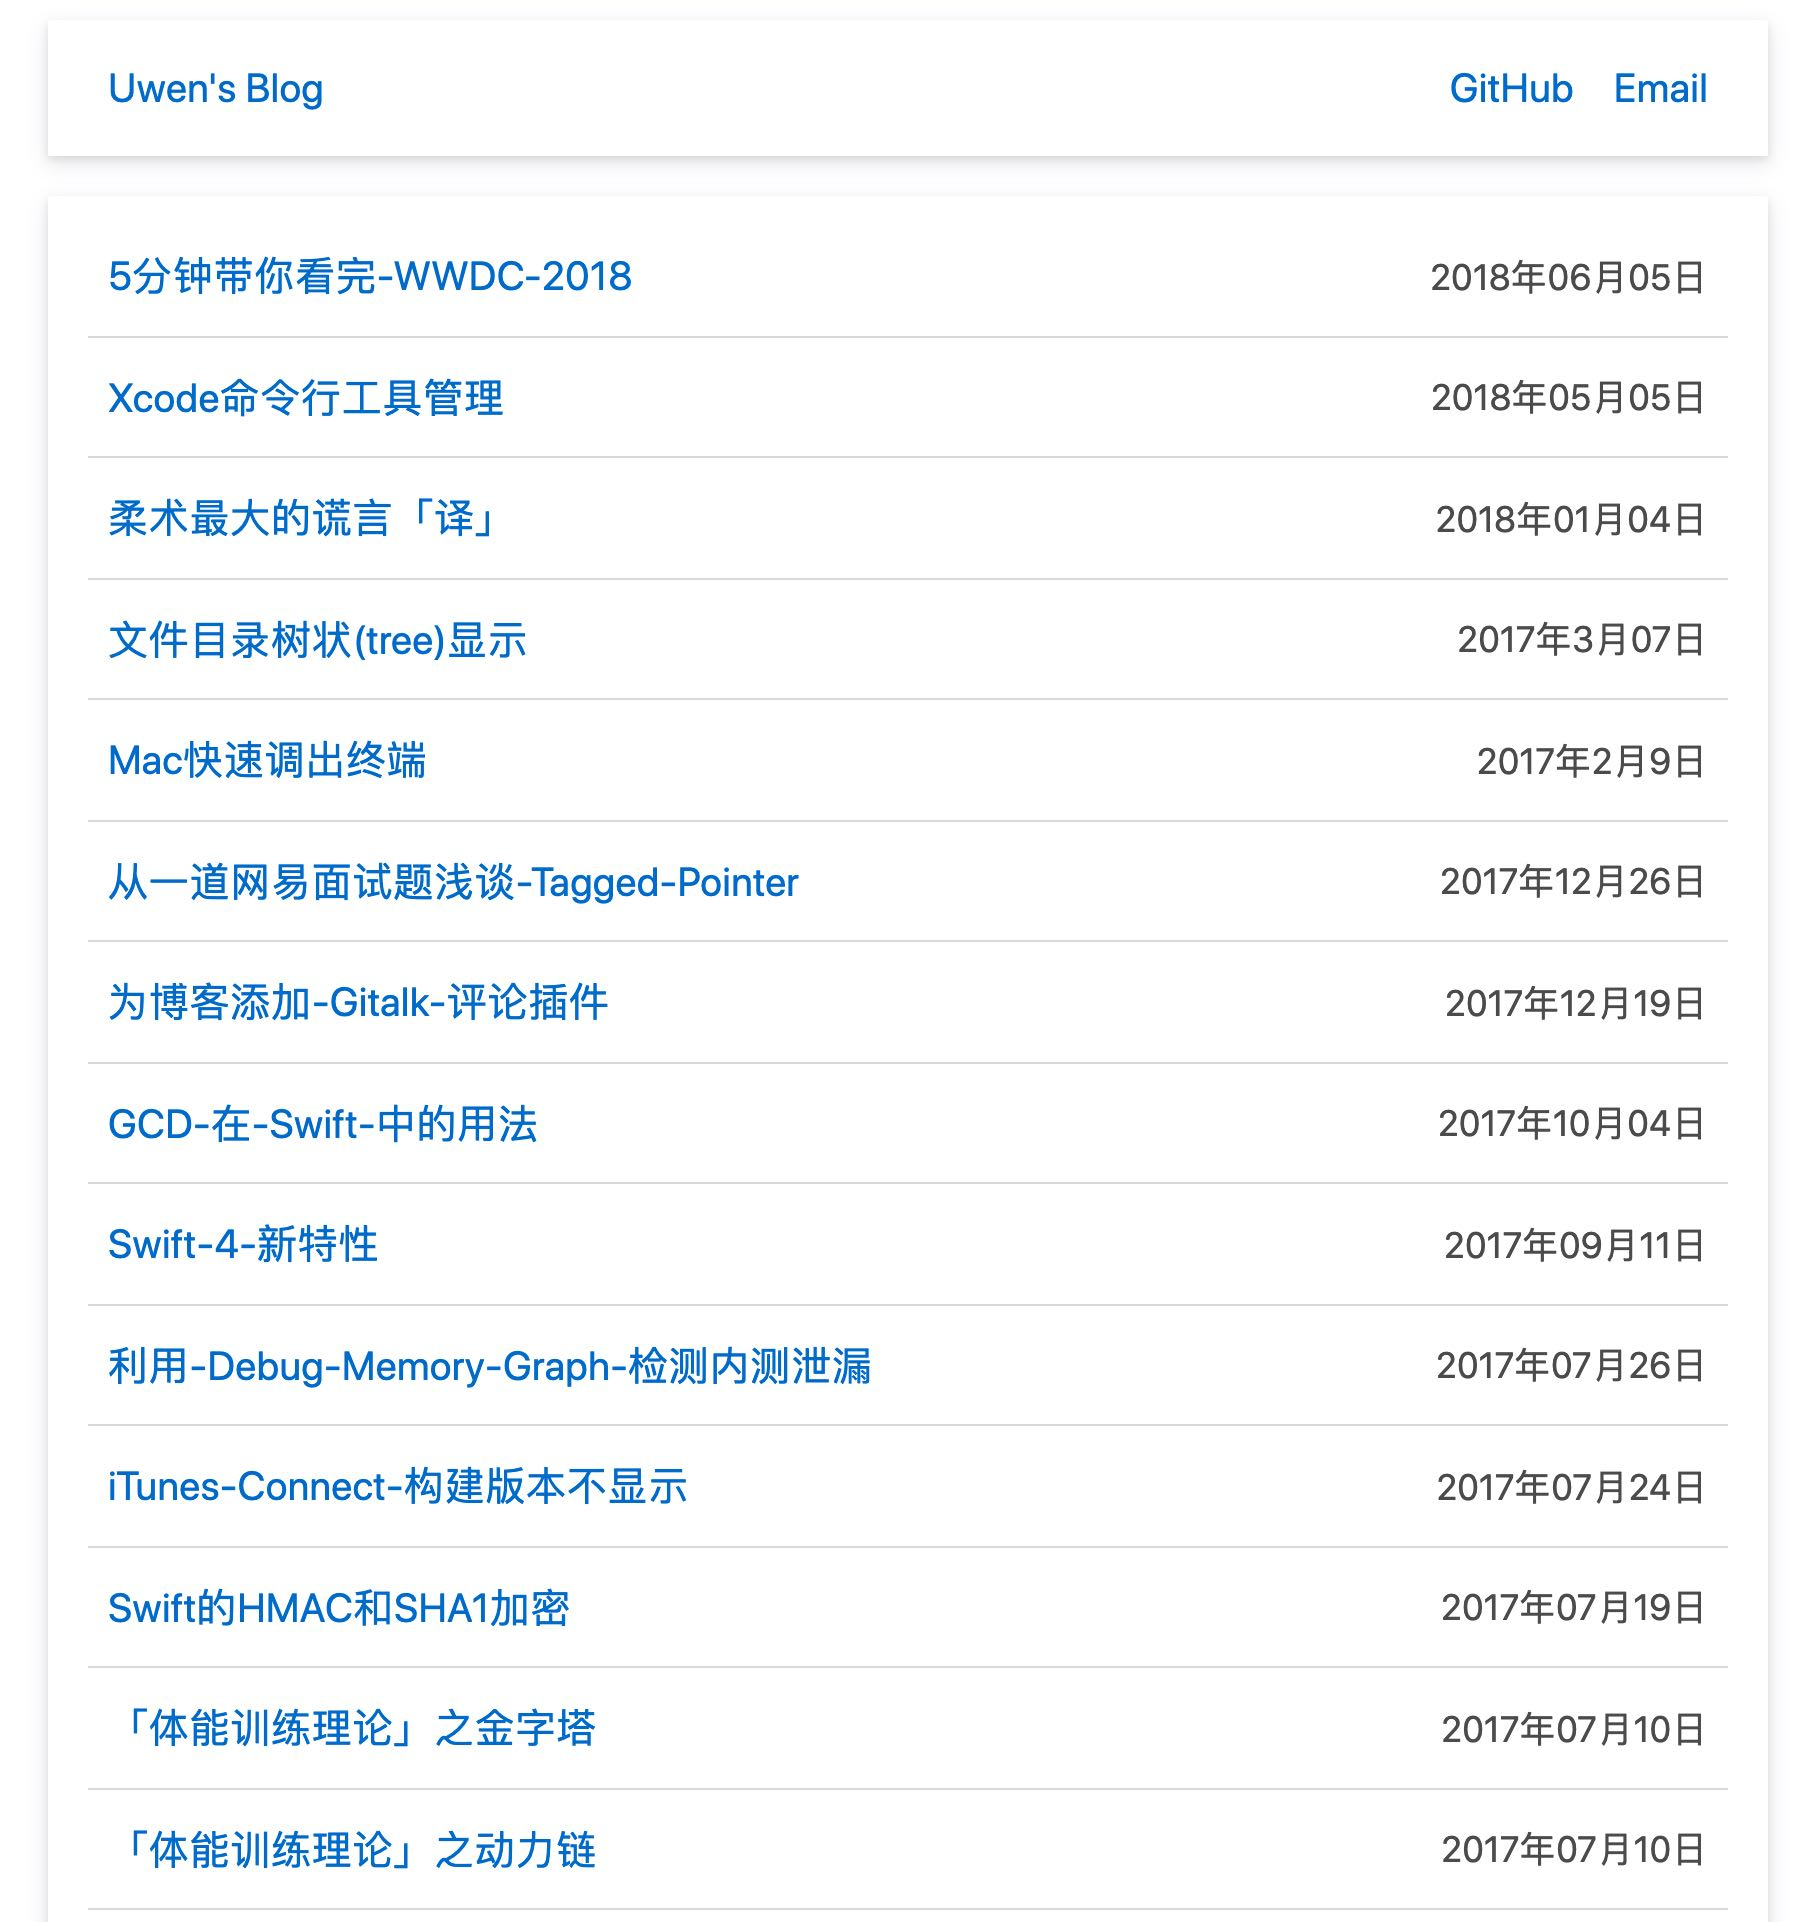
直接执行renderPostList()后效果如下,初次访问需要一点时间加载,之后会先加载缓存再更新获取到的内容:
实现文章内容
之前在获取文章列表的时候得到了文件名name,这时就可以根据文件名访问Github源文件地址: https://raw.githubusercontent.com/${repoPath}/master/${postPath}/${name},获取到Markdown文件内容。
定义一个renderPostContent函数,通decodeURIComponent(location.search.slice(1))得到文件名,设置成title,检查缓存,然后访问源文件地址得到markdown,借助marked.js把markdown解析成HTML,设置到content.innerHMTL和localStorage里做缓存,如果出错就执行renderPostList():
function renderPostContent() {
    let name = decodeURIComponent(location.search.slice(1))
    document.title = name + ' - ' + blogTitle
    if (localStorage[name]) content.innerHTML = localStorage[name]
    fetch(`https://raw.githubusercontent.com/${repoPath}/master/${postPath}/${name}`)
      .then(r => r.text())
      .then(md => content.innerHTML = localStorage[name] = marked(md))
      .catch(error => renderPostList())
  }
CSS部分则是借助water.css,引用CDN后最终的head标签为:
<head>
  <meta charset="UTF-8">
  <meta name="viewport" content="width=device-width, initial-scale=1.0">
  <meta http-equiv="X-UA-Compatible" content="IE=edge">
  <script src="https://cdn.jsdelivr.net/npm/marked@0/lib/marked.min.js"></script>
  <link rel="stylesheet" href="https://cdn.jsdelivr.net/gh/kognise/water.css@latest/dist/light.min.css">
</head>
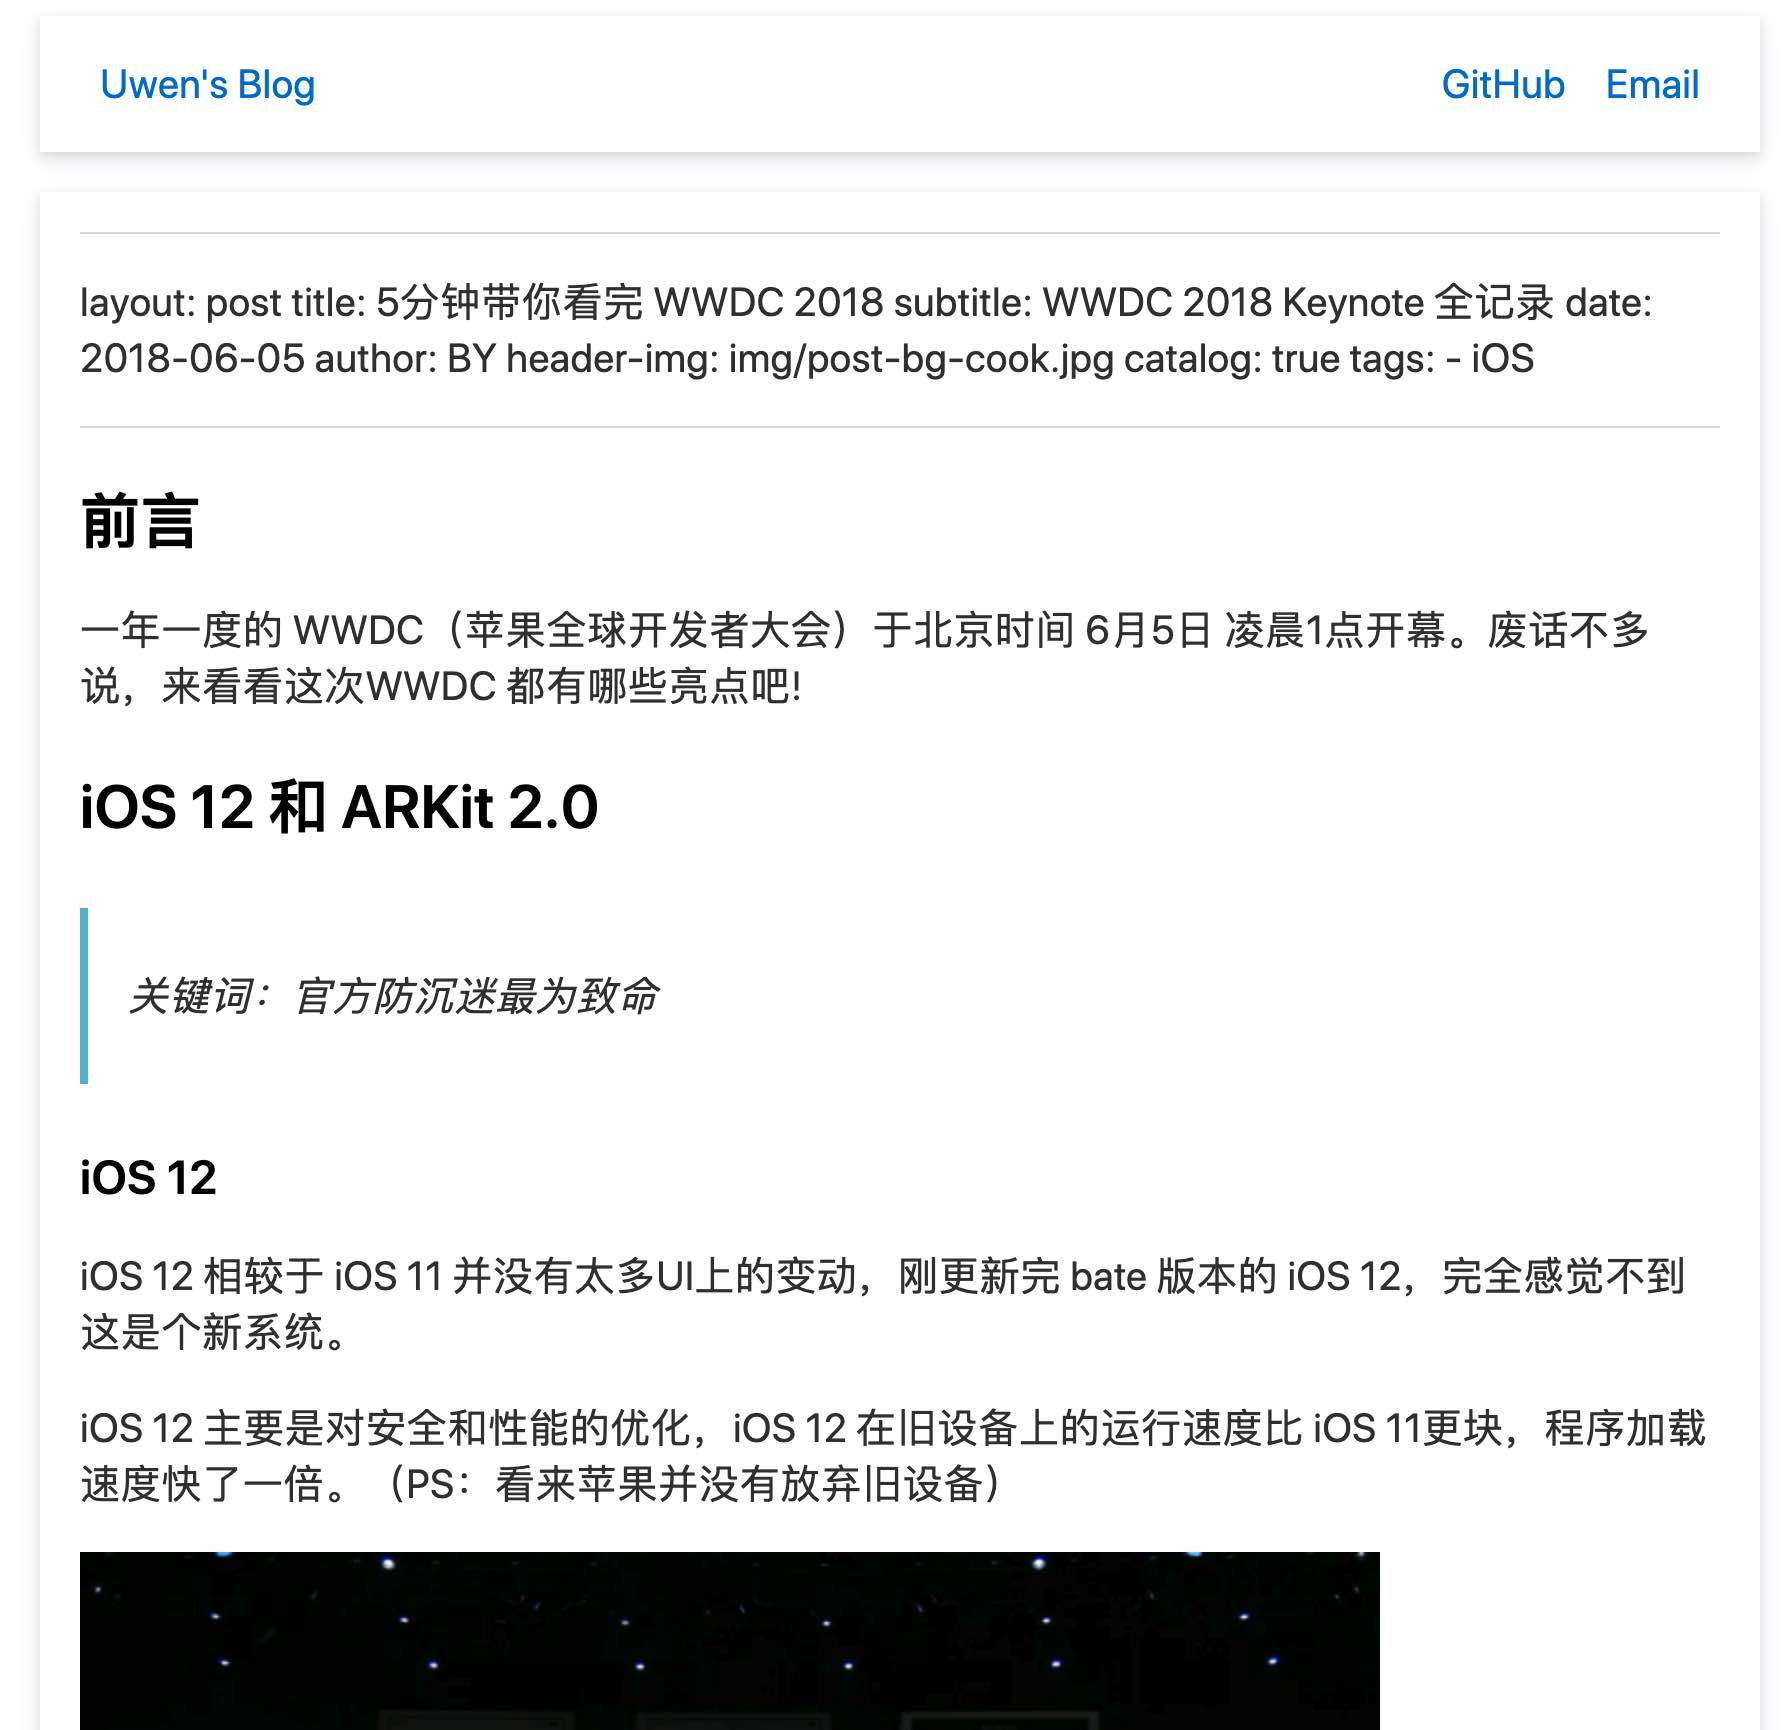
最后的文章内容效果如下:
实现路由
由于没有后端服务器无法实现动态路由,通常的做法是使用hashbag/#/...,但这样#本来的定位id的功能就失效了,而且不会自动刷新页面,所以我选择用querystring?/…来实现。
载入网页后先检查网址是否包含querystring,有的话就调用renderPostContent,没有就调用renderPostList:
if(location.search) renderPostContent()
else renderPostList()
最终的script标签为:
<script>
  blogTitle = "Uwen's Blog"
  repoPath = 'qiubaiying/qiubaiying.github.io'
  postPath = '_posts'
  content = document.querySelector('#content')

  document.querySelector('#blogTitle').innerText = blogTitle
  if(location.search) renderPostContent()
  else renderPostList()

  function renderPostList (){
    document.title = blogTitle
    if(localStorage.postListHTML) content.innerHTML = localStorage.postListHTML
    fetch(`https://api.github.com/repos/${repoPath}/contents/${postPath}`)
      .then(a => a.json())
      .then( posts => {
        let rows = posts.map( ({name}) => {
          let [year, month, day, ...rest] = name.split('-')
          let date = year + '年' + month + '月' + day + '日'
          let title = rest.join('-').slice(0, -3)
          return `<row>
            <a href="?${name}">${title}</a>
            <date>${date}</date>
          </row>`
        })
        content.innerHTML = `<postlist>${rows.reverse().join('')}</>`
        localStorage.postListHTML = content.innerHTML
      })
  }
  function renderPostContent() {
    let name = decodeURIComponent(location.search.slice(1))
    document.title = name + ' - ' + blogTitle
    if (localStorage[name]) content.innerHTML = localStorage[name]
    fetch(`https://raw.githubusercontent.com/${repoPath}/master/${postPath}/${name}`)
      .then(r => r.text())
      .then(md => content.innerHTML = localStorage[name] = marked(md))
      .catch(error => renderPostList())
  }
</script>
部署
上传之前先把相关地址改成自己的:
<a href="https://www.github.com/u9u/minimal-blog-tutorial">GitHub</a>
<a href="mailto:u9uwen@gmail.com" title="u9uwen@gmail.com">Email</a>
repoPath = 'u9u/minimal-blog-tutorial'
postPath = 'posts'
在posts里新建一个按照日期-标题的格式新建一个md文件:

提交代码后将项目上传到Github,然后在Settings设置里勾选Github Pages:
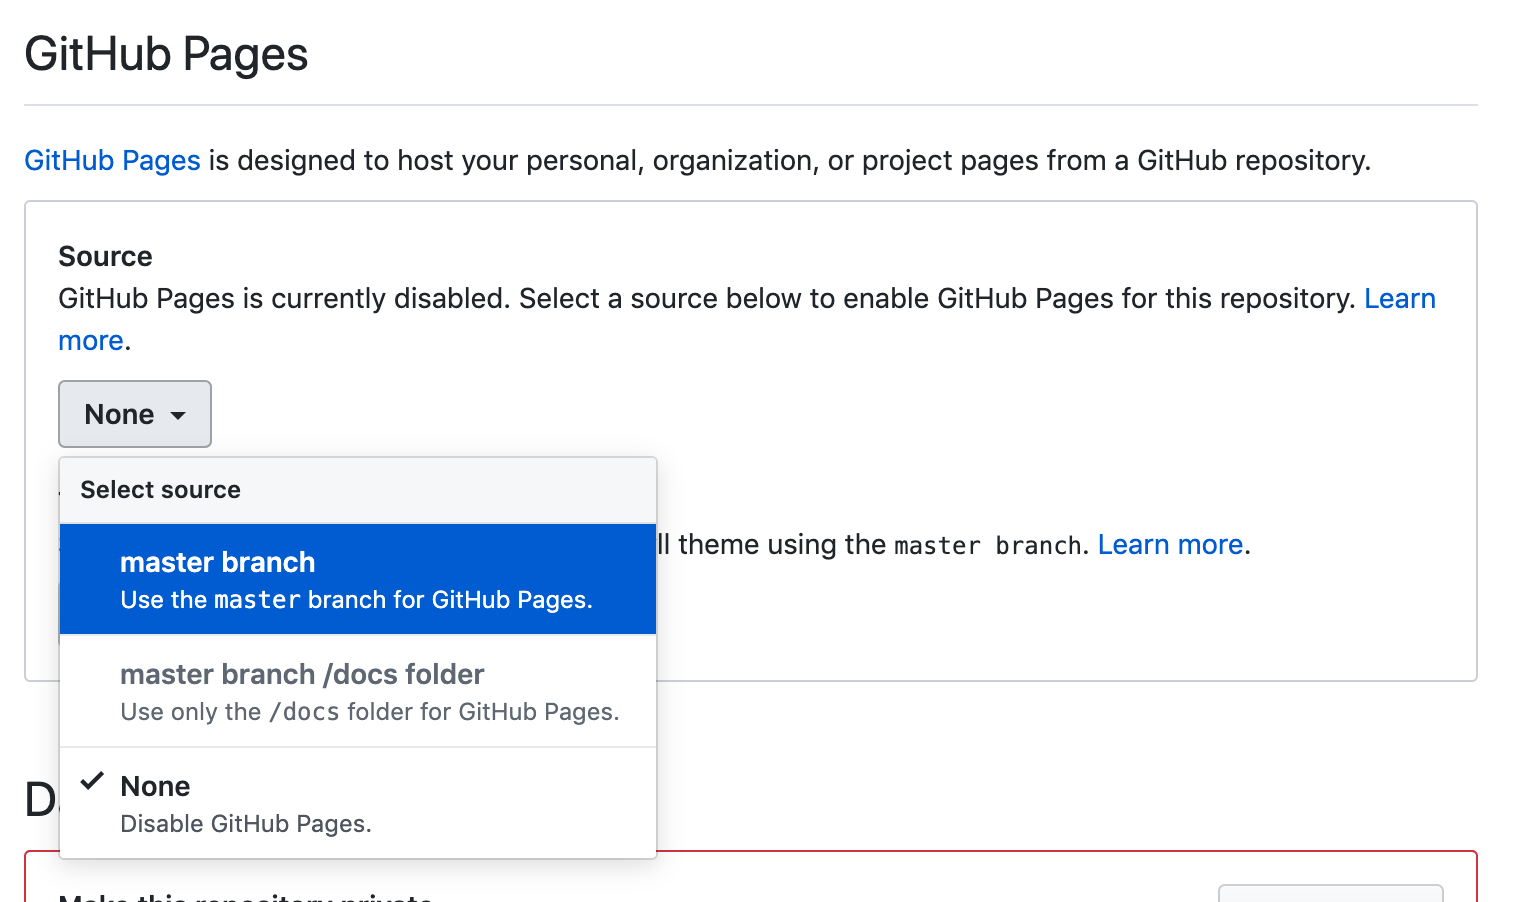
等待一下即可得到一个极简博客:
后续只要把写好的文章存到posts文件夹里,push到github上即可更新博客。
还缺什么
如果看的人越来越多,就可能需要:
- 数据统计
- 用户评论
- SEO
但短期内对于一个还没什么人看的博客来说,还不需要折腾这些,专注写作即可。
