今日份的学习——GraphQL
graplql是一个类似于restful的api查询语言,由Facebook开源,今天我们就来学习一下它。
学无止境,谁让我好蔡啊?!

想法是做一个关于有以下功能的demo
- 书列表
- 书详细信息
- 新增书
- 删除书
说干就干
首先搭建后端服务,使用nodejs+express,数据库选择mlab,是一个免费的线上数据库服务,以学习为目的,快捷方便就好。
首先我们搭建一下基础服务,这里的api见官网,不做解释。

const graphqlHTTP = require('express-graphql');

//定义的数据模板和查询逻辑,见下文
const schema = require('./schema/schema');

app.use(
  //指定api对应的url后缀
  '/graphql',
  graphqlHTTP({
    schema,
    graphiql: true
  })
);

app.listen(4000, () => {
  console.log('now listen on port 4000');
});
在学习graphql的时候,我把它和mongoose作了下类比,mongoose通过new一个Schema作为模板来执行数据库操作,graphql则是通过GraphQLObjectType这个对象来生成一个模板,
具体代码如下:
const BookType = new GraphQLObjectType({
  name: 'Book',
  fields: () => ({
    id: { type: GraphQLID },
    name: { type: GraphQLString },
    genre: { type: GraphQLString },
    author: {
      type: AuthorType,
      resolve(parent, args) {
        return Author.findById(parent.authorId);
      }
    }
  })
});
这里我们生成了一个书的对象

fields的类型可为object或()=>object对应了查询的字段,书拥有
id主键、name名称、genre类型、author作者字段
字段的type指定了字段的类型,类似typescript但是此处的都是由graphql引入的,GraphQLID指的是ID可能是string或number,这里使用ID会接受这两种参数并自动转化为string类型。eg:
假设id在数据库中是string类型,为"233666"
而传入的是233666,我们希望也可以查到
就可以使用"GraphQLID"
会自动转换为"233666"
graphql支持嵌套查询,并且显而易见author会有很多内容,比如姓名,出过的书籍,所以author的type对应的是author对象(详情见下文),resolve能返回一个值、promise、promise数组,也就是数据库操作的返回值。
AuthorType又是什么?
接着生成一个author的对象,和书类似
const AuthorType = new GraphQLObjectType({
  name: 'Author',
  fields: () => ({
    id: { type: GraphQLID },
    name: { type: GraphQLString },
    age: { type: GraphQLInt },
    books: {
      type: new GraphQLList(BookType),
      resolve(parent, args) {
        // return _.filter(books, { authorId: parent.id });
        return Book.find({ authorId: parent.id });
      }
    }
  })
});
一个作者可能有多本书,所以books字段需要返回一个列表GraphQLList,这里定义了一个BookType类型的列表作为type,resolve同理。
有了书和作者的对象我们就来搭建模板,根据官网api,我们需要这样定义
const RootQuery = new GraphQLObjectType({
  name: 'RootQueryType',
  fields: {
    book: {
      type: BookType,
      args: { id: { type: GraphQLID } },
      resolve(parent, args) {
        //从哪里得到数据,比如数据库或其他来源
        //Mongodb mysql postgresql
        return Book.findById(args.id);
      }
    },
    author: {
      type: AuthorType,
      args: { id: { type: GraphQLID } },
      resolve(parent, args) {
        return Author.findById(args.id);
      }
    },
    books: {
      type: new GraphQLList(BookType),
      resolve(parent, args) {
        return Book.find({});
      }
    },
    authors: {
      type: new GraphQLList(AuthorType),
      resolve(parent, args) {
        return Author.find({});
      }
    }
  }
});

module.exports = new GraphQLSchema({
  query: RootQuery,
});
这也就是一开始导入的schema,这里定义了4个查询方法,分别是
- 根据id查询书
- 根据id查询作者
- 查询书列表
- 查询作者列表
现在我们把这个项目启动一下(这里极力推荐nodemon这个库,可以避免修改代码每次重启),
然后访问
http://localhost:4000/graphql
就会出现一个神奇的亚子

不对不对,是这个。
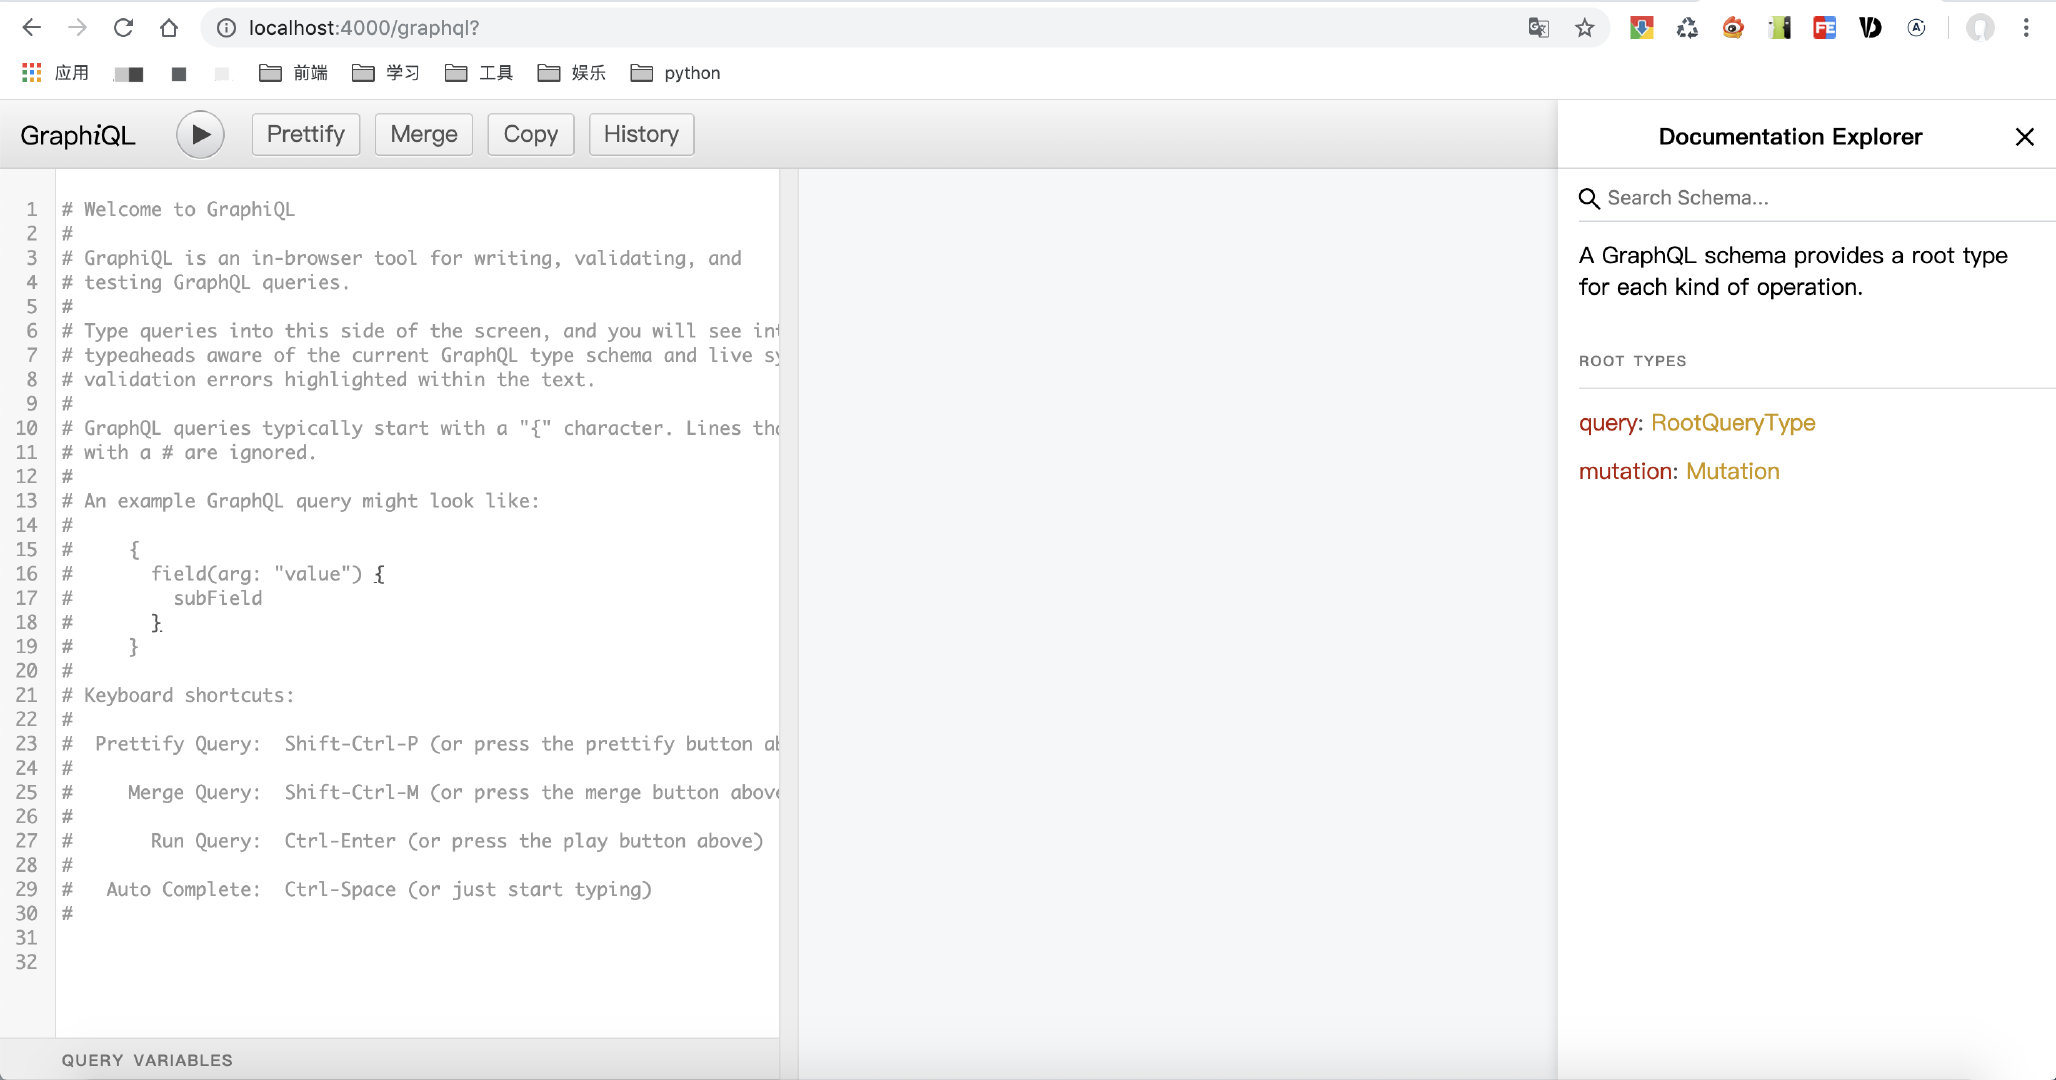
现在我们根据灰色文字提示输入一些查询语句
{
  books{
    name
    id
  }
}
//然后点击左上方运行按钮
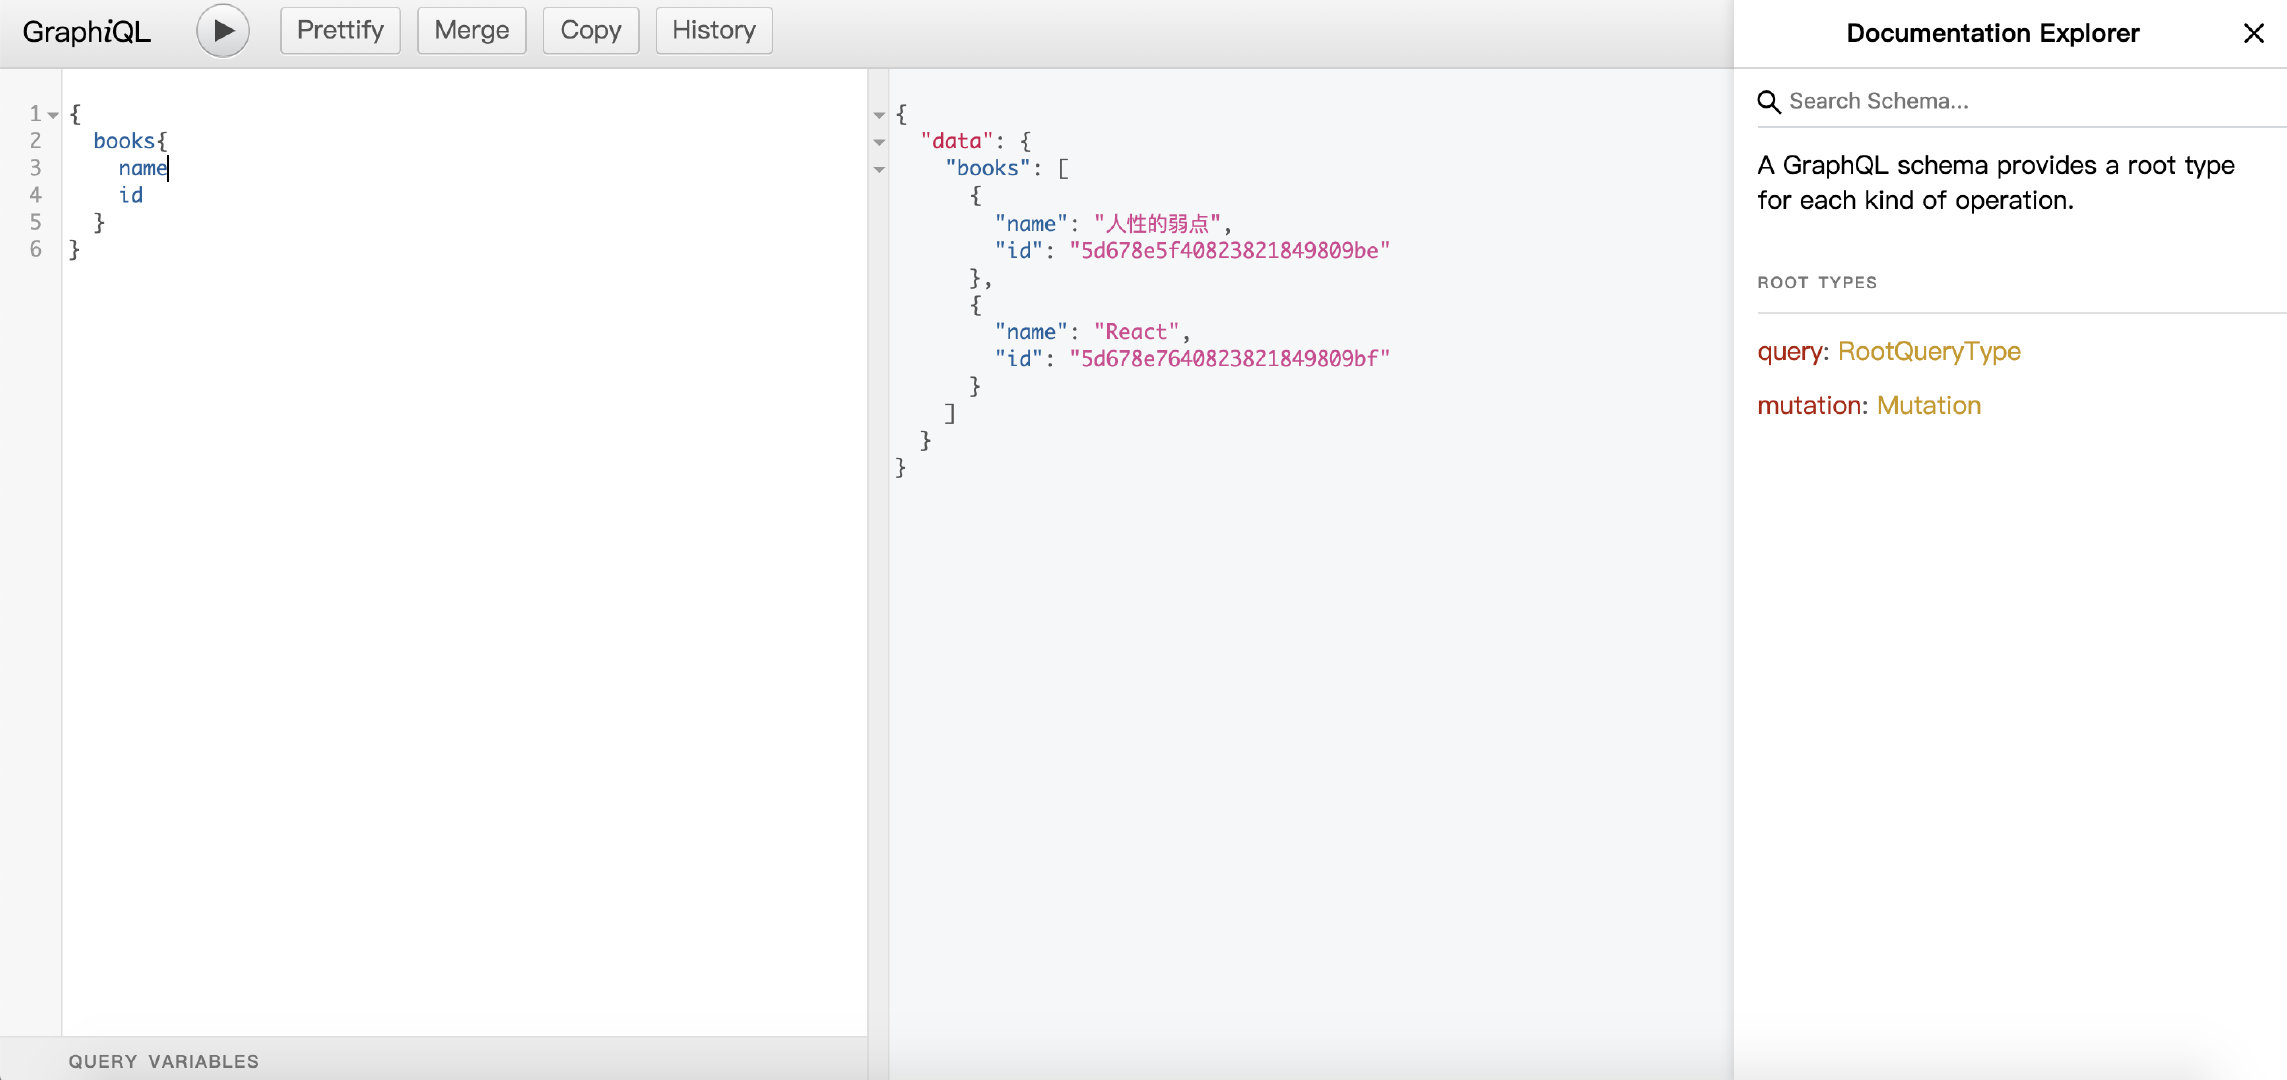
查询成功了,但是这些数据是我手动操作数据库写死的,生产环境这样玩不得被打死?那下节我们学习下如何使用graphql新增修改删除数据。
所有代码都放到了github,如果喜欢,请点个赞。