

前言
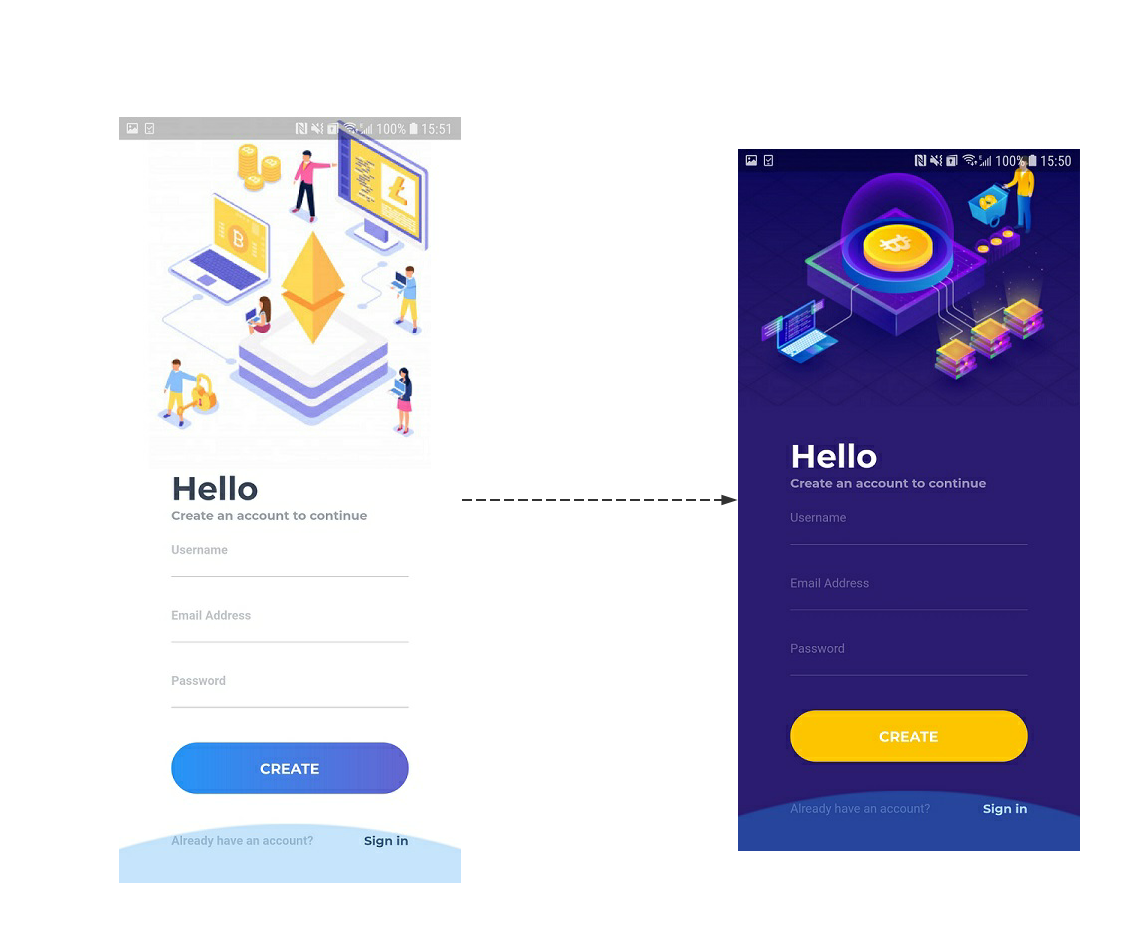
Hello,大家好,又是好久没有水掘金了,我又回来啦!!今天给大家带来得还是一个登录页,不过今天这个登录页又黑又亮,就像这个登录页又白又长,夜间模式相信大家都不陌生,Andrid和iOS得全新版本也马上要支持夜间模式了,所以本篇文章带大家简单粗略得认识下在Flutter中夜间模式怎么实现~
效果
实现思路
说起夜间模式其实并没有什么神奇之处,只不过是资源得替换罢了,最简单得我们可以设置一个变量isDark用来判断是否是夜间模式,如果是则加载夜间资源如果不是则加载日间资源。 不过具体实现起来我们就需要小小得开动下脑筋了
- 我们如何设置一个全局变量
- 我们如何通知组件更新去替换资源
铛铛铛~InheritedWidget来帮你
我们首先来思考第一个问题如何通知组件去更新替换资源,首先我们可以想想简单得两个组件间如何传递数据,我们可以通过构造方法等比较粗暴得传入比如~
class Test {
  var name;
  Test(this.name);
}

class A extends StatelessWidget {
  @override
  Widget build(BuildContext context) {
    return Container(child: B(test: Test('苏武难飞')));
  }
}

class B extends StatelessWidget {
  final Test test;
  const B({Key key, this.test}) : super(key: key);
  @override
  Widget build(BuildContext context) {
    return Text(test.name);
  }
}
easy,但是啊但是,这种简单得传入只适合非常简单得页面逻辑交互时使用,想想一下我们某个页面有七八个甚至于更多组件时,这样传数据简直就是,逻辑地狱呀Flutter得开发团队显然也是意识到这点了所以我们本篇得主角InheritedWidget就该出场了!
InheritedWidget可以做啥鸭?
简而言之,InheritedWidget 允许在 widget 树中有效地向下传播(和共享)信息。 InheritedWidget 是一个特殊的 Widget,它将作为另一个子树的父节点放置在 Widget 树中。该子树的所有 widget 都必须能够与该 InheritedWidget 暴露的数据进行交互。
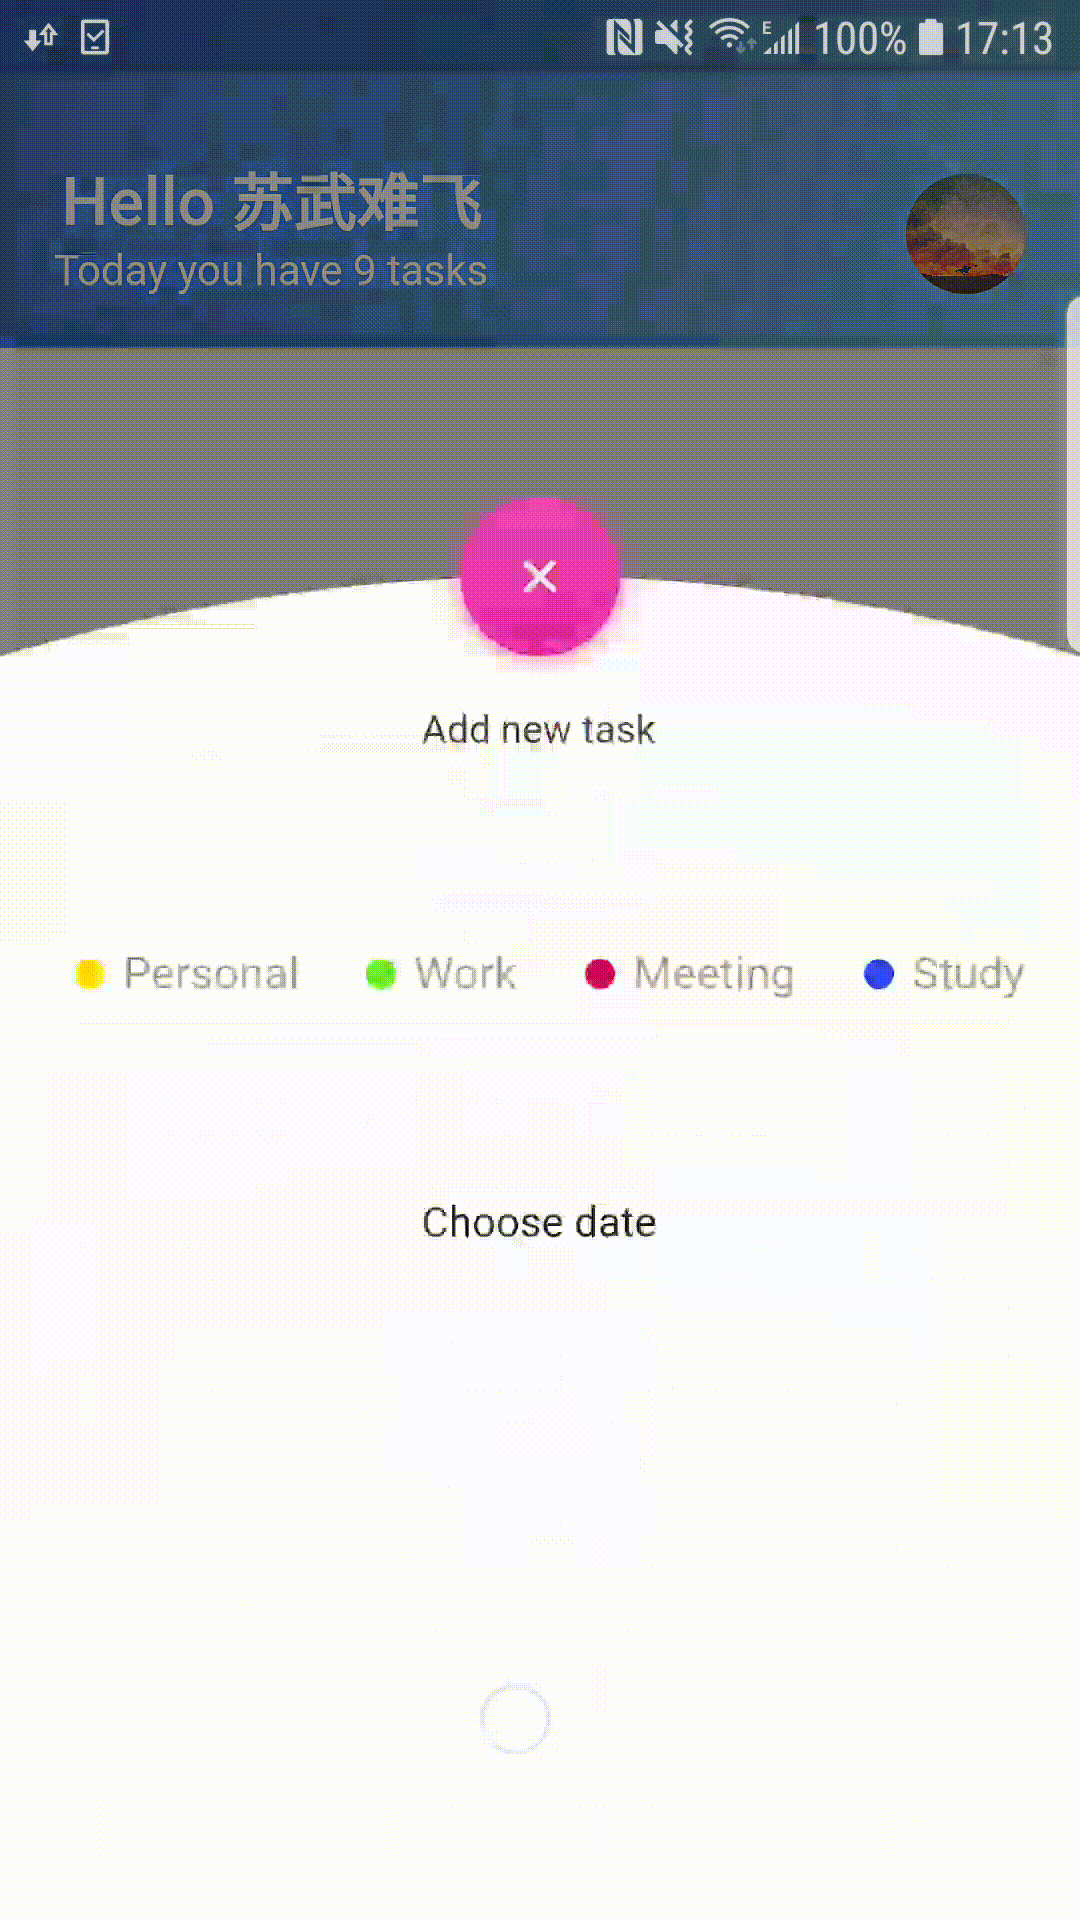
举个🌰子,我们有一个TodoList应用,有一个页面A列表页,有一个B添加页
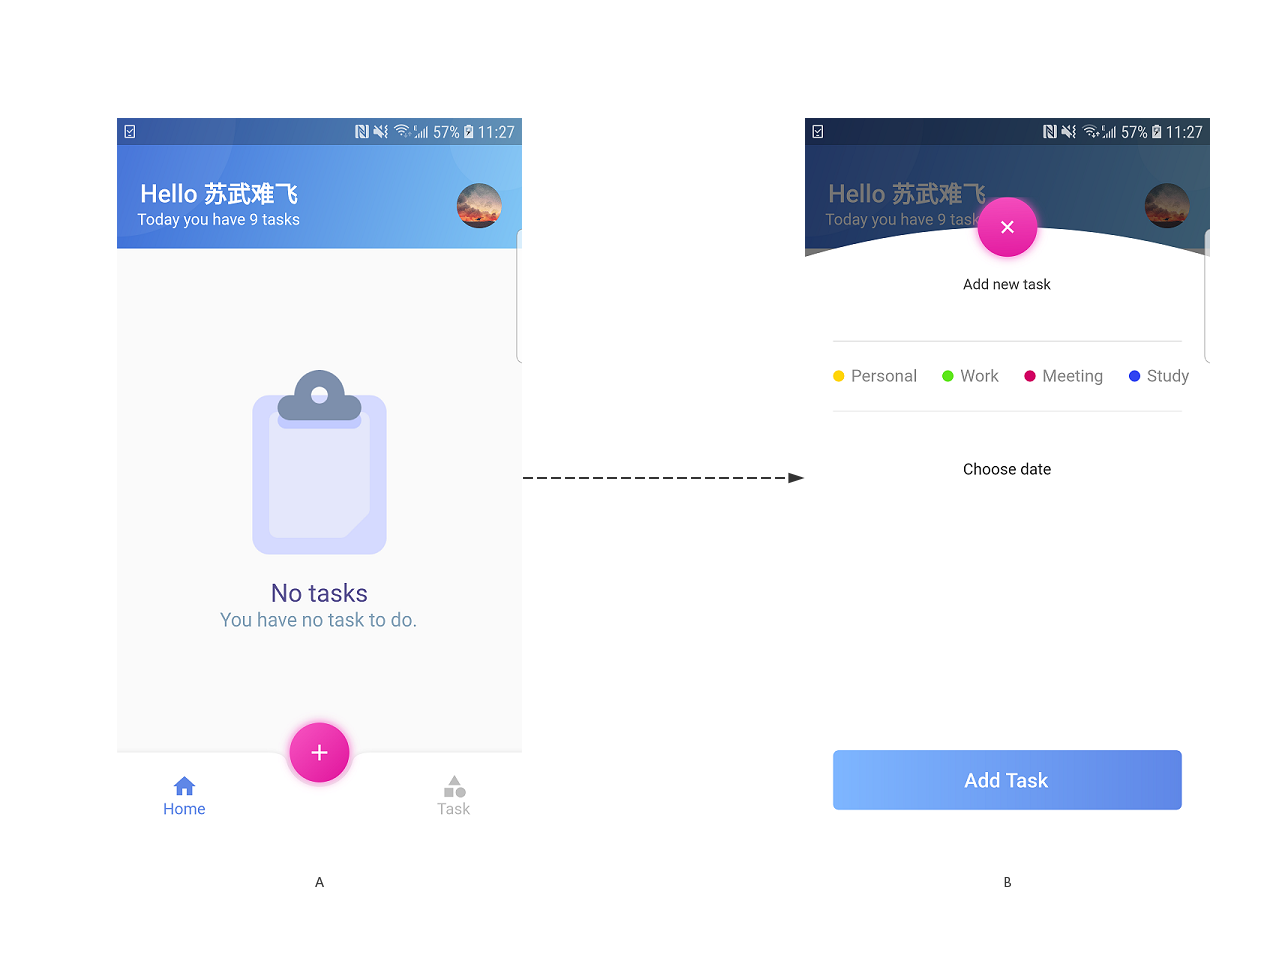
InheritedWidget
InheritedWidget怎样使用
class _TodoInherited extends InheritedWidget {
  _TodoInherited({Key key, @required Widget child, this.data})
      : super(key: key, child: child);

  final TodoState data;

  @override
  bool updateShouldNotify(InheritedWidget oldWidget) {
    return true;
  }
}
非常简单,InheritedWidget得特殊性在于它作为一个树节点其所有得子节点都可以能够与该InheritedWidget暴露得数据进行交互。又由于要使用InheritedWidget得时候我们的数据大部分都是需要动态改变得,So,我们势必要使用StatefulWidget,那么我们得完整代码就应该如下:
class Todo {
  String title;

  Todo(this.title);

}

class _TodoInherited extends InheritedWidget {
  _TodoInherited({Key key, @required Widget child, this.data})
      : super(key: key, child: child);

  final TodoState data;

  @override
  bool updateShouldNotify(InheritedWidget oldWidget) {
    return true;
  }
}

class TodoWidget extends StatefulWidget {
  final Widget child;

  TodoWidget({Key key, this.child}) : super(key: key);

  static TodoState instanceOf(BuildContext context) {
    _TodoInherited inherited = (context
        .inheritFromWidgetOfExactType(_TodoInherited) as _TodoInherited);
    return inherited.data;
  }

  @override
  State<StatefulWidget> createState() => TodoState();
}

class TodoState extends State<TodoWidget> {
  List<Todo> _todoList = [];

  List<Todo> get todoList => _todoList;

  void addTodo(String title) {
    setState(() {
      _todoList.add(Todo(title));
    });
  }

  @override
  Widget build(BuildContext context) {
    // TODO: implement build
    return new _TodoInherited(child: widget.child, data: this);
  }
}
Todo作为我们得数据模型保存在TodoState中_TodoInherited中保存TodoState得引用,方便调用获取Todo_TodoInherited中的updateShouldNotify方法是用来判断是否更新重建TodoWidget中的instanceOf方法是用来获取TodoState方便获取其中的数据instanceOf中的context.inheritFromWidgetOfExactType是用来注册绑定InheritedWidget
所以我们的完整业务代码应该如下:
void main() {
  runApp(TodoWidget(child: MyApp()));
}

class MyApp extends StatelessWidget {
  @override
  Widget build(BuildContext context) {
    return MaterialApp(
        title: 'TodoList', debugShowCheckedModeBanner: false, home: HomePage());
  }
}

class HomePage extends StatelessWidget {

  Widget buildEmpty() {
    return ...;
  }

  Widget buildList(List<Todo> list) {
    return ...;
  }

  @override
  Widget build(BuildContext context) {
    List<Todo> list = TodoWidget.instanceOf(context).todoList;
    return list.isEmpty ? buildEmpty() : buildList(list);
  }

}

class AddTaskPage extends StatelessWidget {

  final controller = TextEditingController();

  void closeTask(BuildContext context) {
    Navigator.pop(context);
  }

  Widget getTextField() {
    return TextField(controller: controller);
  }

  @override
  Widget build(BuildContext context) {
    return onTap: () {
      TodoWidget.instanceOf(context).addTodo(controller.text);
      closeTask(context);
    }
  }
}
说了这么多,夜间模式呢!!
相信大家理解了上面的内容对于夜间模式的实现应该也是胸中有竹子啦~我这边介绍一个实现方法
class _CustomTheme extends InheritedWidget {
  final CustomThemeState data;

  _CustomTheme({this.data, Key key, @required Widget child})
      : super(key: key, child: child);

  @override
  bool updateShouldNotify(InheritedWidget oldWidget) {
    // TODO: implement updateShouldNotify
    return true;
  }
}

class CustomTheme extends StatefulWidget {
  final Widget child;
  final MyThemeKeys initialThemeKey;

  const CustomTheme({Key key, this.initialThemeKey, this.child})
      : super(key: key);

  @override
  CustomThemeState createState() => CustomThemeState();

  static ThemeModel of(BuildContext context) {
    _CustomTheme inherited =
        (context.inheritFromWidgetOfExactType(_CustomTheme) as _CustomTheme);
    return inherited.data.theme;
  }

  static CustomThemeState instanceOf(BuildContext context) {
    _CustomTheme inherited =
        (context.inheritFromWidgetOfExactType(_CustomTheme) as _CustomTheme);
    return inherited.data;
  }
}

class CustomThemeState extends State<CustomTheme> {
  ThemeModel _model;

  ThemeModel get theme => _model;

  @override
  void initState() {
    _model = MyThemes.getThemeFromKey(widget.initialThemeKey);
    super.initState();
  }

  void changeTheme(MyThemeKeys themeKey) {
    print(themeKey);
    setState(() {
      _model = MyThemes.getThemeFromKey(themeKey);
    });
  }

  @override
  Widget build(BuildContext context) {
    return _CustomTheme(data: this, child: widget.child);
  }
}

enum MyThemeKeys { LIGHT, DARK }

class MyThemes {
  static final ThemeModel lightTheme = ThemeModel(
      imageUrl: 'assets/images/banner.png',
      backgroundColor: Color(0xffffffff),
      titleColor: Color(0xff3C4859),
      borderColor: Colors.black.withOpacity(0.3),
      isDark: false);

  static final ThemeModel darkTheme = ThemeModel(
      imageUrl: 'assets/images/banner_dark.png',
      backgroundColor: Color(0xff2B1C71),
      titleColor: Color(0xffffffff),
      borderColor: Colors.white.withOpacity(0.3),
      isDark: true);

  static ThemeModel getThemeFromKey(MyThemeKeys themeKey) {
    switch (themeKey) {
      case MyThemeKeys.LIGHT:
        return lightTheme;
      case MyThemeKeys.DARK:
        return darkTheme;
      default:
        return lightTheme;
    }
  }
}

void main() {
  runApp(CustomTheme(initialThemeKey: MyThemeKeys.LIGHT, child: MyApp()));
}

class MyApp extends StatelessWidget {
  Widget build(BuildContext context) {
    return MaterialApp(
        title: 'Flutter Demo',
        debugShowCheckedModeBanner: false,
        home: HomePage());
  }
}
然后我们字体或者颜色等可以直接从ThemeModel中获取,但是有一些比较特殊的情况可能需要特殊处理时,Flutter也能非常优雅方便的处理,比如:
 Widget build(BuildContext context) {
    String image = CustomTheme.of(context).imageUrl;
    bool isDark = CustomTheme.of(context).isDark;
    Widget child = isDark
        ? Padding(...)
        : Padding(...);
    return child;
  }
Ok,至此我们的夜间模式也算是实现了~

后记
本篇依然是一个非常简单的内容分享,但是InheritedWidget是一个非常实用好用的组件,希望大家都熟练掌握!!登录页系列还在继续,请大家敬请期待吧~
距离掘金社区50个赞还差7个!!
