

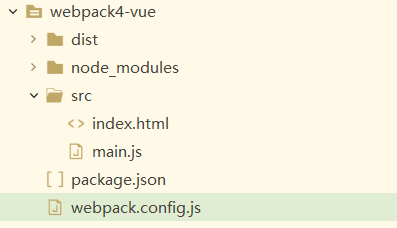
创建练习项目的目录结构
cnpm install webpack webpack-cli html-webpack-plugin -D
cnpm i vue -S
webpack.config.js的代码如下
const path = require('path');
const HtmlWebpackPlugin = require('html-webpack-plugin');

module.exports = {
	entry:  {
        app: './src/main.js'
    },
	output: {
		filename: '[name].bundle.js',
		path: path.resolve(__dirname, 'dist')
	},
	devServer:{
		port:3000,
		contentBase:'./dist',
		progress:true
	},
	mode:'development',

	 plugins: [
	        new HtmlWebpackPlugin({
	            title: 'webpack-vue',   // 生成的HTML文件的标题
	            template: './src/index.html'  // 使用的模板路径
	        })
	    ]

}
package.json的代码如下
{
  "name": "webpack4-vue",
  "version": "1.0.0",
  "description": "",
  "main": "main.js",
  "scripts": {
    "test": "echo \"Error: no test specified\" && exit 1",
    "build": "webpack --config webpack.config.js",
    "start": "webpack-dev-server --open"
  },
  "keywords": [],
  "author": "",
  "license": "ISC",
  "devDependencies": {
    "html-webpack-plugin": "^3.2.0",
    "webpack": "^4.39.2",
    "webpack-cli": "^3.3.7"
  },
  "dependencies": {
    "vue": "^2.6.10"
  }
}
main.js的代码如下
import Vue from '../node_modules/vue/dist/vue.js'

var vm=new Vue({
	el:'#app',
	data:{
		msg:123
	}
})
src/index.html的代码如下
<!DOCTYPE html>
<html>
	<head>
		<meta charset="utf-8">
		<title></title>
	</head>
	<body>
		<div id="app">
			{{msg}}
		</div>
	<script type="text/javascript" src="app.bundle.js"></script></body>
</html>
运行命令
cnpm run start
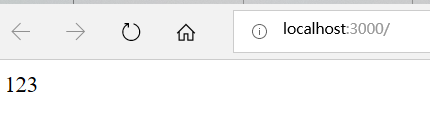
浏览器运行结果如下
main.js中正确引入(import)vue包三种方式
第一种方式
在main.js中这样引入
import Vue from 'vue'
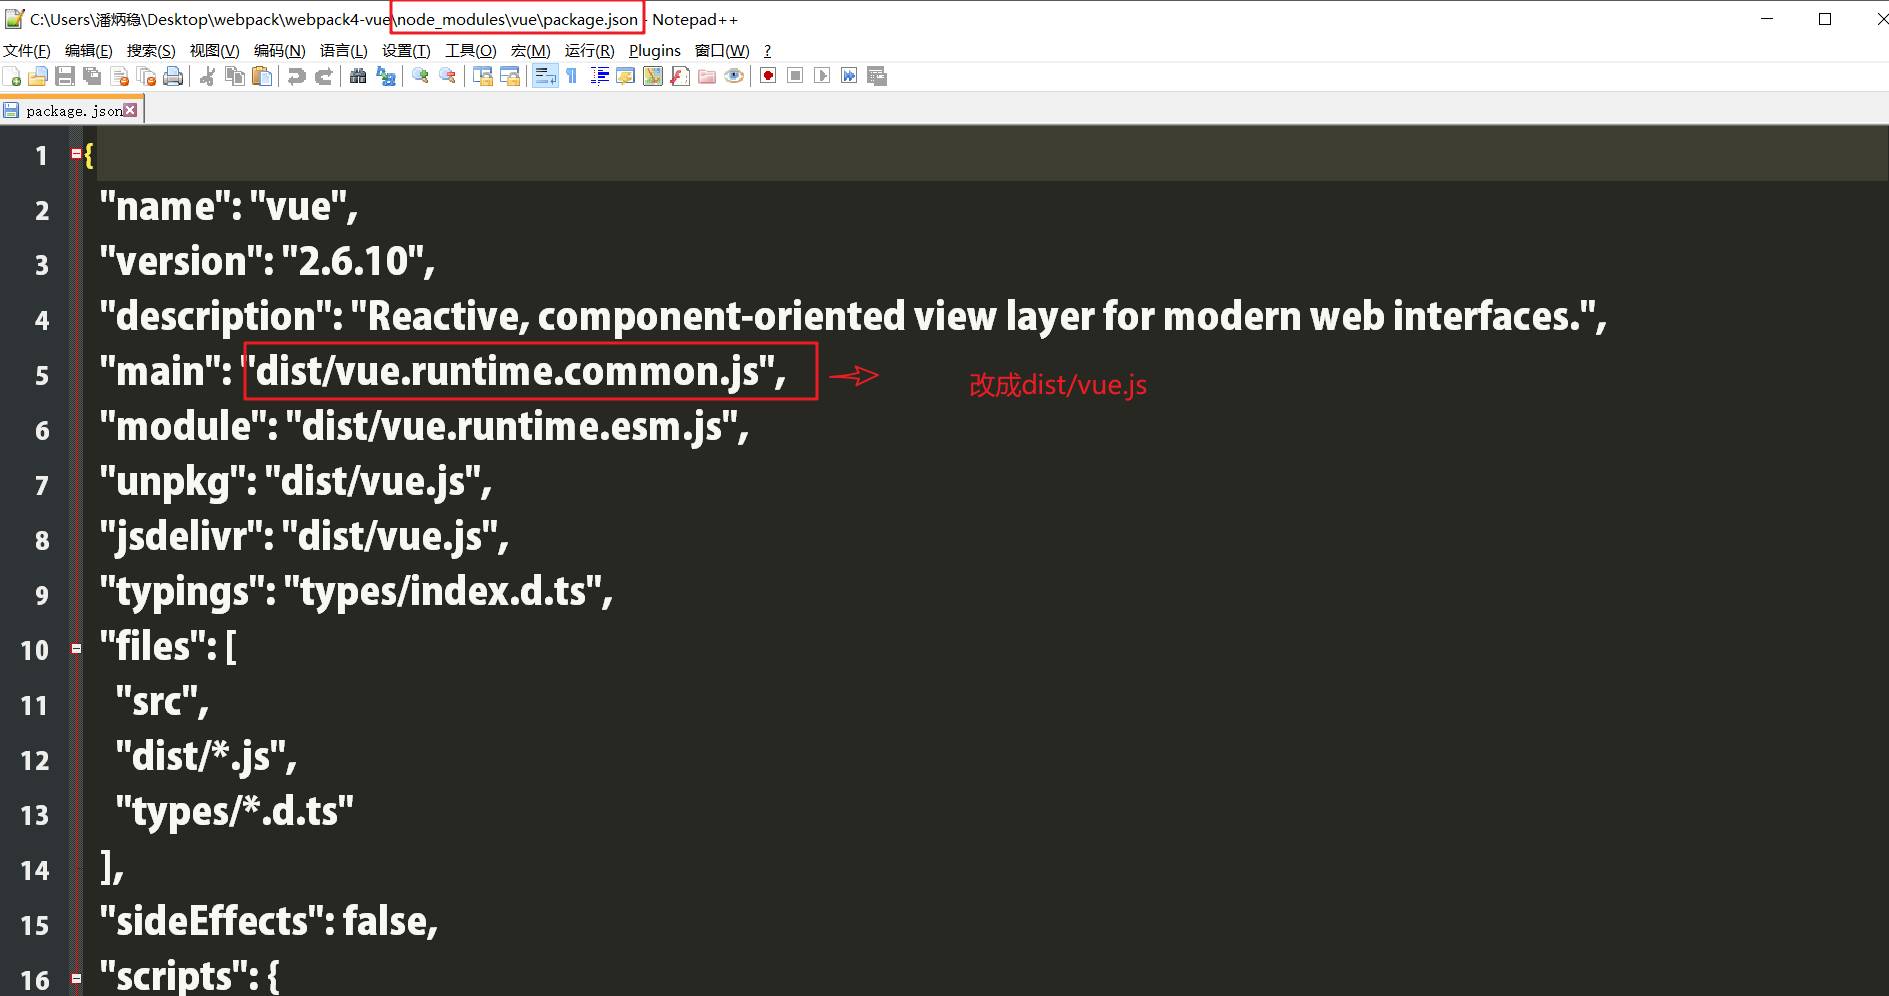
修改node_modules\vue\package.json文件
在main.js中这样引入
import Vue from 'vue'
在webpack.config.js的module.exports中加入如下代码
resolve:{
			alias:{
				"vue$":"vue/dist/vue.js"
			}
		}
第三种方式
在main.js中这样引入
import Vue from '../node_modules/vue/dist/vue.js'
