
说明
目前互联网公司,大部分项目都是基于分布式,一个项目被拆分成几个小项目,这些小项目会分别部署在不同的计算机上面,这个叫做微服务。当一台计算机的程序需要调用另一台计算机代码的时候,就涉及远程调用。此时dubbo就粉末登场了。
搭建工程

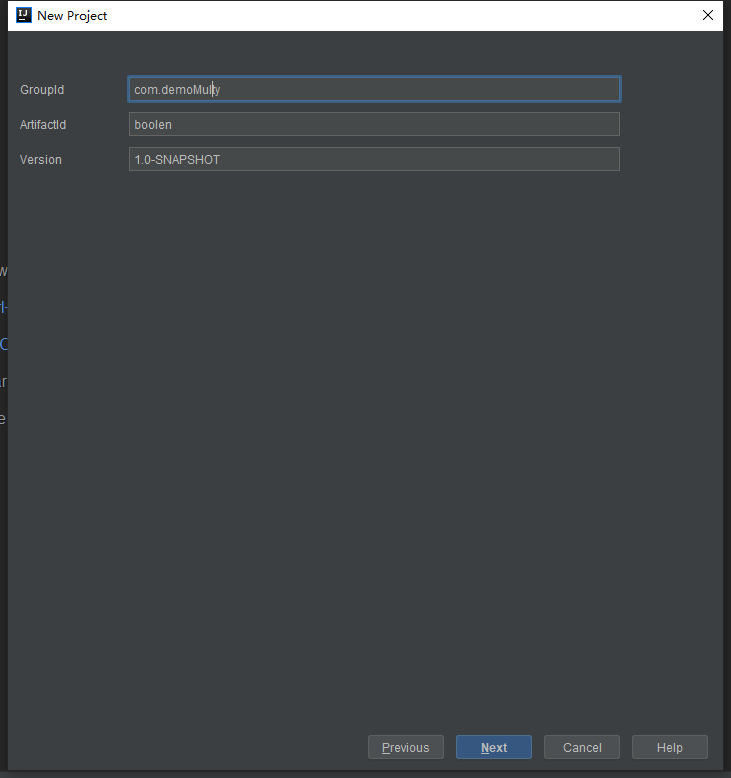
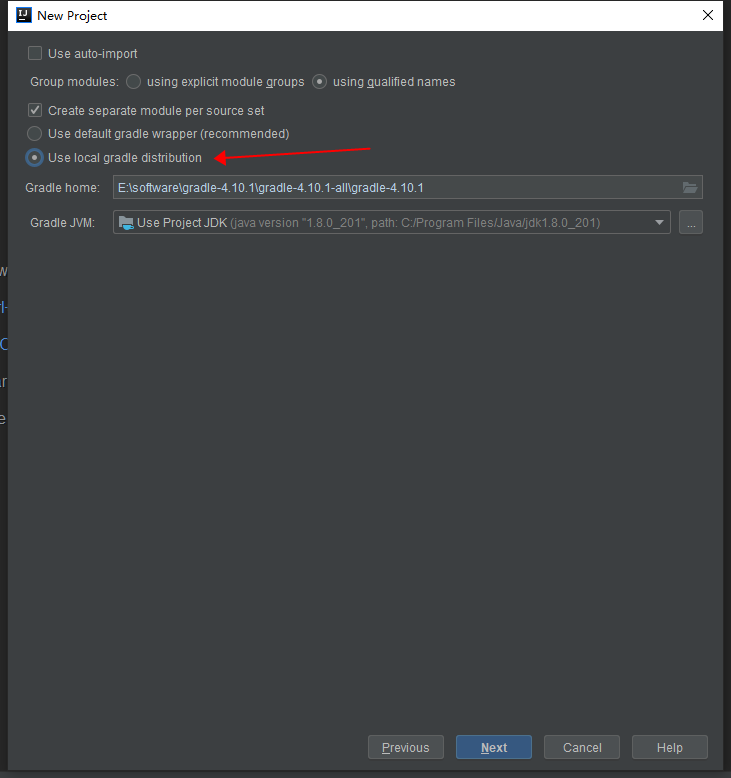
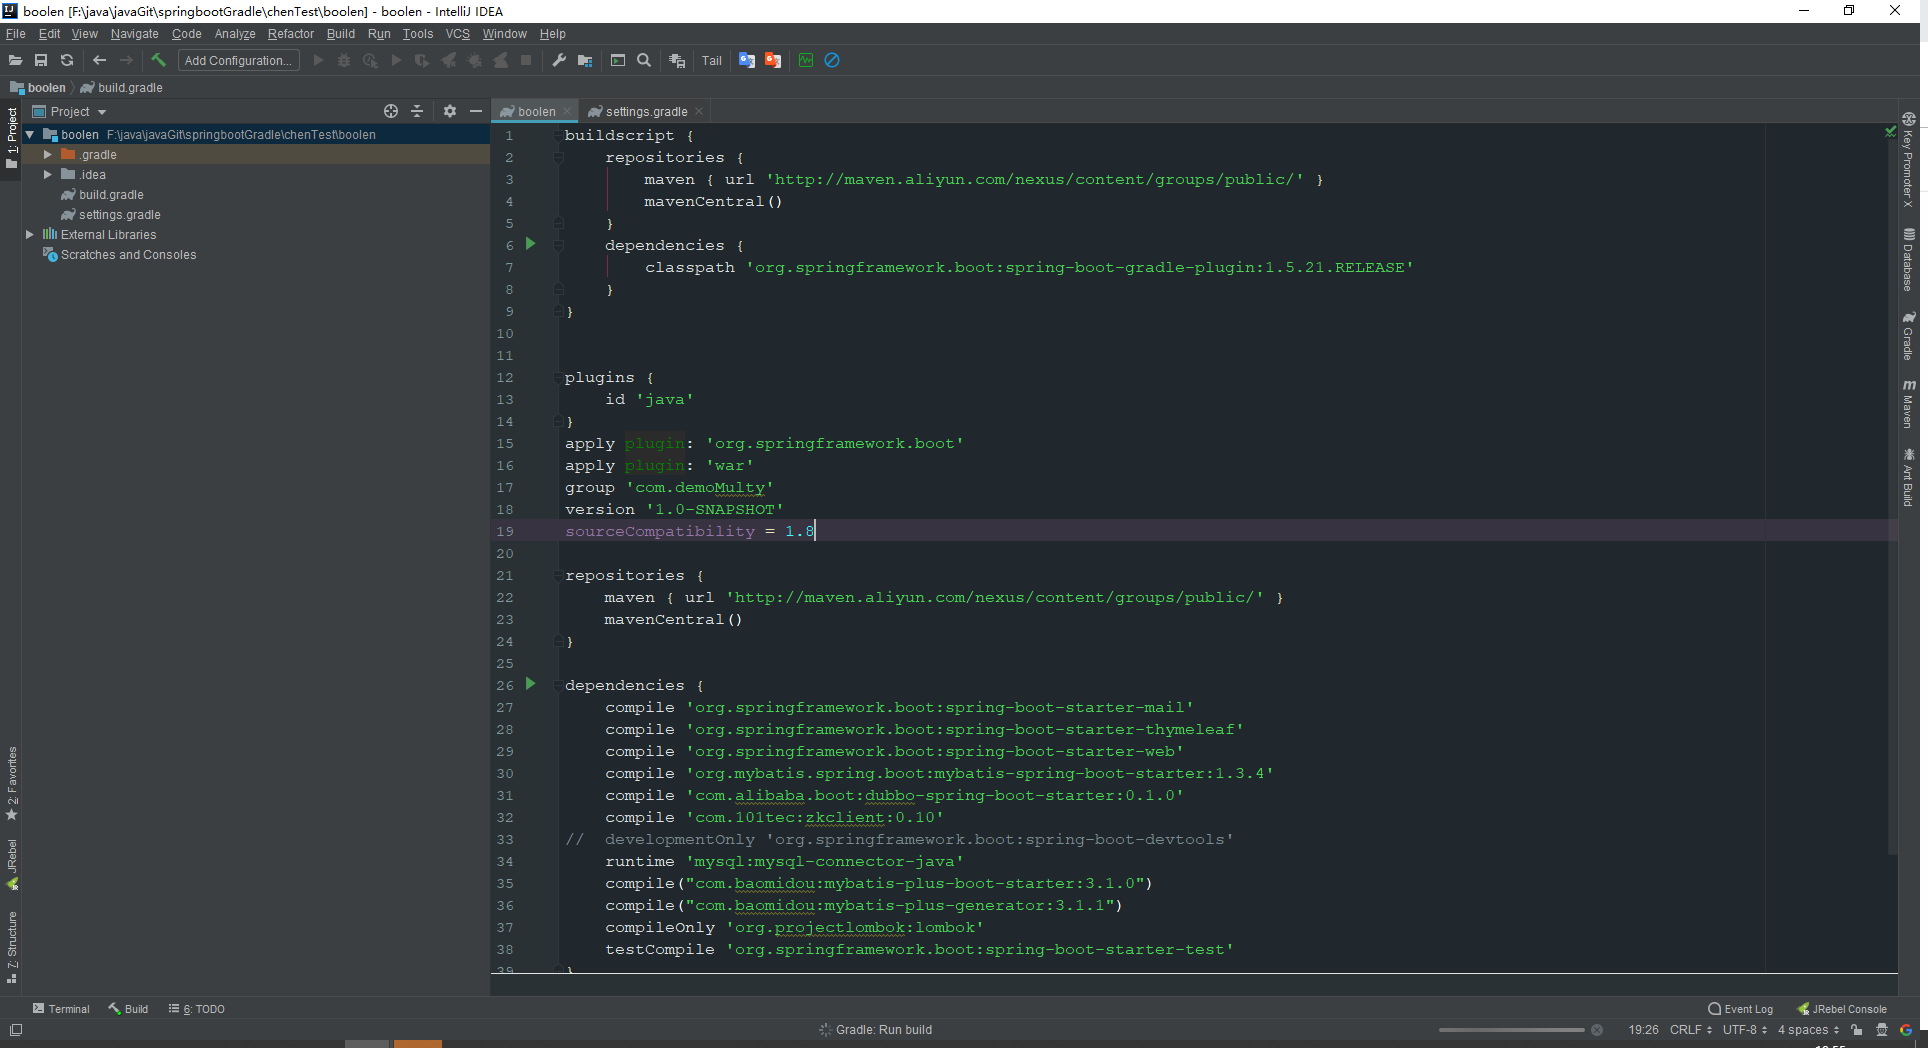
idea新建工程后,删除src文件夹,然后在gradle文件中输入
buildscript {
repositories {
maven { url 'http://maven.aliyun.com/nexus/content/groups/public/' }
mavenCentral()
}
dependencies {
classpath 'org.springframework.boot:spring-boot-gradle-plugin:1.5.21.RELEASE'
}
}
plugins {
id 'java'
}
apply plugin: 'org.springframework.boot'
apply plugin: 'war'
group 'com.demoMuty'
version '1.0-SNAPSHOT'
sourceCompatibility = 1.8
repositories {
maven { url 'http://maven.aliyun.com/nexus/content/groups/public/' }
mavenCentral()
}
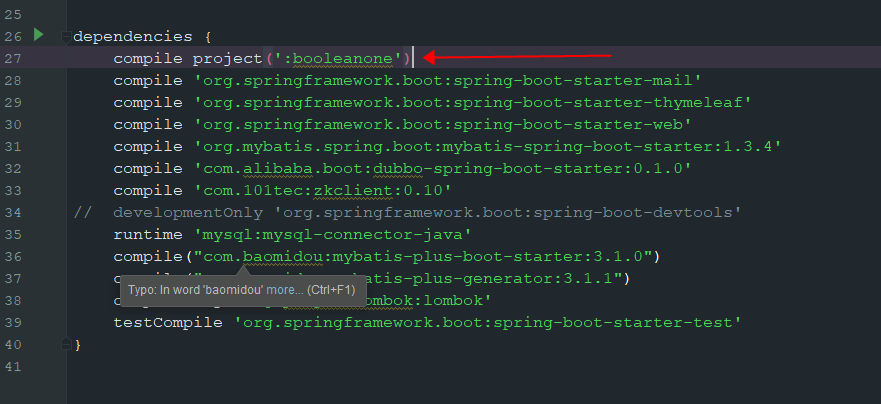
dependencies {
compile 'org.springframework.boot:spring-boot-starter-mail'
compile 'org.springframework.boot:spring-boot-starter-thymeleaf'
compile 'org.springframework.boot:spring-boot-starter-web'
compile 'org.mybatis.spring.boot:mybatis-spring-boot-starter:1.3.4'
compile 'com.alibaba.boot:dubbo-spring-boot-starter:0.1.0'
compile 'com.101tec:zkclient:0.10'
// developmentOnly 'org.springframework.boot:spring-boot-devtools'
runtime 'mysql:mysql-connector-java'
compile("com.baomidou:mybatis-plus-boot-starter:3.1.0")
compile("com.baomidou:mybatis-plus-generator:3.1.1")
compileOnly 'org.projectlombok:lombok'
testCompile 'org.springframework.boot:spring-boot-starter-test'
}
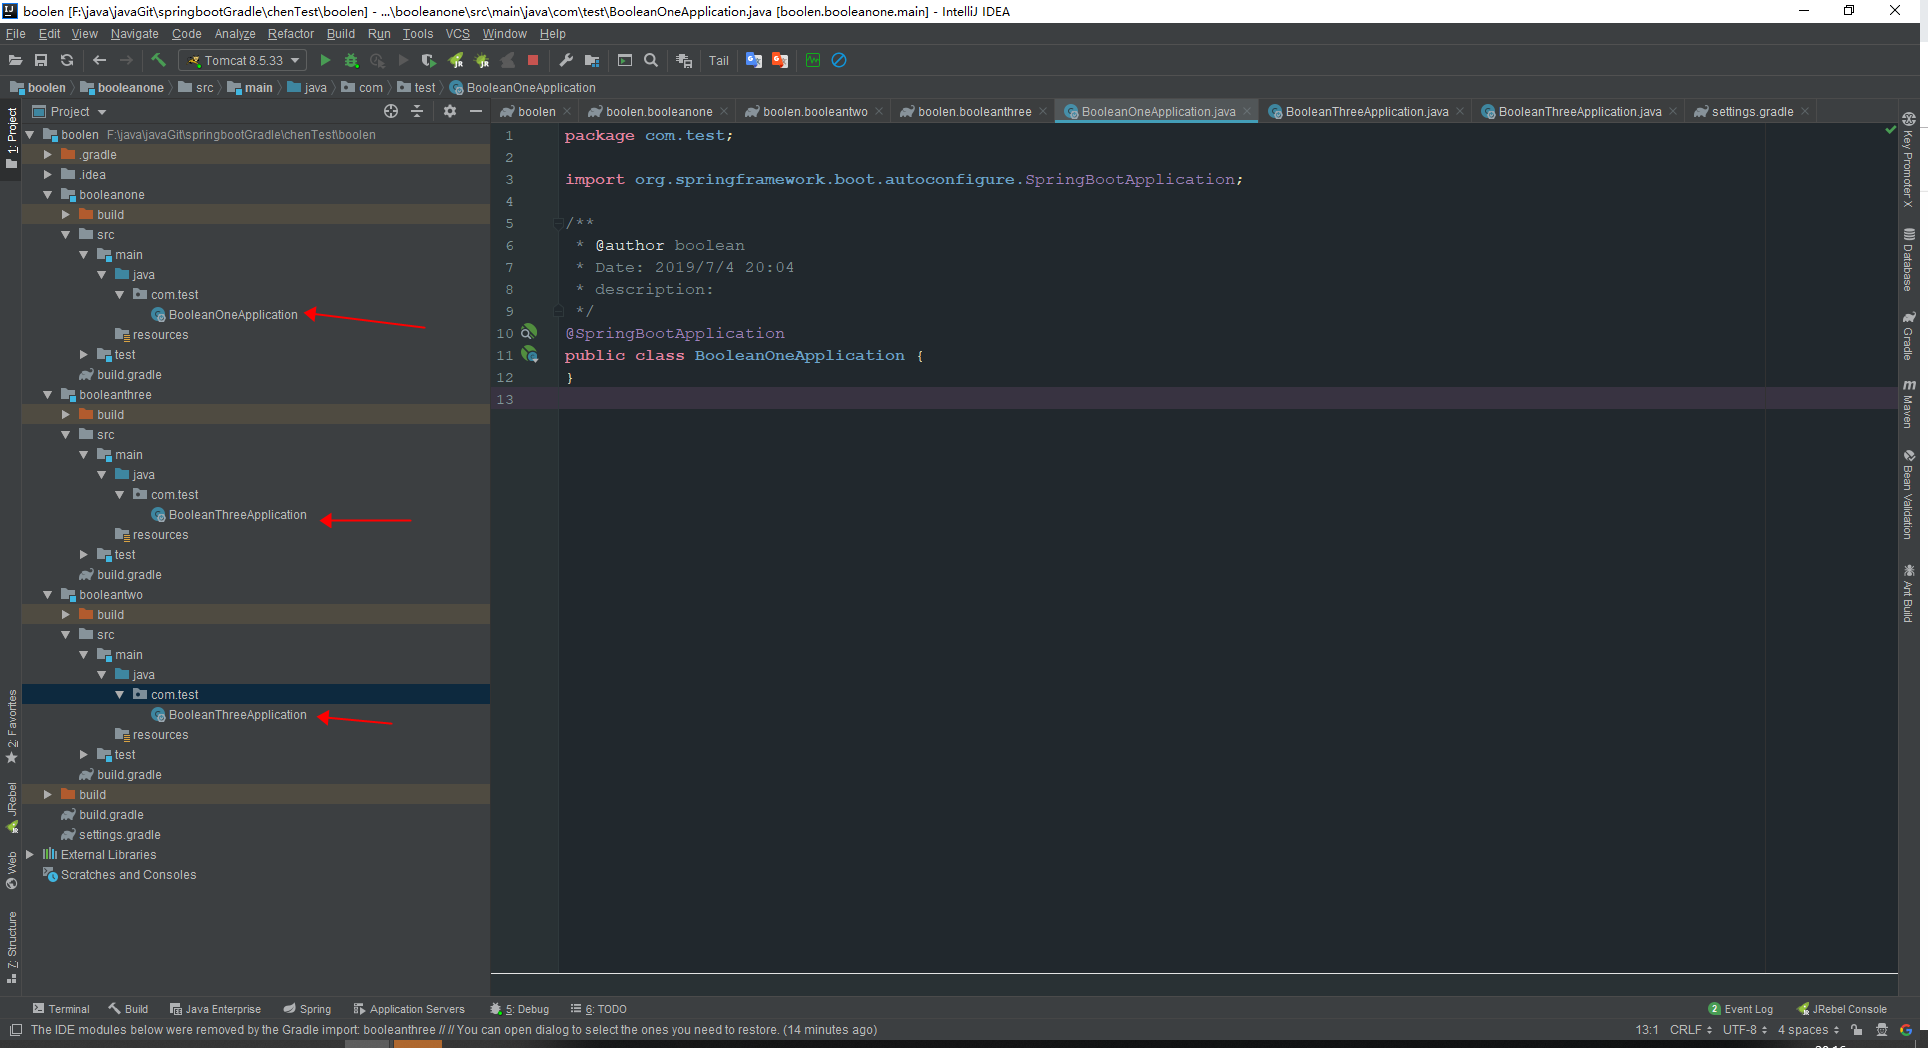
如图所示
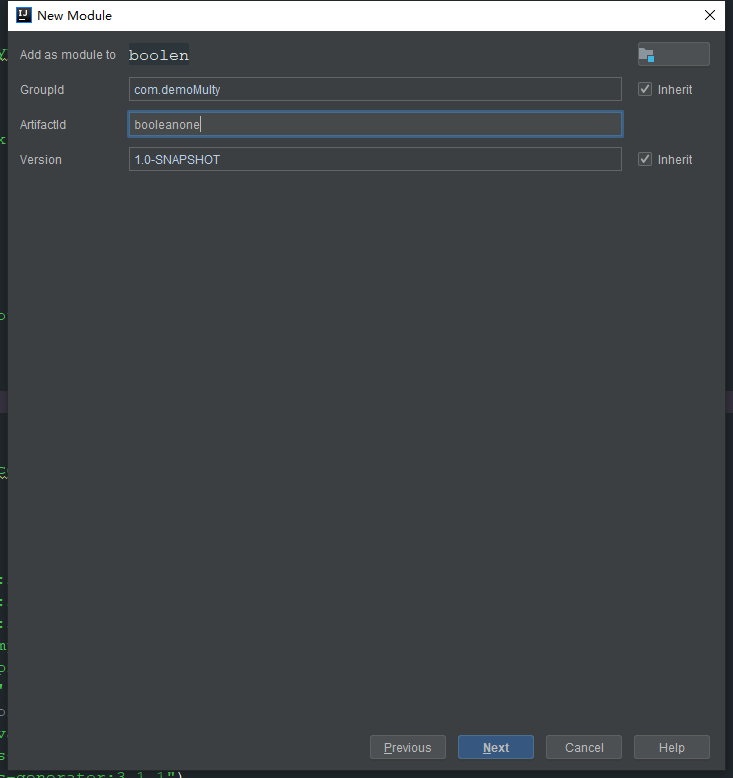
booleanone作为父模块 booleanteo作为服务者模块 booleanthree作为消费者模块
添加dubbo.xml
然后在每个模块新建com.test包,在包下新建启动类
@SpringBootApplication
public class BaseApplication extends SpringBootServletInitializer {
}
然后在每个模块的gradle文件中引入上面的依赖,然后在消费者模块和生产者模块的依赖中加入父模块依赖,如图
然后在booleantwo的生产者模块的resource资源文件中加入dubbo文件
<?xml version="1.0" encoding="UTF-8"?>
<beans xmlns="http://www.springframework.org/schema/beans"
       xmlns:xsi="http://www.w3.org/2001/XMLSchema-instance" xmlns:dubbo="http://code.alibabatech.com/schema/dubbo"
       xsi:schemaLocation="http://www.springframework.org/schema/beans
        http://www.springframework.org/schema/beans/spring-beans.xsd
        http://code.alibabatech.com/schema/dubbo
        http://code.alibabatech.com/schema/dubbo/dubbo.xsd
        ">

    <!-- 提供方应用信息,用于计算依赖关系 -->
    <dubbo:application name="hello-world-app"/>

    <!-- 使用multicast广播注册中心暴露服务地址 -->
    <dubbo:registry address="zookeeper://localhost:2181"/>

    <!-- 用dubbo协议在20880端口暴露服务 -->
    <dubbo:protocol name="dubbo" port="20880"/>

    <!-- 声明需要暴露的服务接口 -->
    <dubbo:service
            interface="com.test1.provider.DemoService"
            ref="demoService"
            group="hello-world-app"
            version="1.0.0"
    />
</beans>
在启动类中加入注解
@ImportResource({"classpath:dubbo.xml"})
然后在booleantwo的消费者模块的resource资源文件中加入dubbo文件
<?xml version="1.0" encoding="UTF-8"?>
<beans xmlns="http://www.springframework.org/schema/beans"
       xmlns:xsi="http://www.w3.org/2001/XMLSchema-instance" xmlns:dubbo="http://code.alibabatech.com/schema/dubbo"
       xsi:schemaLocation="http://www.springframework.org/schema/beans
        http://www.springframework.org/schema/beans/spring-beans.xsd
        http://code.alibabatech.com/schema/dubbo
        http://code.alibabatech.com/schema/dubbo/dubbo.xsd
        ">

<!-- 提供方应用信息,用于计算依赖关系 -->
<dubbo:application name="hello-world-app"/>

<!-- 使用multicast广播注册中心暴露服务地址 -->
<dubbo:registry address="zookeeper://localhost:2181"/>

<!-- 生成远程服务代理,可以和本地bean一样使用demoService -->
<dubbo:reference
        interface="com.test1.provider.DemoService"
        group="hello-world-app"
        version="1.0.0"
        id="demoService"/>
</beans>
在启动类中加入注解
@ImportResource({"classpath:dubbo.xml"})
编写dubbo代码
在父模块中写dubbo接口
package com.test1.provider;

/**
 * @author buer
 * create 2019/7/2 22:13
 * description
 */
public interface DemoService {
    String sayHello(String name);
}
然后在生产者模块中写dubbo实现类
package com.test1.dubbo;

import com.test1.provider.DemoService;
import org.springframework.stereotype.Service;

/**
 * @author buer
 * create 2019/7/2 22:14
 * description
 */
@Service("demoService")
public class DemoServiceImpl implements DemoService {
    @Override
    public String sayHello(String name) {
        return "hello,dubbo"+name;
    }
}
然后在消费者模块中写dubbo调用
package com.test1.controller;

import com.test1.provider.DemoService;
import org.springframework.beans.factory.annotation.Autowired;
import org.springframework.web.bind.annotation.RequestMapping;
import org.springframework.web.bind.annotation.RestController;

/**
 * @author boolean
 * Date: 2019/7/2 19:48
 * description:
 */
@RestController
public class he {
    @Autowired
    private DemoService demoService;

    @RequestMapping("/he")
    public String hello(){
        return "he";
    }

    @RequestMapping("/chen")
    public String hello1(){
        return demoService.sayHello("chen");
    }
}
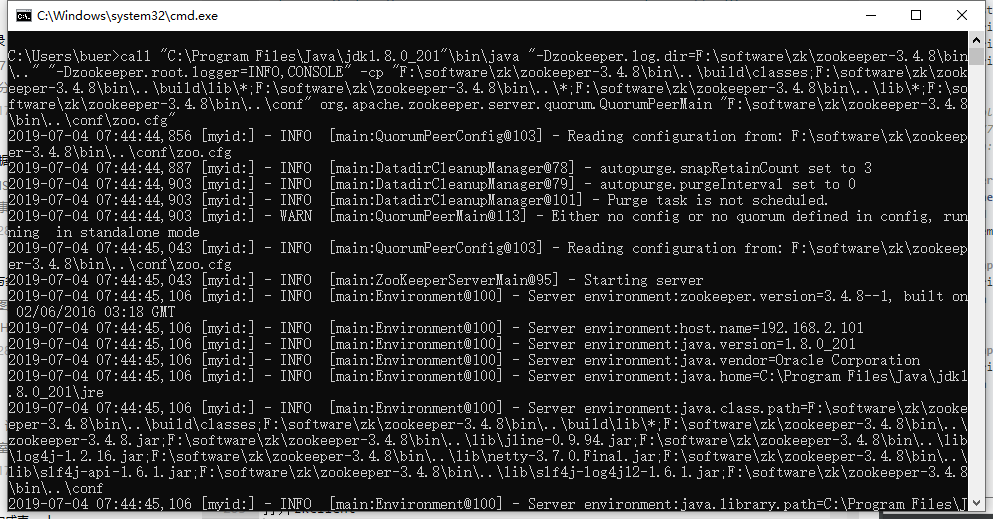
启动
最后添加war包
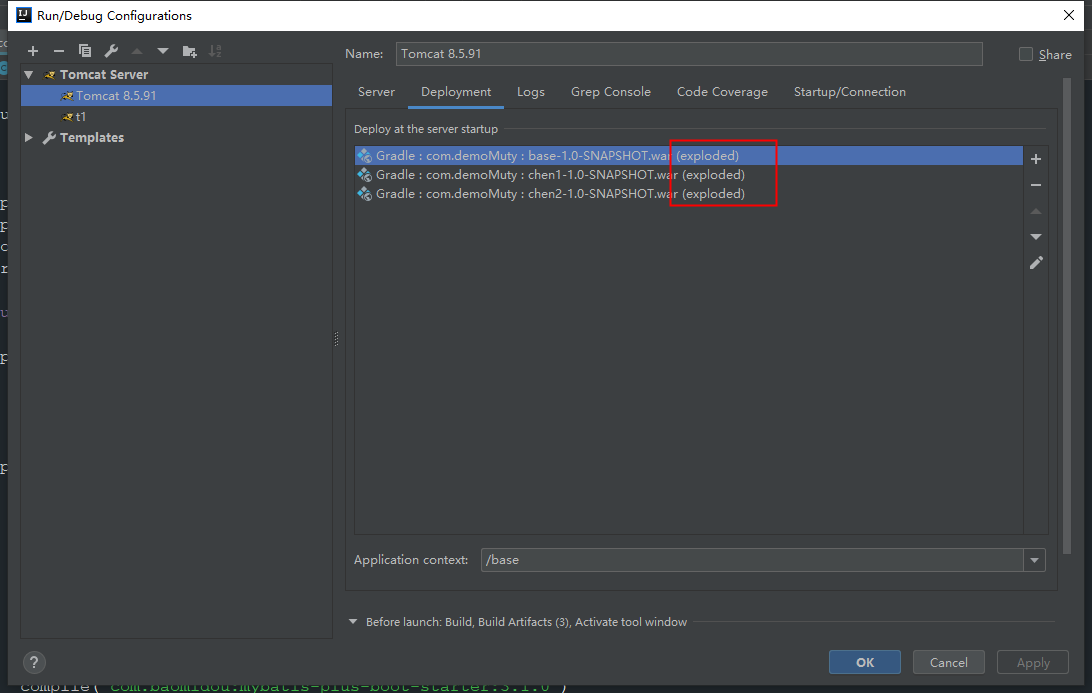
回到idea软件 打开tomcat的设置 找到VM options:,然后输入 -Dfile.encoding=UTF-8
测试

公众号