

一.全局安装vue cli3
二.利用vue cli3 快速创建一个模板
三.先设置一些简单的配置
1..在项目文件夹下创建一个vue.config.js文件,在其中配置响应的配置
四.在写项目中遇到的问题
- 1.如何让某个vue文件占满整个浏览器
<template>
  <div class="login">用户登录</div>
</template>

html {
  width: 100%;
  height: 100%;
}
body {
  width: 100%;
  height: 100%;
}
.login {
  background: url(../assets/images/login-bg.jpg) 100% 100%;
  height: 100%;
  position: absolute;
  top: 0px;
  left: 0px;
  width: 100%;
}
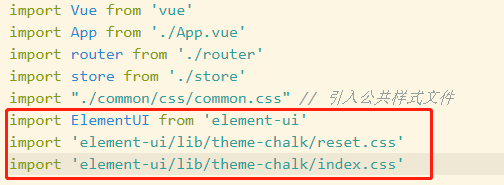
- 2.在vue 3.0项目中引入ElementUI
2.1 通过npm安装依赖包
a.进入到项目目录,执行指令 : npm i element-ui -S
npm i element-ui -S
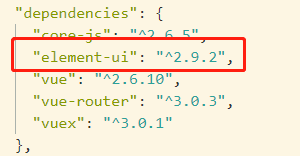
b.安装成功后 package.json 中可以看到相关依赖
- 3.在项目中引入echarts
3.1 main.js中配置
import echarts from 'echarts' //引入echarts
Vue.prototype.$echarts = echarts //引入组件
3.2 echarts.vue中引用
<div id="echarts" :style="{width: '300px', height: '300px'}"></div>
3.3 在引用的vue文件中script中写入
<script>
export default {
    mounted(){
        this.drawLine();
    },
    methods: {
        drawLine(){
            // 基于准备好的dom,初始化echarts实例
            var myChart = this.$echarts.init(document.getElementById(‘myChart‘))
            // 绘制图表
            myChart.setOption({
                title: { text: ‘在Vue中使用echarts‘ },
                tooltip: {},
                xAxis: {
                    data: ["衬衫","羊毛衫","雪纺衫","裤子","高跟鞋","袜子"]
                },
                yAxis: {},
                series: [{
                    name: ‘销量‘,
                    type: ‘bar‘,
                    data: [5, 20, 36, 10, 10, 20]
                }]
            });
        }
    }
}
</script>
