

安装
首先我们创建一个目录,初始化npm,然后在本地安装webpack和webpack-cli
mkdir webpack-demo
cd webpack-demo/
npm init -y
npm install webpack webpack-cli --save-dev
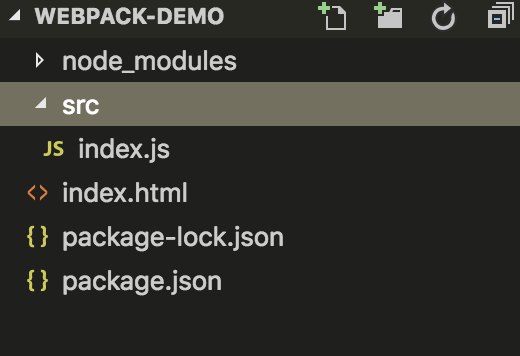
此时我们已经在本地安装好了webpack,下面我们将创建一下目录结构和文件
cd webpack-demo/
touch index.html
mkdir src
cd src/
touch index.js
HelloWebpack
下面我们对项目中的文件增加一些内容
在index.js文件中加入如下代码
function component() {
    var element = document.createElement('div');
    element.innerHTML = _.join(['Hello', 'webpack'], ' ');
    return element;
  }
  document.body.appendChild(component());
在index.html文件中加入如下代码
<!DOCTYPE html>
<html lang="en">
<head>
    <meta charset="UTF-8">
    <meta name="viewport" content="width=device-width, initial-scale=1.0">
    <meta http-equiv="X-UA-Compatible" content="ie=edge">
    <title>起步</title>
    <script src="https://unpkg.com/lodash@4.16.6"></script>
</head>
</head>
<body>
    <script src="./src/index.js"></script>
</body>
</html>
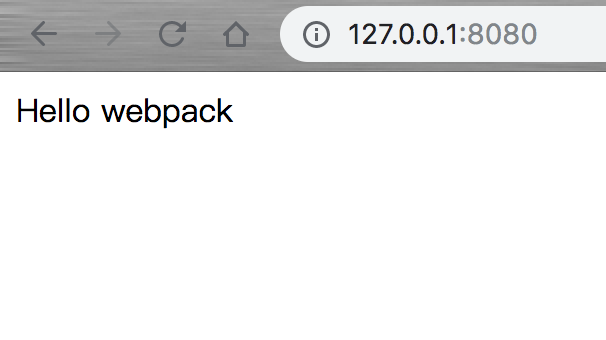
此时打开index.html可以看到页面上输出Hello webpack
上面这个简单的示例中,
<script>标签存在着一个简单的隐式的依赖关系。index.js文件执行之前,依赖于lodash,之所以这样说是因为index.js文件并未声明需要引入lodash,只是在内部假设已经引入了这个文件。
使用这种方式管理javascript项目会有一些问题:
- 无法明确体现基本的依赖项目
- 如果依赖性不存在,或者引入顺序出错,程序将无法正常运行
- 如果依赖文件本引入但是并没用使用,将会下载许多无用代码,影响性能
下面让我们使用 webpack 来管理这些脚本
创建一个 bundle 文件
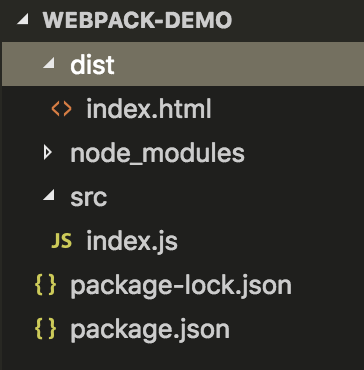
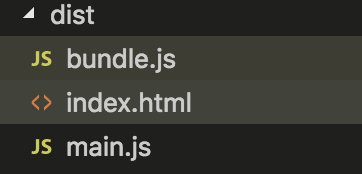
首先,我们调整一下,目录结构
 mkdir dist
 mv index.html dist/
在index.js文件中引入lodash,此时我们在本地安装依赖
npm install --save lodash
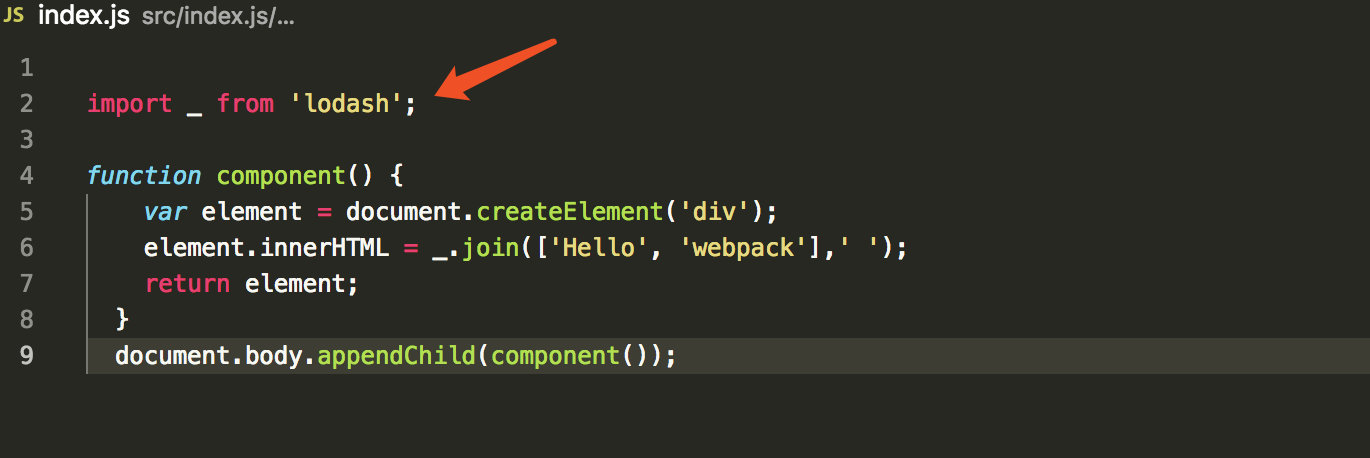
现在,我们可以在index.js文件中引入依赖了
import _ from 'lodash'
现在我们是通过打包的方式来合成脚本,index.html文件就要有所修改了。现在是通过import方式引入lodash,所有loadsh的<script>就要删除了,然后使用另一个<scripr>来引入lodash,而不是最开始创建的src/文件了
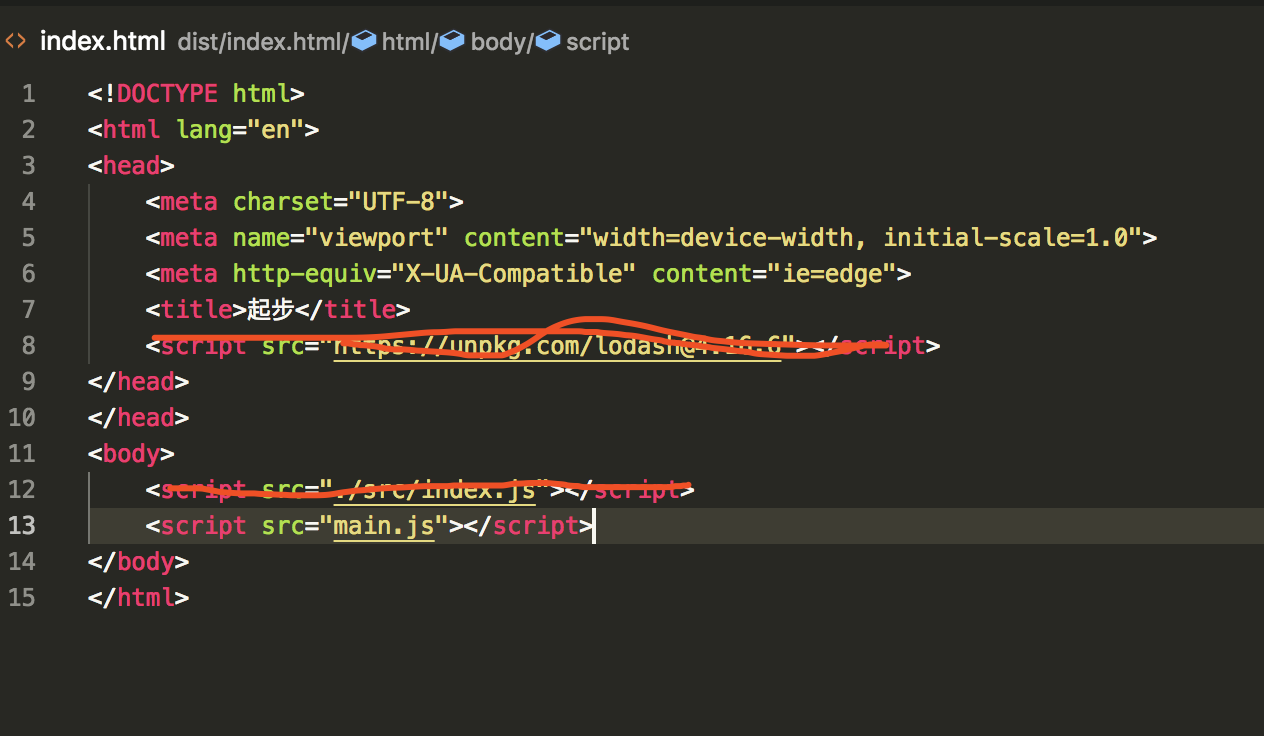
在这个设置中index.js要求lodash必须存在,然后把它绑定为_,通过模块声明的依赖,webpack能够正确的去构建依赖图,然后生成一个优化的,可以正确顺序执行的bundle
现在实行命令开始构建
npx webpack
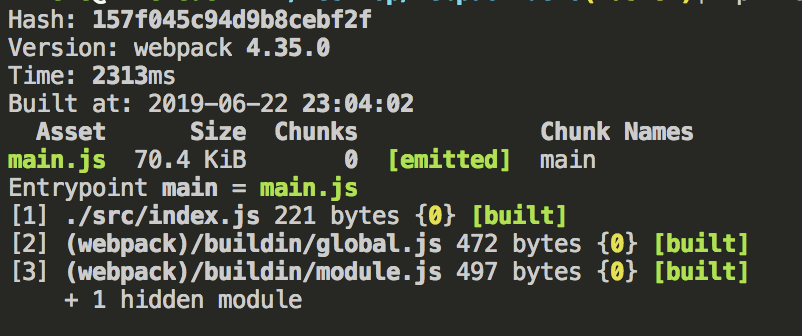
当看到这个提示信息后,就代表我们已经构建成功。
执行npx webpack之后,会把我们的脚本当做入口文件,并且输出main.js
如果以上都执行正确,在浏览器中打开index.html文件,是可以看到Hello webpack
创建一个配置文件
这比在终端(terminal)中手动输入大量命令要高效的多,所以让我们创建一个取代以上使用 CLI 选项方式的配置文件
cd webpack-demo/
touch webpack.config.js
webpack.config.js
const path = require('path');
module.exports = {
 entry: './src/index.js',
 output: {
   filename: 'bundle.js',
   path: path.resolve(__dirname, 'dist')
 }
};
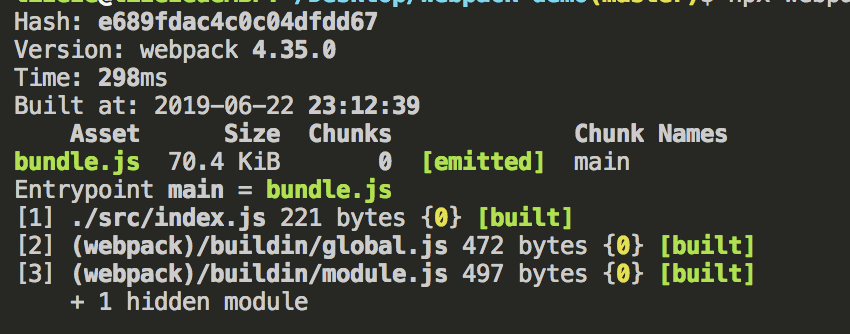
现在我们通过新的配置文件再次进行构建
npx webpack --config webpack.config.js
npx webpack --config webpack.config.js === npx webpack
如果 webpack.config.js 存在,则 webpack 命令将默认选择使用它。在这里使用 --config 选项只是表明,可以传递任何名称的配置文件。这对于需要拆分成多个文件的复杂配置是非常有用。
构建之后的结果
NPM脚本
我们可以设置一个快捷方式,在package.json文件中添加一个npm脚本
package.json
"build": "webpack"
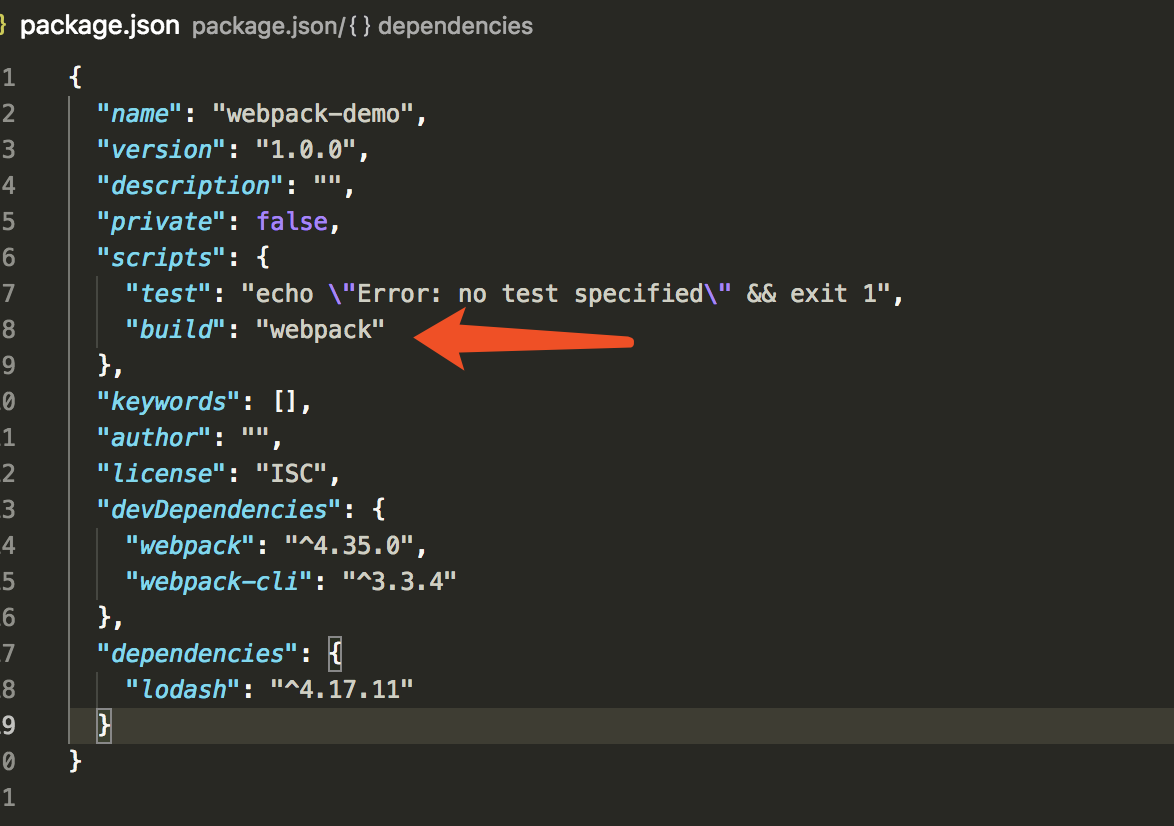
现在我们可以使用 npm run build 来代替之前的npx命令,下面执行新的命令
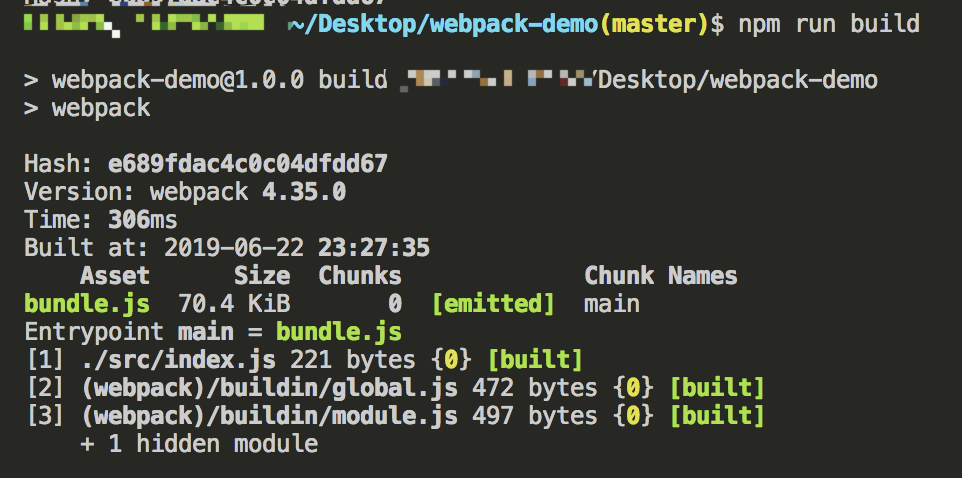
加载 CSS
在使用css之前,我们先对index.html文件做一下简单的修改。
dist/index.html
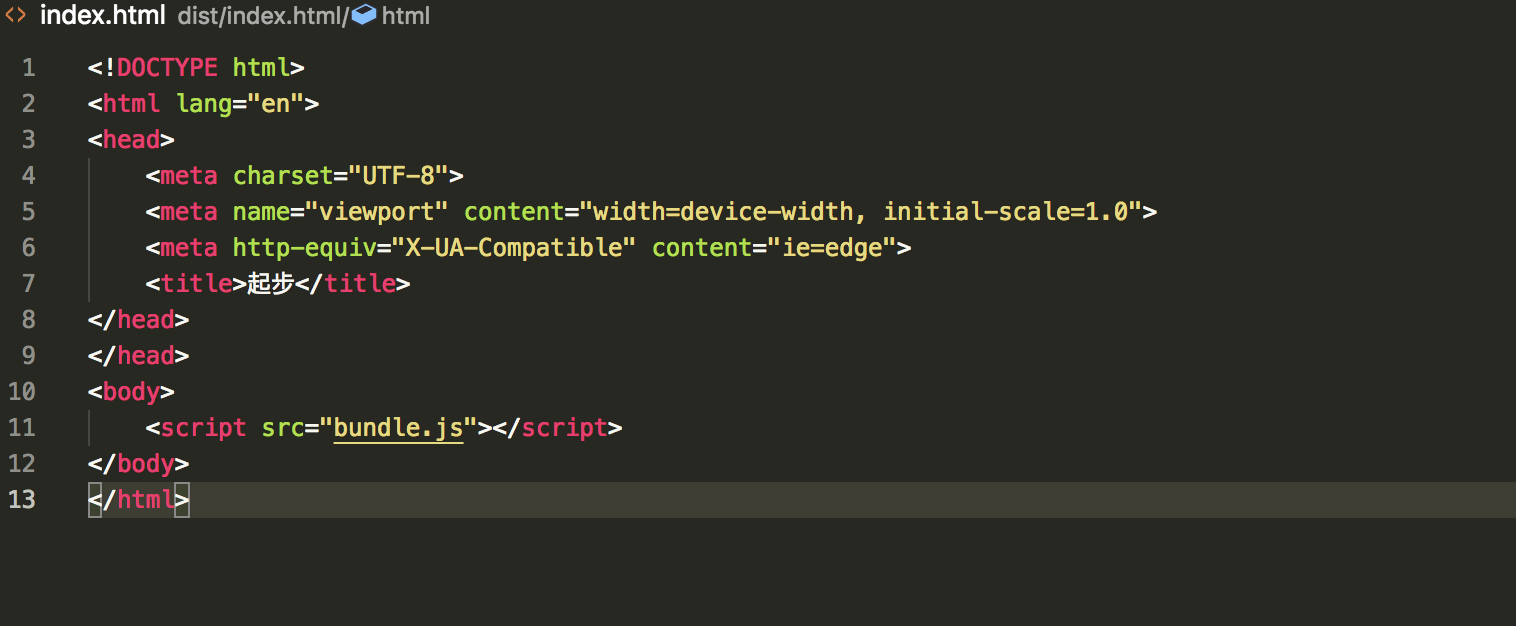
为了能在JavaScript文件中import一个CSS文件,需要在配置文件中的module中安装并添加style-loader和css-loader
npm install --save-dev style-loader css-loader
webpack.config.js
const path = require('path');
 module.exports = {
   entry: './src/index.js',
   output: {
     filename: 'bundle.js',
     path: path.resolve(__dirname, 'dist')
   },
+   module: {
+     rules: [
+       {
+         test: /\.css$/,
+         use: [
+           'style-loader',
+           'css-loader'
+         ]
+       }
+     ]
+   }
 };
这样可以使我们在依赖此样式的的文件中添加
import './style.css',此时在运行此模块时会自动把style标签插入到html的header中
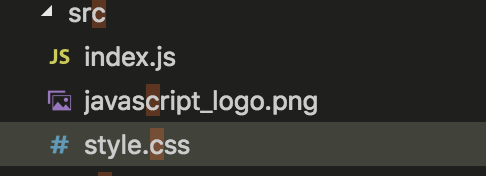
现在我们创建一个style.css文件,并引入到index.js文件中
cd src/
touch style.css
style.css
.hello {
 color: red;
}
src/index.js
  import _ from 'lodash';
+ import './style.css';
 function component() {
   var element = document.createElement('div');
   element.innerHTML = _.join(['Hello', 'webpack'], ' ');
+   element.classList.add('hello');
   return element;
 }
 document.body.appendChild(component());
现在运行构建命令
npm run build
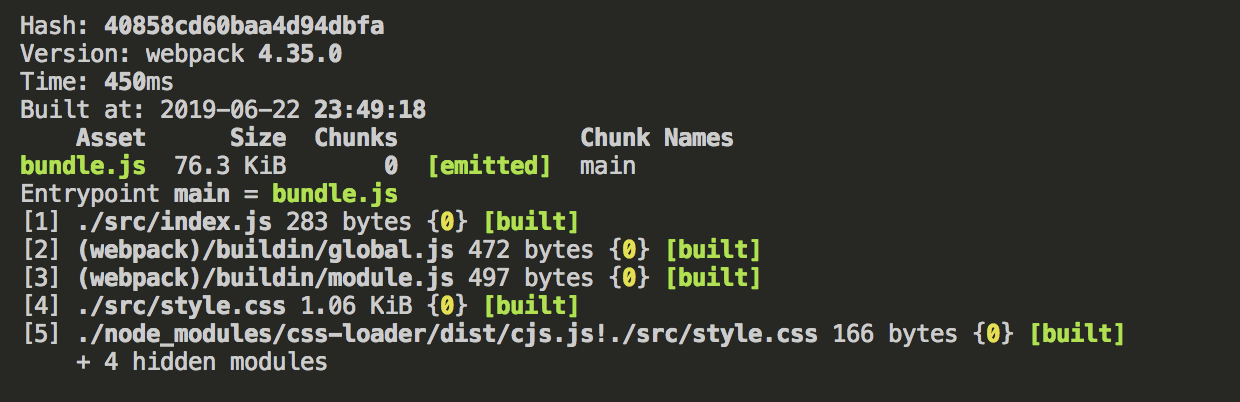
现在打开index.html可以看到页面的字体已经变成红色的了。
加载图片
项目中避免不了使用图片,我们可以使用file-loader
npm install --save-dev file-loader
webpack.config.js
  const path = require('path');
  module.exports = {
    entry: './src/index.js',
    output: {
      filename: 'bundle.js',
      path: path.resolve(__dirname, 'dist')
    },
    module: {
      rules: [
        {
          test: /\.css$/,
          use: [
            'style-loader',
            'css-loader'
          ]
        },
+       {
+         test: /\.(png|svg|jpg|gif)$/,
+         use: [
+           'file-loader'
+         ]
+       }
      ]
    }
  };
现在当我们import ./img.png的时候,该图像会被处理并输出到dist目录
现在我们添加一个文件
style.css
.hello {
    color: red;
    background: url('./javascript_logo.png')
}
此时我们重新构建,打开index.html文件

管理输出
到目前为止,我们在index.html文件中所有的引用都是手动指定的,随着项目的增长,一旦开始对文件名使用哈希或者有多个bundle,手动的修改引用就不是那么方便了。然后,我们可以使用一些插件来轻松的解决这些事情。
首先,我们对项目做一下简单的调整。
cd src/
touch print.js
src/print.js
export default function printMe() {
  console.log('I get called from print.js!');
}
并且在index.js文件中使用这个函数
src/index.js
 import _ from 'lodash';
+ import printMe from './print.js';
  function component() {
    var element = document.createElement('div');
+   var btn = document.createElement('button');
    element.innerHTML = _.join(['Hello', 'webpack'], ' ');
+   btn.innerHTML = 'Click me and check the console!';
+   btn.onclick = printMe;
+   element.appendChild(btn);
    return element;
  }

  document.body.appendChild(component());
dist/index.html
<!DOCTYPE html>
<html lang="en">
<head>
    <meta charset="UTF-8">
    <meta name="viewport" content="width=device-width, initial-scale=1.0">
    <meta http-equiv="X-UA-Compatible" content="ie=edge">
    <title>起步</title>
    <script src="./print.bundle.js"></script>
</head>
</head>
<body>
    <script src="./app.bundle.js"></script>
</body>
</html>
webpack.config.js
  const path = require('path');

  module.exports = {
-   entry: './src/index.js',
+   entry: {
+     app: './src/index.js',
+     print: './src/print.js'
+   },
    output: {
-     filename: 'bundle.js',
+     filename: '[name].bundle.js',
      path: path.resolve(__dirname, 'dist')
    }
  }
执行npm run build
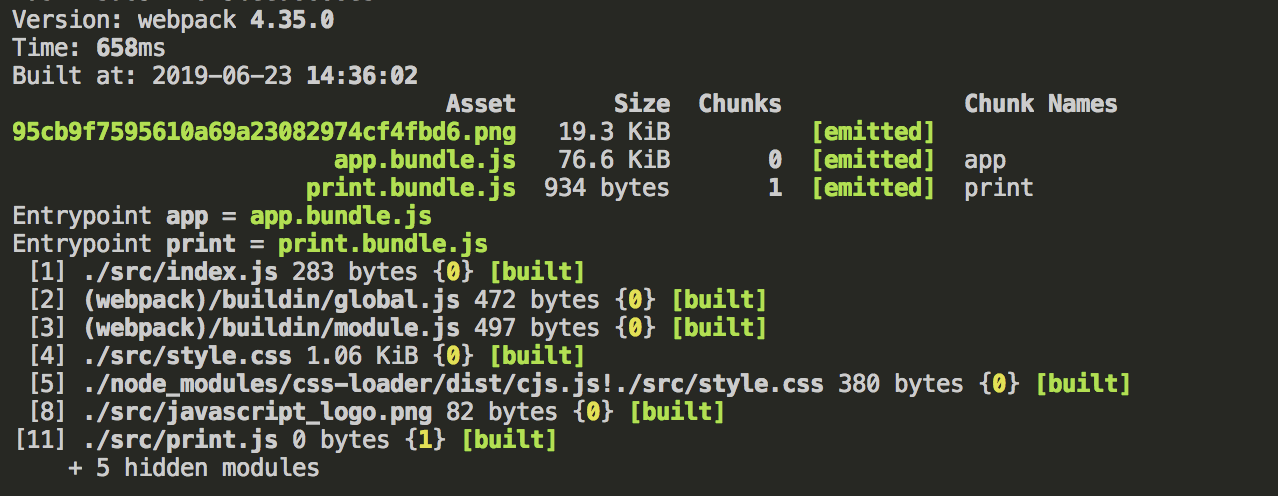
webpack生成了两个文件app.bundle.js和print.bundle.js,这和我们在index.html文件中指定的引用一一相对。但是如果我们改了文件的命名规则,或者增加了一些入口文件,那么生成的index.html文件中还是会使用旧的引用文件,我们可以使用HtmlWebpackPlugin来解决这个问题。
首先安装插件
npm install --save-dev html-webpack-plugin
webpack.config.js
  const path = require('path');
+ const HtmlWebpackPlugin = require('html-webpack-plugin');

  module.exports = {
    entry: {
      app: './src/index.js',
      print: './src/print.js'
    },
+   plugins: [
+     new HtmlWebpackPlugin({
+       title: 'Output Management'
+     })
+   ],
    output: {
      filename: '[name].bundle.js',
      path: path.resolve(__dirname, 'dist')
    }
  };
此时在构建之后,每次都会生成一个新的index.html文件,会覆盖旧的文件
执行构建npm run build
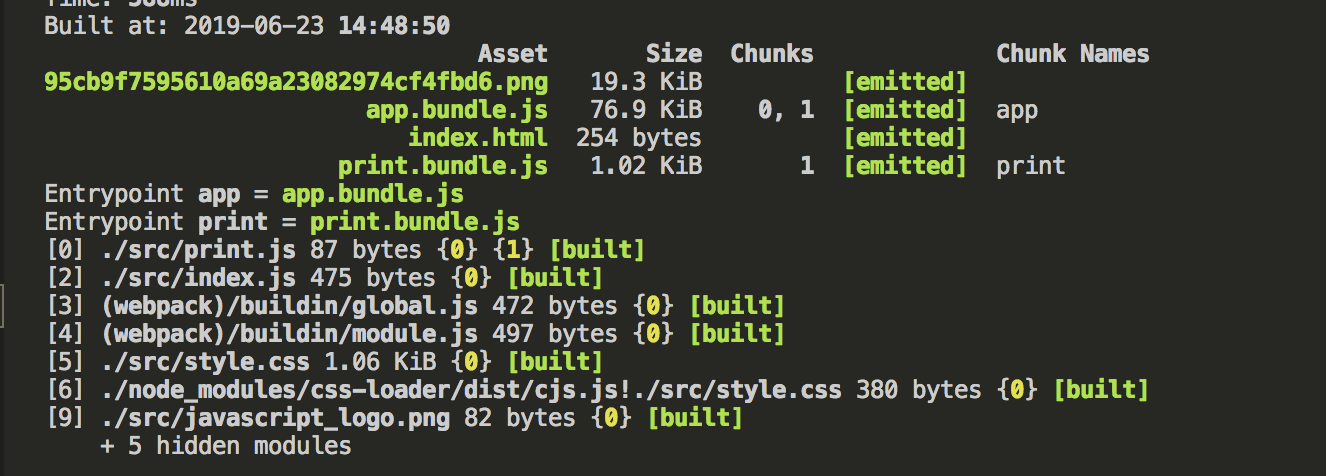
index.html
选择一个开发工具
webpack-dev-server提供了一个简单的web服务器,并且能够做到实时刷新
安装
npm install --save-dev webpack-dev-server
修改配置文件
webpack.config.js
  const path = require('path');
  const HtmlWebpackPlugin = require('html-webpack-plugin');

  module.exports = {
    entry: {
      app: './src/index.js',
      print: './src/print.js'
    },
    devtool: 'inline-source-map',
+   devServer: {
+     contentBase: './dist'
+   },
    plugins: [
        new HtmlWebpackPlugin({
        title: 'Development'
      })
    ],
    output: {
      filename: '[name].bundle.js',
      path: path.resolve(__dirname, 'dist')
    }
  };
以上配置告知webpack-dev-server在dist文件下建立服务。
让我们添加一个脚本,可以直接使用webpack-dev-server
package.json
  {
    "name": "development",
    "version": "1.0.0",
    "description": "",
    "main": "webpack.config.js",
    "scripts": {
    "test": "echo \"Error: no test specified\" && exit 1",
+    "start": "webpack-dev-server --open",
    "build": "webpack"
    },
    "keywords": [],
    "author": "",
    "license": "ISC",
    "devDependencies": {
   "clean-webpack-plugin": "^0.1.16",
   "css-loader": "^0.28.4",
   "csv-loader": "^2.1.1",
   "file-loader": "^0.11.2",
   "html-webpack-plugin": "^2.29.0",
   "style-loader": "^0.18.2",
   "webpack": "^3.0.0",
   "xml-loader": "^1.2.1"
    }
  }
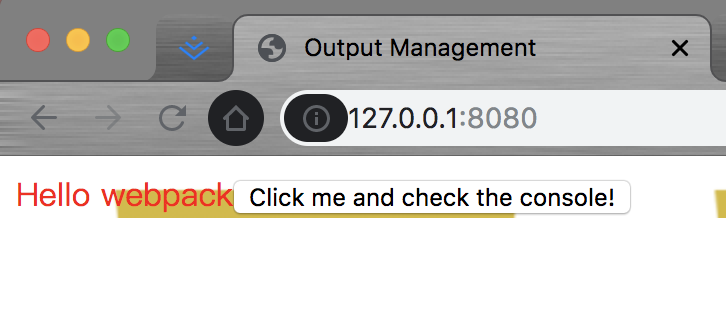
现在,我们可以在命令行中运行 npm start,就会看到浏览器自动加载页面。如果现在修改和保存任意源文件,web 服务器就会自动重新加载编译后的代码。
npm start
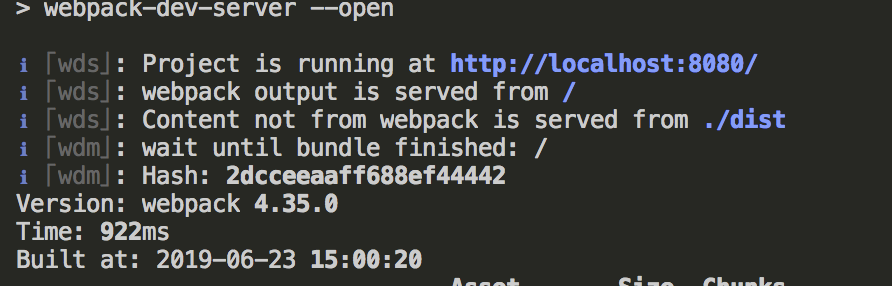
在浏览器中输入http://localhost:8080
此时修改一下style.css文件,会发现页面自动刷新。
生产环境构建
由于生产环境和开发环境有着不同的构建环境,所以我们通常是针对每种环境来做一个配置文件,但总是会有一些公共的配置项的,这个时候我们需要保留一个公共的配置文件。这时候我们就要使用webpack-merge的工具,使我们不用在配置中写重复的代码。
首先安装
npm install --save-dev webpack-merge
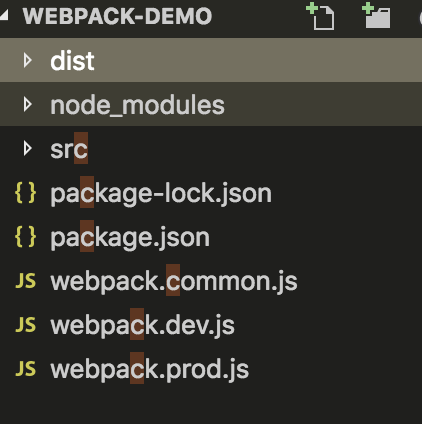
修改目录结构
 mv webpack.config.js webpack.common.js
 touch webpack.dev.js
 touch webpack.prod.js
const path = require('path');
const HtmlWebpackPlugin = require('html-webpack-plugin');
module.exports = {
    entry: {
        app: './src/index.js',
    },
    plugins: [
        new HtmlWebpackPlugin({
            title: 'Output Management'
        })
    ],
    devServer: {
        contentBase: './dist'
    },
    output: {
        filename: '[name].bundle.js',
        path: path.resolve(__dirname, 'dist')
    },
    module: {
        rules: [{
            test: /\.css$/,
            use: [
                'style-loader',
                'css-loader'
            ]
        }, {
            test: /\.(png|svg|jpg|gif)$/,
            use: [
                'file-loader'
            ]
        }]
    }
};
webpack.dev.js
 const merge = require('webpack-merge');
 const common = require('./webpack.common.js');
 module.exports = merge(common, {
   devServer: {
     contentBase: './dist'
   }
 });
webpack.prod.js
const merge = require('webpack-merge');
 const UglifyJSPlugin = require('uglifyjs-webpack-plugin');
 const common = require('./webpack.common.js');

 module.exports = merge(common, {
   plugins: [
     new UglifyJSPlugin()
   ]
 })
现在我们把npm脚本重新指定一下,我们把npm start指向开发环境,npm run build指向生产环境
package.json
{
  "name": "webpack-demo",
  "version": "1.0.0",
  "description": "",
  "private": false,
  "scripts": {
    "test": "echo \"Error: no test specified\" && exit 1",
    "build": "webpack --config webpack.prod.js",
    "start": "webpack-dev-server --open --config webpack.dev.js"
  },
  "keywords": [],
  "author": "",
  "license": "ISC",
  "devDependencies": {
    "css-loader": "^3.0.0",
    "file-loader": "^4.0.0",
    "html-webpack-plugin": "^3.2.0",
    "style-loader": "^0.23.1",
    "webpack": "^4.35.0",
    "webpack-cli": "^3.3.4",
    "webpack-dev-server": "^3.7.2"
  },
  "dependencies": {
    "lodash": "^4.17.11",
    "uglifyjs-webpack-plugin": "^2.1.3"
  }
}
运行这些脚本,然后查看输出的不同变化。