1 安装vue-CLI
1.1 安装
安装vue-cli框架
npm install -g @vue/cli 或者 yarn global add @vue/cli
1.2创建项目
在此处创建一个antd项目
vue create antd
1.3运行
依赖安装完成后,cd到antd项目路径下,运行:
cd antd
npm run serve
DONE Compiled successfully in 4239ms App running at:
- Local: http://localhost:8080/
- Network: http://192.168.1.111:8080/
Note that the development build is not optimized. To create a production build, run npm run build.
说明运行成功!
1.4 目录结构
├── README.md
├── babel.config
├── package.json
├── package-lock.json
├── postcss.config.js
├── public
│   ├── favicon.ico
│   └── index.html
├── src
│   ├── assets
│   │   └── logo.png
│   ├── components
│   │   └── HelloWorld.vue
│   ├── App.vue
│   └── main.js
└── .gitignor
2、使用ant-design-vue
在实际开发工程中,加载全部样式/组件会影响前端性能,所以直接采取按需加载组件及样式。
2.1 安装
//安装ant组件
npm install ant-design-vue --save-dev
//安装babel按需加载
npm install babel-plugin-import --save-dev
//安装处理less
npm install less less-loader --save-dev
2.2 引入ant组件
在main.js中引入
//以 Button 组件为例
import { Button } from 'ant-design-vue'
Vue.component(Button.name, Button);
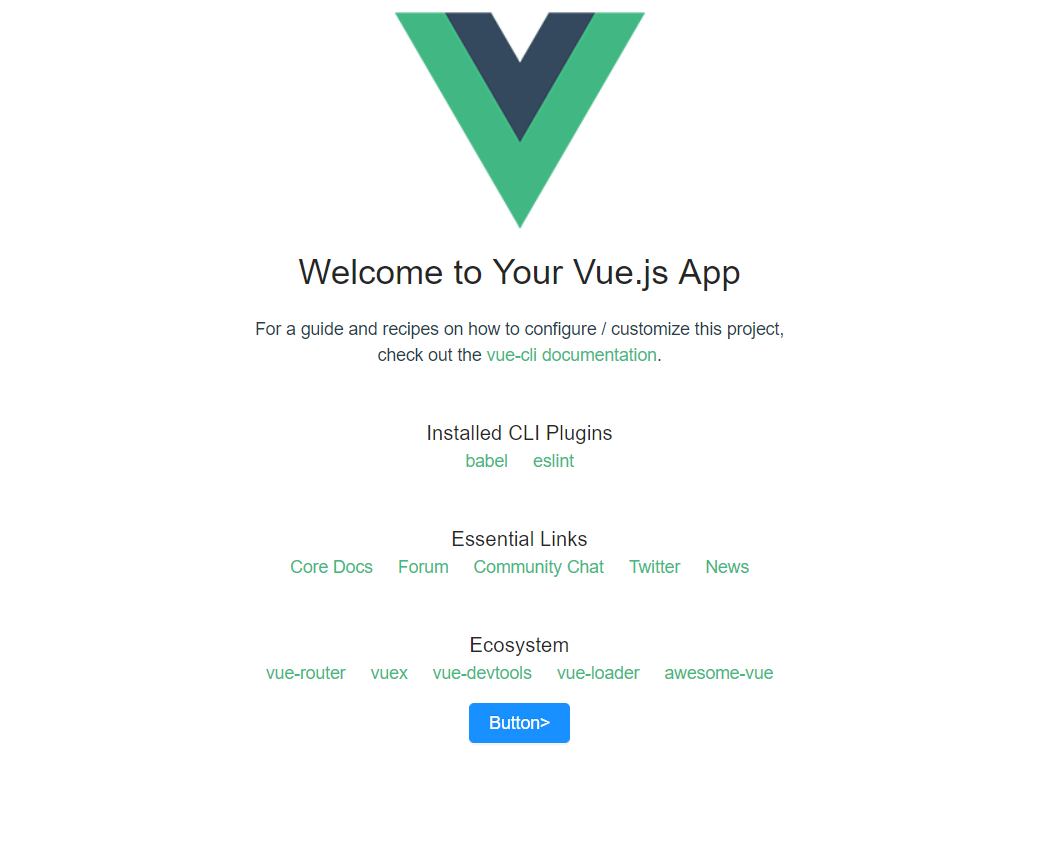
在App.vue,组件使用。
<template>
  <div id="app">
    <img alt="Vue logo" src="./assets/logo.png">
    <HelloWorld msg="Welcome to Your Vue.js App"/>
    <a-button type="primary">Button></a-button>
  </div>
</template>
2.3 修改babel.config.js配置
module.exports = {
  presets: [
   '@vue/app',
  ],
  // 配置babel-plugin-import, 用于按需加载组件代码和样式
  plugins: [
    [
      "import",
      { libraryName: "ant-design-vue", libraryDirectory: "es", style: true }
    ]
  ],
}
2.4 报错解决方案
此时重启项目,会遇到报错情况(找不到less相关的错误)。以下两种方案任选其一即可。两种方案:
- 配置vue.config.js,在根目录下创建vue.config.js
module.exports = {
    // 配置less
    css: {
        loaderOptions: {
            less: {
                javascriptEnabled: true,
            }
        }
    },
}
- 修改babel.config.js
  plugins: [
    [
      "import",
      { libraryName: "ant-design-vue", libraryDirectory: "es", style: 'css' }
    ]
  ]
2.5 启动
npm run serve
2.6最后效果