

打包步骤如下: 1.打开terminal终端->cd 项目更目录 2.项目根目录/ios/手动创建(bundle)文件 3.在终端输入如下命令:
(index.ios.jsbundle可以自行修改)
react-native bundle --entry-file index.js --bundle-output ./ios/bundle/index.ios.jsbundle --platform ios --assets-dest ./ios/bundle --dev false
参考地址: https://www.jianshu.com/p/5a71437c3678
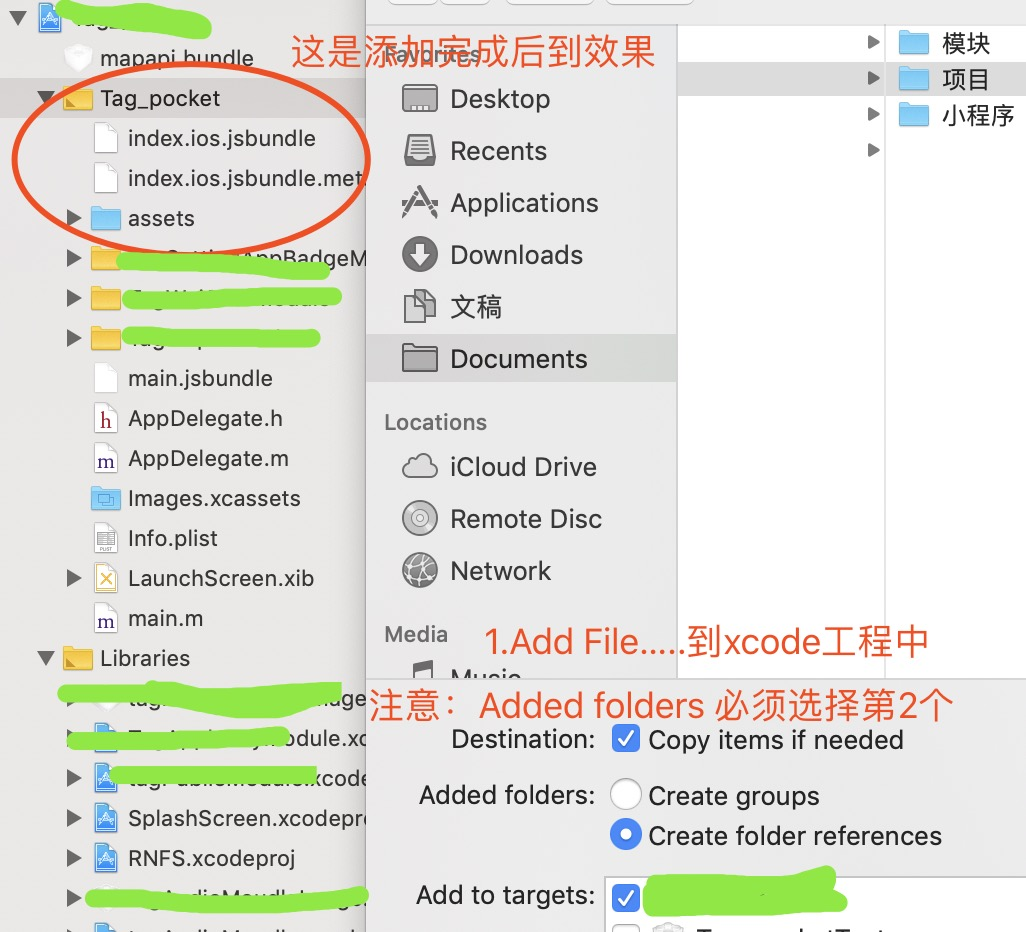
完成后如下图:

5.修改Appdelegate中的配置代码

    #if DEBUG
        jsCodeLocation = [[RCTBundleURLProvider sharedSettings] jsBundleURLForBundleRoot:@"index" fallbackResource:nil];
    #else
         jsCodeLocation = [NSURL URLWithString:[[NSBundle mainBundle] pathForResource:@"index.ios.jsbundle" ofType:nil]];
    #endif
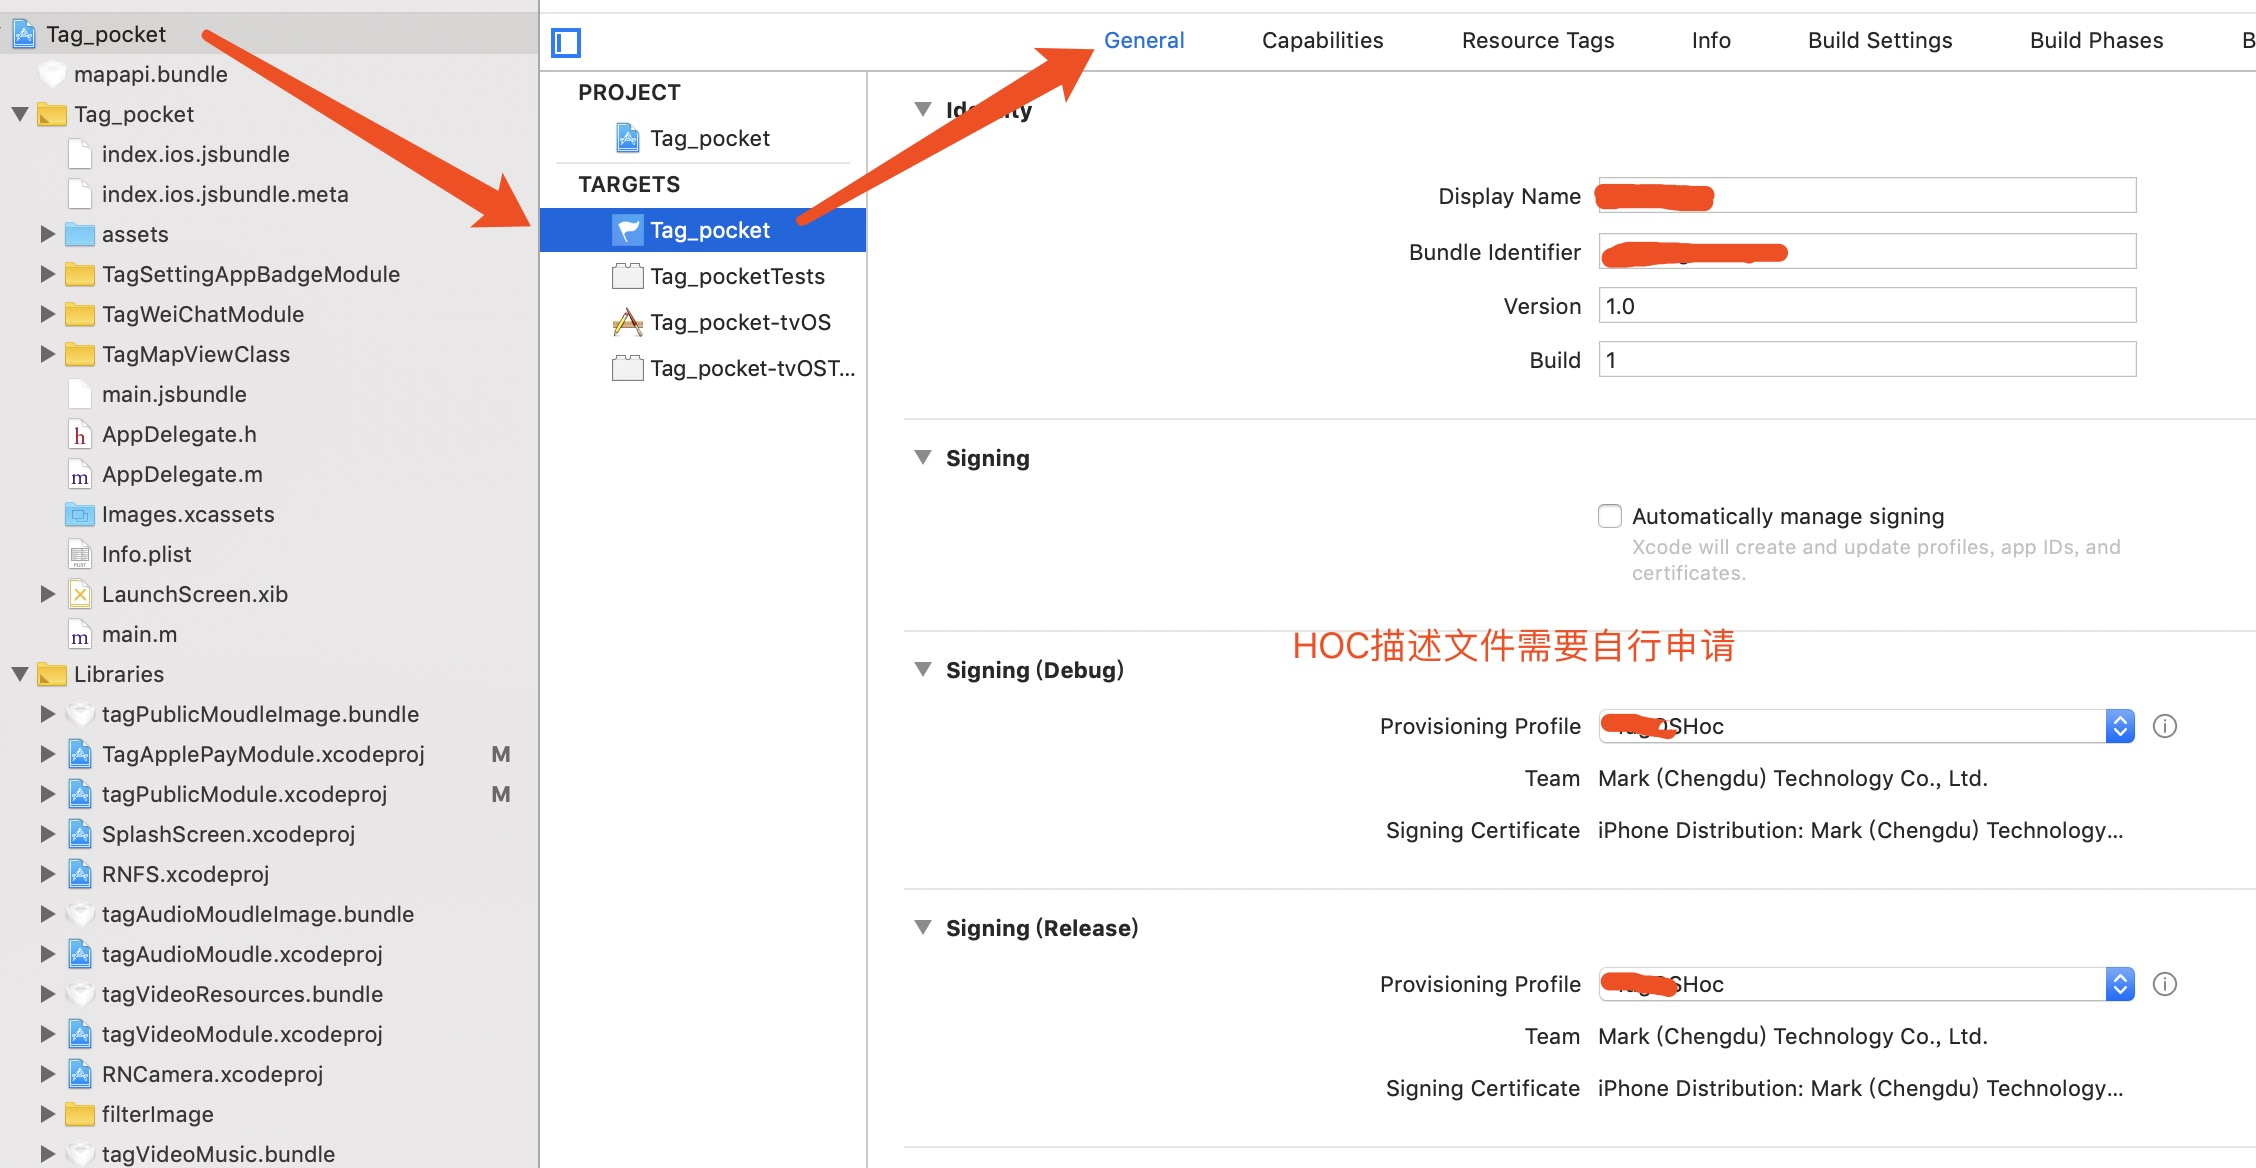
6、选择Xcode设置导航,配置证书;如图:
注意
build 选择Edit Scheme时选择debug/release版本进行测试打包
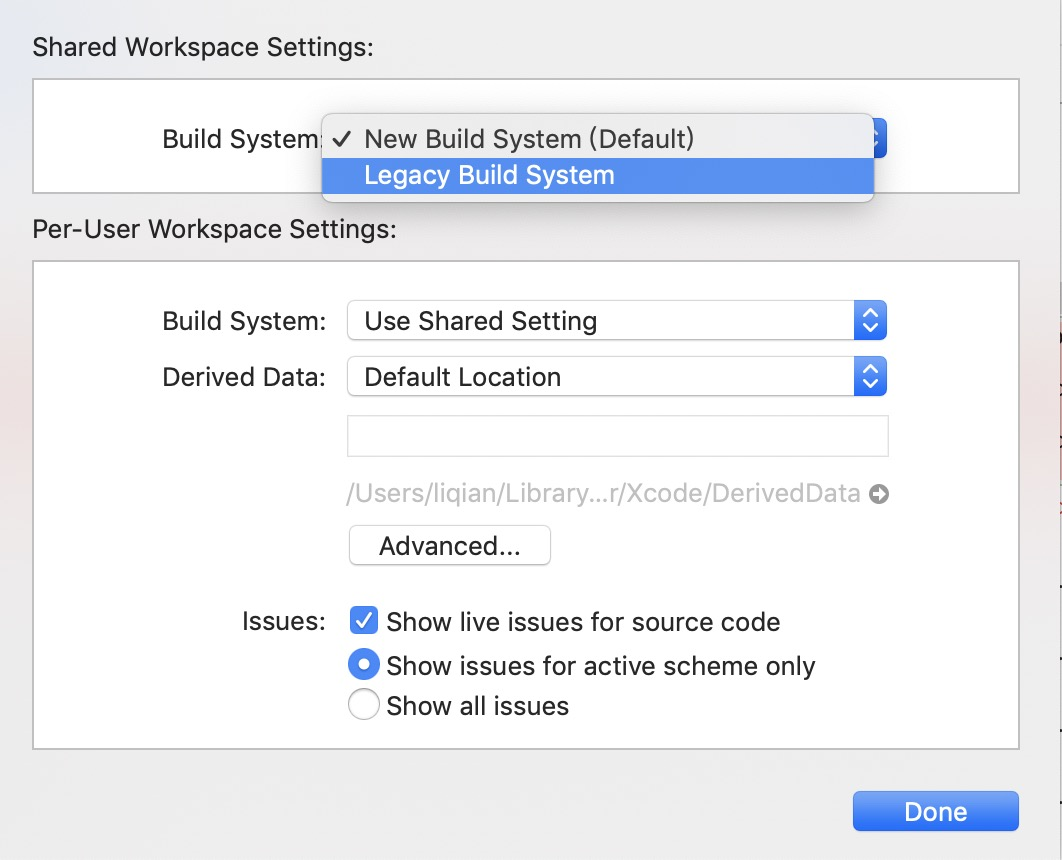
遇到的问题: 1.

解决方案:Xcode->file->WorkSpace settings...在弹出框中选择Legacy Build System,最后选择Done即可
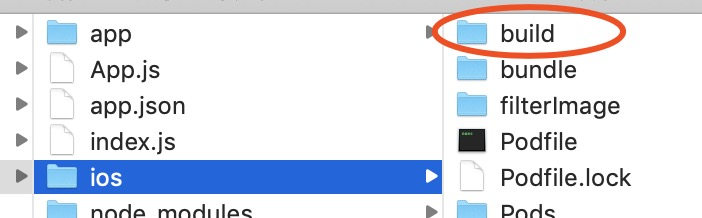
2、错误2.

自此发布测试包,正式包,只需修改证书就好。
