

Spring Boot 2.0 — Admin Server
在上一章节中,我们学习了如何使用Spring Boot Actuator来管理应用程序。但是,当我们有多个应用程序需要管理时,使用Actuator来管理这些应用将变得很吃力。因为,当你有N个应用程序需要管理时,每个应用程序都有自己独立的端点信息,维护这些独立的端点信息将是一件可怕的事情。
面对这样的窘境,Spring Boot为我们提供了另外一个神器——Spring Boot Admin Server。它可以统一的在一个地方来管理所有的端点信息,与此同时,CodeCentric团队还提供了一套基于VUE的管理界面,方便我们对各个应用程序进行管理。
在本章节中,我们将使用Spring Boot快熟的构建起一个Admin Server应用程序,在下一个章节中,我们将讲解Admin Client如何与Admin Server一起工作。
构建Spring Boot Admin Server
为了能够构建Admin Server应用程序,我们需要在Maven build文件中引入以下的两个依赖项:
<dependency>
    <groupId>de.codecentric</groupId>
    <artifactId>spring-boot-admin-starter-server</artifactId>
</dependency>
<dependency>
    <groupId>de.codecentric</groupId>
    <artifactId>spring-boot-admin-server-ui</artifactId>
</dependency>
其中,spring-boot-admin-server-ui为我们提供了一套漂亮的应用管理界面。
开启对Admin Server的支持
使用**@EnableAdminServer注解对应用程序的主类进行注释。@EnableAdminServer**注解可以让你的应用程序具备管理其他应用程序端点信息的能力。
package com.ramostear.application;

import de.codecentric.boot.admin.server.config.EnableAdminServer;
import org.springframework.boot.SpringApplication;
import org.springframework.boot.autoconfigure.SpringBootApplication;

@SpringBootApplication
@EnableAdminServer
public class AdminServerApplication {

	public static void main(String[] args) {
		SpringApplication.run(AdminServerApplication.class, args);
	}

}
配置应用程序
现在,在application.properties文件中定义如下的几个配置:
server.port=9091
spring.application.name= Admin-Server
spring.application.admin.enabled=true
第一个参数时设置应用程序的启动端口号为9091,第二个参数时设置应用的名称为**“Admin-Server”**,最后一个参数时开启Admin Server服务。
Maven build 文件清单
<?xml version="1.0" encoding="UTF-8"?>
<project xmlns="http://maven.apache.org/POM/4.0.0" xmlns:xsi="http://www.w3.org/2001/XMLSchema-instance"
	xsi:schemaLocation="http://maven.apache.org/POM/4.0.0 http://maven.apache.org/xsd/maven-4.0.0.xsd">
	<modelVersion>4.0.0</modelVersion>
	<parent>
		<groupId>org.springframework.boot</groupId>
		<artifactId>spring-boot-starter-parent</artifactId>
		<version>2.1.3.RELEASE</version>
		<relativePath/> <!-- lookup parent from repository -->
	</parent>
	<groupId>com.ramostear</groupId>
	<artifactId>admin-server</artifactId>
	<version>0.0.1-SNAPSHOT</version>
	<name>admin-server</name>
	<description>Demo project for Spring Boot</description>

	<properties>
		<java.version>1.8</java.version>
		<spring-boot-admin.version>2.1.3</spring-boot-admin.version>
	</properties>

	<dependencies>
		<dependency>
			<groupId>org.springframework.boot</groupId>
			<artifactId>spring-boot-starter</artifactId>
		</dependency>
		<dependency>
			<groupId>de.codecentric</groupId>
			<artifactId>spring-boot-admin-starter-server</artifactId>
		</dependency>
		<dependency>
			<groupId>de.codecentric</groupId>
			<artifactId>spring-boot-admin-server-ui</artifactId>
		</dependency>
		<dependency>
			<groupId>org.springframework.boot</groupId>
			<artifactId>spring-boot-starter-test</artifactId>
			<scope>test</scope>
		</dependency>
	</dependencies>

	<dependencyManagement>
		<dependencies>
			<dependency>
				<groupId>de.codecentric</groupId>
				<artifactId>spring-boot-admin-dependencies</artifactId>
				<version>${spring-boot-admin.version}</version>
				<type>pom</type>
				<scope>import</scope>
			</dependency>
		</dependencies>
	</dependencyManagement>

	<build>
		<plugins>
			<plugin>
				<groupId>org.springframework.boot</groupId>
				<artifactId>spring-boot-maven-plugin</artifactId>
			</plugin>
		</plugins>
	</build>

</project>
接下来,使用下面的Maven命令对项目进行打包:
mvn clean install
打包成功后,使用下面的命令运行JAR文件:
java -jar JARFILE
现在,应用程序已经在Tomcat上启动成功,端口号为:9091 。
2019-03-12 01:44:55.289  INFO 18044 --- [           main] o.s.b.a.e.web.EndpointLinksResolver      :
Exposing 2 endpoint(s) beneath base path '/actuator'
2019-03-12 01:44:55.803  INFO 18044 --- [           main] o.s.b.web.embedded.netty.NettyWebServer  :
Netty started on port(s): 9091
2019-03-12 01:44:55.806  INFO 18044 --- [           main] c.r.application.AdminServerApplication   :
Started AdminServerApplication in 2.81 seconds (JVM running for 3.933)
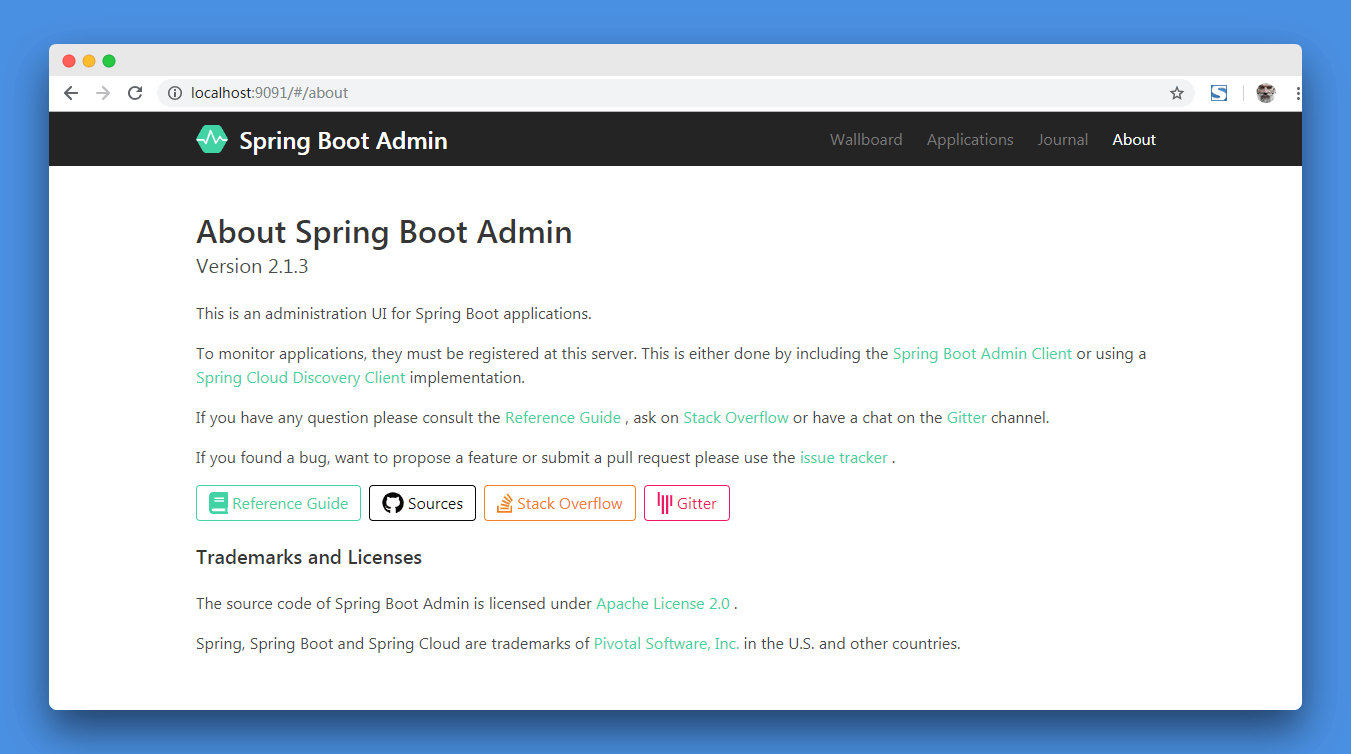
访问Admin Server
现在,打开Web浏览器,输入URL:http://localhost:9091/ ,然后查看服务管理的界面。
在下一章节中,我们将学习Admin Client的相关知识。
