Webpack
配置文件
- "name": 包名
- "version": 包的版本号
- main: 入口文件,一般都是 index.js
- scripts:支持的脚本,默认是一个空的 test
- keywords:关键字,有助于在人们使用 npm search 搜索时发现你的项目
- "description": 包的描述
- "author": 包的作者
- repository: 包代码的repo信息,包括type和URL,type可以
- 是git或者svn,url则是包的repo地址。
- license:默认是
- [MIT],项目许可证,让使用者知道是如何被允许使用此项目。
- "dependencies": 生产环境依赖包列表
- "devDependencies": 开发环境、测试环境依赖包列表
- engines: 声明项目需要的node或npm版本范围
package.josn文件
{
    "name": "myWebpack",
    "version": "1.0.0",
    "description": "",
    "main": "index.js",
    "scripts": {
      "test": "echo \"Error: no test specified\" && exit 1",
      "build": "webpack"
    },
    "keywords": [],
    "author": "",
    "license": "ISC",
    "devDependencies": {//开发模式

    babel转换Es6格式
      "babel-core": "^6.26.3",

      "babel-loader": "^7.0.2",
      "babel-preset-es2015": "^6.24.1",
      "html-webpack-plugin": "^3.2.0",
      "webpack": "^4.19.1",
      "webpack-cli": "^3.1.0"
    }
}
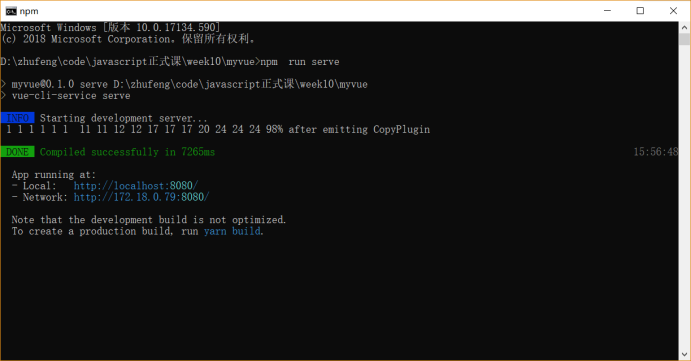
打开 cmd 使用(当前目录下) npm run build 执行即可
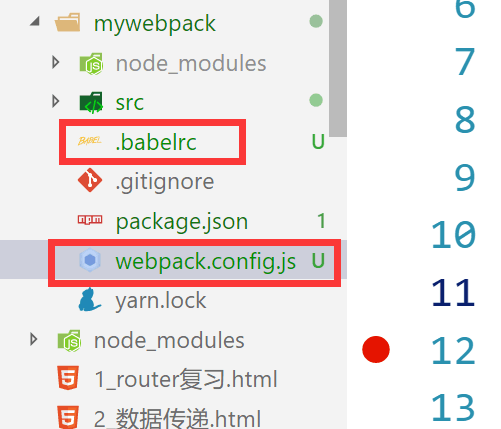
webpack.config.js
let path=require("path");//请求路径  是node
 let htmlWebpackPlugin=require("html-webpack-plugin");//第三方包
// 在webpack使用时插件时要自几引入
console.log(__dirname);
// console.log('==========================');
// console.log(path.resolve(__dirname,"dist"))//文件所在的路径
// export default{不支持es6的输出方式
module.exports={
    mode:"development",//开发 模式   上线模式'production'
    entry:"./src/index.js",//打包的入口文件
    //入口
    output:{
        path:path.resolve(__dirname,"dist"),//路径绝对路径  __dirname node定死的
        filename:"hello.js",//文件的名字

    },
    module:{
        // 对应模块
        rules:[
            // 对象里面两哥属性名
            // test文件类型
            // use:use:"babel-loader"转义的  前提是有babel-loader包
            // exclude:"node_modules"排除node里面的·1包
            {test:/\.js$/, use:"babel-loader",exclude:/node_modules/}//只转换自己的js文件
            // 将js我文件使用babel处理
        ]
    },plugins:[
        // 在上面引入之后在下方new
        // 这里面放一些插件
        new htmlWebpackPlugin({

        })
    ]
}
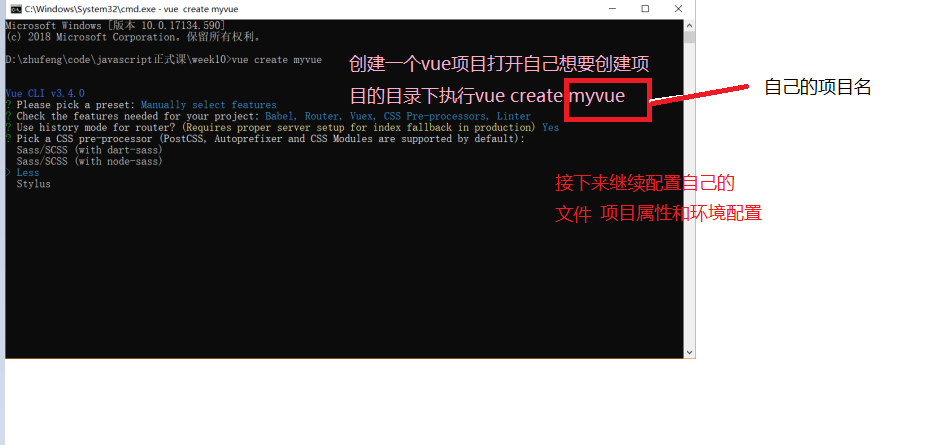
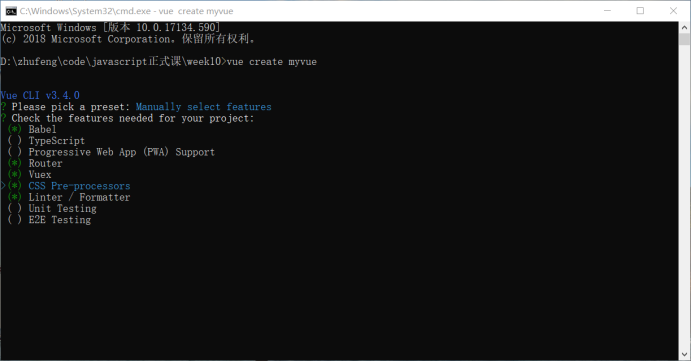
Vue脚手架3.0为例 搭建项目
接配置详情
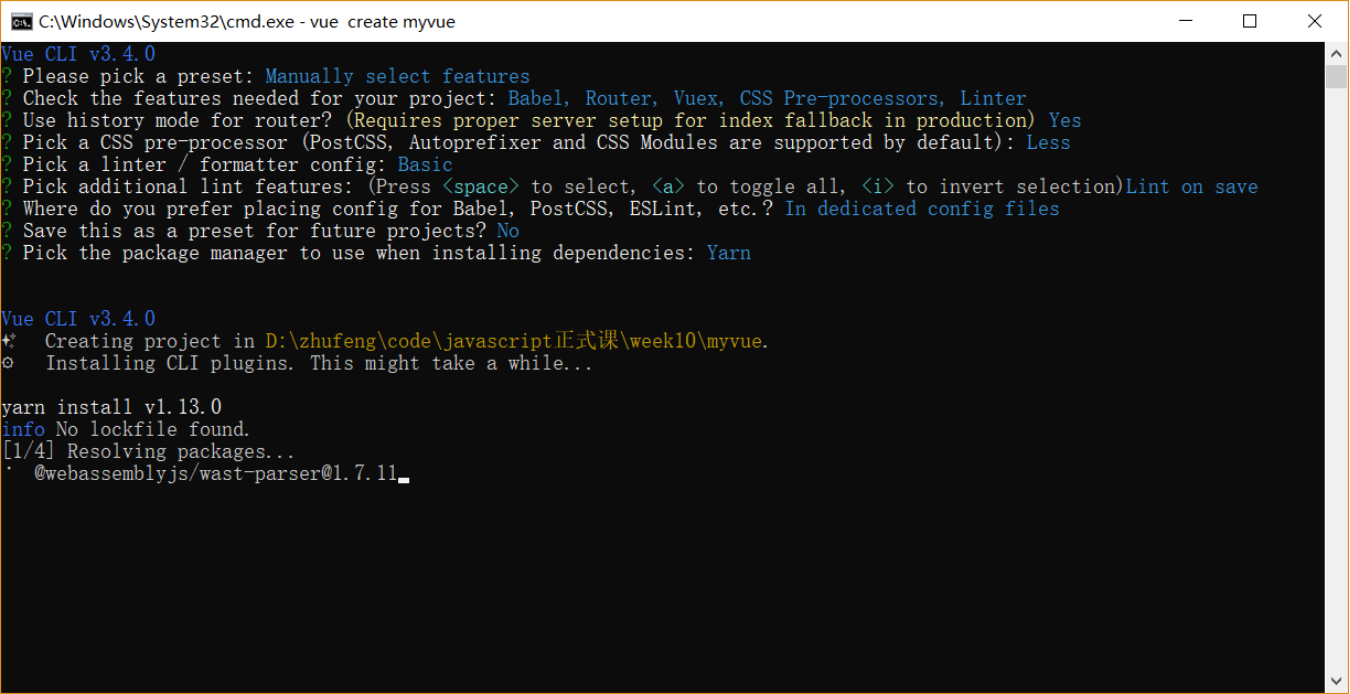
简单介绍按装Vue 2.0项目
直接npm i -g vue-cli 本机上已有3.0项目时 可以安装一个交接 npm i -g @vue-cli-init 创建过程 命令行 vue init webpack mytest2 最后一个单词项目名
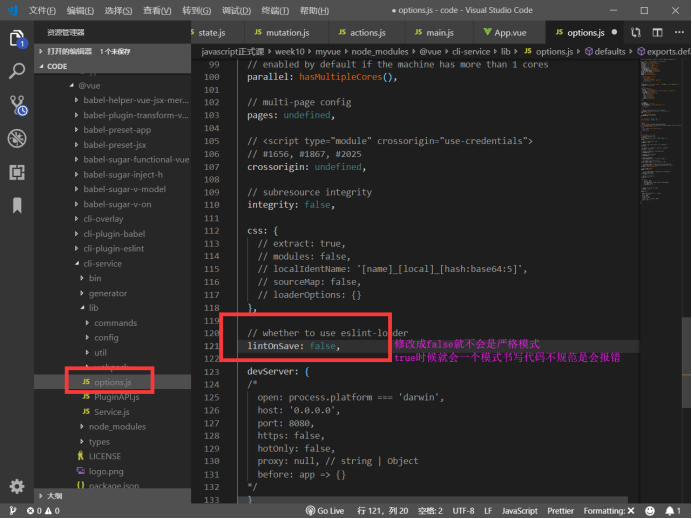
###修改配置文件 main.js文件是如入口文件 修改linkOnSave

router配置
import Vue from "vue";
import Router from "vue-router";
// 从vue-router 引入路由插件 命名为了router
// import Home from './views/Home.vue'
import home from "@/components/home/home.vue";
import list from "@/components/list/list.vue";
import collect from "@/components/collect/collect.vue";
import add from "@/components/add/add.vue";

// 引入时使用Vue.use(Router)使用时
Vue.use(Router);
const routes = [
  {
    path: "/",
    redirect: "/home",
    // 让index.vue 加载了之后再去加载home
    component:()=>import("./components/index.vue"),
    children:[{
      path: "/home",
      component: home
    },
    {
      path: "/list",
      component: list
    },
    {
      path: "/collect",
      component: collect
    },
    {
      path: "/add",
      component: add
    },]
  },
  {
    path:"/login",
    // 路由的懒加载
    // 只有走到login路径才会去加载对应的组件
    component: () => import('./components/login/login.vue')

  },

  {
    path: "/about",
    name: "about",
    // route level code-splitting
    // this generates a separate chunk (about.[hash].js) for this route
    // which is lazy-loaded when the route is visited.
    component: () => import(/* webpackChunkName: "about" */ "./views/About.vue")
  },
  {
    path: "/*",
    redirect: "/home"
  }
];

export default new Router({
  mode: "hash",
  base: process.env.BASE_URL,
  routes
});
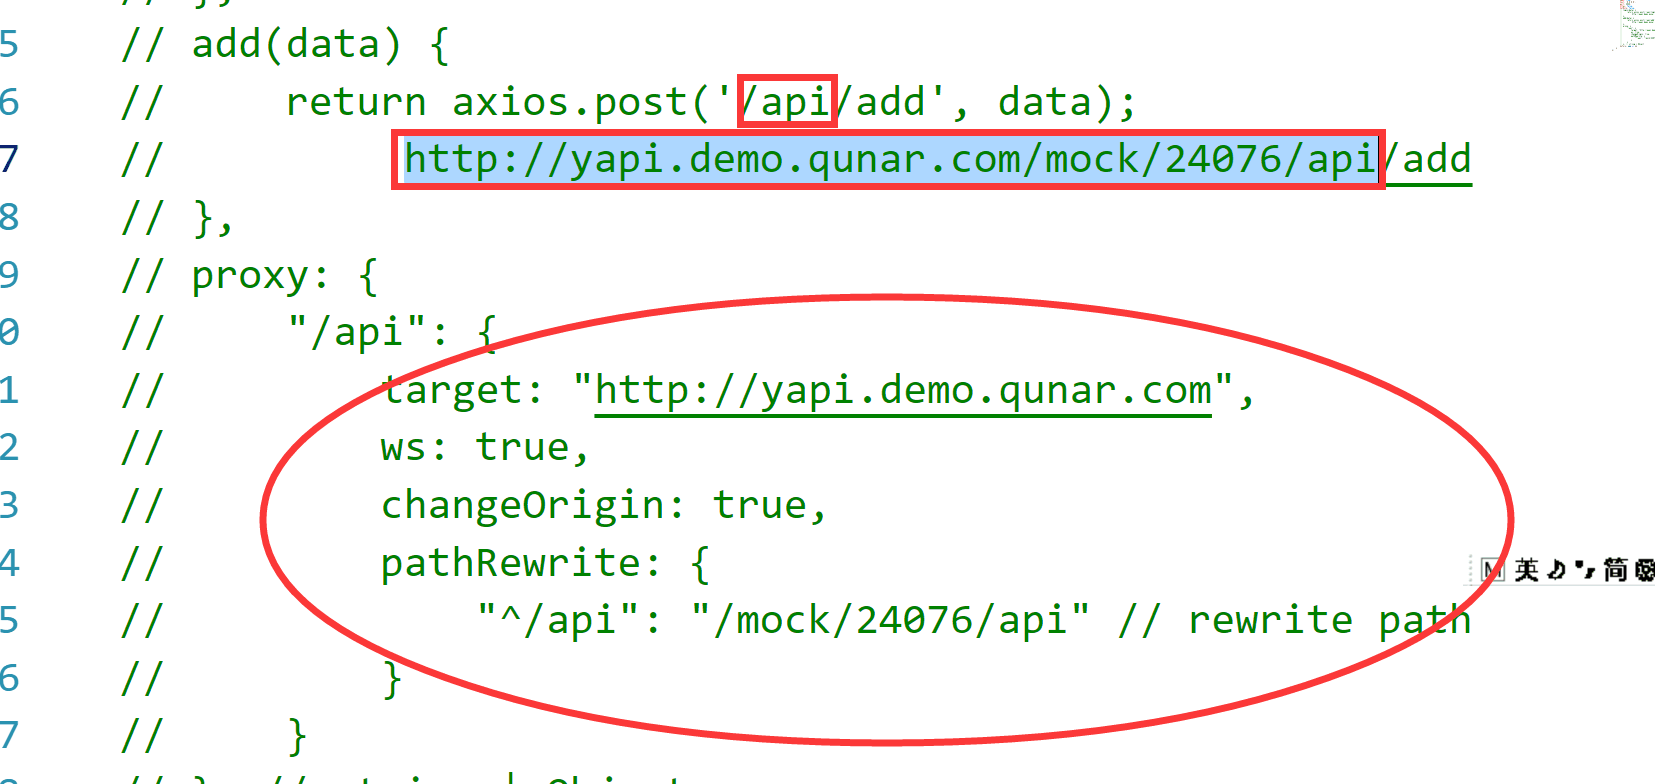
jsonp coxs proxy vue.config.js自己新建//开发时候使用
proxy 代理 处理多个·域名
vue.config.js