网上已经有很多NexT主题配置的教程,一搜一大堆; 所以我这边就简单说一下我个人(没那么搞)的一些配置,这些配置大部分在主题上已经存在,只需要将其value设为true,或者先下载dependency在设为true
基础配置
- 网站图标
favicon:
     small: /images/icon.jpeg
     apple_touch_icon: /images/icon.jpeg
     safari_pinned_tab: /images/logo.svg

- 网站底部小人换成红心形
footer:
  # Specify the date when the site was setup.
  # If not defined, current year will be used.
  #since: 2015  #此处可设置网站建站时间

  # Icon between year and copyright info.
  icon:
    # Icon name in fontawesome, see: https://fontawesome.com/v4.7.0/icons/
    # `heart` is recommended with animation in red (#ff0000).
    name: heart
    # If you want to animate the icon, set it to true.
    animated: false
    # Change the color of icon, using Hex Code.
    color: "#808080"
- 备案
 beian:
    enable: true
    icp: 你的备案号
- 社交网站图标链接(把想要显示的网站前面#去掉,改为自己的网站链接,并将下面的social_icons的enable属性设为true就ok)
    # Social Links
    # Usage: `Key: permalink || icon`
    # Key is the link label showing to end users.
    # Value before `||` delimeter is the target permalink.
    # Value after `||` delimeter is the name of FontAwesome icon. If icon (with or without delimeter) is not specified, globe icon will be loaded.
    social:
      GitHub: https://github.com/dasnnj || github
      E-Mail: mailto:dasnnj@outlook.com || envelope
      #Weibo: https://weibo.com/yourname || weibo
      #Google: https://plus.google.com/yourname || google
      #Twitter: https://twitter.com/yourname || twitter
      #FB Page: https://www.facebook.com/yourname || facebook
      #VK Group: https://vk.com/yourname || vk
      #StackOverflow: https://stackoverflow.com/yourname || stack-overflow
      #YouTube: https://youtube.com/yourname || youtube
      #Instagram: https://instagram.com/yourname || instagram
      #Skype: skype:yourname?call|chat || skype

social_icons:
  enable: true #设为true
  icons_only: false
  transition: false
- 头像
# Sidebar Avatar
avatar:
  # in theme directory(source/images): /images/avatar.gif
  # in site  directory(source/uploads): /uploads/avatar.gif
  # You can also use other linking images.
  url: /images/icon.jpeg
  # If true, the avatar would be dispalyed in circle.
  rounded: true #显示圆形头像
  # The value of opacity should be choose from 0 to 1 to set the opacity of the avatar.
  opacity: 1
  # If true, the avatar would be rotated with the cursor.
  rotated: false  #设为true则鼠标移到头像上时候,鼠标显示为手
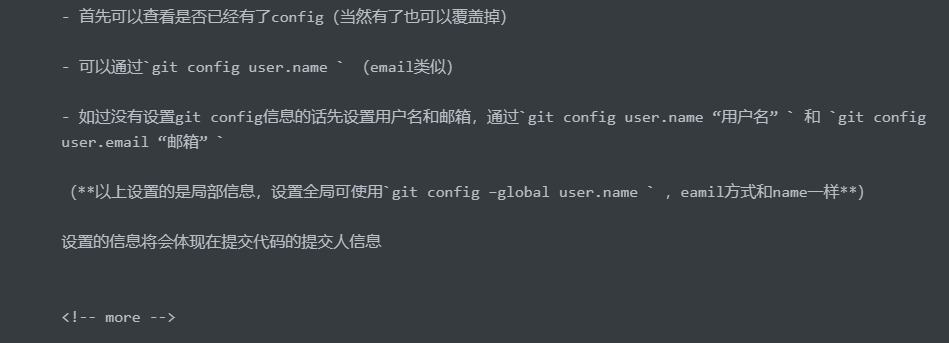
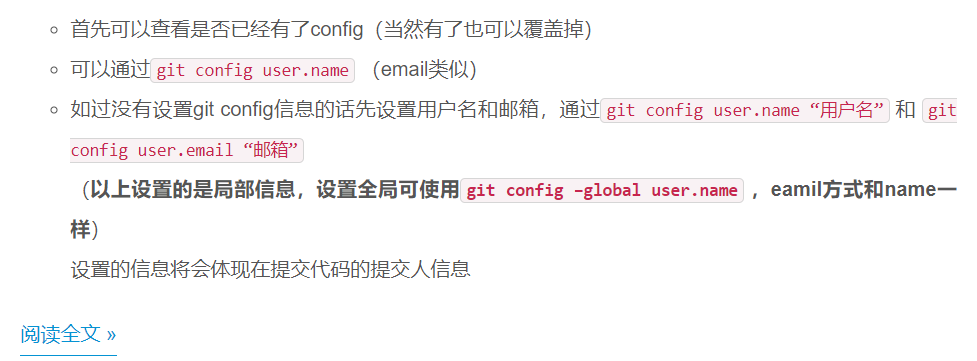
- 显示摘要 (下面的enable设为true即按照下面设定的高度显示摘要;官方推荐使用<!-- more -->自定义摘要长度;
read_more_btn设为true显示继续阅读按钮
# Automatically Excerpt. Not recommend.
# Use <!-- more --> in the post to control excerpt accurately.
# 显示摘要,不显示全文
auto_excerpt:
  enable: false
  length: 150

# Read more button
# If true, the read more button would be displayed in excerpt section.
read_more_btn: true


高级配置
- 打赏功能
# Reward
# If true, reward would be displayed in every article by default.
# And you can show or hide one article specially through add page variable `reward: true/false`.
# 打赏
reward:
  enable: true
  comment: 坚持原创技术分享,您的支持将鼓励我继续创作!
  wechatpay: /images/xxx.png
  alipay: /images/xxx.jpg
  # bitcoin: /images/unionpay.jpg
- 网站访问次数统计
busuanzi_count:
  enable: true
  total_visitors: true
  total_visitors_icon: user
  total_views: true
  total_views_icon: eye
  post_views: true
  post_views_icon: eye
- 本地搜索(需要npm安装denpendency)
# Local search
# Dependencies: https://github.com/theme-next/hexo-generator-searchdb
local_search:
  enable: true
  # if auto, trigger search by changing input
  # if manual, trigger search by pressing enter key or search button
  trigger: auto
  # show top n results per article, show all results by setting to -1
  top_n_per_article: 1
  # unescape html strings to the readable one
  unescape: false
参考主题提供的github地址github.com/theme-next/…, 在博客根目录下执行npm install hexo-generator-searchdb --save

-
图片弹出效果(鼠标移到图片上显示放大镜效果)请参考:github.com/theme-next/….
进入next主题目录下执行
git clone https://github.com/theme-next/theme-next-fancybox3 source/lib/fancybox通过配置fancybox,让网站中图片可以放大(**注意最终效果是clone到主题下面的source/lib/fancybox里面,而不是项目根目录的source/lib/fancybox),然后在主题配置的_config.yml中,搜索fancybox,改为fancybox: true
# Fancybox. There is support for old version 2 and new version 3.
# Choose only any one variant, do not need to install both.
# To install 2.x: https://github.com/theme-next/theme-next-fancybox
# To install 3.x: https://github.com/theme-next/theme-next-fancybox3
#图片展示效果img
fancybox: true

-
压缩代码(我使用的是all_minifier来优化代码)具体请参考:github.com/chenzhutian… 博客根目录下执行
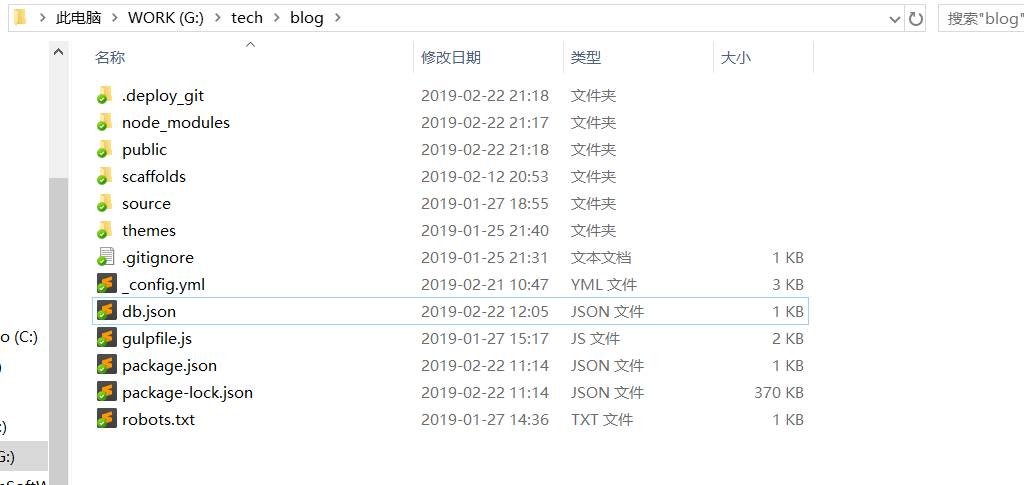
npm install hexo-all-minifier --save在nexT***主题***的_config.yml中添加all_minifier:true无需其他操作,便可在执行hexo g生成静态代码时候自动压缩看到很多人用的gulp.js来压缩,但是会报错,而且网上很多人给出的解决方案已经不能用了,我这边解决方案是一月份我使用的,是ok的 具体参考其他人的gulp安装;在博客根目录下面新建gulpfile.js,将下面代码复制进去,剩下的压缩操作和其他人的博客是相同的
var gulp = require('gulp');

//Plugins模块获取
var minifycss = require('gulp-minify-css');
var uglify = require('gulp-uglify');
var htmlmin = require('gulp-htmlmin');
var htmlclean = require('gulp-htmlclean');
//压缩css
gulp.task('minify-css', function () {
  return gulp.src('./public/**/*.css')
  .pipe(minifycss())
  .pipe(gulp.dest('./public'));
});
//压缩html
gulp.task('minify-html', function () {
  return gulp.src('./public/**/*.html')
  .pipe(htmlclean())
  .pipe(htmlmin({
    removeComments: true,
    minifyJS: true,
    minifyCSS: true,
    minifyURLs: true,
  }))

  .pipe(gulp.dest('./public'))
});
//压缩js 不压缩min.js
gulp.task('minify-js', function () {
  return gulp.src(['./public/**/*.js', '!./public/**/*.min.js'])
  .pipe(uglify())
  .pipe(gulp.dest('./public'));
});

//4.0以前的写法
//gulp.task('default', [
  //  'minify-html', 'minify-css', 'minify-js'
//]);
//4.0以后的写法
// 执行 gulp 命令时执行的任务
gulp.task('default', gulp.parallel('minify-html', 'minify-css', 'minify-js', function() {
  // Do something after a, b, and c are finished.
  return new Promise(function(resolve, reject) {
    console.log("gulp finished");
    resolve();
  }
  )}
  ));