

第一次写文章,不喜少喷😅,最好不喷,哈哈哈。如有错误,还请大佬提出,🙏🙏
作为一个前端开发,开发调试中console.log()还有alert(),不能再熟悉了,要是想在页面输出一个弹框,不能一直alert()吧,太反人类了,作为直男审美的我都接受不了,其实公司封装好了一个toast组件,但是最近在弄自己的毕业设计,就想自己也封装一个吧,😂就是想自己折腾折腾,绝对不是为了kpi!!!
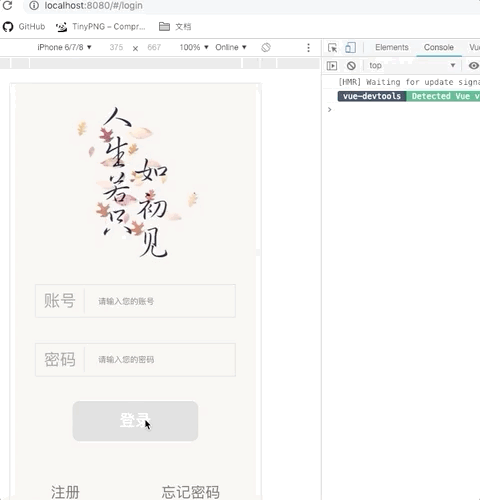
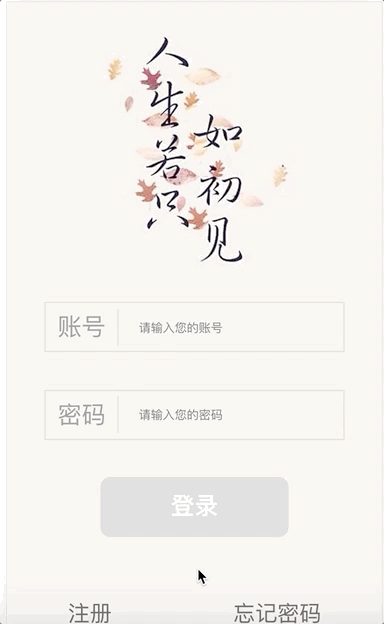
第一个图是alert(),微信端还有手机浏览器都不一样,总之调试的时候无所谓,但是想上线或者一个完整的项目,弹框肯定是有的,那就动手撸一个吧。
一. 新建一个Toast.vue文件
Toast.vue命名习惯很重要,之前一直被吐槽,组件还是首字母大写吧。一个好的编程习惯可以让你更好的进行团队开发,尤其是codeReview的时候。
<template>
  <div class="toast-item">hello world !</div>
</template>

<script>
export default {
  name: 'Toast'
</script>

<style scoped>
.toast-item {
  margin-bottom: 15px;
  padding: 10px 20px;
  line-height: 25px;
  color: #FFF;
  background-color: rgba(0, 0, 0, .9);
  border-radius: 5px;
  transition: all .3s;
}
</style>
二. 样式查看
这就是一个普通的vue文件,在使用的地方注册一下,就能看到页面,调整样式,这里就不用多说了。
三. ToastList.vue文件
之前看到一篇文章,每次弹窗都会在body后添加一个新的div,感觉性能不是很好,我使用这个文件,将toast的值传进来,这样就只添加一个div,只是改变div的内容
<template>
  <transition-group tag="div" class="toast-list" name="toast" v-bind="options">
    <toast-item v-for="toast in toasts" :key="toast.message" v-bind="toast" @remove="remove(toast)" />
  </transition-group>
</template>

<script>
import ToastItem from './Toast'

export default {
  name: 'ToastList',

  components: { ToastItem },

  props: ['options'],

  data () {
    return {
      toasts: []
    }
  },

  created () {
    document.body.appendChild(this.$mount().$el)
  },

  destroyed () {
    document.body.removeChild(this.$el)
  },

  methods: {
    add (toast = {}) {
      const { message } = toast

      if (
        message &&
        this.toasts.every(item => item.message !== message)
      ) {
        this.toasts.push(toast)
      }
    },

    remove (toast) {
      this.toasts = this.toasts.filter(item => item !== toast)
    }
  }
}
</script>

<style scoped>
.toast-list {
  position: fixed;
  top: 50px;
  left: 0;
  z-index: 9999;
  display: flex;
  flex-direction: column;
  align-items: center;
  width: 100%;
  pointer-events: none;
}

.toast-enter, .toast-leave-to {
  opacity: 0;
  transform: translate3d(0, -5px, 0);
}

.toast-leave-active {
  position: absolute;
}
</style>
四. 动态传值
toast弹出的文字是需要动态传进来的,所以,把之前的Toast.vue文件修改一下
<template>
  <div class="toast-item">{{ message }}</div>
</template>

<script>
export default {
  name: 'Toast',

  props: {
    message: String,
    duration: {
      type: Number,
      default: 2000
    }
  },

  mounted () {
    if (this.duration) {
      setTimeout(() => this.$emit('remove'), this.duration)
    }
  }
}
</script>

<style scoped>
.toast-item {
  margin-bottom: 15px;
  padding: 10px 20px;
  line-height: 25px;
  color: #FFF;
  background-color: rgba(0, 0, 0, .9);
  border-radius: 5px;
  transition: all .3s;
}
</style>
五. 如何加载组件
刚刚只是写的一个静态的vue文件,可是这并不是我们需要的效果,现在的需求是动态加载这个组件
在当前目录新建一个index.js(和Toast.vue等同级),直接放代码了
为了是组件可以复用,样式就不能写死,尤其是面对不同的甲方爸爸,有时候只要改个背景色,有时候改个位置,那就设置一个属性toast.listOptions专门来调整样式吧
import Vue from 'vue'
import ToastList from './ToastList'

let toastList

function toast (arg) {
  if (!toastList) {
    toastList = new Vue({
      extends: ToastList,
      propsData: {
        options: toast.listOptions
      }
    })
  }

  const toastItem = typeof arg === 'string'
    ? { message: arg }
    : arg

  toastList.add(toastItem)
}

toast.listOptions = {}
//注意这边export出来的是toast
export default toast
六. 使用
到这里,我们已经基本上完成了一个可以全局注册和动态加载的toast组件,只需要在页面中import一下
import toast from '../components/toast/index.js'

toast('Error !')

// custom options
toast({
  message: 'Error !',

  // auto close after 2000ms
  duration: 2000,

  //change style
  style: {
    color: '#F56C6C',
    background: '#FEF0F0',
    border: '1px solid #FDE2E2'
  }
})
