

以前用spring配置起来特别麻烦,最近发现 用springboot来做简直分分钟钟。而且网上的资料复制粘贴简直误人子弟。
activemq的下载就不多说了。不废话直接撸代码。
引入依赖配置pom
<?xml version="1.0" encoding="UTF-8"?>
<project xmlns="http://maven.apache.org/POM/4.0.0"
         xmlns:xsi="http://www.w3.org/2001/XMLSchema-instance"
         xsi:schemaLocation="http://maven.apache.org/POM/4.0.0 http://maven.apache.org/xsd/maven-4.0.0.xsd">
    <modelVersion>4.0.0</modelVersion>

    <groupId>egova</groupId>
    <artifactId>jms.client</artifactId>
    <version>1.0-SNAPSHOT</version>

    <parent>
        <groupId>org.springframework.boot</groupId>
        <artifactId>spring-boot-starter-parent</artifactId>
        <version>1.5.9.RELEASE</version>
        <relativePath/> <!-- lookup parent from repository -->
    </parent>
    <dependencies>
        <dependency>
            <groupId>org.springframework.boot</groupId>
            <artifactId>spring-boot-starter</artifactId>
        </dependency>
        <dependency>
            <groupId>org.springframework.boot</groupId>
            <artifactId>spring-boot-starter-activemq</artifactId>
        </dependency>
        <dependency>
            <groupId>org.springframework.boot</groupId>
            <artifactId>spring-boot-starter-web</artifactId>
        </dependency>
    </dependencies>

    <build>
        <plugins>
            <plugin>
                <groupId>org.springframework.boot</groupId>
                <artifactId>spring-boot-maven-plugin</artifactId>
            </plugin>
            <plugin>
                <groupId>org.apache.maven.plugins</groupId>
                <artifactId>maven-compiler-plugin</artifactId>
                <configuration>
                    <source>1.8</source>
                    <target>1.8</target>
                </configuration>
            </plugin>
        </plugins>
    </build>
</project>上边主要是引入spring-boot-starter-activemq
配置activemq
server:
  httpPort: 6666
  port: 8423
  context-path: /base-platform
  session:
    timeout: -1
  tomcat:
    uri-encoding: utf-8
  compression:
    enabled: true
spring:
  activemq:
    broker-url: tcp://localhost:61616
    user: admin
    password: admin
    packages:
      trust-all: true
    in-memory: false
  jackson:
    date-format: yyyy-MM-dd HH:mm:ss
    time-zone: GMT+8
    default-property-inclusion: non_empty
application.yml文件里头配置需要注意:
packages:
  trust-all: true
in-memory: false
如果你想直接发送对象消息,那么必须设置trust-all为true;另外如果你想开始消息持久化就必须关闭in-memory选项。
对于发送对象消息,对象必须实现Serializable接口,并且必须在代码里指定serialVersionUID的值,否则在消费端序列化的时候报错。
发布者代码编写
有了springboot这个神奇,简直是省了N多的配置工作。
package cn.com.egova.baseplatform.jms;

import org.apache.activemq.command.ActiveMQTopic;
import org.springframework.jms.core.JmsMessagingTemplate;
import org.springframework.jms.core.JmsTemplate;
import org.springframework.stereotype.Service;

import javax.annotation.Resource;
import javax.jms.Destination;

/**
 * @auther gongxufan
 * @date 2018/8/13
 **/
@Service
public class Publisher {

    @Resource
    private JmsMessagingTemplate jmsMessagingTemplate;

    public void publish(String destName, Object message) {
        JmsTemplate jmsTemplate = jmsMessagingTemplate.getJmsTemplate();
        //开启订阅模式
        jmsTemplate.setPubSubDomain(true);
        Destination destination = new ActiveMQTopic(destName);
        System.out.println("发布消息:" + message);
        jmsMessagingTemplate.convertAndSend(destination, message);
    }
}
就是这么简单有木有,直接引入JmsMessagingTemplate即可发送消息了。这里注意要开启订阅发布模式jmsTemplate.setPubSubDomain(true);
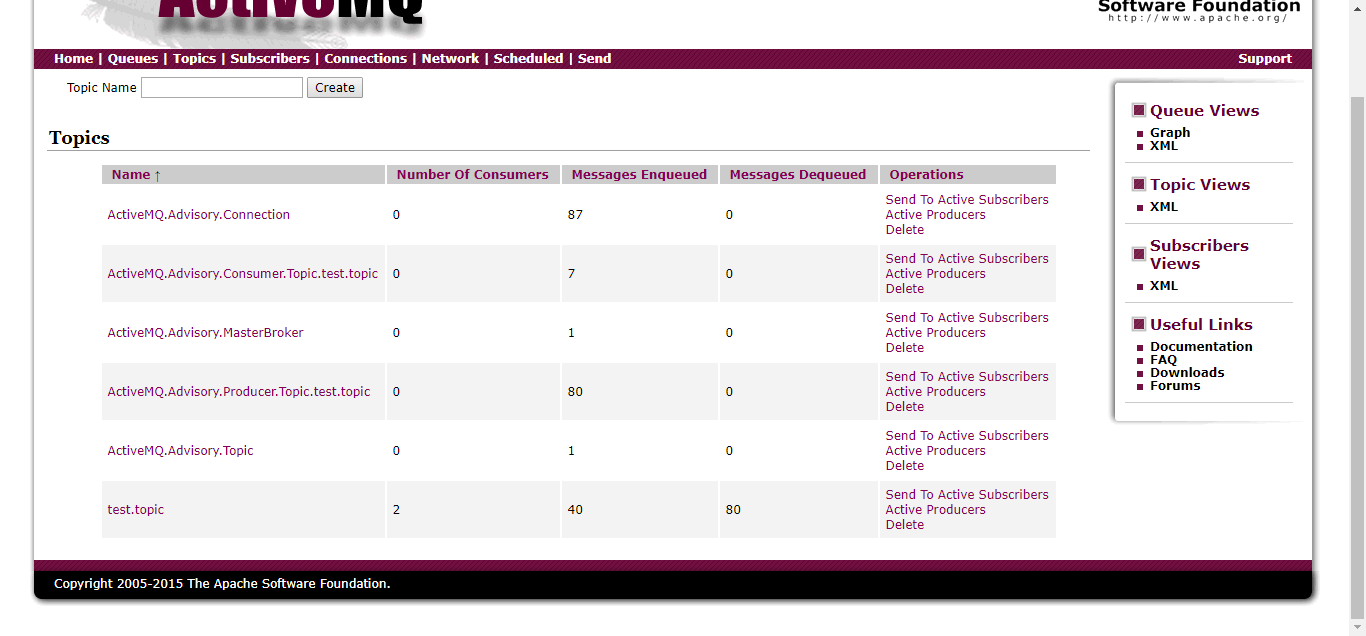
打开控制台即可查看已经发送的消息
订阅端代码编写
对于订阅者来说需要考虑一个事情:当发布消息的时候订阅端挂了,那么这个消息需要在订阅者下次启动的时候去消费。
来看订阅端的监听配置:
package client;

import org.springframework.context.annotation.Bean;
import org.springframework.context.annotation.Configuration;
import org.springframework.jms.config.JmsListenerContainerFactory;
import org.springframework.jms.config.SimpleJmsListenerContainerFactory;

import javax.jms.ConnectionFactory;

/**
 * @auther gongxufan
 * @date 2018/8/13
 **/
@Configuration
public class JmsConfig {
    @Bean
    JmsListenerContainerFactory<?> myJmsListenerContainerFactory(ConnectionFactory connectionFactory) {
        SimpleJmsListenerContainerFactory simpleJmsListenerContainerFactory = new SimpleJmsListenerContainerFactory();
        simpleJmsListenerContainerFactory.setConnectionFactory(connectionFactory);
        //开启订阅模式
        simpleJmsListenerContainerFactory.setPubSubDomain(true);
        //开启持久化订阅,订阅端不在线能保持未消费的消息
        simpleJmsListenerContainerFactory.setClientId("yuxi");
        simpleJmsListenerContainerFactory.setSubscriptionDurable(true);
        return simpleJmsListenerContainerFactory;
    }
}上边
上边设置了clientId以区分不同的订阅者,并且设置了持久化订阅。
再来看消息处理:
package client;

import cn.com.egova.baseplatform.entity.Tenant;
import org.apache.activemq.command.ActiveMQObjectMessage;
import org.springframework.jms.annotation.JmsListener;
import org.springframework.stereotype.Service;

import javax.jms.JMSException;

/**
 * @auther gongxufan
 * @date 2018/8/13
 **/
@Service
public class Subscriber {

    @JmsListener(destination = "test.topic", containerFactory = "myJmsListenerContainerFactory")
    public void subscriber(Object obj) {
        try {
            //接受对象消息
            if (obj instanceof ActiveMQObjectMessage) {
                Object sourObj = ((ActiveMQObjectMessage) obj).getObject();
                if (sourObj instanceof Tenant)
                    System.out.println("收到订阅消息:" + sourObj);
            }
        } catch (JMSException e) {
            e.printStackTrace();
        }
    }
}
containerFactory 指定监听容器工厂测试
- 发布服务后启动订阅端查看控制台打印信息
- 关闭订阅端,发布消息,然后启动订阅端查看是否收到消息
- 关闭订阅端,发布消息,关闭消息中间件,启动消息中间件,启动订阅端查看消息
总结
本篇只是快速上手,涉及到ACK消息确认以及其他问题需要根据自己的情况去解决。比如ACK机制可能需要根据自己的业务记录消息的消费情况,以免出现重复消费的问题。
