打开终端
准备工作
1. 安装homebrew, 如果已经安装, 请跳过 --->
$ /usr/bin/ruby -e "$(curl -fsSL https://raw.githubusercontent.com/Homebrew/install/master/install)"
2. 安装automake和libtool, 如果已经安装, 请跳过 --->
$ brew install automake
$ brew install libtool
$ git clone https://github.com/mingchen/protobuf-ios
准备工作完成以后,开始安装
4. cd进入protobuf-ios文件夹内,如果是按照上面步骤执行下来的话,请输出
$ cd protobuf-ios
如果是自己下载protobuf-ios框架的话,请cd入自己的文件内.
5. 然后开始安装,逐步执行以下指令
$ cd compiler
$ ./autogen.sh
$ ./configure
$ make
$ make install
以上步骤完成后就可以进行probuf文件解析了
为了简化操作,请打开clone或者下载好的protobuf-ios文件夹, 将文件下载密码:zig8拖入项目根目录内,修改后目录protobuf-ios文件夹目录为:
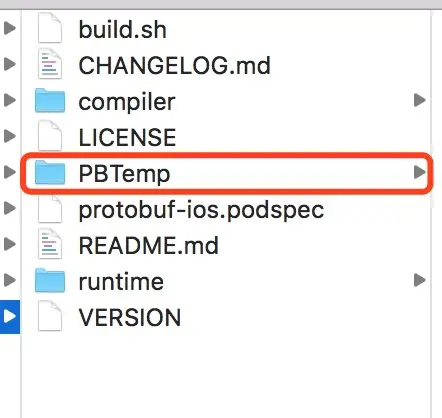
以后如果需要解析文件的话,只需要替换PBTemp内的protobuf.proto文件为待解析文件,然后终端cd入PBTemp文件夹内,执行
$ ./create.sh
即可完成解析,解析出来的.h和.m文件在/gen/objc/文件夹内。
以上。


