

关于dva的心得
由于之前都用react+redux。这次接触到dva框架简单学习下。 本篇文章主要讲解了dva框架中开发常用API和一些使用技巧,如果想查看更多更全面的API,请参照dva官方文档: 官方demo
简单的安装步骤
1.首先全局安装dva-cli
$ npm install -g dva-cli
2.接着使用dva-cli创建我们的项目文件夹,这里mydva是项目名字,自己随意。
$ dva new mydva
3.进入mydva目录,安装依赖,执行如下操作。
$ cd myapp
$ npm start
4.启动成功之后界面如下
5.文件目录以及分析
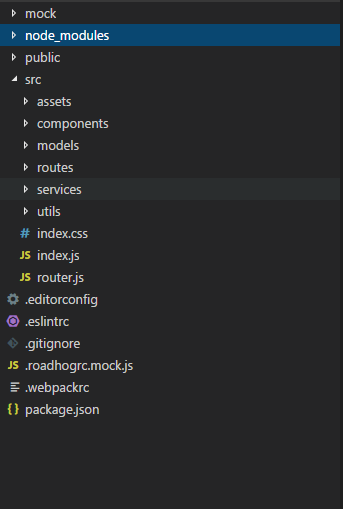
├── mock    // mock数据文件夹
├── node_modules // 第三方的依赖
├── public  // 存放公共public文件的文件夹
├── src  // 最重要的文件夹,编写代码都在这个文件夹下
│   ├── assets // 可以放图片等公共资源
│   ├── components // 就是react中的木偶组件
│   ├── models // dva最重要的文件夹,所有的数据交互及逻辑都写在这里
│   ├── routes // 就是react中的智能组件,不要被文件夹名字误导。
│   ├── services // 放请求借口方法的文件夹
│   ├── utils // 自己的工具方法可以放在这边
│   ├── index.css // 入口文件样式
│   ├── index.ejs // ejs模板引擎
│   ├── index.js // 入口文件
│   └── router.js // 项目的路由文件
├── .eslintrc // bower安装目录的配置
├── .editorconfig // 保证代码在不同编辑器可视化的工具
├── .gitignore // git上传时忽略的文件
├── .roadhogrc.js // 项目的配置文件,配置接口转发,css_module等都在这边。
├── .roadhogrc.mock.js // 项目的配置文件
└── package.json // 当前整一个项目的依赖
简单的demo,参考 官方的计算的demo
1.首先来修改 route/IndexPage.js
import React from 'react';
import { connect } from 'dva';
import styles from './IndexPage.css';

class IndexPage extends React.Component {
  render() {
    const { dispatch } = this.props;

    return (
      <div className={styles.normal}>
        <div className={styles.record}>Highest Record: 1</div>
        <div className={styles.current}>2</div>
        <div className={styles.button}>
          <button onClick={() => {}}>+</button>
        </div>
      </div>
    );
  }
}

export default connect()(IndexPage);
2.其次来修改样式routes/IndexPage.css
.normal {
  width: 200px;
  margin: 100px auto;
  padding: 20px;
  border: 1px solid #ccc;
  box-shadow: 0 0 20px #ccc;
}
.record {
  border-bottom: 1px solid #ccc;
  padding-bottom: 8px;
  color: #ccc;
}
.current {
  text-align: center;
  font-size: 40px;
  padding: 40px 0;
}
.button {
  text-align: center;
}
button {
  width: 100px;
  height: 40px;
  background: #aaa;
  color: #fff;
}
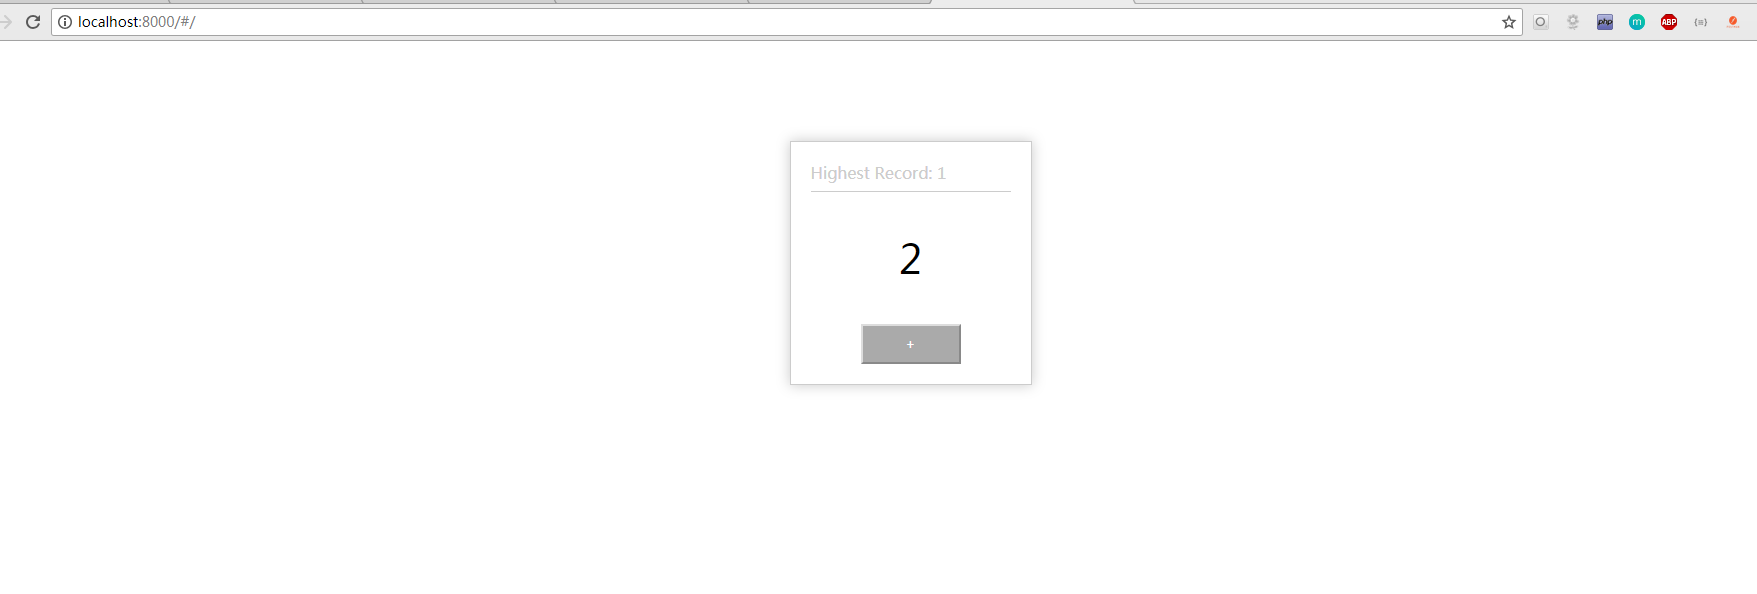
3.界面显示如下
4.在model 里面去处理 state ,在页面输出 model 中的 state
(1)首先我们在index.js中将models/example.js,即将model下一行的的注释打开。
import './index.css';

import dva from 'dva';
import model from './models/example'
import router from './router'

// 1. Initialize 创建dva实列
const app = dva();

// 2. Plugins 装载插件(可选)
// app.use({});

// 3. Model 注册modal
app.model(model);

// 4. Router 配置路由
app.router(router);

// 5. Start 启动应用
app.start('#root');
(2)接下来我们进入 models/example.js,将namespace 名字改为 count,state 对象加上 record 与 current 属性
export default {

  namespace: 'count',

  state: {
    record: 0,
    current: 0,
  },

  subscriptions: {
    setup({ dispatch, history }) {  // eslint-disable-lines
    },
  },

  effects: {
    *fetch({ payload }, { call, put }) {  // eslint-disable-line
      yield put({ type: 'save' });
    },
  },

  reducers: {
    save(state, action) {
      return { ...state, ...action.payload };
    },
  },

};
(3)接着我们来到 routes/indexpage.js 页面,通过的 mapStateToProps 引入相关的 state。
import React from "react";
import { connect } from "dva";
import styles from "./IndexPage.css";

class IndexPage extends React.Component {
  render() {
    const { dispatch, count } = this.props;

    return (
      <div className={styles.normal}>
        <div className={styles.record}>Highest Record: {count.record}</div>
        {/* // 将count的record输出 */}
        <div className={styles.current}>{count.current}</div>
        <div className={styles.button}>
          <button
            onClick={() => {
            }}
          >
            +
          </button>
        </div>
      </div>
    );
  }
}

function mapStateToProps(state) {
  return { count: state.count };
} // 获取state

export default connect(mapStateToProps)(IndexPage);
(4)这里需要说明下关于 React依赖注入说明(mapStateToProps/mapDispatchToProps)
将需要的
state的节点注入到与此视图数据相关的组件上
function mapStateToProps(state, ownProps) {
    return {
            loading:state.getIn(['projectPre', 'projectMgr', 'loading']),
            data:state.getIn(['APP', 'data']),
      ...
    }
    // loading、data都是来自对应的reduce
}
将需要绑定的响应事件注入到组件上
function mapDispatchToProps(dispatch){
    return {
        ...bindActionCreators(action, dispatch)
    }
}
// mapDispatchToProps()函数的bindActionCreators、action需要引入
    // import * as action from '../action';
    // import { bindActionCreators } from 'redux';
------------------------------------
------------------------------------
// 多个action 引入
import * as action from '../action';
import * as action2 from '../../../inde/action';
function mapDispatchToProps(dispatch){
    return {
        ...bindActionCreators(action, dispatch)
        ...bindActionCreators(action2, dispatch)
    }
}

------------------------------------
------------------------------------
// 引入一个action里面的多个方法
import { activeOrAbandonedApproval, showSeller, getAddOrderDiscounts } from '../orderInfo/action'
function mapDispatchToProps(dispatch) {
  return {
    ...bindActionCreators({ activeOrAbandonedApproval, showSeller, getAddOrderDiscounts }, dispatch)
  }
}
(5)通过+发送 action,通过 reducer 改变相应的 state
export default {
  ...
  reducers: {
    add1(state) {
      const newCurrent = state.current + 1;
      return { ...state,
        record: newCurrent > state.record ? newCurrent : state.record,
        current: newCurrent,
      };
    },
    minus(state) {
      return { ...state, current: state.current - 1 };
    },
  },
};
(6)首先我们在 models/example.js,写相应的 reducer。
export default {
  namespace: "count",

  state: {
    record: 0,
    current: 0
  },

  subscriptions: {
    setup({ dispatch, history }) {
      // eslint-disable-lines
    }
  },

  effects: {
    *fetch({ payload }, { call, put }) {
      // eslint-disable-line
      yield put({ type: "save" });
    }
  },

  reducers: {
    add(state) {
      const newCurrent = state.current + 1;
      return {
        ...state,
        record: newCurrent > state.record ? newCurrent : state.record,
        current: newCurrent
      };
    },
    minus(state) {
      return { ...state, current: state.current - 1 };
    }
  }
};
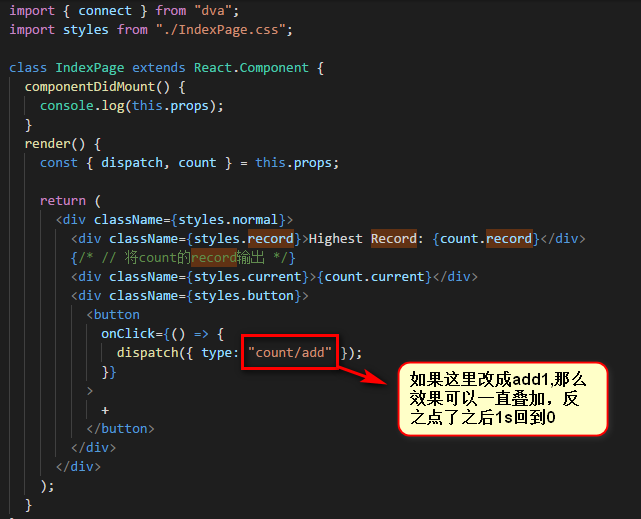
(7)在页面的模板 routes/IndexPage.js 中 + 号点击的时候,dispatch 一个 action
import React from "react";
import { connect } from "dva";
import styles from "./IndexPage.css";

class IndexPage extends React.Component {
  componentDidMount() {
    console.log(this.props);
  }
  render() {
    const { dispatch, count } = this.props;

    return (
      <div className={styles.normal}>
        <div className={styles.record}>Highest Record: {count.record}</div>
        {/* // 将count的record输出 */}
        <div className={styles.current}>{count.current}</div>
        <div className={styles.button}>
          <button
            onClick={() => {
              dispatch({ type: "count/add" });
            }}
          >
            +
          </button>
        </div>
      </div>
    );
  }
}

function mapStateToProps(state) {
  return { count: state.count };
} // 获取state

export default connect(mapStateToProps)(IndexPage);
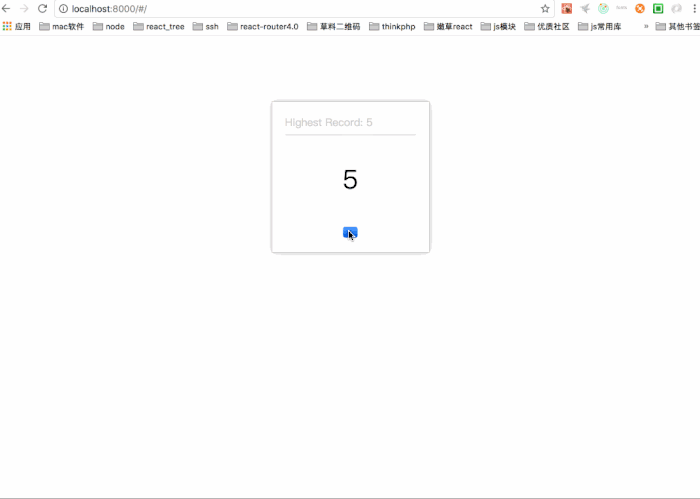
效果如下:
5.接下来我们来使用 effect 模拟一个数据接口请求,返回之后,通过 yield put() 改变相应的state
(1)首先我们替换相应的 models/example.js 的 effect
effects: {
    *add(action, { call, put }) {
      yield call(delay, 1000);
      yield put({ type: 'minus' });
    },
},
(2)这里的 delay,写的一个延时的函数,我们在 utils 里面编写一个 utils.js ,一般请求接口的函数都会写在 servers文件夹中。
export function delay(timeout) {
  return new Promise((resolve) => {
    setTimeout(resolve, timeout);
  });
}
(3)接着在 models/example.js 导入这个 utils.js
import { delay } from '../utils/utils';
6.订阅订阅键盘事件,使用 subscriptions,当用户按住command+up 时候触发添加数字的 action
(1)你需要安装 keymaster 这个依赖
npm install keymaster --save
(2)在models/example.js中作如下修改,这里windows中的up就是键盘的↑.
import key from 'keymaster';
...
app.model({
  namespace: 'count',
+  subscriptions: {
+    keyboardWatcher({ dispatch }) {
+      key('⌘+up, ctrl+up', () => { dispatch({type:'add'}) });
+    },
+  },
});
7.例子中我们看到当我们不断点击+按钮之后,我们会看到current会不断加一,但是1s过后,他会自动减到零。那么我们如何修改呢?
(1)我们应该在effect中发送一个关于添加的action,但是我们在effect中不能直接这么写
effects: {
    *add(action, { call, put }) {
      yield put({ type: 'add' });
      yield call(delay, 1000);
      yield put({ type: 'minus' });
    },
  },
因为如果这样的话,effect与reducers中的add方法重合了,这里会陷入一个死循环,因为当组件发送一个dispatch的时候,model会首先去找effect里面的方法,当又找到add的时候,就又会去请求effect里面的方法。
(2)应该更改reducers里面的方法,使它不与effect的方法一样,将reducers中的add改为add1.
reducers: {
    add1(state) {
      const newCurrent = state.current + 1;
      return { ...state,
        record: newCurrent > state.record ? newCurrent : state.record,
        current: newCurrent,
      };
    },
    minus(state) {
      return { ...state, current: state.current - 1};
    },
  },
  effects: {
    *add(action, { call, put }) {
      yield put({ type: 'add1' });
      yield call(delay, 1000);
      yield put({ type: 'minus' });
    },
  },
结语
关于dva框架的model总结
1.state
这里的
state跟之前用state的概念是一样的,只不过她的优先级比初始化的低,但在项目中的state基本都是在这里定义的。
2.namespace
model的命名空间,同时也是他在全局state上的属性,只能用字符串,我们发送在发送action到相应的reducer时,就会需要用到namespace。
3.Reducer
以
key/value格式定义reducer,用于处理同步操作,唯一可以修改state的地方。由action触发。其实一个纯函数。
4.Effect
用于处理异步操作和业务逻辑,不直接修改
state,简单的来说,就是获取从服务端获取数据,并且发起一个action交给reducer的地方。
其中它用到了redux-saga,里面有几个常用的函数。
*add(action, { call, put }) {
    yield call(delay, 1000);
    yield put({ type: 'minus' });
},
5.Effects
(1) put,用于触发action
yield put({ type: '',payload:'' });
(2)call 用于异步逻辑处理,支持Promise
const result= yield call(fetch,'');
(3)select 用于state获取数据
const todo = yield select(state=>state.todo);
6.Subscription
subscription是订阅,用于订阅一个数据源,然后根据需要dispatch相应的action。在app.start()时被执行,数据源可以是当前的时间、当前页面的url、服务器的websocket连接、history路由变化等等。
