

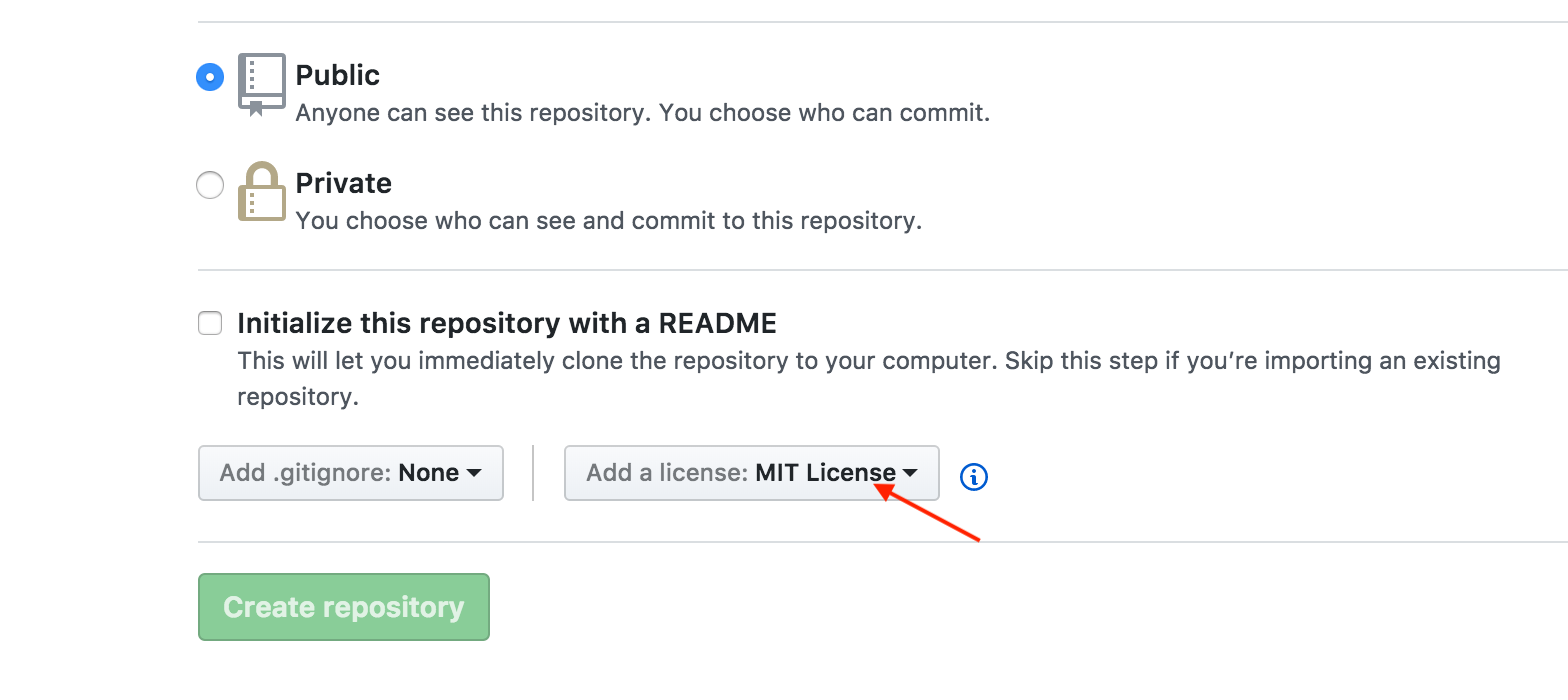
1、在GitHub上创建一个远程仓库,并选择License文件。
2、创建自己的项目,并调整好目录结构

3、创建.podspec
该文件描述项目的信息。
在项目的目录下使用终端命令创建
pod spec create PFExtension
Pod::Spec.new do |s|

  s.name         = "PFExtension"
  s.version      = "0.0.1"
  s.summary      = "some classes extension"
  s.homepage     = "https://github.com/pengfei2015/PFExtension"
  s.license      = { :type => "MIT" }
  s.author             = { "xxxxxx" => "xxxxxxx@xx.com" }
  s.platform     = :ios
  s.platform     = :ios, "9.0"
  s.source       = { :git => "https://github.com/pengfei2015/PFExtension.git", :tag => "#{s.version}" }
  s.source_files  = "Soureces/*.swift"

end
4、验证.podspec文件的格式
pod lib lint
5、解决验证的error
1、The validator for Swift projects uses Swift 3.0 by default, if you are using a different version of swift you can use a .swift-version file to set the version for your Pod. For example to use Swift 2.3, run:
`echo "4.0" > .swift-version` // swift版本号
2、WARN | [iOS] license: Unable to find a license file
这是因为本地创建的项目里没有license文件,将GitHub上的文件拉下来就行 如果创建远程仓库的时候忘记选择,可以在首页创建文件,填入license后,右边会有模板,选择创建就行
6、关联GitHub
    git remote add origin https://github.com/pengfei2015/PFExtension.git
    git push -u origin master
7、创建版本号(tag)
    git tag 0.0.1 // git tag -a 0.0.1 -m "备注"
    git push --tags
8、注册cocoapods
pod trunk register GitHub_email 'user_name' --verbose
等待终端显示成功后登陆邮箱验证
9、提交spec
pod trunk push PFExtension.podspec
10、提示成功后删除本地缓存的search_index.json
rm ~/Library/Caches/CocoaPods/search_index.json
