

引: Retrofit 想必做Android开发的我们已经不再陌生了.但通常都是使用
Library Dependency的方式进行包引入,在开发中带来了很多便利.
今天带来的是使用Module Dependency的方式这本地进行引用,将项目关联到GitHub进行实时pull操作,并创建Android Application的形式进行调试 / 二次开发等操作.Retrofit项目是以Maven进行构建的,需要对该项目变换成Android Application可引用的以Gradle构建的Android Library.
拉取GitHub上的Retrofit项目
- 打开
Retrofit项目地址
查看项目结构为Maven形式构建的项目.关键代码目录为./retrofit/main/java/retrofit2
- 拉取代码到本地
不建议使用
Zip包下载,后期还需手动进行Git仓库关联的操作.
创建Android Application Project
- 打开
Android Studio- >Start a New Android Studio project创建新项目
默认选项即可.
- 创建
Retrofit Module并引入当前Android Application中
创建一个Android Library即可
Library配置信息如下
创建完成后查看当前项目配置
app module形式依赖 retrofit
将 Github / Retrofit 项目中的所有文件Copy 合并到当前目录
-
将
Android项目根目录中的.gitignore文件重命名 -
复制 - 合并文件夹
-
合并后项目文件夹
Android Studio中添加Git版本控制根目录
至此,Retrofit的源码已经成功关联,并跟踪到Github / Retrofit
奇怪的地方
因为之前创建的Library包名为retrofit2.a,手动将.a的文件夹删除即可.
顺便将
Manifests文件中的package属性也删除.a
为Retrofit2添加依赖
-
运行项目,查看报错提醒
-
添加
okhttp3依赖 -
Nullable注解Cannot resolve
修改该类,将Java8 相关判断逻辑删除即可.
/*
 * Copyright (C) 2013 Square, Inc.
 *
 * Licensed under the Apache License, Version 2.0 (the "License");
 * you may not use this file except in compliance with the License.
 * You may obtain a copy of the License at
 *
 *      http://www.apache.org/licenses/LICENSE-2.0
 *
 * Unless required by applicable law or agreed to in writing, software
 * distributed under the License is distributed on an "AS IS" BASIS,
 * WITHOUT WARRANTIES OR CONDITIONS OF ANY KIND, either express or implied.
 * See the License for the specific language governing permissions and
 * limitations under the License.
 */
package retrofit2;
import android.os.Build;
import android.os.Handler;
import android.os.Looper;
import java.lang.reflect.Method;
import java.util.concurrent.Executor;
import javax.annotation.Nullable;
class Platform {
  private static final Platform PLATFORM = findPlatform();
  static Platform get() {
    return PLATFORM;
  }
  private static Platform findPlatform() {
    try {
      Class.forName("android.os.Build");
      if (Build.VERSION.SDK_INT != 0) {
        return new Android();
      }
    } catch (ClassNotFoundException ignored) {
    }
    return new Platform();
  }
  @Nullable
  Executor defaultCallbackExecutor() {
    return null;
  }
  CallAdapter.Factory defaultCallAdapterFactory(@Nullable Executor callbackExecutor) {
    if (callbackExecutor != null) {
      return new ExecutorCallAdapterFactory(callbackExecutor);
    }
    return DefaultCallAdapterFactory.INSTANCE;
  }
  boolean isDefaultMethod(Method method) {
    return false;
  }
  @Nullable
  Object invokeDefaultMethod(Method method, Class declaringClass, Object object,
                             @Nullable Object... args) throws Throwable {
    throw new UnsupportedOperationException();
  }
  static class Android extends Platform {
    @Override
    public Executor defaultCallbackExecutor() {
      return new MainThreadExecutor();
    }
    @Override
    CallAdapter.Factory defaultCallAdapterFactory(@Nullable Executor callbackExecutor) {
      if (callbackExecutor == null) throw new AssertionError();
      return new ExecutorCallAdapterFactory(callbackExecutor);
    }
    static class MainThreadExecutor implements Executor {
      private final Handler handler = new Handler(Looper.getMainLooper());
      @Override
      public void execute(Runnable r) {
        handler.post(r);
      }
    }
  }
}
再次运行,安装成功
现在可以使用
cmd + T更新Github / Retrofit的代码,并可以基于当前的retrofit module进行二次开发. 可以提交到本地Git仓库进行版本比对、push到其他远端仓库.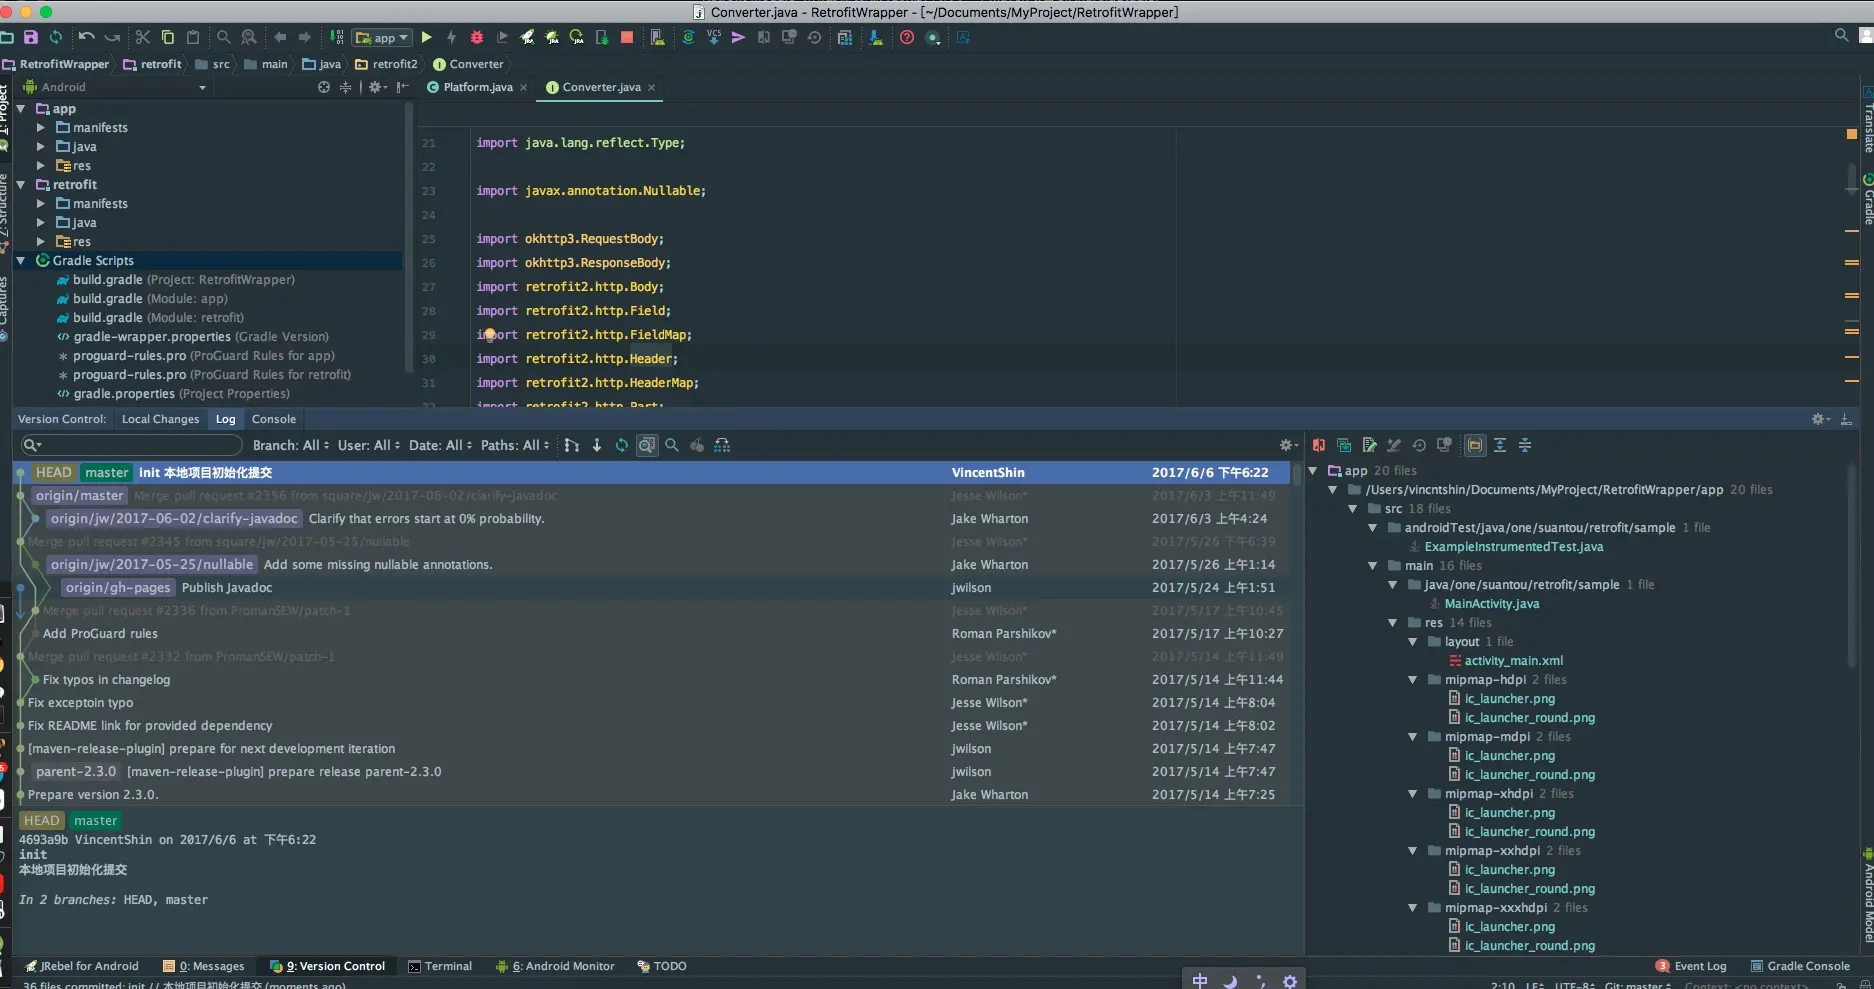
最后更新时间:
这里写留言或版权声明:www.suantou.one/2017/06/06/…
