文章分享至我的个人博客:https://cainluo.github.io/14773198375857.html
作者感言
前一章我们了解真正了CALayer是干嘛的, 《Core Animation》初识CALayer今天我们就来讲讲CALayer Geometry. 最后: 如果你有更好的建议或者对这篇文章有不满的地方, 请联系我, 我会参考你们的意见再进行修改, 联系我时, 请备注
Core Animation如果觉得好的话, 希望大家也可以打赏一下~嘻嘻~祝大家学习愉快~谢谢~
简介
CALayer Geometry讲得是图层的几何, 主要内容分别有Layout, anchorPoint, Coordinate Systems, Hit Testing, Automatic Layout, 待我们一一去了解和学习~
Layout
Layout顾名思义就是布局的意思, 这一段讲的是视图和图层简单的布局, 比如UIView里面有frame, bounds, center, CALayer里面有frame, bounds, position. 这里对布局属性进行一下解释:
- frame: 代表了的是图层外部的一个坐标轴, 也是相对于父视图.
- bounds: 代表了的是内部坐标轴, 它的原点永远都是**{0, 0}**, 是相对于本视图的位置和大小.
- center以及position: 代表的是现对于父视图所在的位置, 也就是我们经常所说的中心点, 但是呢, 其实这个说法不太对, 其实是应该相对于父视图anchorPoint属性所在的位置才对,anchorPoint属性我们后面再解释, 现在让它打一下酱油先.
我们来看看Demo中的实例:
- (void)viewDidLoad {
    [super viewDidLoad];

    [self logViewAndLayer];
}

- (void)logViewAndLayer {

    NSLog(@"View X: %f", self.view.center.x);
    NSLog(@"View Y: %f", self.view.center.y);
    NSLog(@"View Frame Width: %f", self.view.frame.size.width);
    NSLog(@"View Frame Height: %f", self.view.frame.size.height);
    NSLog(@"View Bounds Width: %f", self.view.bounds.size.width);
    NSLog(@"View Bounds Height: %f", self.view.bounds.size.height);
    NSLog(@"\n");
    NSLog(@"Layer X: %f", self.view.layer.position.x);
    NSLog(@"Layer Y: %f", self.view.layer.position.y);
    NSLog(@"Layer Frame Width: %f", self.view.layer.frame.size.width);
    NSLog(@"Layer Frame Height: %f", self.view.layer.frame.size.height);
    NSLog(@"Layer Bounds Width: %f", self.view.layer.bounds.size.width);
    NSLog(@"Layer Bounds Height: %f", self.view.layer.bounds.size.height);
}
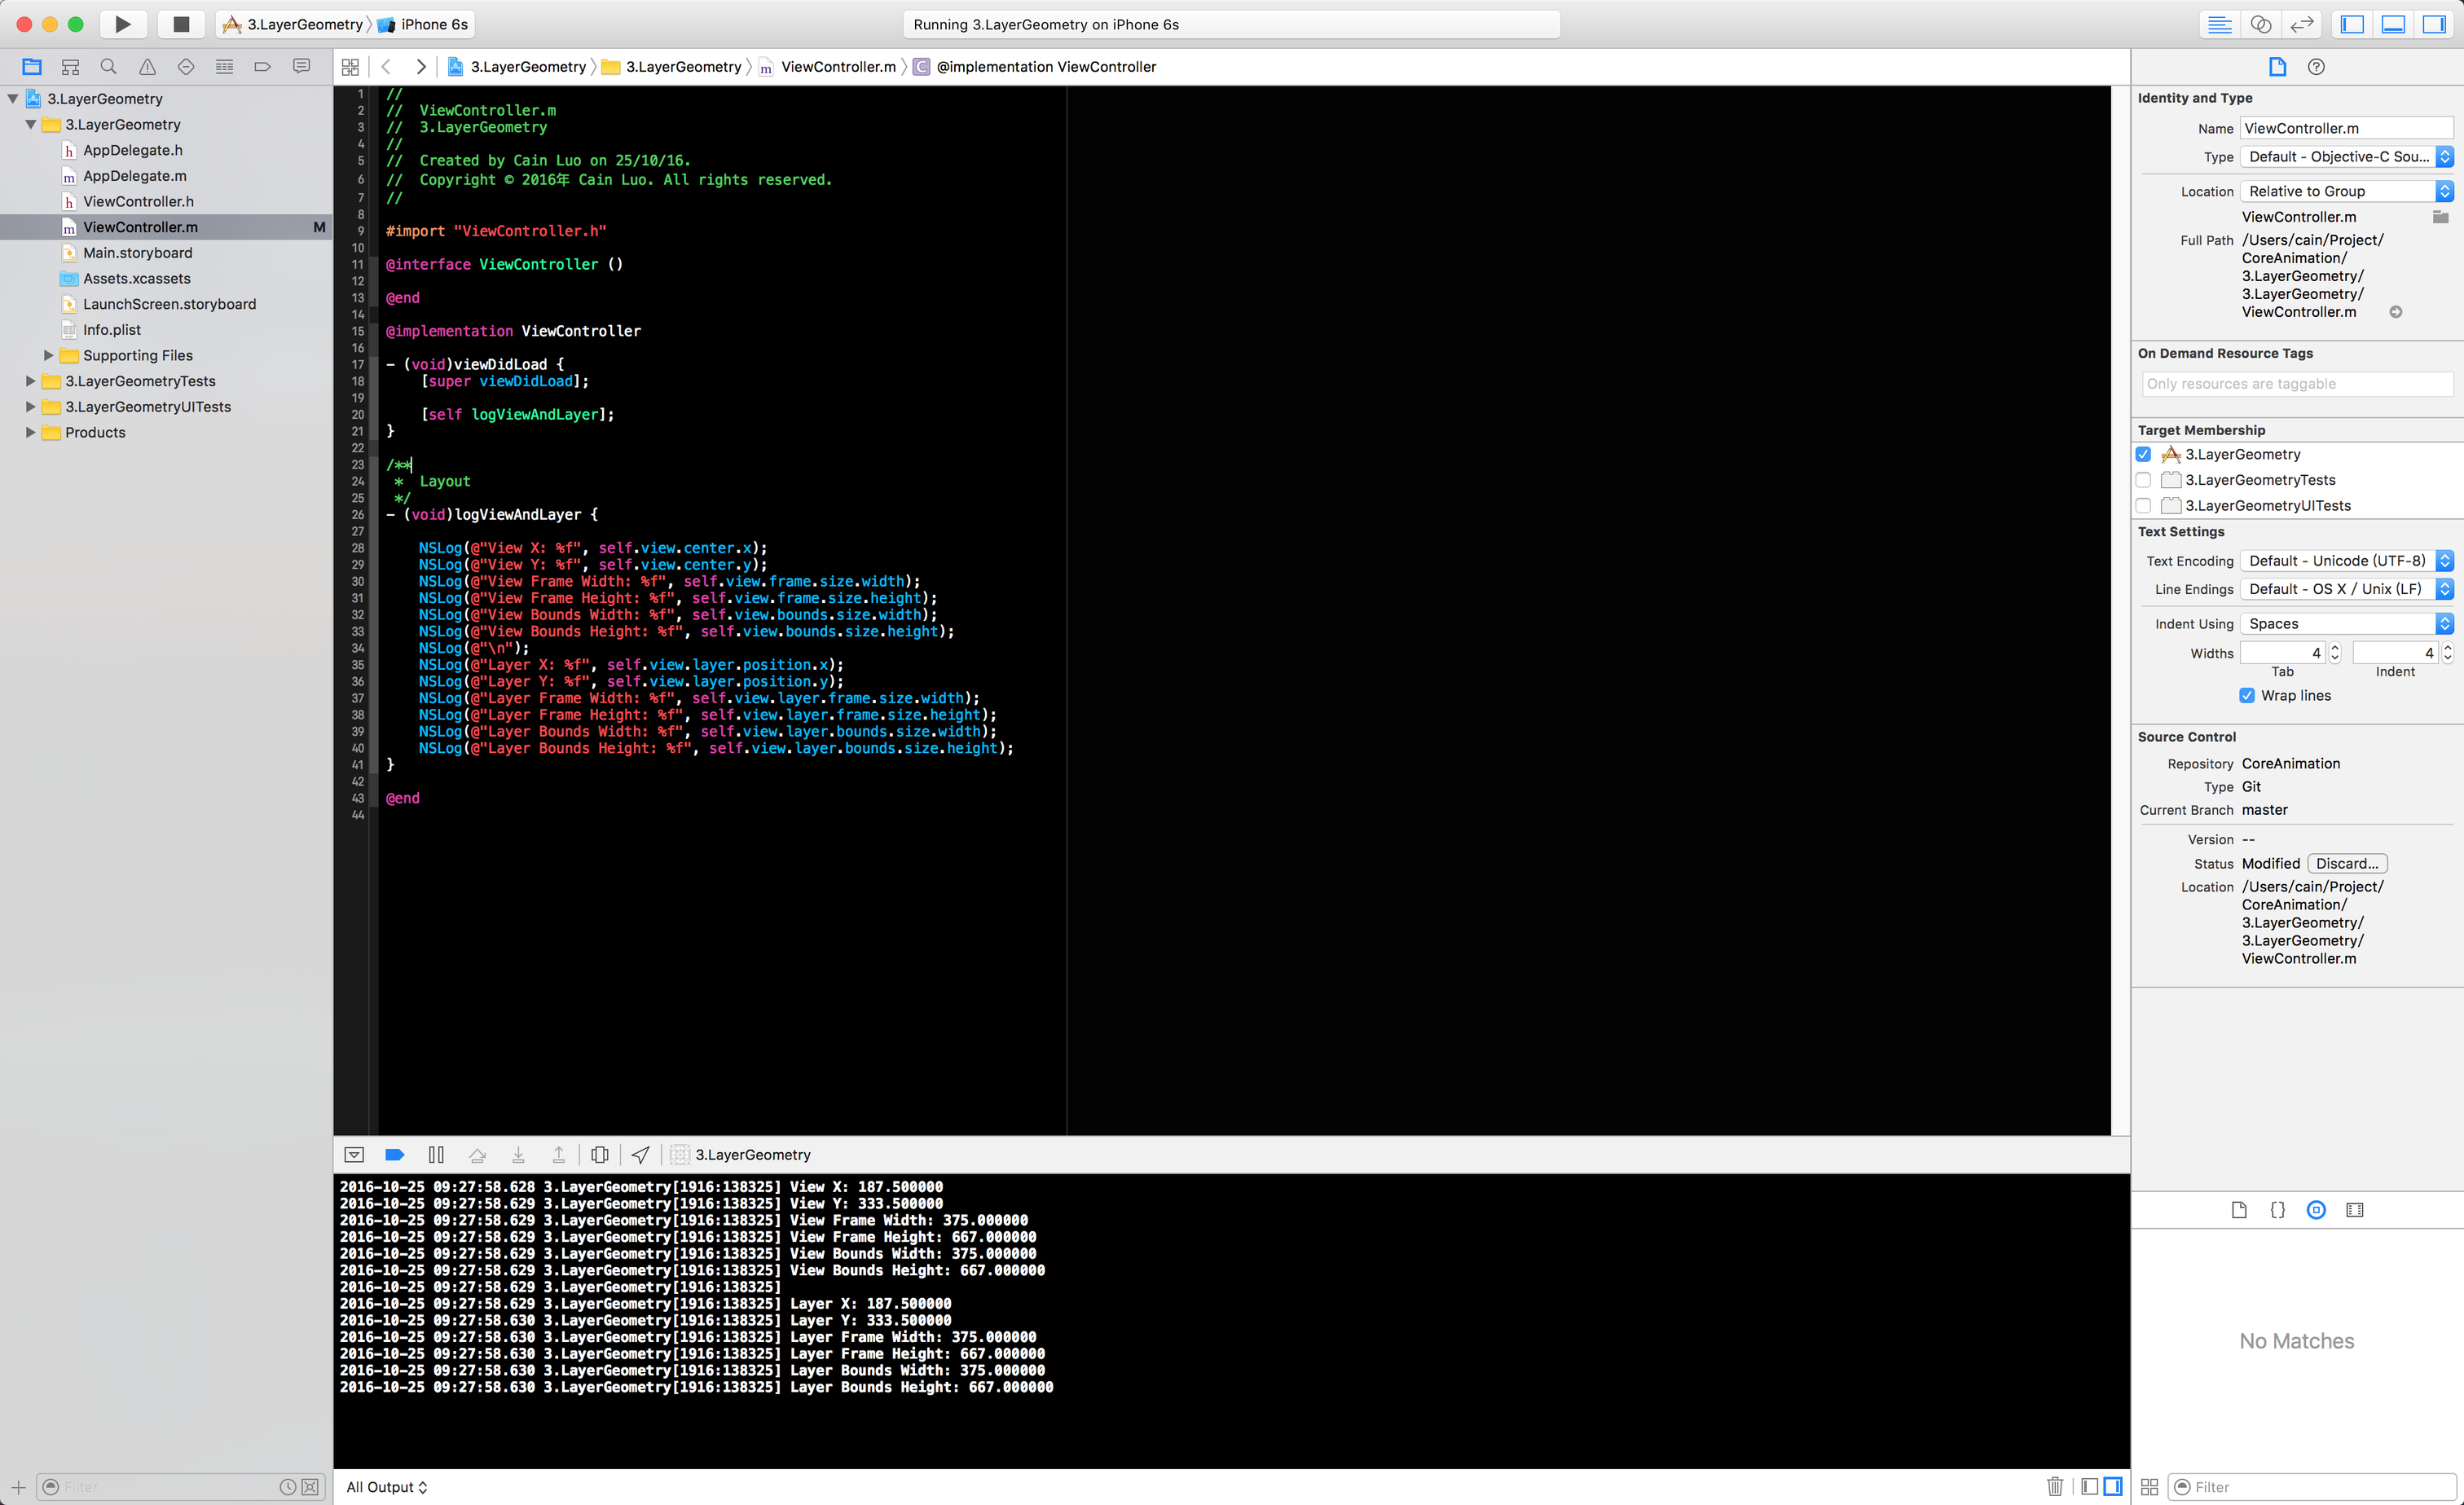
在这里, 我们看到layer的frame, bounds, position和UIView的frame, bounds, center都是一致的. 但是在UIView里, frame, bounds, center这三个属性只是存取方法罢了, 当UIView对frame属性进行操作时, 其实是对CALayer的frame进行操作, 是不能够脱离了CALayer的去改变视图的frame. frame这个属性对于UIView和CALayer来说, 它是一个比较玄的属性, 它的值是根据UIView或者是CALayer的bounds, center/position, transform计算所得到的一个值, 一旦你去改变了bounds, center/position, transform其中一个值, frame也会随之而改变, 当然啦, 你去改变frame, bounds, center/position, transform这三个值也会跟着改变的. PS: 这里还需要提一点, 如果你对CALayer进行了transform的旋转或者是缩放时, frame所显示的宽高与bounds的宽高就不会再一样了.
直接来看Demo吧:
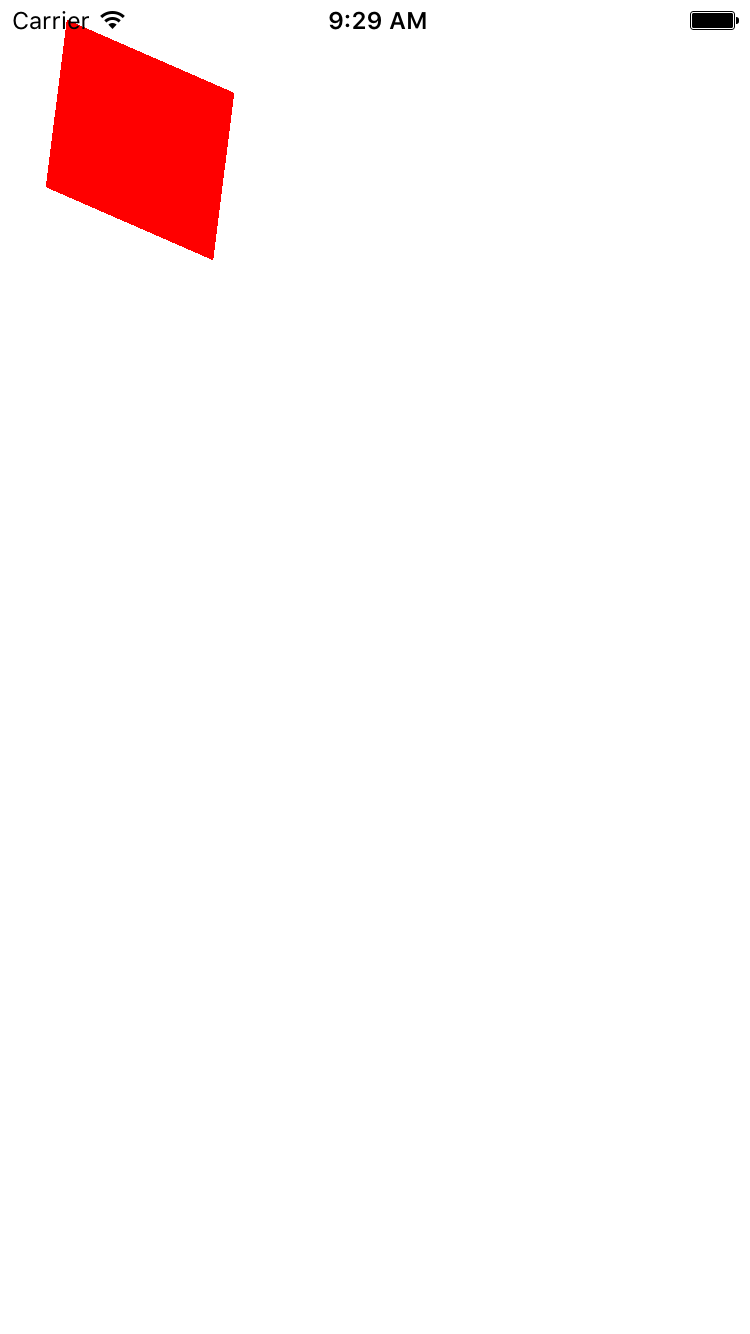
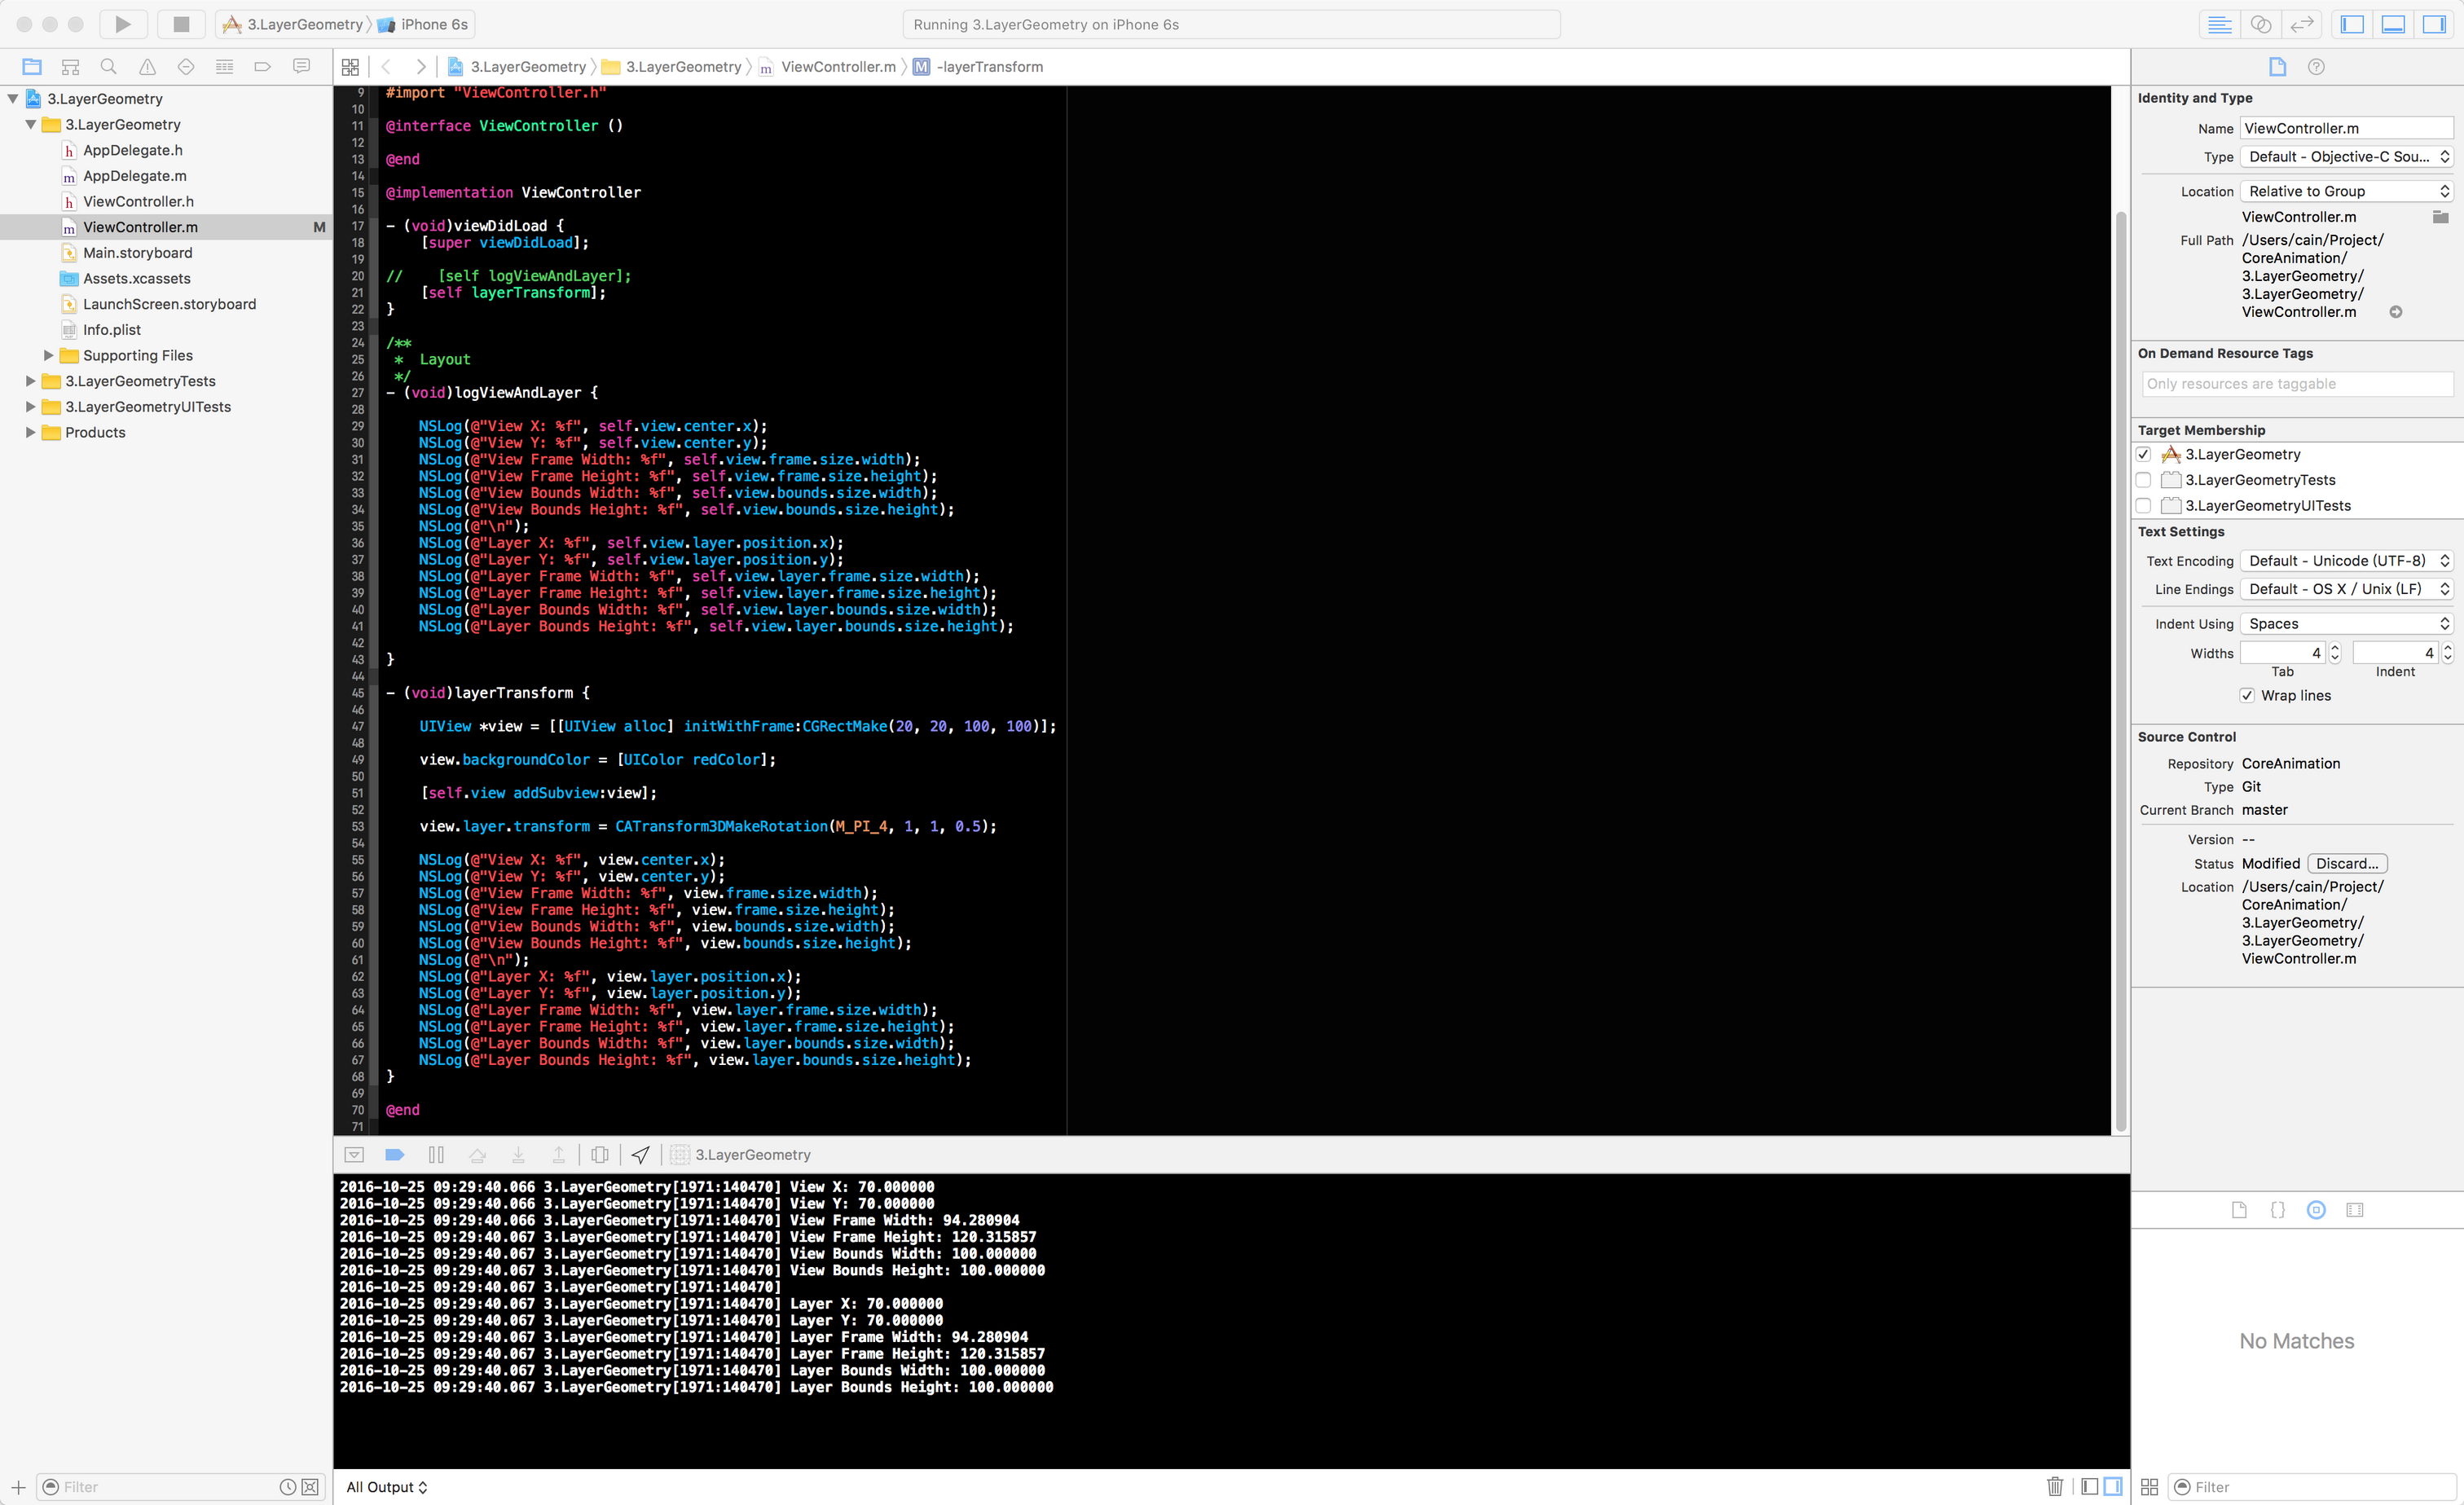
- (void)layerTransform {

    UIView *view = [[UIView alloc] initWithFrame:CGRectMake(20, 20, 100, 100)];

    view.backgroundColor = [UIColor redColor];

    [self.view addSubview:view];

    view.layer.transform = CATransform3DMakeRotation(M_PI_4, 1, 1, 0.5);

    NSLog(@"View X: %f", view.center.x);
    NSLog(@"View Y: %f", view.center.y);
    NSLog(@"View Frame Width: %f", view.frame.size.width);
    NSLog(@"View Frame Height: %f", view.frame.size.height);
    NSLog(@"View Bounds Width: %f", view.bounds.size.width);
    NSLog(@"View Bounds Height: %f", view.bounds.size.height);
    NSLog(@"\n");
    NSLog(@"Layer X: %f", view.layer.position.x);
    NSLog(@"Layer Y: %f", view.layer.position.y);
    NSLog(@"Layer Frame Width: %f", view.layer.frame.size.width);
    NSLog(@"Layer Frame Height: %f", view.layer.frame.size.height);
    NSLog(@"Layer Bounds Width: %f", view.layer.bounds.size.width);
    NSLog(@"Layer Bounds Height: %f", view.layer.bounds.size.height);
}
AnchorPoint
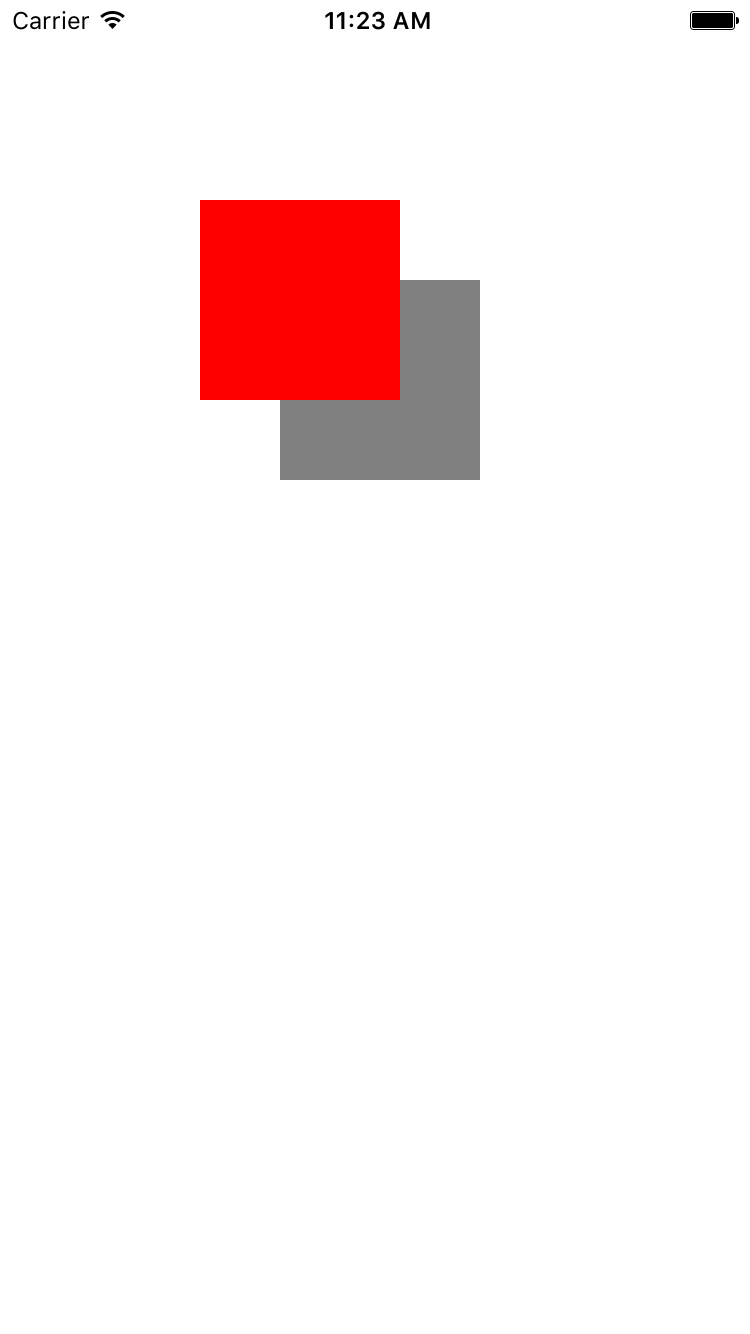
anchorPoint这个属性名, 也叫作锚点, 指的一个UIView和CALayer相对于父视图的位置参考点, 左上角为**{0, 0}, 居中为{0.5, 0.5}, 右下角为{1, 1}, 默认都是位于父视图层的中点, 也就是{0.5, 0.5}. 在UIView当中, anchorPoint属性并没有公开出来, 你只能操作center这个值, 间接性的给anchorPoint赋值, CALayer也可以通过改变position来给anchorPoint进行赋值, 从而改变CALayer的frame**. 这里还需要提及一点, 如果你改变了CALayer的anchorPoint, 那么CALayer的frame也会被改变, 那么anchorPoint属性所显示的值再也不是该CALayer的中心点, 但bounds,position这些值并不会被改变.
我们直接来看看Demo吧~
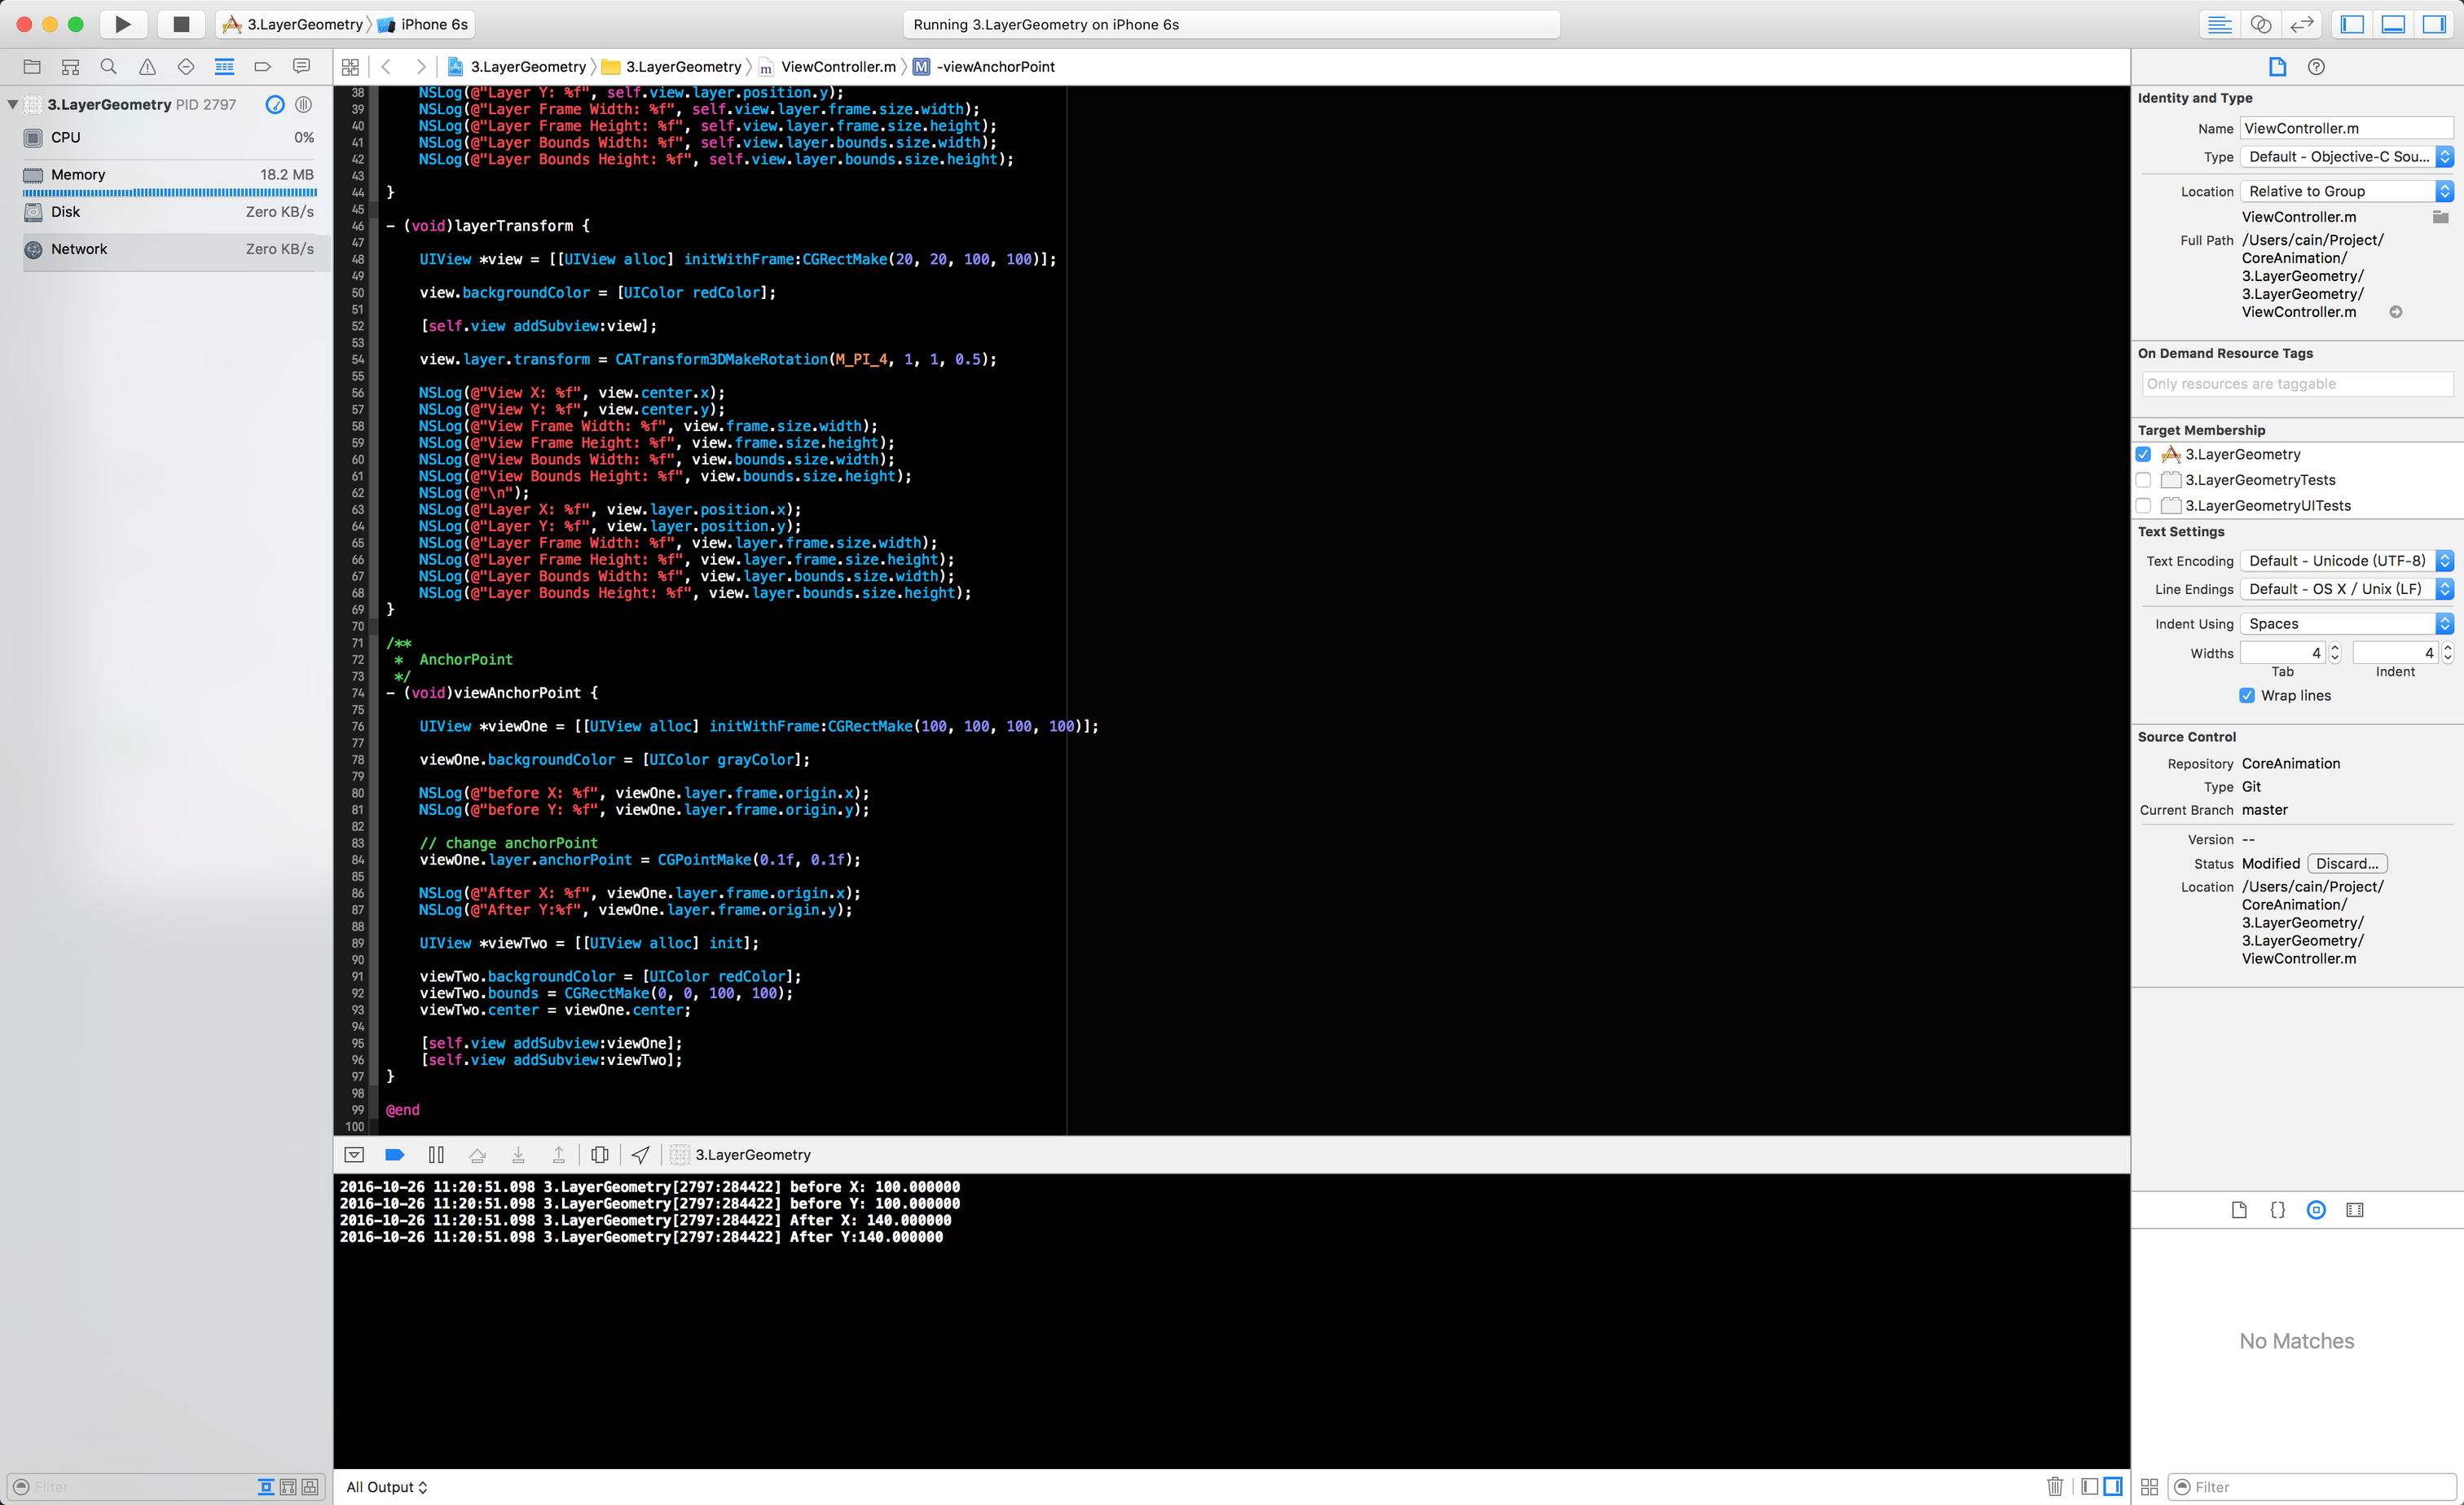
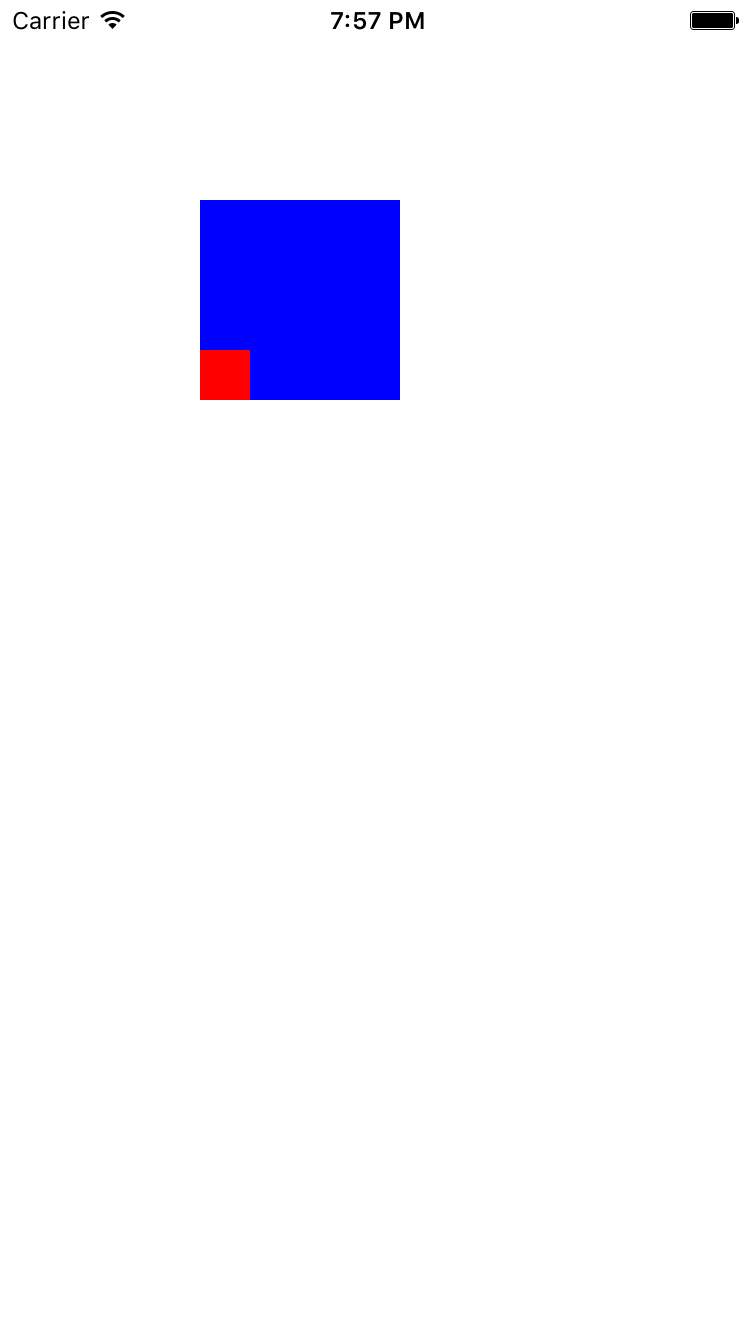
- (void)viewAnchorPoint {

    UIView *viewOne = [[UIView alloc] initWithFrame:CGRectMake(100, 100, 100, 100)];

    viewOne.backgroundColor = [UIColor grayColor];

    NSLog(@"before X: %f", viewOne.layer.frame.origin.x);
    NSLog(@"before Y: %f", viewOne.layer.frame.origin.y);

    // change anchorPoint
    viewOne.layer.anchorPoint = CGPointMake(0.1f, 0.1f);

    NSLog(@"After X: %f", viewOne.layer.frame.origin.x);
    NSLog(@"After Y:%f", viewOne.layer.frame.origin.y);

    UIView *viewTwo = [[UIView alloc] init];

    viewTwo.backgroundColor = [UIColor redColor];
    viewTwo.bounds = CGRectMake(0, 0, 100, 100);
    viewTwo.center = viewOne.center;

    [self.view addSubview:viewOne];
    [self.view addSubview:viewTwo];
}
一般来讲, 能够用到anchorPoint属性的场景, 大多数都是在与图层叠加方面, 不然基本布局就已经够用了, 当然, 这只是在简单页面的基础上来讲而已, 还是看个人需求吧.
Coordinate Systems
Coordinate Systems也叫作坐标系, 和UIView一样,CALayer也是相对于父图层并且按照层级关系来摆放, 如果父图层的位置发生了变化, 那么子图层也会随之而改变. 但某些情况下, 你想要知道这个图层的绝对位置, 或者是相对于另一个图层的位置时, 你就可以使用CALayer所提供的几个API进行处理了:
    - (CGPoint)convertPoint:(CGPoint)point toView:(nullable UIView *)view;
    - (CGPoint)convertPoint:(CGPoint)point fromView:(nullable UIView *)view;
    - (CGRect)convertRect:(CGRect)rect toView:(nullable UIView *)view;
    - (CGRect)convertRect:(CGRect)rect fromView:(nullable UIView *)view;
这些方法,可以采取任何一层的坐标系中所定义的点或矩形,并将其转换到另一个坐标系。
翻转CALayer的几何图层
这里再普及一个概念, 我们都知道在iOS当中CALayer的position是在父图层的左上角, 但在Mac OS当中, 一般来说是在左下角, 而Core Animation为了解决这个问题, 提供了一个BOOL属性geometryFlipped来适配这两种情况, 它决定了一个图层的坐标是否相对于父图层且垂直翻转, 如果在iOS上把geometryFlipped设置为YES的话, 那么图层的排版就会沿着底部来排版, 而不是我们通常所看到的那样, 包括它的子图层也是如此, 除非你再把子图层里的geometryFlipped属性设置为YES.
直接看Demo吧:
- (void)layerGeometryFlipped {

    UIView *view = [[UIView alloc] initWithFrame:CGRectMake(100, 100, 100, 100)];

    view.backgroundColor = [UIColor blueColor];
    view.layer.geometryFlipped = YES;

    CALayer *layer = [CALayer layer];

    layer.frame = CGRectMake(0, 0, 25, 25);
    layer.backgroundColor = [UIColor redColor].CGColor;

    [view.layer addSublayer:layer];

    [self.view addSubview:view];
}

Z坐标轴
其实CALayer除了有UIView常规的二维坐标轴之外, 还有一个Z坐标轴, 也就是说CALayer存在于三维空间当中. 除了我们之前接触过的position和anchorPoint之外, 还有两个Z坐标轴的属性, 叫做zPosition和anchorPointZ, 且都是CGFloat类型. zPosition这个属性在通常情况下并不常用, 在后面我们涉及到一些3D转换的内容时才会去使用这个zPosition属性, zPosition属性除了用来做3D转换之外, 更多是用来改变CALayer的显示顺序了.
来看看Demo吧
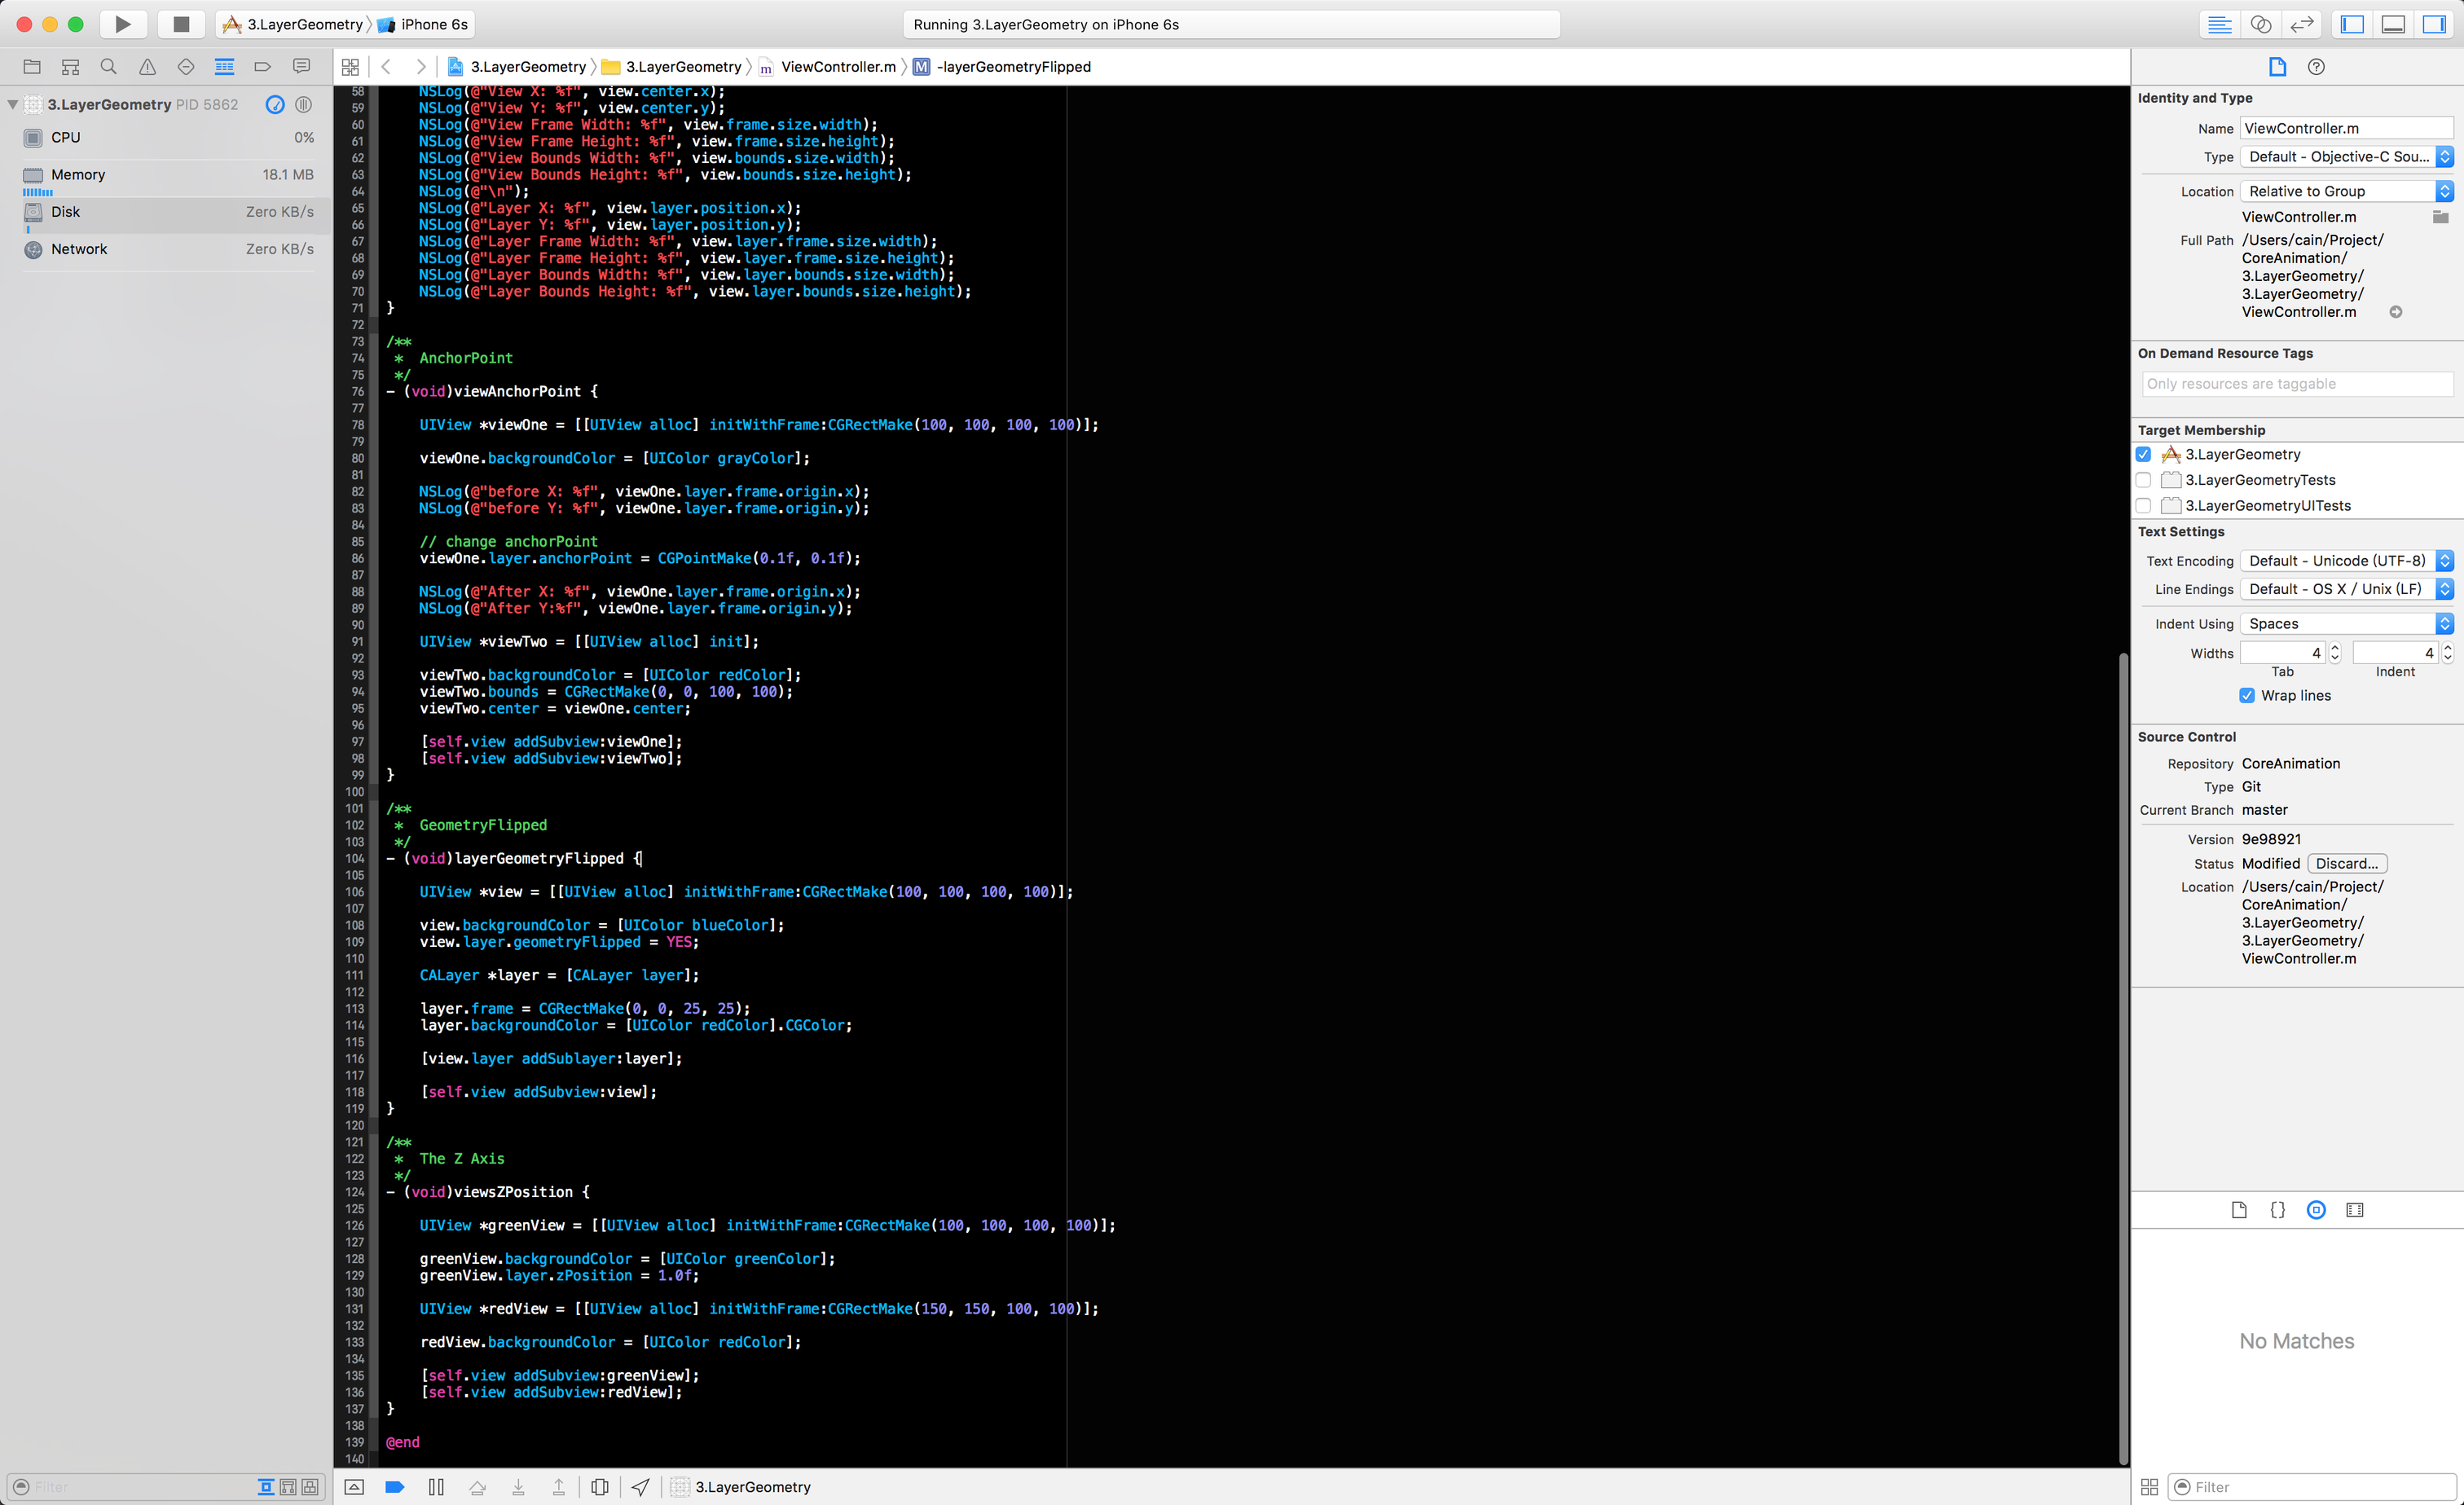
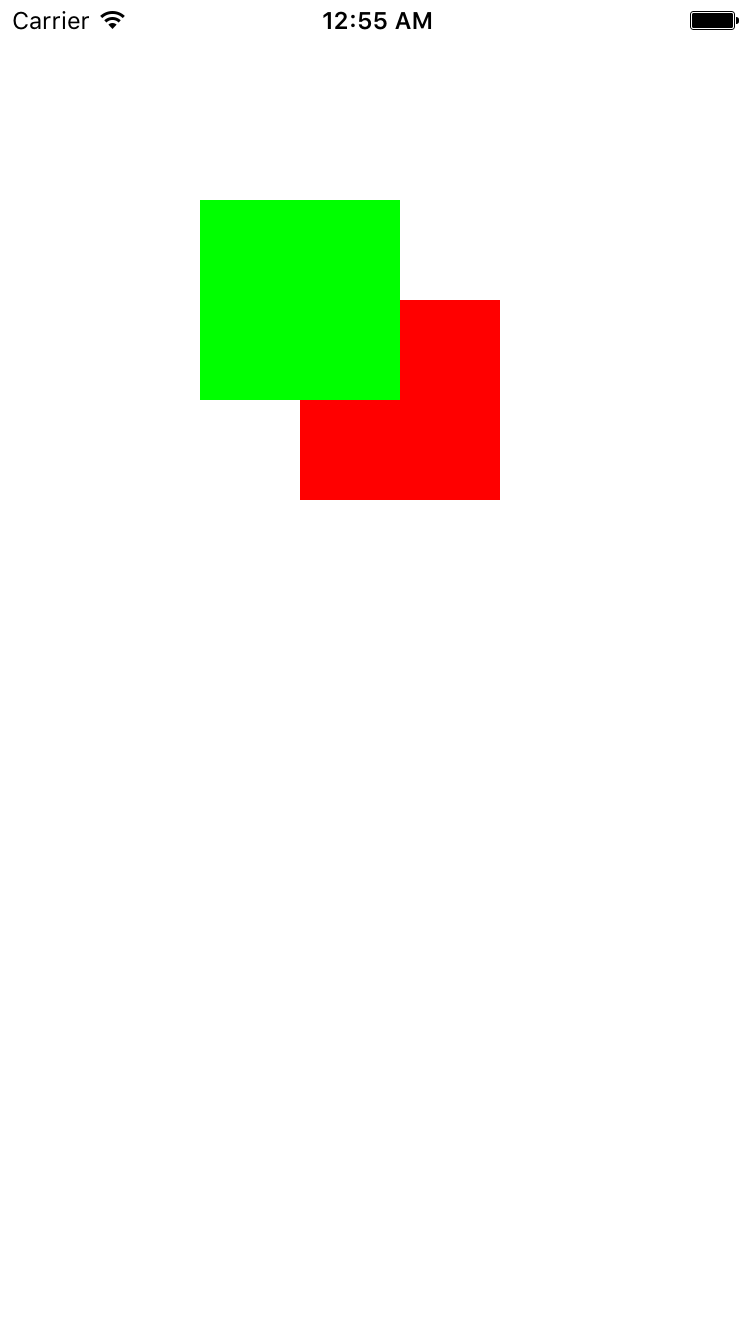
- (void)viewsZPosition {

    UIView *greenView = [[UIView alloc] initWithFrame:CGRectMake(100, 100, 100, 100)];

    greenView.backgroundColor = [UIColor greenColor];
    greenView.layer.zPosition = 1.0f;

    UIView *redView = [[UIView alloc] initWithFrame:CGRectMake(150, 150, 100, 100)];

    redView.backgroundColor = [UIColor redColor];

    [self.view addSubview:greenView];
    [self.view addSubview:redView];
}
Hit Testing
在之前的文章里, 我们知道CALayer并不能处理任何响应链的事件, 所以不能直接去处理触摸事件或者手势, 但是呢, CALayer提供了一些方法可以让你知道你知道你点击了这个CALayer.
- (void)containsPoint;
- (void)hitTest;
我们直接来看看代码吧:
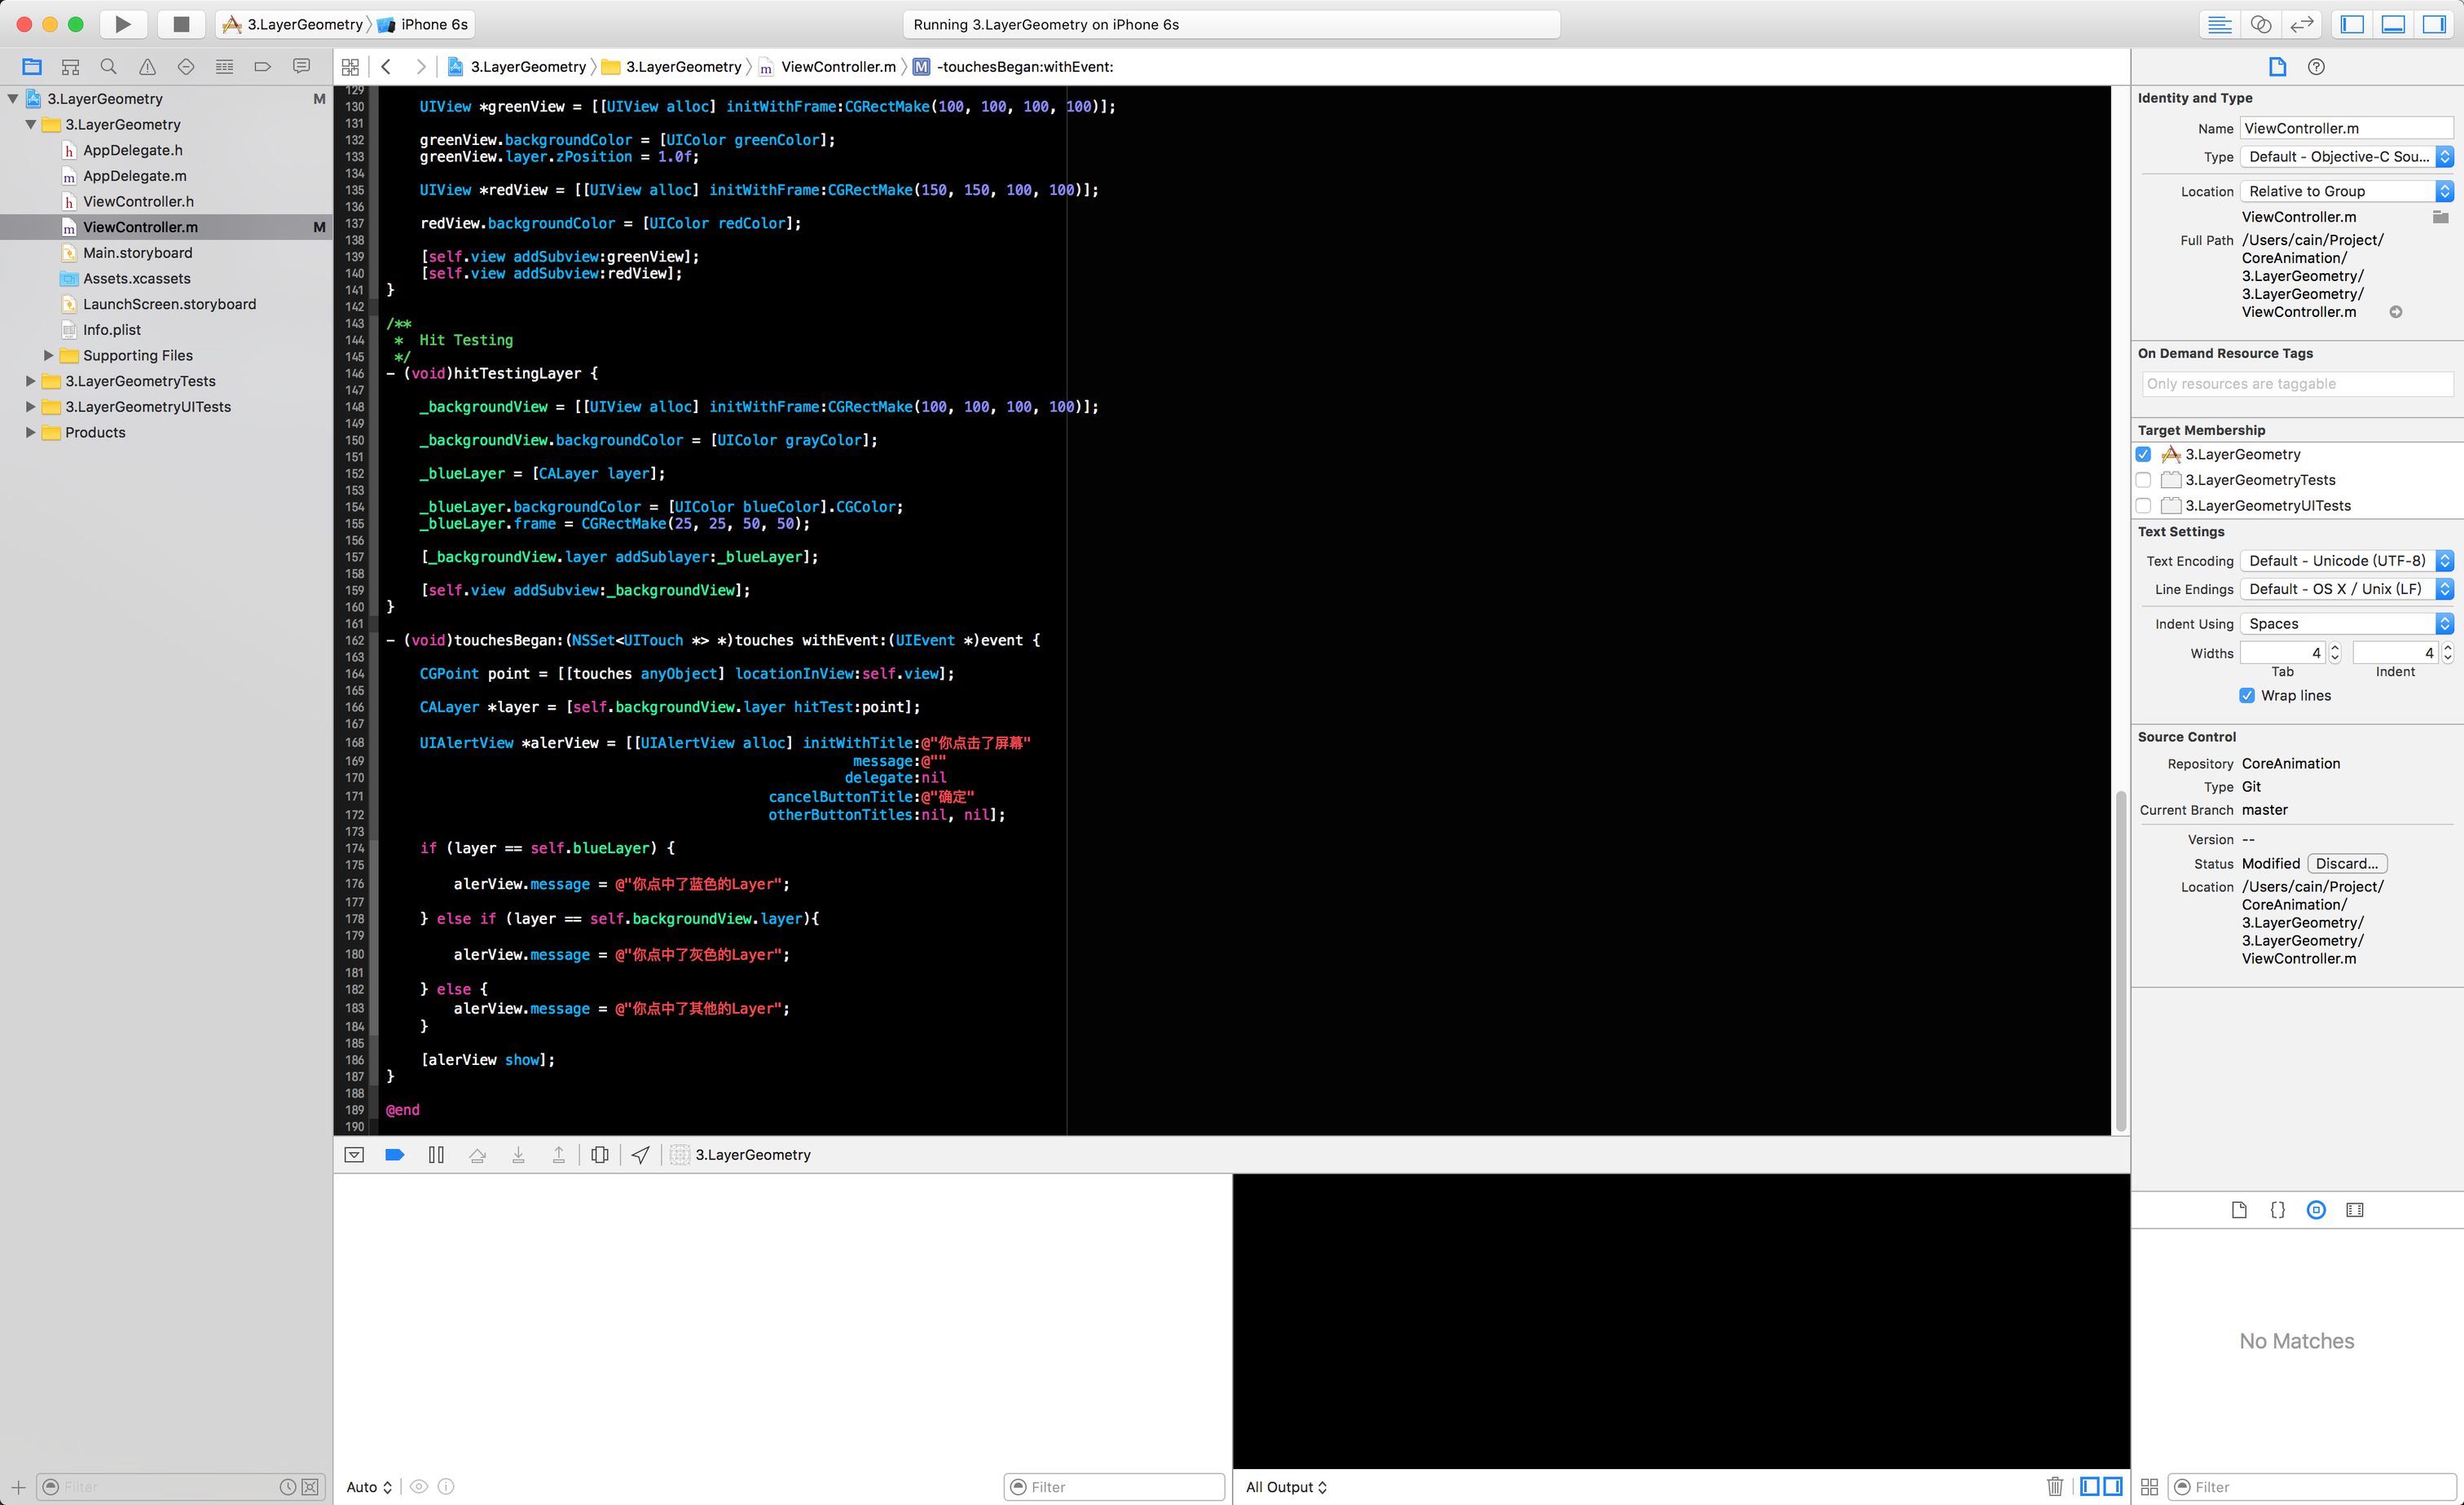
- (void)hitTestingLayer {
_backgroundView = [[UIView alloc] initWithFrame:CGRectMake(100, 100, 100, 100)];
_backgroundView.backgroundColor = [UIColor grayColor];
_blueLayer = [CALayer layer];
_blueLayer.backgroundColor = [UIColor blueColor].CGColor;
_blueLayer.frame = CGRectMake(25, 25, 50, 50);
[_backgroundView.layer addSublayer:_blueLayer];
[self.view addSubview:_backgroundView];
}
- (void)touchesBegan:(NSSet<UITouch *> *)touches withEvent:(UIEvent *)event {
CGPoint point = [[touches anyObject] locationInView:self.view];
CALayer *layer = [self.backgroundView.layer hitTest:point];
UIAlertView *alerView = [[UIAlertView alloc] initWithTitle:@"你点击了屏幕"
message:@""
delegate:nil
cancelButtonTitle:@"确定"
otherButtonTitles:nil, nil];
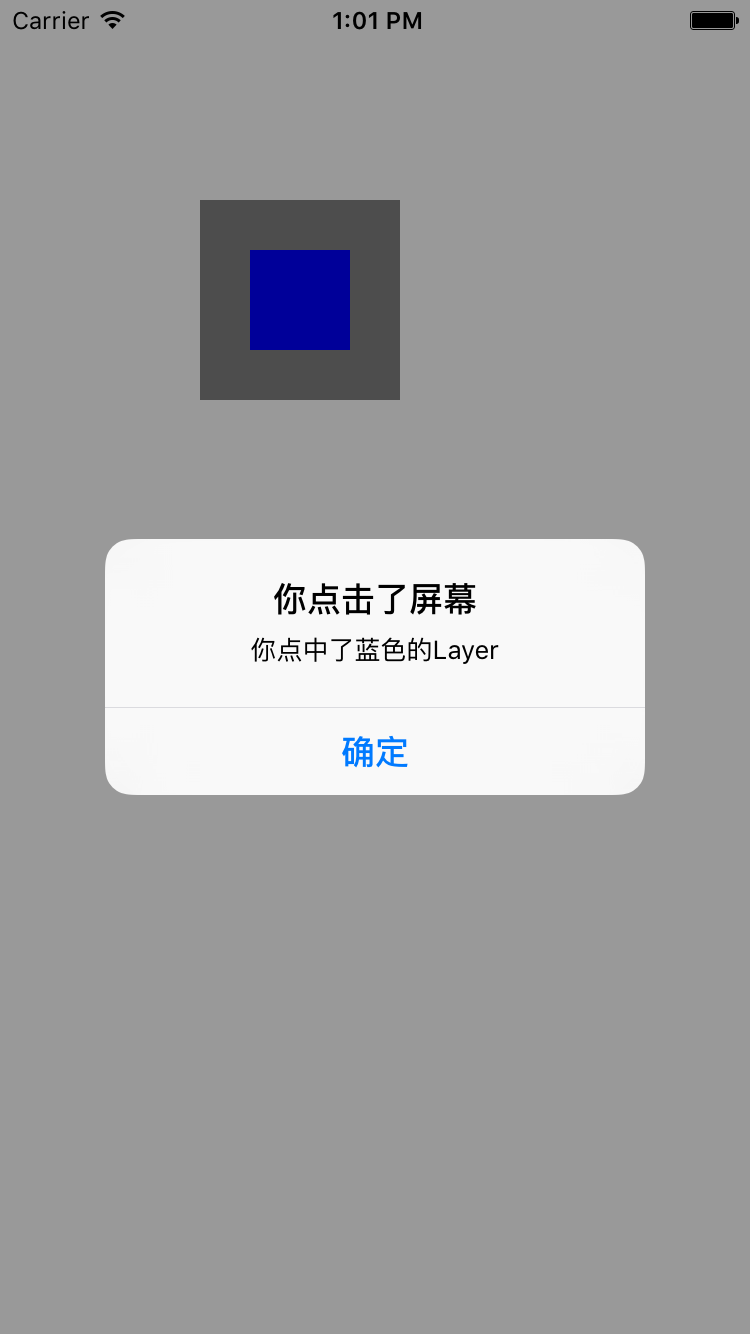
if (layer == self.blueLayer) {
alerView.message = @"你点中了蓝色的Layer";
} else if (layer == self.backgroundView.layer){
alerView.message = @"你点中了灰色的Layer";
} else {
alerView.message = @"你点中了其他的Layer";
}
[alerView show];
}
Automatic Layout
所谓的Automatic Layout就是我们经常所说的自动布局, 自动布局是苹果在iOS 6的时候引入进来的一套布局机制, 但当时好像Xcode不够给力, 最终并没有得到很好的运用. 在Mac OS当中CALayer有一个叫做layoutManager的属性, 它可以通过CALayoutManager协议和CAConstraintLayoutManger类来实现自动布局, 但这个东东在iOS上并不能使用, 详细我也不太了解. 再补充多一点, 在我们对UIView使用自动布局的时候, 你可以直接使用UIView提供的UIViewAutoresizingMask和NSLayoutConstraint两个API进行布局, 但如果你要对一个CALayer进行布局的话, 那么最简单的方式就是使用CALayerDelegate提供的API:
- (void)layoutSublayersOfLayer:(CALayer *)layer;
当CALayer的bounds发生了改变或者**- (void)setNeedsLayout;方法被调用的时候, 上面所提及的API就会被调用, 这样子你就可以在上面所提及的API里手动去调整CALayer的布局. 但这样子会有一个致命的问题, 由于CALayer并没有autoresizingMask以及constraints属性, 所以不能像UIView那样自适应屏幕旋转, 这也是为什么绝大多数人选择使用UIView进行布局的原因之一. 这里我就不多说了, 自动布局的知识点在谷歌搜一大堆, 有神马xib的, storyboard的, 还有纯代码的, 但是呢, 纯代码的自动布局我只服Masonry, 也有Swift**版本的, 大家可以自行去了解一下, 使用教程神马的, 在谷歌搜搜也是有一堆的, 这里就不做介绍了~
总结
说了那么多, 常规的总结一下, 这次我们更深入的了解了CALayer几何图层, 其中包括:
- Layout:CALayer的常规布局
- AnchorPoint: CALayer的锚点
- Coordinate Systems: CALayer的坐标轴, 其中包括如何翻转CALayer的几何图层, 还有就是Z坐标轴.
- Hit Testing: CALayer如何知道用户是否点击该图层
- Automatic Layout: 有关于CALayer以及UIView的自动布局, 以及一个第三方的布局框架
工程地址
项目地址: https://github.com/CainRun/CoreAnimation
最后
码字很费脑, 看官赏点饭钱可好