

实例带你了解Retrofit 2.0的使用,分享目前开发Retrofit遇到的坑和心得。
添加依赖
app/build.gradle
compile 'com.squareup.retrofit2:retrofit:2.0.0-beta3'
声明接口
/**
* Call get();必须是这种形式,这是2.0之后的新形式
* 如果不需要转换成Json数据,可以用了ResponseBody;
* 你也可以使用Call get();这样的话,需要添加Gson转换器
public interface ApiStores {
@GET("adat/sk/{cityId}.html")
Call getWeather(@Path("cityId") String cityId);
如果链接是http://ip.taobao.com/service/getIpInfo.php?ip=202.202.33.33
@GET("http://ip.taobao.com/service/getIpInfo.php")
Call getWeather(@Query("ip") String ip);
接口调用
Retrofit retrofit = new Retrofit.Builder()
//这里建议:- Base URL: 总是以/结尾;- @Url: 不要以/开头
.baseUrl("http://www.weather.com.cn/")
.build();
ApiStores apiStores = retrofit.create(ApiStores.class);
Call call = apiStores.getWeather("101010100");
如果@GET("http://ip.taobao.com/service/getIpInfo.php"),则baseUrl无效。
注意这个任务是网络任务,不要忘记给程序加入网络权限
同步调用
try {
Response bodyResponse = call.execute();
String body = bodyResponse.body().string();//获取返回体的字符串
Log.i("wxl", "body=" + body);
} catch (IOException e) {
e.printStackTrace();
同步需要处理android.os.NetworkOnMainThreadException
异步调用
call.enqueue(new Callback() {
@Override
public void onResponse(Response response) {
try {
Log.i("wxl", "response=" + response.body().string());
} catch (IOException e) {
e.printStackTrace();
@Override
public void onFailure(Throwable t) {
Log.i("wxl", "onFailure=" + t.getMessage());
});
移除请求
call.cancel();
JSON解析库
Retrofit 2现在支持许多种解析方式来解析响应数据,包括Moshi,一个由Square创建的高效JSON解析库。
添加gson依赖
app/build.gradle
compile 'com.squareup.retrofit2:converter-gson:2.0.0-beta3'
jsonschema2pojo
访问[jsonschema2pojo](http://www.jsonschema2pojo.org/),自动生成Java对象,如果你对gson还不熟悉,笔者建议你手动生成Java对象,感受下。
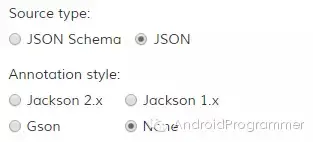
这里如果选择Gson,生成的代码中存在@Generated注解,Android默认并没有javax.annotation library。如果你希望保留@Generated注解,需要添加如下的依赖。
compile 'org.glassfish:javax.annotation:10.0-b28'
或者,你可以直接删除这个注解,完全没有问题。笔者当然不会加这个依赖啦。
Gsonformat
作用:Android studio插件,一般接口返回数据后要建立自己的bean,Gsonformat帮助你快速生成,不用一条一条去写。比jsonschema2pojo更加简单。
安装步骤:Android studio-Settings-Plugins-搜Gsonformat-Install Plugin
效果预览:
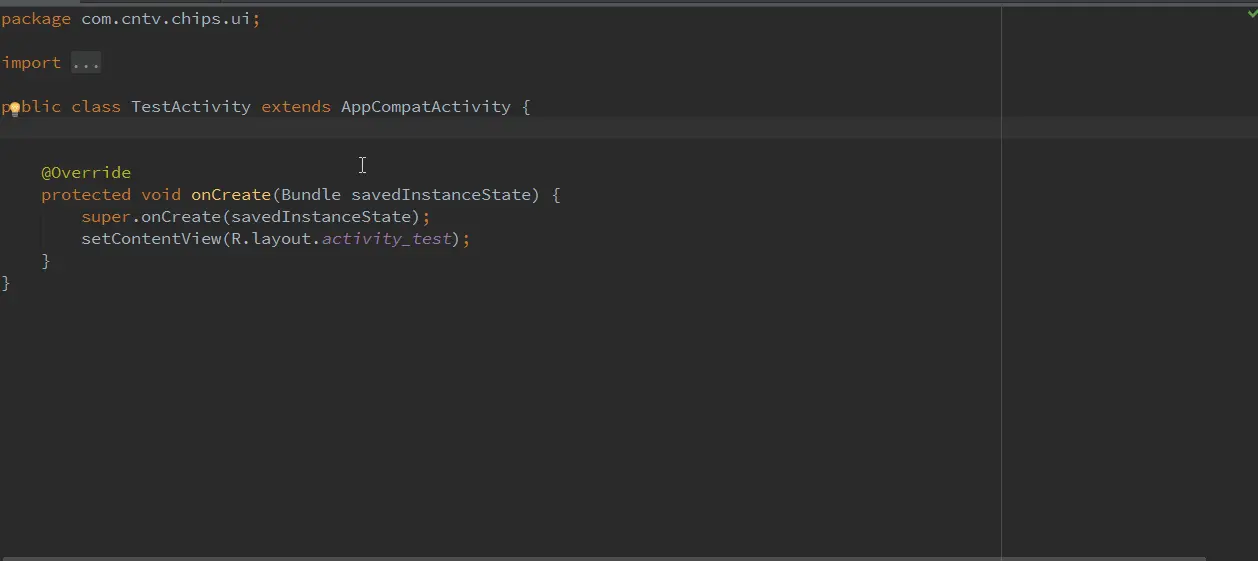
实例代码
依旧演示上面的天气:http://www.weather.com.cn/adat/sk/101010100.html
public class WeatherJson {
//weatherinfo需要对应json数据的名称,我之前随便写了个,被坑很久
private Weatherinfo weatherinfo;
public Weatherinfo getWeatherinfo() {
return weatherinfo;
public void setWeatherinfo(Weatherinfo weatherinfo) {
this.weatherinfo = weatherinfo;
//city、cityid必须对应json数据的名称,不然解析不了
public class Weatherinfo {
private String city;
private String cityid;
private String temp;
private String WD;
private String WS;
private String SD;
private String WSE;
private String time;
private String isRadar;
private String Radar;
private String njd;
private String qy;
//这里省略get和set方法
ApiStores:
public class AppClient {
static Retrofit mRetrofit;
public static Retrofit retrofit() {
if (mRetrofit == null) {
mRetrofit = new Retrofit.Builder()
.baseUrl("http://www.weather.com.cn/")
.addConverterFactory(GsonConverterFactory.create())
.build();
return mRetrofit;
public interface ApiStores {
@GET("adat/sk/{cityId}.html")
Call getWeather(@Path("cityId") String cityId);
调用:
private void getWeather() {
AppClient.ApiStores apiStores = AppClient.retrofit().create(AppClient.ApiStores.class);
Call call = apiStores.getWeather("101010100");
call.enqueue(new Callback() {
@Override
public void onResponse(Response response) {
Log.i("wxl", "getWeatherinfo=" + response.body().getWeatherinfo().getCity());
@Override
public void onFailure(Throwable t) {
});
经Gson转换器,`Call`换成自己要写的`Call`
RxJava
依赖以下:
compile 'com.squareup.retrofit:adapter-rxjava:2.0.0-beta3'
compile 'io.reactivex:rxandroid:1.0.1'
增加addCallAdapterFactory
Retrofit retrofit = new Retrofit.Builder()
.baseUrl("http://api.nuuneoi.com/base/")
.addConverterFactory(GsonConverterFactory.create())
.addCallAdapterFactory(RxJavaCallAdapterFactory.create())
.build();
ApiStores
@GET("adat/sk/{cityId}.html")
Observable getWeatherRxjava(@Path("cityId") String cityId);
subscribe部分的代码在Schedulers.io被调用,需要把observeOn(AndroidSchedulers.mainThread())添加到链表中。
private void getWeatherRxjava() {
AppClient.ApiStores apiStores = AppClient.retrofit().create(AppClient.ApiStores.class);
Observable observable = apiStores.getWeatherRxjava("101010100");
observable.subscribeOn(Schedulers.io())
.observeOn(AndroidSchedulers.mainThread())
.subscribe(new Observer() {
@Override
public void onCompleted() {
Log.i("wxl", "onCompleted");
@Override
public void onError(Throwable e) {
Log.i("wxl", "e=" + e.getMessage());
@Override
public void onNext(WeatherJson weatherJson) {
Log.i("wxl", "getWeatherinfo=" + weatherJson.getWeatherinfo().getCity());
});
Retrofit源码解析
另见白瓦力的博客,分析的很到位,解释了0、Retrofit 是什么,1、Retrofit 怎么用,2、Retrofit的原理是什么,3、一些总结。
博客地址:http://bxbxbai.github.io/2015/12/13/retrofit2/
PS:十分感谢白瓦力,他教会我们如何去查看源码的一种有效方法,debug一步步去跟源码。
附录
retrofit官方文档
用 Retrofit 2 简化 HTTP 请求
使用Retrofit请求API数据
Retrofit2 更新指南
RESTful API 设计指南
