

记录下过程细节,方便以后查看。
一、创建本地私有库
使用pod模版库创建私有库
pod lib create Component回答问题后会自动创建一个测试工程,并自动打开
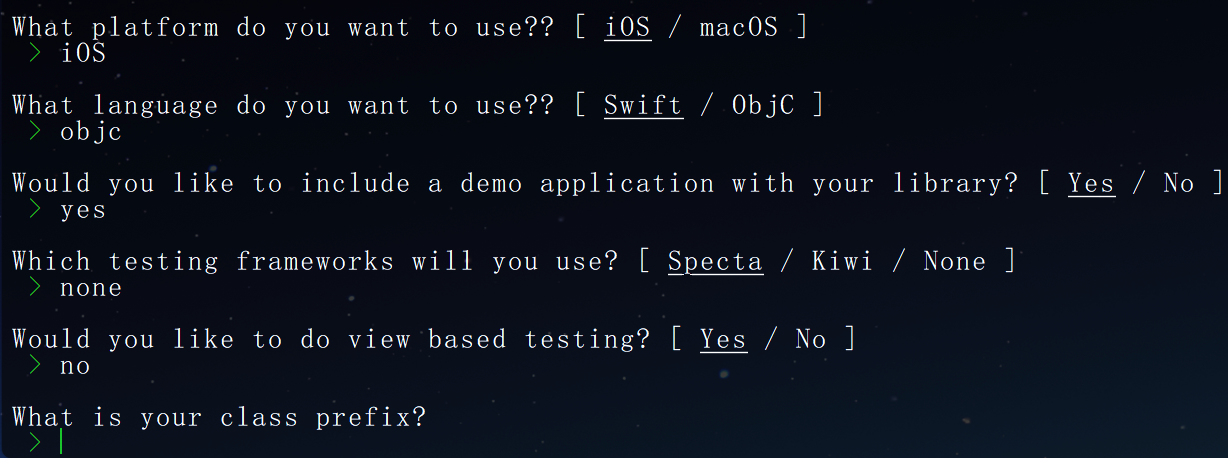
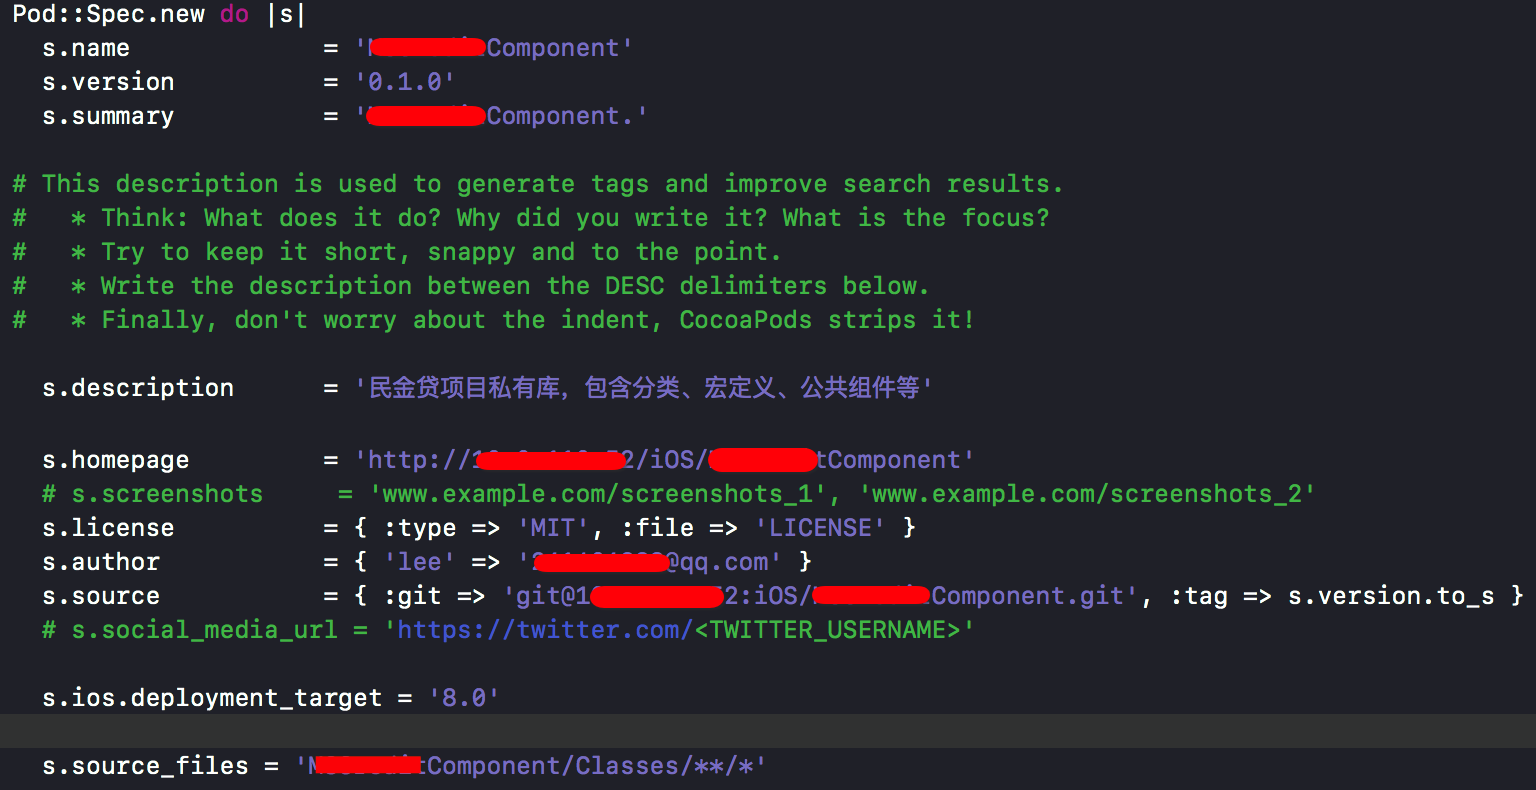
修改spec文件
s.description描述信息,s.summary不能比s.description长
验证spec文件
pod lib lint将我们的分类、独立模块等源文件托到与项目同名文件夹中的Classes文件夹中,删除ReplaceMe.m文件,再到Example测试工程中pod install,抽出的源码就引入进来了,可以测试。
二、创建远程私有库
在gitlab(公司用的gitlab)上创建两个项目:
1.远程私有库:放基础组件(Component);2.远程私有索引库:放spec文件(Spec)
添加远程索引库到本地
pod repo add Spec git@*.*.*.*:iOS/Spec.git修改spec文件
s.homepage改为组件项目Component的gitlab上的主页的地址
s.source改为组件项目Component的gitlab上的clone地址
注意:组件项目Component一定要打tag,并且s.source的tag要与s.version对应
s.source_files项目组件源码路径:通配Classes目录下所有的.h .m文件
将本地的私有库与远程连接
git remote add origin git@*.*.*.*:iOS/Component.git

git push origin master
给组件库打tag(⚠️打tag后再commit可能会有影响)
git tag '0.1.0'

git push --tags
验证spec文件
pod lib lint (本地验证)

pod spec lint (远程验证)
将描述文件上传到远程私有索引库中
pod repo push Spec(spec库名称) Component.podspec(podspec文件名称)三、安装索引库
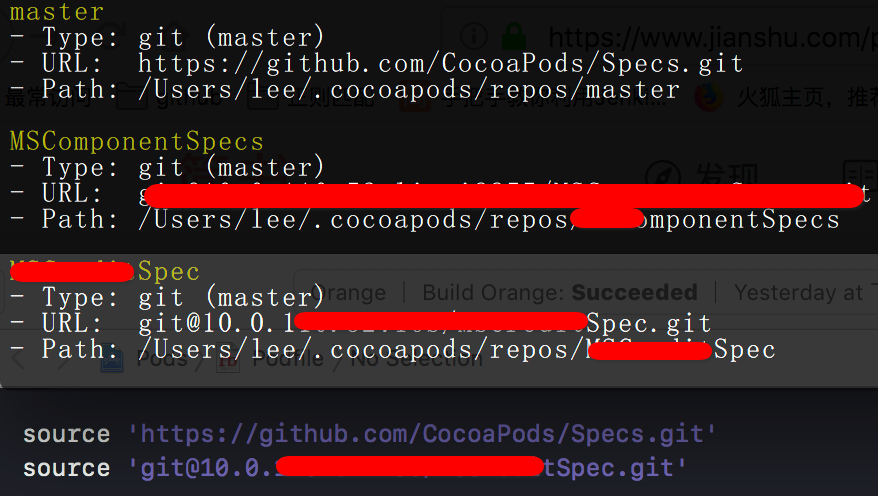
查看本地索引库
pod repo
搜索私有库Component
pod search Component在项目中podfile文件开始添加source路径后执行pod install(私有库和pod的rul都要添加)
四、升级
修改组件库中代码,测试工程pod install测试完成。
修改podspec文件
修改版本号;提交更新到gitlab;打tag并提交
验证spec文件(本地和远程)
将描述文件上传到远程私有索引库中
pod repo push Spec(spec库名称) Component.podspec(podspec文件名称)五、添加依赖
podspec文件中添加需要依赖的库

如果添加afn打开注释即可,需要别的库按照这个格式添加
添加完成后保存,删除lock文件后执行pod install
完成😄
(分模块引入功能目前项目还没有用到,用到的时候再更新😄)
