

原文链接:Stunning hover effects with CSS variables
最近在 Grover 上看到一个有趣的悬停动画,由此受到启发,让鼠标悬停在按钮上然后按钮随着光标的移动出现渐变色。这个想法很简单,但结果却很惊艳。
那么如何实现这么一个酷炫的效果呢?其实远没有你想象的那么难。
找准定位
我们首先要获取的就是鼠标的位置。
document.querySelector('.button').onmousemove = (e) => {
  const x = e.pageX - e.target.offsetLeft
  const y = e.pageY - e.target.offsetTop
  e.target.style.setProperty('--x', `${ x }px`)
  e.target.style.setProperty('--y', `${ y }px`)

}- 获取
.button元素,并监听onmousemove事件。 - 获取光标在元素中的相对位置。
- 将坐标存储在 CSS 变量当中。
让你的 CSS 获取到用户鼠标的位置,9 行代码就够了。接下来我们来完成 CSS 的部分。
动态渐变
我们已经将光标的位置存储在了 CSS 变量当中,现在我们随时可以在 CSS 中访问到它了。
.button {
  position: relative;
  appearance: none;
  background: #f72359;
  padding: 1em 2em;
  border: none;
  color: white;
  font-size: 1.2em;
  cursor: pointer;
  outline: none;
  overflow: hidden;
  border-radius: 100px;
  span {
    position: relative;
  }
  &::before {
    --size: 0;
    content: '';
    position: absolute;
    left: var(--x);
    top: var(--y);
    width: var(--size);
    height: var(--size);
    background: radial-gradient(circle closest-side, #4405f7, transparent);
    transform: translate(-50%, -50%);
    transition: width .2s ease, height .2s ease;
  }
  &:hover::before {
    --size: 400px;
  }
}- 将文字包裹在
span标签中,以免渐变效果将其覆盖。 - 将
width和height的初始值设置为0px,终止为400px,这样当用户将光标悬停在按钮上时,就会有一个动画效果。 - 让坐标随着鼠标的移动而改变
- 对
background应用radial-gradient效果,并设置为closest-side circle。
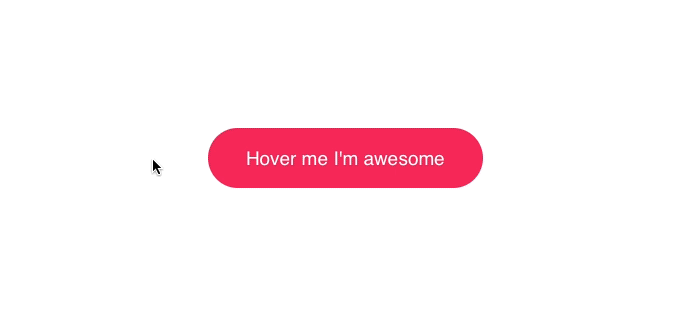
结果
就这么简单,再添加上 HTML 的部分就大功告成啦!
其他花样
基于对光标的响应能够做出许多有意思的创意。
这是我在网站 basicScroll 中应用的类似效果。
May the hover be with you pic.twitter.com/2jrmVorLRW
— Tobias Reich (@electerious) 2018年1月28日
一个 3D 视角的按钮:
3D parallax button with JS controlled CSS variables @CodePen 🎉 t.co/qE0woiNip8 pic.twitter.com/Wyi0xjRzPq
— Tobias Reich (@electerious) 2016年10月21日
相关文章:
5 分钟了解 CSS 变量
