前言
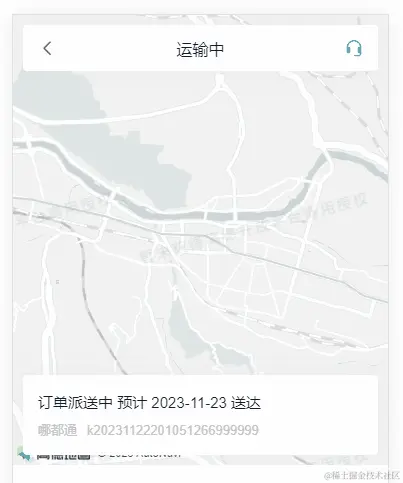
- 很多项目中都会使用到地图,使用的地图基本都是百度、高德、腾讯这些,但是,使用步骤都是大差不差的;
- 就以高德为例,说一下基本的使用流程;
- 下面是使用高德地图的基本流程:
- 注册账号 申请
Key 和 安全密钥;
- 使用高德地图提供的
jsloader去加载高德地图的js文件,让它加载到我们的页面中;
- 加载好资源之后,再使用高德地图的API初始化地图;
- 配置地图风格和缩放比例;
- 绘制路线和当前所在位置;
- 本篇文章使用的是
Vue3 + TS为例写的;
一、准备工作
1.1 注册账号 成为 开发者 获取 Key 和 安全密钥
- 去高德开放平台注册账号、实名认证等;
- 实名认证完成之后,点击控制台;
- 选择 应用管理 ➡ 我的应用 ➡ 创建新应用 ➡ 填写 应用名称 并选择 应用类型;
- 创建好应用之后,点击右边的 添加Key,按照要求填写信息;
- ❗❗ Key名称最好是用英文;

- ❗❗ 注意:
- 服务平台一项 请选择 Web 端 (JSAPI) ;
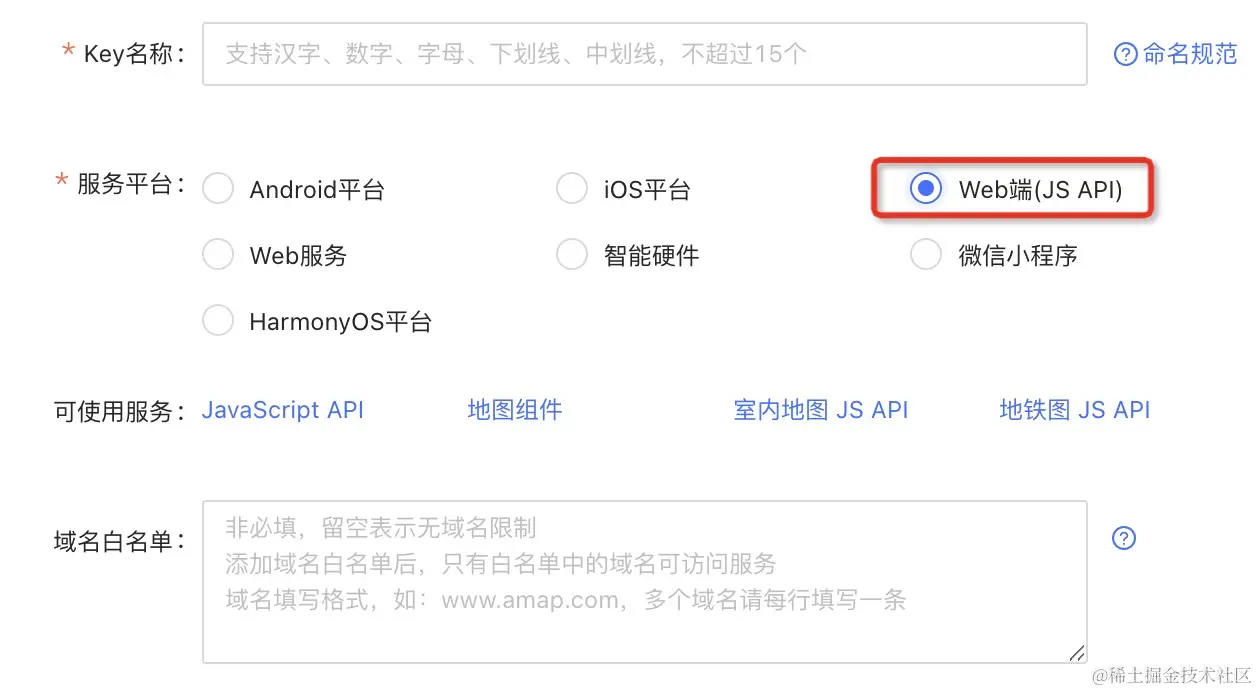
- 点击提交之后,应用就创建成功了,我们所需要的 Key 和 安全密钥 也就有了;
二、接入高德地图 - JSAPI的加载
2.1 安装高德地图所需的loader
- 🎯 JS API 的加载 🎯;
- 命令:
pnpm add @amap/amap-jsapi-loader --save;npm i @amap/amap-jsapi-loader --save;
2.2 初始化地图
- 初始化 高德地图:
- 高德地图的初始化会操作 DOM ;
- 所以,初始化地图的时机应当是在 组件渲染完毕之后 再进行初始化操作;
Vue3:
Vue2:
- 开始使用:
import { onMounted } from 'vue';
import AMapLoader from '@amap/amap-jsapi-loader';
window._AMapSecurityConfig = {
securityJsCode:'「您申请的安全密钥」'
};
onMounted(() => {
AMapLoader.load({
"key": "上述步骤得到的key",
"version": "2.0",
"plugins": [],
}).then((AMap)=>{
const map = new AMap.Map('放置地图的div容器id', {
});
}).catch(e => {
console.log(e);
});
});
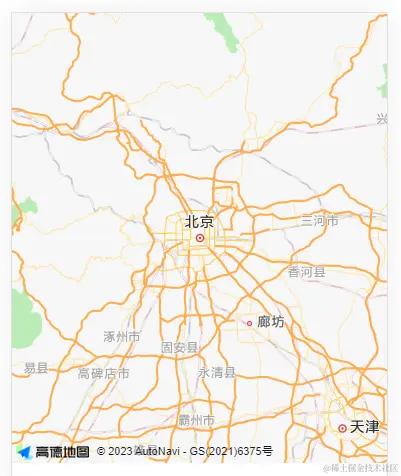
- 效果展示:
- 这就是基本的地图;
2.1.1 解决 window._AMapSecurityConfig 的类型错误
2.2 调节地图的风格 和 缩放比例
const map = new AMap.Map('容器id', {
mapStyle: 'amap://styles/whitesmoke',
zoom: 10
});
- 地图创建之后使用Map对象的setMapStyle方法来修改
map/setMapStyle('amap://styles/whitesmoke')
三、自定义绘制轨迹
- 必须要有 起点 和 终点 的 经纬度坐标;
- 根据地图的自动规划功能,就会得到一条行车路线;
- 地图自动规划的行车路线可能和我们所需要的路线有差别,在项目当中,接口会返回一组由经纬度坐标组成的数组,这时就需要根据经纬度坐标去做细微的绘制;
- 就按照最常使用的物流来说,接口会返回起点、终点坐标,然后就是我们的快递具体到了哪一个中转站,这个中转站会上传当前位置的经纬度坐标,我们根据得到的坐标进行绘制即可;
3.1 使用起点、终点坐标绘制基本路线
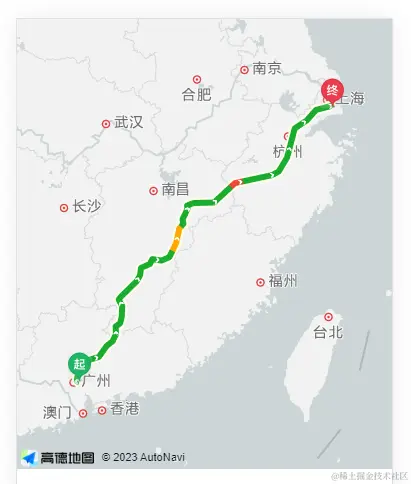
- 先根据接口得到的起点和终点坐标,根据地图的自动绘制功能,绘制基本路线;
- 基于上述代码:
const logisticsInfoList = ref([
{latitude: '23.129152403638752', longitude: '113.42775362698366'},
{latitude: '30.454012', longitude: '114.42659'},
{latitude: '31.93182', longitude: '118.633415'},
{latitude: '31.035032', longitude: '121.611504'}
]);
const initMap = () => {
AMapLoader.load({
"key": "上述步骤得到的key",
"version": "2.0",
"plugins": [],
})
.then((AMap) => {
const map = new AMap.Map('map', {
mapStyle: 'amap://styles/whitesmoke',
zoom: 12
});
AMap.plugin('AMap.Driving', function () {
const driving = new AMap.Driving({
map
});
if (logisticsInfoList?.value && logisticsInfoList.value.length >= 2) {
const list = [...logisticsInfoList.value];
const start = list.shift();
const end = list.pop();
driving.search(
[start?.longitude, start?.latitude],
[end?.longitude, end?.latitude],
() => {
}
);
};
});
})
.catch(e => {
console.log(e);
});
};
- 注意:
- 在Vue3项目中,不要直接使用接口返回的经纬度坐标数组,
- 该数组通常都是我们使用ref声明的数据进行接收的,如果依然使用该数据的话,页面会受影响的;
- 正确的做法应该是:重新声明一个变量,去复制一份经纬度数组;
- 效果展示:
3.2 关闭实时路况信息
const driving = new AMap.Driving({
map,
showTraffic: false
});
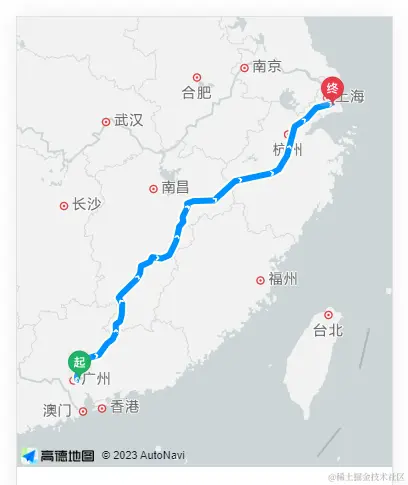
- 效果展示:
3.3 根据途径点自定义绘制路径
driving.search(
[start?.longitude, start?.latitude],
[end?.longitude, end?.latitude],
{ waypoints: list.map((item) => [item.longitude, item.latitude]) },
() => {
}
);
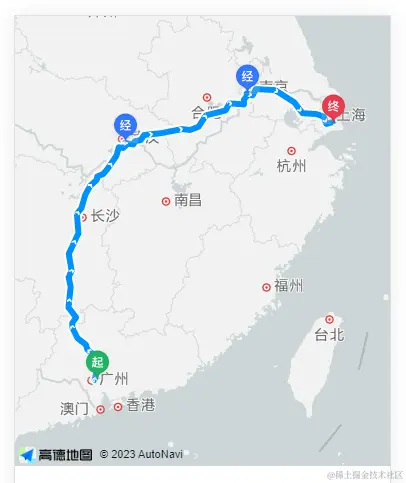
- 效果展示:
3.4 关闭沿途标记点
const driving = new AMap.Driving({
map,
showTraffic: false,
hideMarkers: true
});
- 效果展示:
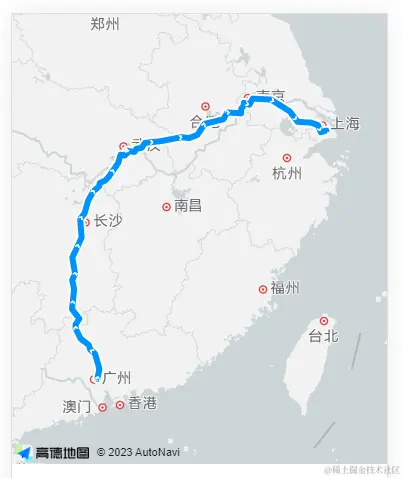
- 问题:
- 关闭途径点之后,起点和终点的标志也就不显示了;
- 请看下节;
四、绘制 标记 以及 当前位置
4.1 绘制标记
4.1.1 ❌ 直接使用图片的URL
- ❗❗ 缺陷:
- 按照这种方式设置的标记点是 无法调整
icon的大小;
- 图片多大,标记显示的就是多大;
import startImg from '@/assets/images/start.png';
const start = list.shift();
const marker = new AMap.Marker({
position: [start?.longitude, start?.latitude],
icon: startImg
});
map.add(marker);
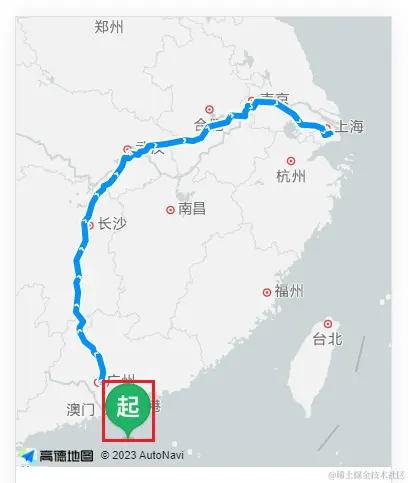
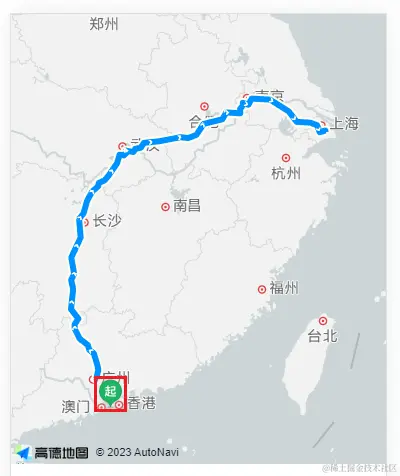
- 缺陷:
- 标记点虽然绘制上了,但是标记点和大小和位置不对,但是这种方式不支持设置图片的样式;
4.1.2 ✅ 创建 AMap.Icon 实例 绘制标记
- 优点:
- 可以设置图标的大小
size,偏移imageOffset等属性,比单纯设置URL更具灵活性;
import startImg from '@/assets/images/start.png';
const start = list.shift();
const icon = new AMap.Icon({
size: new AMap.Size(25, 30),
image: startImg,
imageSize: new AMap.Size(25, 30)
});
const marker = new AMap.Marker({
position: [start?.longitude, start?.latitude],
icon
});
map.add(marker);
- 效果展示:
4.1.3 设置图标的偏移
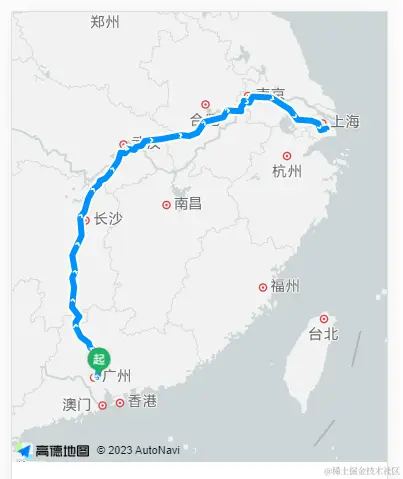
- 不管是使用哪种方式设置的标记,都可以发现,图像的左上角和我们的起点位置是重合的;
- 设置偏移量的话,就将图片向左偏移宽度的一半,向上偏移高度的100%即可;
const marker = new AMap.Marker({
position: [start?.longitude, start?.latitude],
icon,
offset: new AMap.Pixel(-12.5, -30)
});
- 效果展示:
4.2 封装绘制标记函数
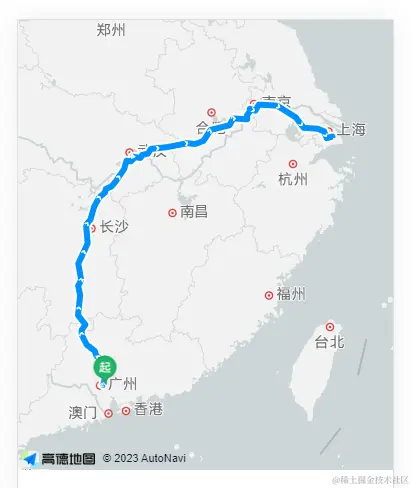
- 由于我们代码的标记不止一处,我们可以将绘制标记的代码封装成一个函数,使用的时候,直接传递经纬度,图片的地址,大小,偏移量等等;
- 类型文件:
export type Location = {
longitude: string;
latitude: string;
};
- 封装绘制标记函数:
- 注意点:
- 要将该函数封装在
AMapLoader.load 的 then 回调中;
import type { Location } from '@/types/order';
import startImg from '@/assets/start.png';
const createMarker = (
point: Location,
image: string,
width: number = 25,
height: number = 30
) => {
const icon = new AMap.Icon({
size: new AMap.Size(width, height),
image,
imageSize: new AMap.Size(width, height)
});
const marker = new AMap.Marker({
position: [point?.longitude, point?.latitude],
icon,
offset: new AMap.Pixel(-width / 2, -height)
});
return marker;
};
- 使用函数:
const start = list.shift();
map.add(createMarker(start!, startImg, 25, 30));

- 效果展示:
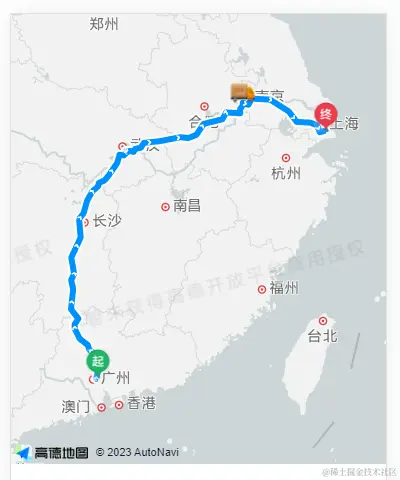
4.3 标记当前所在位置
import carImg from '@/assets/car.png';
const currentLocationInfo = ref({"latitude":"31.93182","longitude":"118.633415"});
driving.search(
[start?.longitude, start?.latitude],
[end?.longitude, end?.latitude],
{ waypoints: list.map((item) => [item.longitude, item.latitude]) },
() => {
const curr = currentLocationInfo.value;
map.add(createMarker(curr!, carImg, 25, 20));
}
);
- 效果展示:
4.4 调整当前位置到地图正中央及调整缩放比例
driving.search(
[start?.longitude, start?.latitude],
[end?.longitude, end?.latitude],
{ waypoints: list.map((item) => [item.longitude, item.latitude]) },
() => {
const curr = logistics.value?.currentLocationInfo;
const currMarker = createMarker(curr!, carImg, 25, 20);
map.add(currMarker);
setTimeout(() => {
map.setFitView([currMarker]);
map.setZoom(10);
}, 3000);
}
);
- 效果展示:
