本文的范围将涵盖对Three.js库和动画API的探索。你应该有JavaScript和React Native的基本知识才能跟上;要想了解更多可以在React Native中完成的精彩内容,LogRocket博客上的React Native档案是一个很好的学习场所。
我们将把这篇文章分成两部分。在第一部分,我们探讨在React Native中创建高级3D动画。我们将依靠Three.js库,它是一个跨平台的JavaScript 3D库,用于在网络环境中创建3D内容,如图形和动画。Three.js整合了WebGL增强行为,用于在网络上渲染3D模型,并整合了TweenMax以提高动画质量。
安装和先决条件
为了开始工作,我们需要创建我们的React Native应用程序。安装Expo CLI来服务我们的项目;它与Expo GO库携手合作,这是一个移动客户端应用程序,我们将用它来在iOS或Android平台上打开我们的项目。
一旦Expo CLI安装完毕,继续在终端运行以下命令。这个应用程序将使用TypeScript模板:
expo init reactNative3D
cd reactNative3D
yarn start
在继续之前,我们需要安装一些核心依赖。打开终端窗口,运行以下命令:
yarn add three expo-three expo-gl
yarn add --dev @types/three
让我们回顾一下这些依赖性:
- expo-gl:这提供了一个
View,作为OpenGLES渲染目标,这对渲染2D和3D图形都很有用。一旦安装,就会创建一个OpenGL上下文,接受[onContextCreate prop](https://docs.expo.dev/versions/latest/sdk/gl-view/#oncontextcreate),它有一个WebGL RenderingContext接口。 - expo-three。作为Three.js和ExpoGL之间的桥梁;它还为React Native中的本地OpenGL-ES提供了一个WebGL接口,这有助于从Three.js中抽象出DOM。
- 三。用于在网页上创建3D内容的3D库
使用Three.js渲染3D模型的工作方式
用Three.js渲染3D模型时,我们首先创建一个场景,作为模型渲染的场景。下图说明了Three.js应用程序的基本结构,其中需要创建对象并将它们连接在一起:
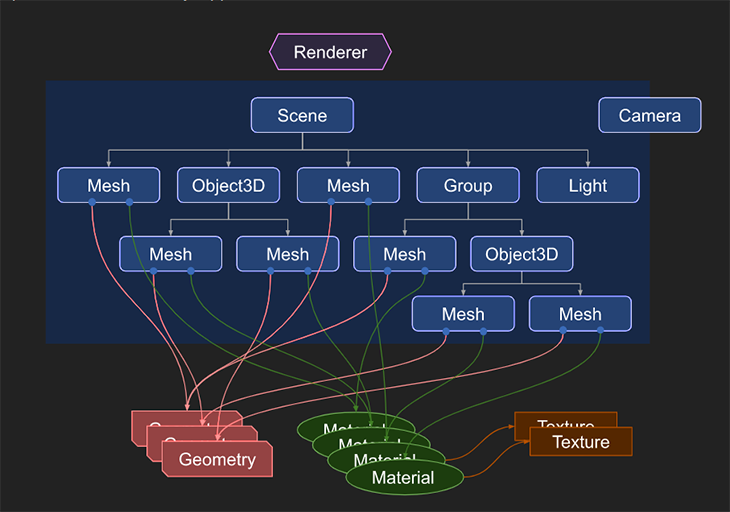
让我们来探讨一下上面的图示:
- 关键部分是
renderer,是Three.js的主要对象。我们创建的scene和camera被传递给渲染器,由渲染器渲染(绘制)三维场景的部分 scene是一个对象,它定义了[scenegraph](https://threejs.org/)并包含一些属性,如背景颜色Mesh是代表绘制特定 的对象,有一个特定的Geometry[Material](https://threejs.org/docs/#api/en/materials/Material)类- 一块
Geometry(球体、立方体)的顶点数据由Geometry对象表示。Three.js提供了内建的几何基元 - 用来绘制几何图形的表面属性是由
[Material](https://threejs.org/docs/#api/en/materials/Material)对象。它接受的值如:color和texture [Texture](https://threejs.org/docs/#api/en/textures/Texture)对象表示从图像文件加载的图像
在下面的章节中,我们将使用这些结构中的每一个来创建一个三维动画。
用一个三维立方体创建一个场景
在我们项目根目录下的App.tsx ,我们将创建一个基本的React Native组件。将所需的包导入到App.tsx 组件中:
code App.tsx
import React from 'react';
import { View } from 'react-native';
import Expo from 'expo';
import {Scene, Mesh, MeshBasicMaterial, PerspectiveCamera} from 'three';
import ExpoTHREE, {Renderer} from 'expo-three';
import { ExpoWebGLRenderingContext, GLView } from 'expo-gl';
继续创建一个场景,从expo-gl 输出的GLView 提供了一个视图,作为OpenGL ES渲染目标。这对于渲染我们正在创建的3D对象非常有用。
在App.tsx 组件中,创建一个功能组件:
const App = () => {
  const onContextCreate = async (gl: Object) => {}
  return (
    <View>
      <GLView
      onContextCreate={onContextCreate}
      />
    </View>
  )
}

export default App;
我们应用程序的基本骨架已经完成。onContextCreate 这个道具被传递到 [GLView](https://docs.expo.dev/versions/latest/sdk/gl-view/#oncontextcreate)的一个参数,gl ,它有一个WebGL RenderingContext接口。
转移我们的注意力,让我们创建onContextCreate 函数:
  const onContextCreate = async (gl: any) => {
    // three.js implementation.
    const scene = new Scene();
    const camera = new PerspectiveCamera(
      75,
      gl.drawingBufferWidth / gl.drawingBufferHeight,
      0.1,
      1000
    );
    gl.canvas = {
      width: gl.drawingBufferWidth,
      height: gl.drawingBufferHeight,
    };

    // set camera position away from cube
    camera.position.z = 2;

    const renderer = new Renderer({ gl });
    // set size of buffer to be equal to drawing buffer width
    renderer.setSize(gl.drawingBufferWidth, gl.drawingBufferHeight);

    // create cube
    // define geometry
    const geometry = new BoxBufferGeometry(1, 1, 1);
    const material = new MeshBasicMaterial({
      color: "cyan",
    });

    const cube = new Mesh(geometry, material);

    // add cube to scene
    scene.add(cube);

    // create render function
    const render = () => {
      requestAnimationFrame(render);
      // create rotate functionality
      // rotate around x axis
      cube.rotation.x += 0.01;

      // rotate around y axis
      cube.rotation.y += 0.01;

      renderer.render(scene, camera);
      gl.endFrameEXP();
    };

    // call render
    render();
  };
随着onContextCreate 函数的完成,我们的3D立方体就完成了。
你的App.tsx 文件应该是这样的:
import React from "react";
import { View } from "react-native";
import Expo from "expo";
import {
  Scene,
  Mesh,
  MeshBasicMaterial,
  PerspectiveCamera,
  BoxBufferGeometry,
} from "three";
import ExpoTHREE, { Renderer } from "expo-three";
import { ExpoWebGLRenderingContext, GLView } from "expo-gl";
import { StatusBar } from "expo-status-bar";

const App = () => {

  const onContextCreate = async (gl: any) => {
    // three.js implementation.
    const scene = new Scene();
    const camera = new PerspectiveCamera(
      75,
      gl.drawingBufferWidth / gl.drawingBufferHeight,
      0.1,
      1000
    );
    gl.canvas = {
      width: gl.drawingBufferWidth,
      height: gl.drawingBufferHeight,
    };

    // set camera position away from cube
    camera.position.z = 2;

    const renderer = new Renderer({ gl });
    // set size of buffer to be equal to drawing buffer width
    renderer.setSize(gl.drawingBufferWidth, gl.drawingBufferHeight);

    // create cube
    // define geometry
    const geometry = new BoxBufferGeometry(1, 1, 1);
    const material = new MeshBasicMaterial({
      color: "cyan",
    });

    const cube = new Mesh(geometry, material);

    // add cube to scene
    scene.add(cube);

    // create render function
    const render = () => {
      requestAnimationFrame(render);
      // create rotate functionality
      // rotate around x axis
      cube.rotation.x += 0.01;

      // rotate around y axis
      cube.rotation.y += 0.01;

      renderer.render(scene, camera);
      gl.endFrameEXP();
    };

    // call render
    render();
  };

  return (
    <View>
      <GLView
        onContextCreate={onContextCreate}
        // set height and width of GLView
        style={{ width: 400, height: 400 }}
      />
    </View>
  );
};

export default App;
停止Metro服务器,以确保所有的新文件都已被添加,并再次启动它:
ctrl c
yarn start
用Expo应用程序打开该应用程序:
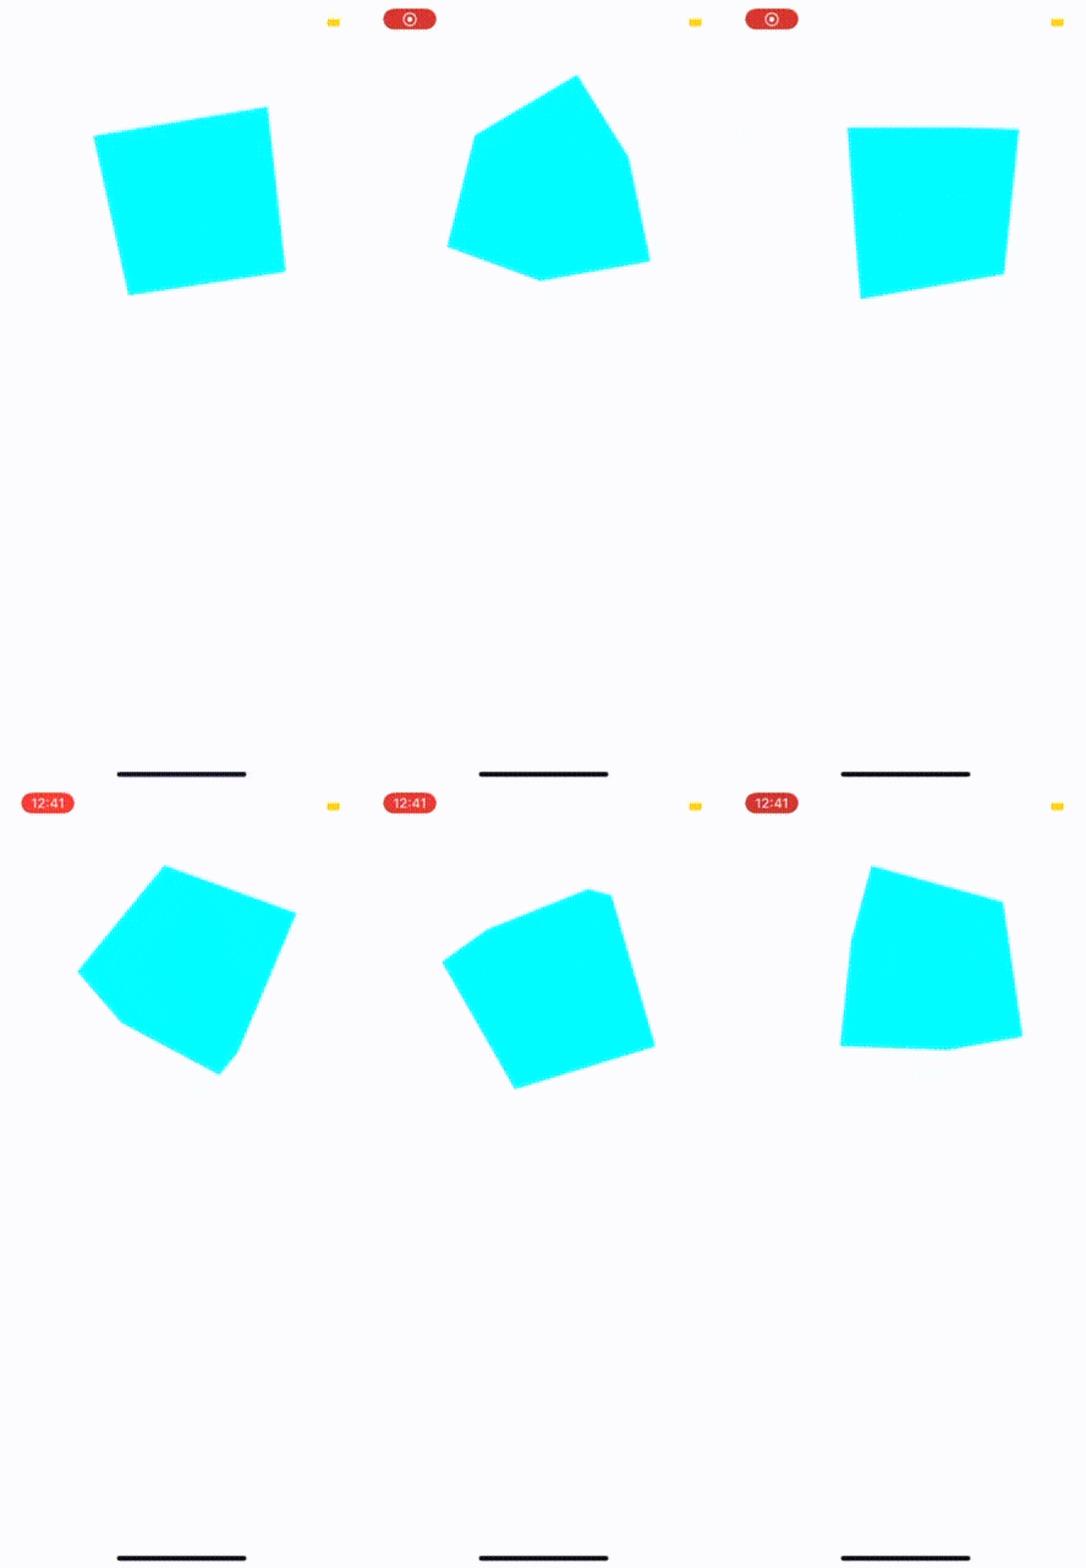
探索动画的API
在本节中,我们将使用FlatList 和Animated API创建一个3D旋转木马。首先,让我们创建一个没有3D效果的旋转木马。
在App.tsx ,注释掉之前的代码,从头开始新的实现。我们首先在项目中安装我们需要的依赖项。
安装react-native-uuid库和@expo/vector-icons。
yarn add react-native-uuid @expo/vector-icons
现在,将需要的库导入组件中:
import * as React from "react";
import {
  FlatList,
  Image,
  Text,
  View,
  Dimensions,
  TouchableOpacity,
  StyleSheet,
  Animated,
} from "react-native";
import { SafeAreaView } from "react-native";
import { AntDesign } from "@expo/vector-icons";
import uuid from "react-native-uuid";
import { StatusBar } from "expo-status-bar";
const { width, height } = Dimensions.get("screen");
在创建图片旋转木马时,指定旋转木马中的图片的width 和height 属性可以实现更好的浏览。Spacing 这个变量能够在不同的造型需求中实现重用:
const IMAGE_WIDTH = width * 0.65;
const IMAGE_HEIGHT = height * 0.7;
const SPACING = 20;
使用Pexels图片API,我们可以生成一个图片阵列来填充我们的应用程序:
const images = [
  "https://images.pexels.com/photos/1799912/pexels-photo-1799912.jpeg?auto=compress&cs=tinysrgb&dpr=1&w=500",
  "https://images.pexels.com/photos/1769524/pexels-photo-1769524.jpeg?auto=compress&cs=tinysrgb&dpr=1&w=500",
  "https://images.pexels.com/photos/1758101/pexels-photo-1758101.jpeg?auto=compress&cs=tinysrgb&dpr=1&w=500",
  "https://images.pexels.com/photos/1738434/pexels-photo-1738434.jpeg?auto=compress&cs=tinysrgb&dpr=1&w=500",
  "https://images.pexels.com/photos/1698394/pexels-photo-1698394.jpeg?auto=compress&cs=tinysrgb&dpr=1&w=500",
  "https://images.pexels.com/photos/1684429/pexels-photo-1684429.jpeg?auto=compress&cs=tinysrgb&dpr=1&w=500",
  "https://images.pexels.com/photos/1690351/pexels-photo-1690351.jpeg?auto=compress&cs=tinysrgb&dpr=1&w=500",
  "https://images.pexels.com/photos/1668211/pexels-photo-1668211.jpeg?auto=compress&cs=tinysrgb&dpr=1&w=500",
  "https://images.pexels.com/photos/1647372/pexels-photo-1647372.jpeg?auto=compress&cs=tinysrgb&dpr=1&w=500",
  "https://images.pexels.com/photos/1616164/pexels-photo-1616164.jpeg?auto=compress&cs=tinysrgb&dpr=1&w=500",
  "https://images.pexels.com/photos/1799901/pexels-photo-1799901.jpeg?auto=compress&cs=tinysrgb&dpr=1&w=500",
  "https://images.pexels.com/photos/1789968/pexels-photo-1789968.jpeg?auto=compress&cs=tinysrgb&dpr=1&w=500",
  "https://images.pexels.com/photos/1774301/pexels-photo-1774301.jpeg?auto=compress&cs=tinysrgb&dpr=1&w=500",
  "https://images.pexels.com/photos/1734364/pexels-photo-1734364.jpeg?auto=compress&cs=tinysrgb&dpr=1&w=500",
  "https://images.pexels.com/photos/1724888/pexels-photo-1724888.jpeg?auto=compress&cs=tinysrgb&dpr=1&w=500",
];
我们将使用react-native-uuid 库将随机数据播入应用程序:
const DATA = [...Array(images.length).keys()].map((_, i) => {
  return {
    key: uuid.v4(),
    image: images[i],
  };
});
现在是时候实现我们的旋转木马视图了:
export default () => {
  return (
    <View style={{ backgroundColor: "#A5F1FA", flex: 1 }}>
      <StatusBar hidden />
      <SafeAreaView style={{ marginTop: SPACING * 1 }}>
        <View style={{ height: IMAGE_HEIGHT * 2.1 }}>
          <FlatList
            data={DATA}
            keyExtractor={(item) => item.key}
            horizontal
            pagingEnabled
            bounces={false}
            style={{ flexGrow: 0, zIndex: 9999 }}
            contentContainerStyle={{
              height: IMAGE_HEIGHT + SPACING * 2,
              paddingHorizontal: SPACING * 4,
            }}
            showsHorizontalScrollIndicator={false}
            renderItem={({ item, index }) => {
              return (
                <View
                  style={{
                    width,
                    paddingVertical: SPACING,
                  }}
                >
                  <Image
                    source={{ uri: item.image }}
                    style={{
                      width: IMAGE_WIDTH,
                      height: IMAGE_HEIGHT,
                      resizeMode: "cover",
                    }}
                  />
                </View>
              );
            }}
          />
        </View>
      </SafeAreaView>
    </View>
  );
};
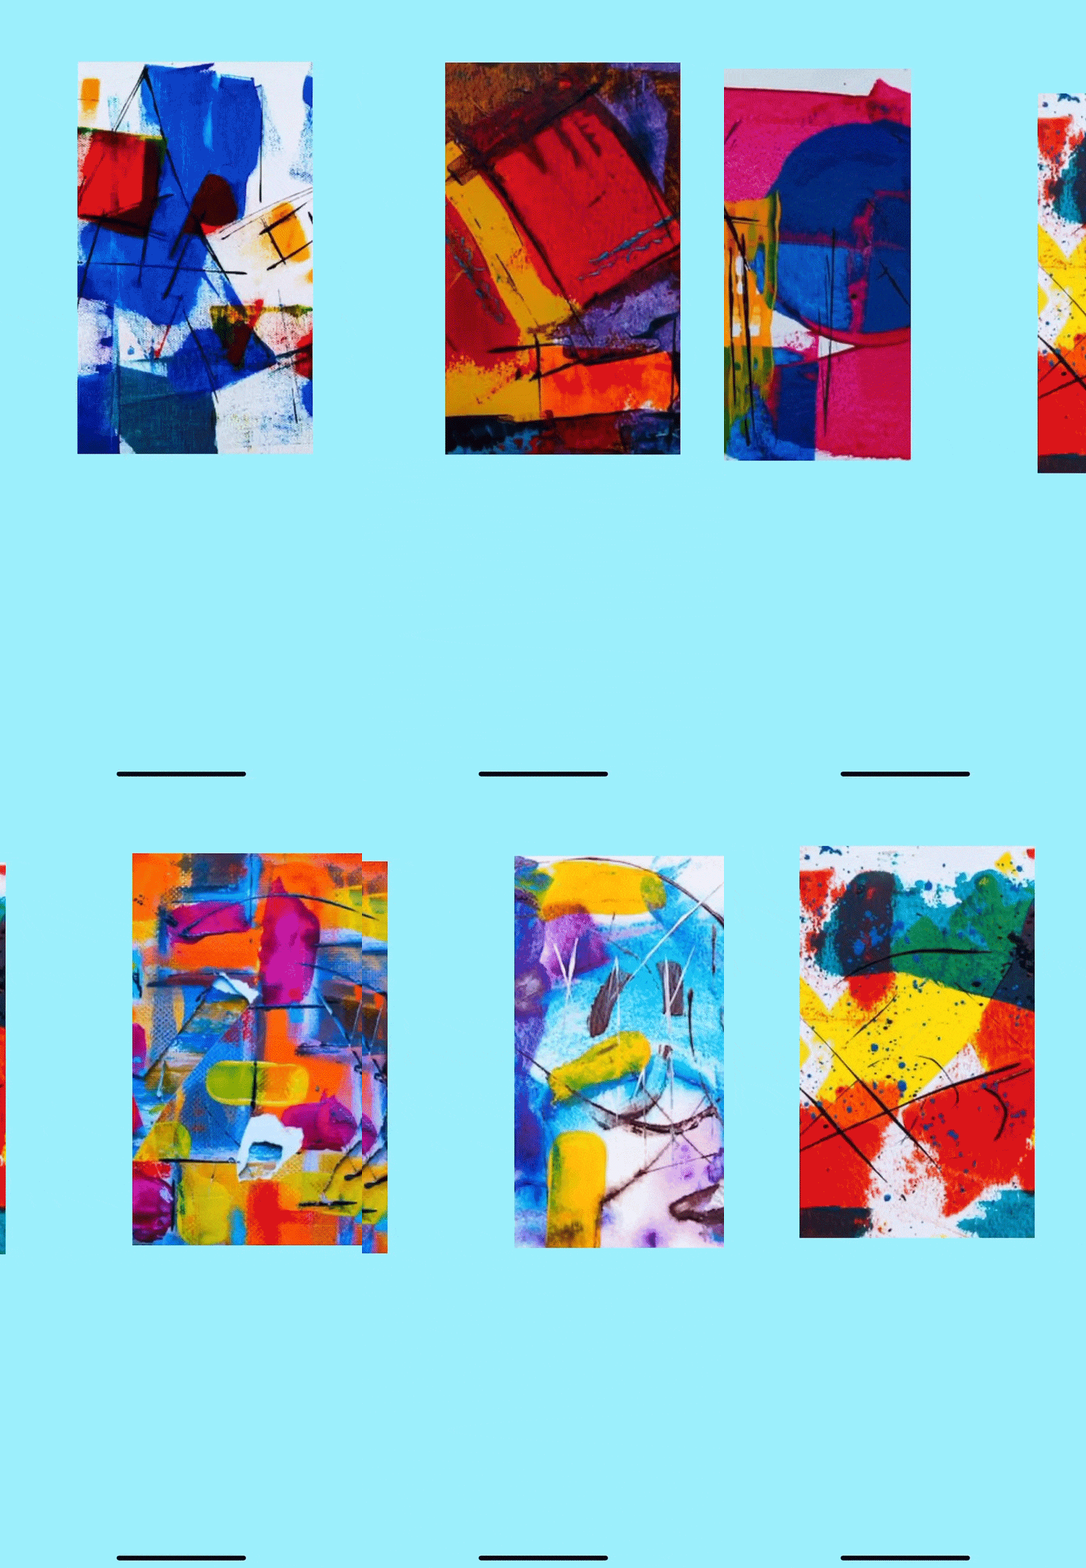
图片旋转木马已经成功创建。
用Animated API创建3D效果
下一步是使用Animated API来创建3D效果。为了使用Animated API,我们需要将我们的FlatList 改为Animated.FlatList ,并添加一个onScroll 事件,在这个事件中我们将传入一个NativeEvent 。
一个变量scrollX 将被定义为我们X轴的值。我们将传入一个useRef() Hook,使React能够跟踪动画的发展。这使得scrollX 的值即使在重新渲染后也能保持不变:
export default () => {
  const scrollX = React.useRef(new Animated.Value(0)).current;
  return (
    <View style={{ backgroundColor: "#A5F1FA", flex: 1 }}>
      <StatusBar hidden />
      <SafeAreaView style={{ marginTop: SPACING * 1 }}>
        <View style={{ height: IMAGE_HEIGHT * 2.1 }}>
          <Animated.FlatList
            data={DATA}
            keyExtractor={(item) => item.key}
            horizontal
            pagingEnabled
            onScroll={Animated.event(
              [
                {
                  nativeEvent: { contentOffset: { x: scrollX } },
                },
              ],
              {
                useNativeDriver: true,
              }
            )}
现在我们可以插值,同时依靠scrollX 来创建动画。在我们的FlatList 的renderItem ,创建一个inputRange 。我们将使用输入范围的数字进行插值。然后,在renderItem 里面创建一个opacity 变量:
           renderItem={({ item, index }) => {
              const inputRange = [
                (index - 1) * width, // next slide
                index * width, // current slide
                (index + 1) * width, // previous slide
              ];
              const opacity = scrollX.interpolate({
                inputRange,
                outputRange: [0, 1, 0],
              });
         const translateY = scrollX.interpolate({
                inputRange,
                outputRange: [50, 0, 20] // create a wave
              })
继续,我们已经将项目中的视图转换为一个Animated.View ,我们之前创建的opacity 变量将作为一个样式传入:
             return (
                <Animated.View
                  style={{
                    width,
                    paddingVertical: SPACING,
                    opacity,
                    transform: [{ translateY }]
                  }}
                >
                  <Image
                    source={{ uri: item.image }}
                    style={{
                      width: IMAGE_WIDTH,
                      height: IMAGE_HEIGHT,
                      resizeMode: "cover",
                    }}
                  />
                </Animated.View>
              );
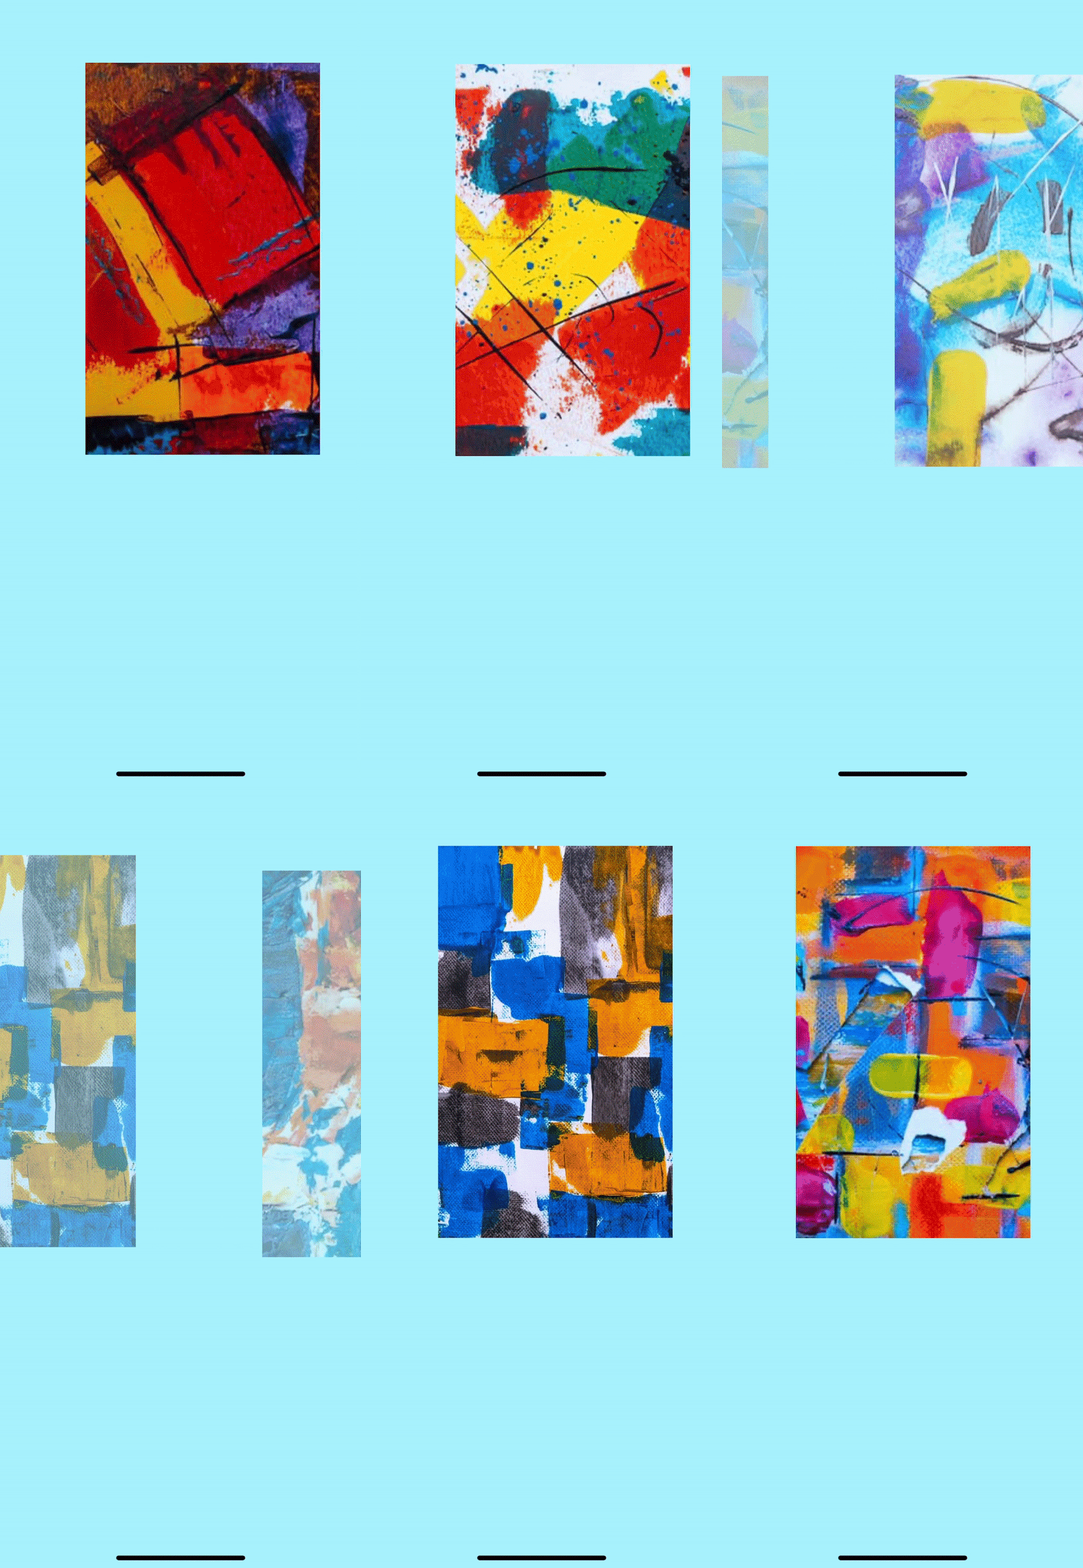
现在,当滑动时,不透明度是基于输入范围而应用的。
添加背景
让我们添加一个白色的背景,以便在我们滑动图片时突出3D动画的效果。
在View 下面,粘贴下面的代码块:
 <View
            style={{
              width: IMAGE_WIDTH + SPACING * 4,
              height: 450,
              position: "absolute",
              backgroundColor: "white",
              backfaceVisibility: true,
              zIndex: -1,
              top: SPACING * 1,
              left: SPACING * 1.7,
              bottom: 0,
              shadowColor: "#000",
              shadowOpacity: 0.2,
              shadowRadius: 24,
              shadowOffset: {
                width: 0,
                height: 0,
              },
            }}
          />
        </View>
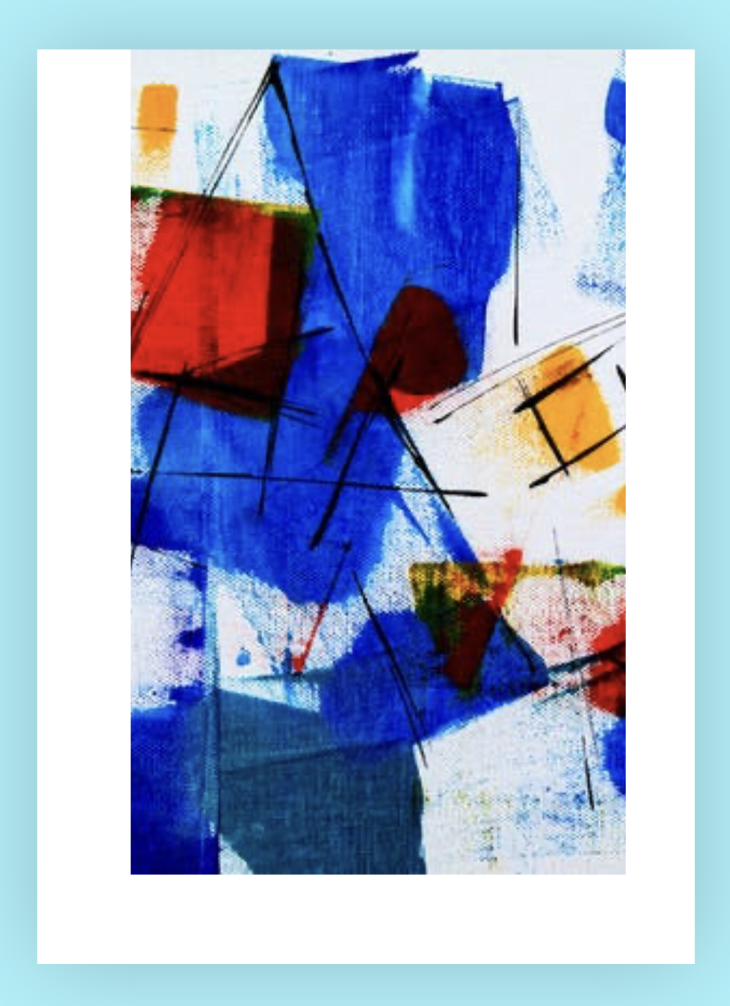
下一步是对白色背景进行动画处理,这样它就会在3D视图中进行旋转。但在这之前,让我们想出一个办法来查看0 和1 之间的inputRange 。
在我们的Carousel 组件的顶部,使用Animated API中的方法divide() 和modulo() 创建一个进度变量,它让我们修改和获得0 和1 之间的值。progress 变量使我们能够将我们的值夹在0 和1 之间。
export default () => {
  const scrollX = React.useRef(new Animated.Value(0)).current;
  const progress = Animated.modulo(Animated.divide(scrollX, width), width);
我们现在准备开始修改容纳我们的白色背景的View 组件。正如我们之前所做的,将View 组件转换成Animated.View 。
一个transform 的输入被传递到Animated.View 组件;transform 接收一个perspective 和一个rotateY:
          <Animated.View
            style={{
              width: IMAGE_WIDTH + SPACING * 4,
              height: 450,
              position: "absolute",
              backgroundColor: "white",
              backfaceVisibility: true,
              zIndex: -1,
              top: SPACING * 1,
              left: SPACING * 1.7,
              bottom: 0,
              shadowColor: "#000",
              shadowOpacity: 0.2,
              shadowRadius: 24,
              shadowOffset: {
                width: 0,
                height: 0,
              },
              transform: [
                {
                  perspective: IMAGE_WIDTH * 4,
                },
                {
                  rotateY: progress.interpolate({
                    inputRange: [0, 0.5, 1],
                    outputRange: ["0deg", "90deg", "180deg"],
                  }),
                },

              ],
            }}
          />
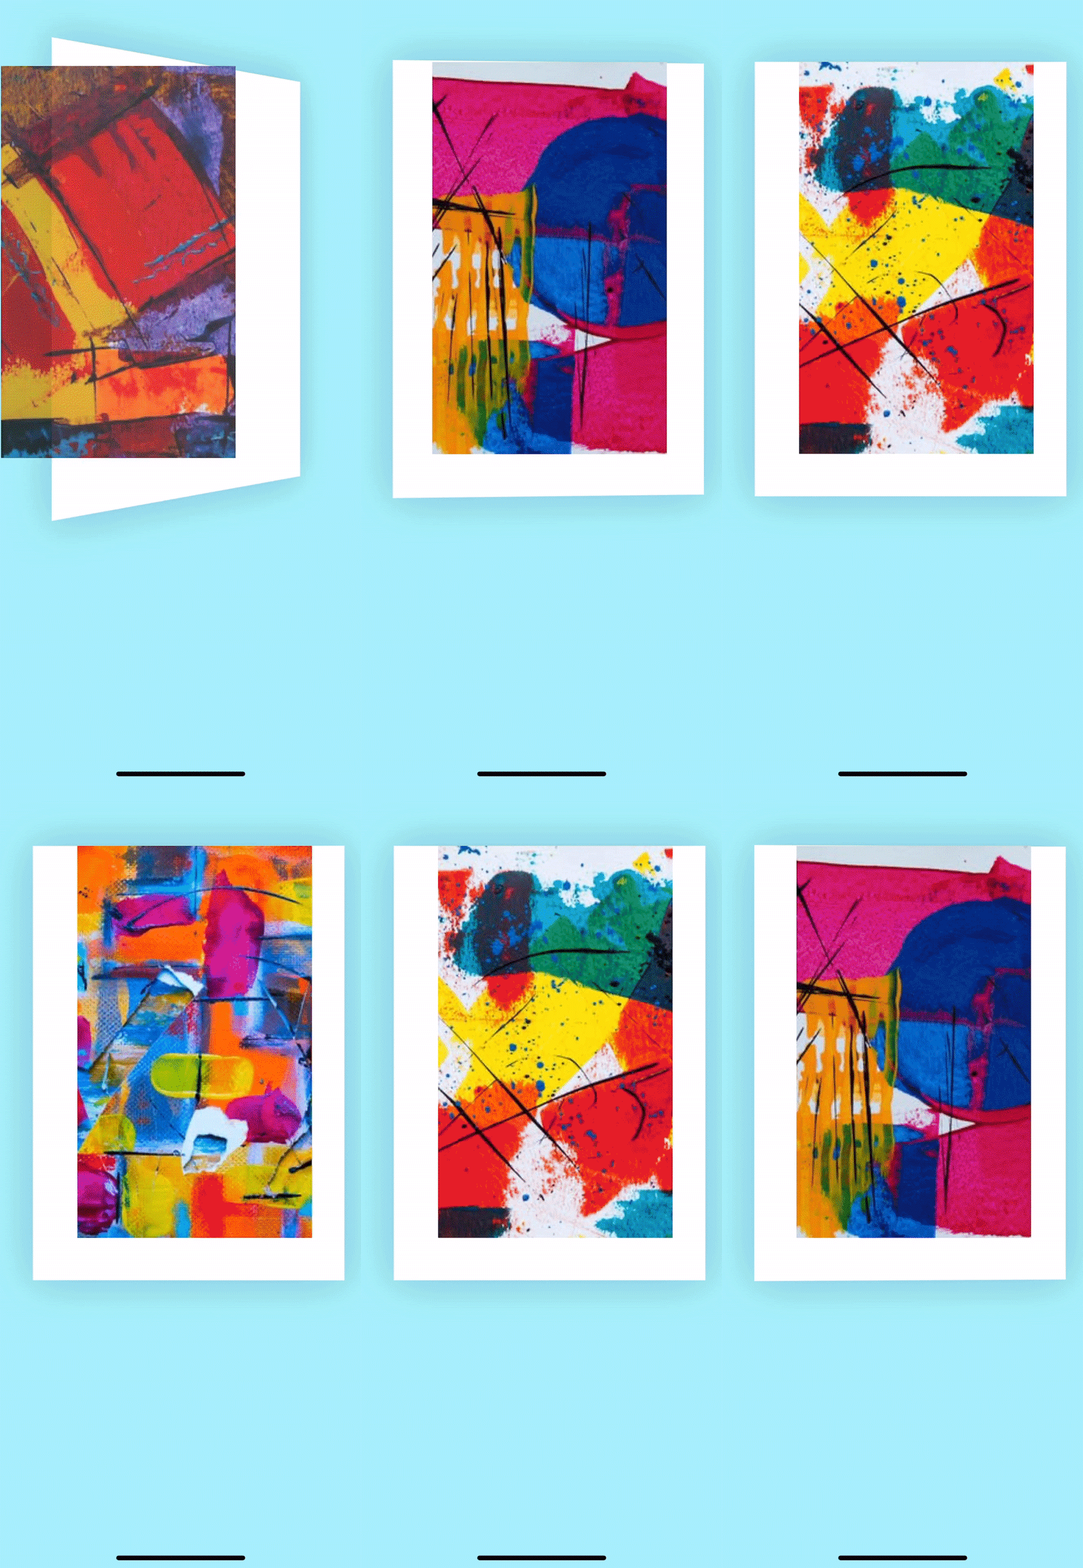
这个项目的Repo可以在GitHub上找到。
总结
在这篇文章中,我们探讨了使用Three.js在React Native中创建3D内容。Three.js能够在React Native环境中渲染3D模型。当与Animated API结合使用时,这些工具可以为我们提供额外的灵活性,使我们能够为用户建立更流畅、更诱人的视图。这只是用Animated API可以进行的惊人的动画的一个尝试。
希望这篇文章能成为未来开发者创造优秀用户体验的探索性指南。