

技术栈 NestJS + MongoDB + TypeORM + apollo-GraphQL
第一步,项目搭建
-
安装@nest/cli脚手架用于生成项目;
npm i -g @nest/cli
-
生成项目
nest new nest-typeorm-graphql
cd ./nest-typeorm-graphql
-
启动项目
yarn start:dev
启动完成后默认地址为:http://localhost:3000/,此时应该可以看到熟悉的Hello World!;
第二步,连接MongoDB数据库
这里使用了TypeORM作为数据库实体映射工具,可以大大简化数据库连接与CRUD操作;
- TypeORM官方介绍与文档:TypeORM文档 (右上角可切换中文)
- NestJS框架下使用TypeORM指南:@nestjs/typeorm文档
-
安装依赖
yarn add @nestjs/typeorm typeorm mongodb
-
在
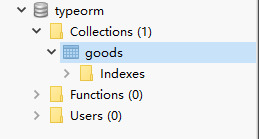
src/app.module.ts里配置数据库连接:... ... import { join } from 'path'; import { TypeOrmModule } from '@nestjs/typeorm'; @Module({ imports: [ TypeOrmModule.forRoot({ type: 'mongodb', host: 'localhost', port: 27017, database: 'typeorm', // 数据库名 entities: [join(__dirname, '**/entity/*.{ts,js}')], // 需要自动实体映射的文件路径匹配 useNewUrlParser: true, // 使用新版mongo连接Url解析格式 synchronize: true, // 自动同步数据库生成entity }) ],- 我们需要提前在MongoDB里创建空数据库
typeorm; - 在上面的TypeOrmModule配置里我们设置了数据库实体映射的文件路径为
**/entity/*.{ts,js}; - 为了开发方便,设置了
synchronize: true,使typeorm可以自动在MongoDB里生成实体类定义的Collections,这样就省去了我们手动建立Collections的操作了;
- 我们需要提前在MongoDB里创建空数据库
第三步,GraphQL配置
-
安装依赖
yarn add @nestjs/graphql graphql-tools graphql apollo-server-express
-
在
src/app.module.ts里配置GraphQL:
在NestJS框架下有两种开发GraphQL的策略,一种是先写实体类定义的
代码先行(Code First)方式,另一种是先写schema.gql的架构先行(Schema First)方式; 为了保持开发风格与思路一致,这里采用了代码先行的策略;
    ... ...
    import { GraphQLModule } from '@nestjs/graphql';

    @Module({
      imports: [
        GraphQLModule.forRoot({
          autoSchemaFile: './schema.gql', //代码先行(既先写实体定义)
        }),
      ],
    })
第四步,开发业务模块
为了快速开发,此处使用了@nest/cli 命令行工具生成代码,第一步里已经全局安装;
我们开发一个商品管理模块Goods作为示例:
-
生成
goods.module.ts, Module文件;nest generate module goods可以简写为
nest g mo goods这里要引入数据库实体类定义,否则下面的
Service无法获取数据库Repository对象:import { TypeOrmModule } from '@nestjs/typeorm' import { Goods } from './entity/goods.entity' @Module({ imports: [TypeOrmModule.forFeature([Goods])], ... ... }) -
生成
goods.service.ts, 用于实现 resolver 的 @Query等GraphQL方法的具体数据库操作;nest generate service goods我们需要在
GoodsService里需要实现CRUD方法:this.goodsRepository的使用方法可以参考TypeORM官方 Repository文档import { Injectable } from '@nestjs/common' import { InjectRepository } from '@nestjs/typeorm' import { Repository } from 'typeorm' import { Goods } from './entity/goods.entity' @Injectable() export class GoodsService { constructor(@InjectRepository(Goods) public goodsRepository: Repository<Goods>) {} public findAll() { return this.goodsRepository.find() } public findOneById(id: string) { return this.goodsRepository.findOne(id) } public updateOne(goods: Partial<Goods>) { return this.goodsRepository.update(goods.id, goods) } public addOne(goods: Partial<Goods>) { return this.goodsRepository.save(goods) } public deleteOne(id: string) { return this.goodsRepository.delete(id) } } -
生成
goods.resolver.ts, 用于实现 GraphQL 的 Query、Mutation;nest generate resolver goodsGoodsResolver里定义GraphQL的Query与Mutations:具体使用参考 NestJS Resolvers 文档与 NestJS Mutations 文档;
import { Resolver, Query, Mutation, Args } from '@nestjs/graphql'; import { GoodsService } from './goods.service'; import { GoodsTypeGraphql, GoodsInputTypeGraphql, GoodsInsertTypeGraphql } from './entity/goods.type-graphql'; // 包装Promise返回,使得async/await可以更方便写成同步语法的形式 function awaitWrap<T, U = any>(promise: Promise<T>): Promise<[U | null, T | null]> { return promise .then<[null, T]>((data: T) => [null, data]) .catch<[U, null]>(err => [err, null]) } @Resolver('Goods') export class GoodsResolver { constructor(private readonly goodsService: GoodsService) {} //查询所有商品 @Query(() => [GoodsTypeGraphql]) async getAllGoods() { return this.goodsService.findAll(); } //查询单个商品 @Query(() => GoodsTypeGraphql) async getGoods(@Args('id') id: string) { return this.goodsService.findOneById(id); } //新增一个商品 @Mutation(() => GoodsTypeGraphql) async addOneGoods(@Args('goods') goods: GoodsInsertTypeGraphql) { return this.goodsService.addOne({ ...goods }); } // 更新一个商品信息 @Mutation(() => GoodsTypeGraphql) async updateGoods(@Args('goods') goods: GoodsInputTypeGraphql) { const [err] = await awaitWrap(this.goodsService.updateOne(goods)); if (err) { return goods; } return this.goodsService.findOneById(goods.id); } // 删除一个商品信息 @Mutation(() => Boolean) async deleteOneGoods(@Args('id') id: string) { const [err] = await awaitWrap(this.goodsService.deleteOne(id)); if (err) { return false; } return true; } } -
生成
goods.entity.ts, 用于定义TypeOrm数据库实体类定义;具体文档可查看 NestJS Database
cd ./src/goods
mkdir entity
cd ./entity
nest generate class goods.entity --no-spec
实体类定义如下:
import { Entity, Column, ObjectID, ObjectIdColumn, PrimaryGeneratedColumn } from 'typeorm'

@Entity()
export class Goods {
  @PrimaryGeneratedColumn()
  @ObjectIdColumn()
  readonly id: ObjectID

  @Column({ unique: true })
  readonly name: string

  @Column()
  readonly price: number

  @Column()
  readonly count: number

  @Column()
  readonly remark: string
}
启动服务后会自动在MongoDB的typeorm库下生成对应名称的Collections
-
生成
goods.type-graphql.ts,GraphQL的类型定义文件;这里使用了代码先行的策略,用于编写 GraphQL 类型定义类 ,@nestjs/graphql 将自动生成 schema.gql;
nest generate class goods.type-graphql --no-spec最后定义GraphQL类型即可:
import { ObjectType, Field, ID, InputType } from '@nestjs/graphql'

 @ObjectType()
 export class GoodsTypeGraphql {
   @Field(() => ID)
   readonly id: any
   readonly name: string
   readonly price?: number
   readonly count?: number
   readonly remark?: string
 }

 @InputType()
 export class GoodsInsertTypeGraphql {
   readonly name: string
   readonly price?: number
   readonly count?: number
   readonly remark?: string
 }

 @InputType()
 export class GoodsInputTypeGraphql {
   @Field(() => ID)
   readonly id: any
   readonly name: string
   readonly price?: number
   readonly count?: number
   readonly remark?: string
 }
这里为了减少重复代码,少写
@Field,我们使用了@nestjs/graphql的 CLI 插件根目录下的
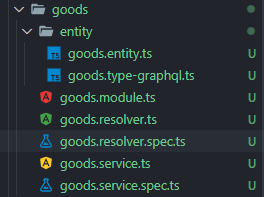
nest-cli.json修改为:{ "collection": "@nestjs/schematics", "sourceRoot": "src", "compilerOptions": { "plugins": [ { "name": "@nestjs/graphql/plugin", "options": { "typeFileNameSuffix": [".type-graphql.ts"] } } ] } }最终得到如下若干文件:
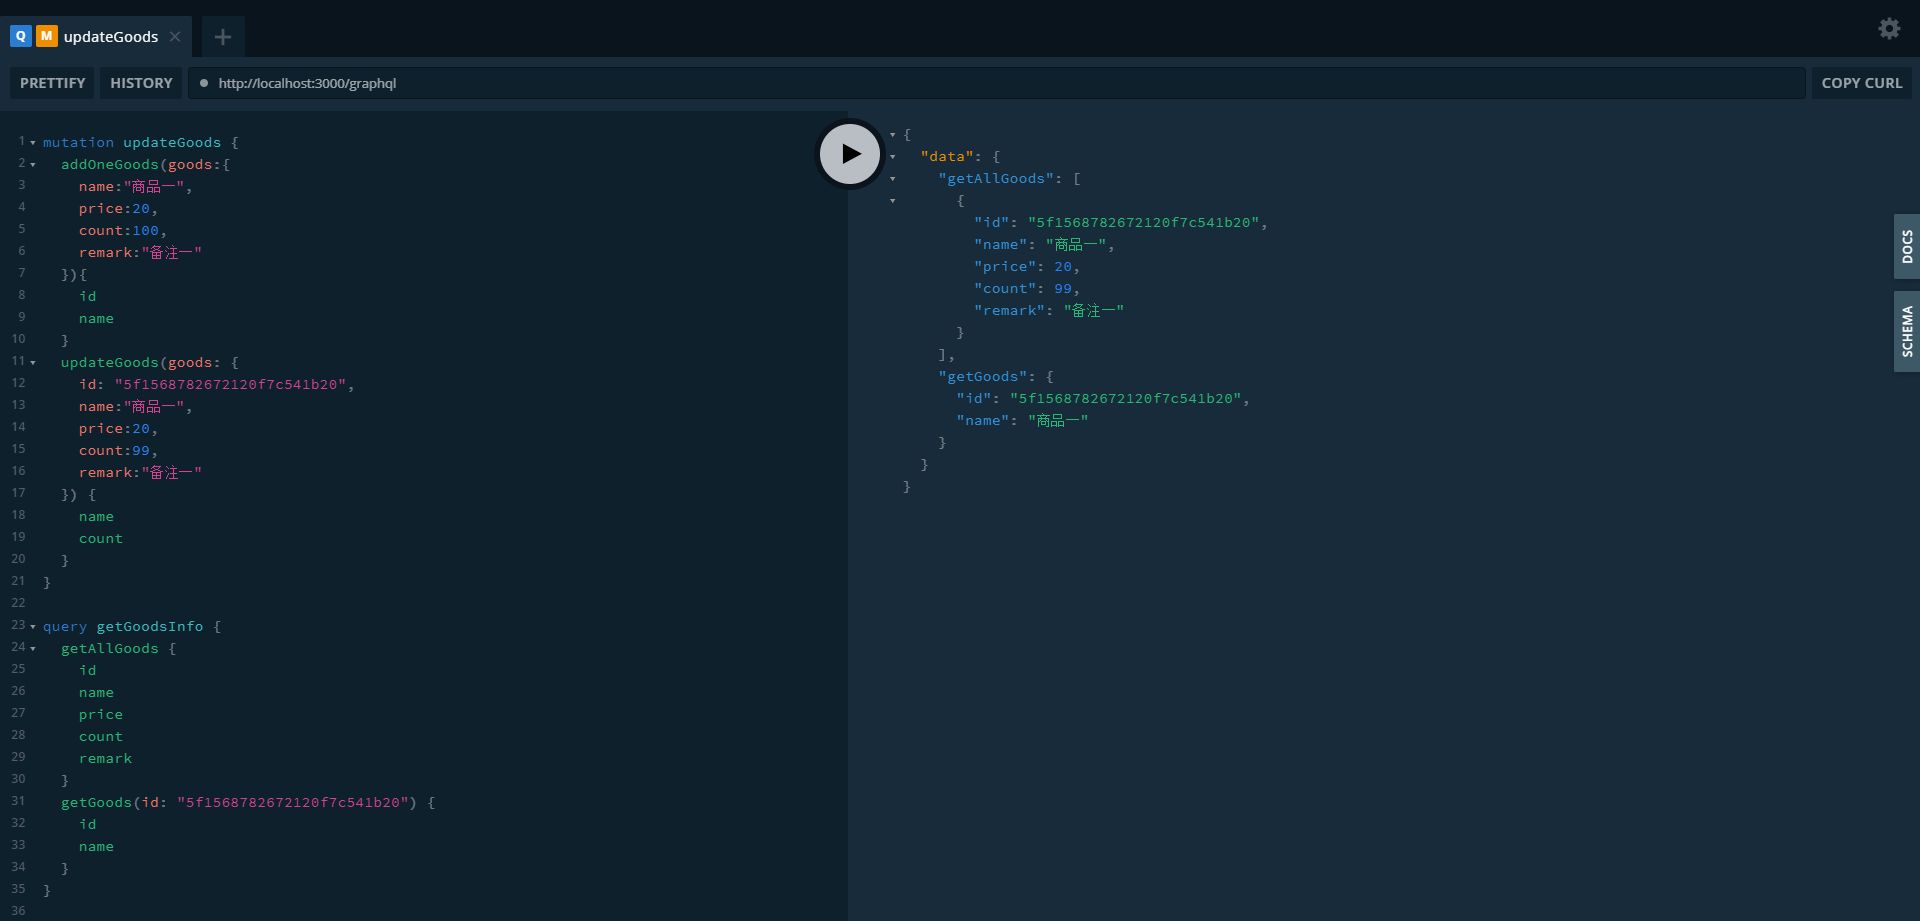
大功告成,再次启动服务
yarn start:dev等待启动完成即可访问 http://localhost:3000/graphql,打开GraphQL Playground愉快玩耍了:
项目github地址: github.com/wenqieqiu/n…
下期预告 —— 前端vue+ts+apollo-graphql便捷实现增删改查
