

先看效果图
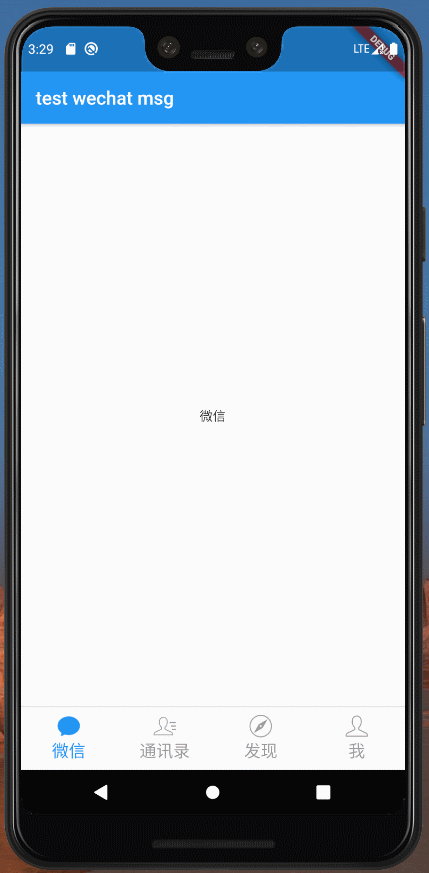
实现思路
在flutter中,如果想实现上面的页面切换效果,必然会想到pageView。pageView的controller可以监听到pageView的滚动事件,也可以获取pageView滚动的位置,所以我们在滚动事件中根据位置去改变对应的图标颜色就可以实现了。
改变图标颜色
图标是从微信中提取出来的,都是webp格式的图片。要改变图片颜色可以使用ImageIcon这个组件。
ImageIcon会把一张图片变成单色图片,所以只要图片没有多色的要求,就可以用这个组件。
既然能改变颜色了,我们也需要知道pageView滚动的时候究竟要改什么颜色。从一个页面滚动到另一个页面的过程中,颜色都是线性渐变的,要获取这个过程中的颜色可以使用flutter的Color类提供的lerp方法,作用是获取两种颜色之间的线性差值
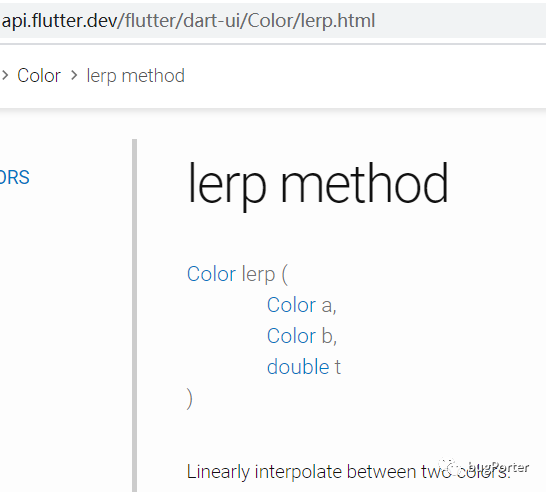
也就是在滚动事件中,计算出 t ,根据 t 改变图标颜色就可以实现上面的效果了。
pageController.addListener(() {
      int currentPage = pageController.page.toInt();
      //当前页面的page是double类型的, 把它减去当前页面的int类型就可以得出当前页面到下一个页面的偏移量了
      double t = pageController.page - currentPage;
      //根据上一次的页面位置获得方向
      if (lastPage <= pageController.page) {
        //向右滑动时currentPage是当前页
        //从当前页过渡到下一页
        streamController.sink.add(StreamModel(
            timeline: t, index: currentPage, gotoIndex: currentPage + 1));
      } else {
        //向左滑动时currentPage是上一页
        //从当前页过渡到上一页
        streamController.sink.add(StreamModel(
            timeline: t, index: currentPage + 1, gotoIndex: currentPage));
      }
      lastPage = pageController.page;
    });
上面代码中currentPage的值举个例子:当前page是1,要滑动到2,那么它的值是1.11...1.21...这样一直到2,所以在这个过程中currentPage是当前页。如果当前page是4,要滑动到3的时候,它的值是3.99...3.81...这样一直到3,在这个过程中currentPage就是上一页了。
t 的计算就更简单了,1.11-1=0.11,3.99-3=0.99 .....
管理图标颜色
因为我是用了自带的底部导航BottomNavigationBar,在pageController的滚动事件中改变图标颜色太麻烦了,所以用了Stream来管理图标的状态。使用Stream创建一个多订阅的管道,让所有图标都订阅它,然后在滑动事件中把需要的数据都发送给所有图标。
需要的数据:
class StreamModel {
  const StreamModel({this.timeline, this.index, this.gotoIndex});

  final double timeline;
  final int index;
  final int gotoIndex;
}
图标组件
构造方法设置一个index,方便判断图标是哪个。
使用StreamBuilder包住要改变颜色的组件,并且绑定从构造函数设置的StreamController。
在StreamBuilder中根据pageView滚动事件传进来的参数控制图标颜色。
class BottomNavIcon extends StatelessWidget {
    final StreamController<StreamModel> streamController;
    final int index;
    final String img;
     final String title;
     final double fontSize;
     Color _color;
     Color _activeColor;
     final bool isActive;
   BottomNavIcon(this.title, this.img, this.index,
      {@required this.streamController,
     this.isActive = false,
     this.fontSize = 18.0,
     Color color = Colors.grey,
      Color activeColor = Colors.blue}) {
    _color = isActive ? activeColor : color;
    _activeColor = isActive ? color : activeColor;
   }
   @override
   Widget build(BuildContext context) {
    return StreamBuilder(
        stream: streamController.stream,
        builder: (BuildContext context, AsyncSnapshot snapshot) {
          final StreamModel data = snapshot.data;
          double t = 0.0;
          if (data != null) {
            //开始的index
            if (data.index == index) {
              t = data.index > data.gotoIndex
                  ? data.timeline
                  : 1.0 - data.timeline;
              print("this${data.index}:${t}");
            }
            //结束的index
            if (data.gotoIndex == index) {
              t = data.index > data.gotoIndex
                  ? 1.0 - data.timeline //开始的index大于结束的index方向向左
                  : data.timeline; //小于方向向右
              //过渡到的图标颜色的插值超过0.6时, 个人感觉当前颜色和结束的哪个颜色相差太多,
              //所以超过0.6时恢复默认颜色
              t = t >= 0.6 ? 1 : t;
              print("goto${data.gotoIndex}:${t}");
            }
          }
          if (t > 0.0 && t < 1.0) {
            //color.lerp 获取两种颜色之间的线性插值
            return Column(
              children: <Widget>[
                ImageIcon(AssetImage(this.img),
                    color: Color.lerp(_color, _activeColor, t)),
                Text(title,
                    style: TextStyle(
                        fontSize: fontSize,
                        color: Color.lerp(_color, _activeColor, t))),
              ],
            );
          }
          return Column(
            children: <Widget>[
              ImageIcon(AssetImage(this.img),
                  color:
                      Color.fromRGBO(_color.red, _color.green, _color.blue, 1)),
              Text(title,
                  style: TextStyle(
                     fontSize: fontSize,
                   color: Color.fromRGBO(
                          _color.red, _color.green, _color.blue, 1))),
            ],
          );
        });
     }
   }
图标的颜色都是当前的(index == data.index)渐渐变浅,要滚动到(index==data.gotoIndex)的图标颜色渐深
创建多订阅的管道(Stream)
final StreamController<StreamModel> streamController =
    StreamController.broadcast();
加载图标
for (int i = 0; i < pages.length; i++) {
      TabBarModel model = pages[i];
      bars.add(
        BottomNavigationBarItem(
          icon: BottomNavIcon(
            model.title,
            'assets/images/tabbar_' + model.icon + '_c.webp',
            i,
            streamController: streamController,
          ),
          activeIcon: BottomNavIcon(
            model.title,
            'assets/images/tabbar_' + model.icon + '_s.webp',
            i,
            streamController: streamController,
            isActive: true,
          ),
          title: Center(),
        ),
      );
    }
上面代码的title为Center的原因是已经在图标组件中创建了一个显示标题的组件,方便一起设置颜色。这里就不需要了,但是它的title不允许为null,所以随便给它一个高宽都是0的组件
结语
其实这个效果和微信的不是一模一样,微信的应该是选中图标叠加到默认图标上面。默认图标颜色线性渐变,选中图标透明度渐变。flutter实现这个用自带的BottomNavigationBar估计不行,可能需要自定义一个底部导航。
第一次写技术文章,感觉有点乱,所以贴下完整的代码地址:
- gist: gist.github.com/327100395/9…
- dartPad: dartpad.dev/9dee2497a99…(图片读的是本地的,在dartPad中路径错误,所以图片不显示)
