

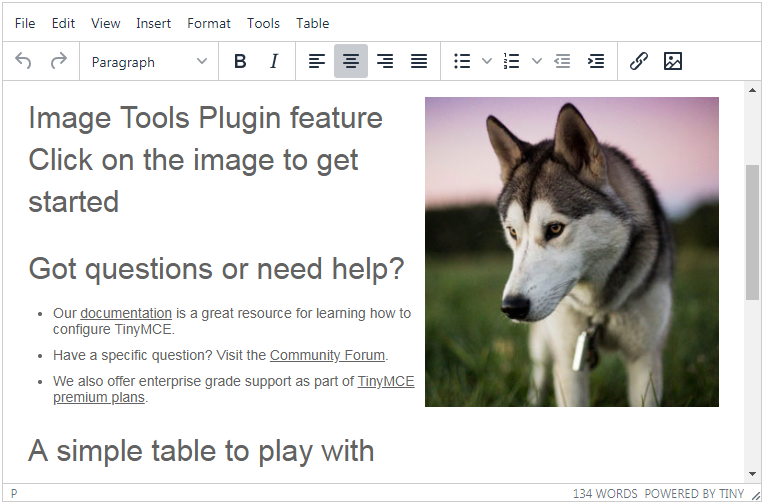
你是否因普通富文本编辑器丑陋的外观、简单的功能而辗转难眠?你是因否渴望得到上传文件、在线预览、编辑表格等功能而苦苦追寻?请跟随我的脚步,实现一款易用且强大的富文本编辑器tinymce-react吧!
本文不会过多赘述,旨在用最快的速度帮你实现梦想!(无论你的梦想是什么,请说出来!)
1.安装
npm install --save @tinymce/tinymce-react或
yarn add --save @tinymce/tinymce-react2.申请一个免费的apiKey
这一步很方便,只要你手速和我一样快,要不了三分钟
3.React中引入
import { Editor } from '@tinymce/tinymce-react'对的没错就是这么简单!!!
4.基本使用
 <Editor
    inline={false}
    selector='editorStateRef'
    apiKey='your key'
    ref='tinyEditor'
    value={this.state.content}
    onEditorChange={this.handleEditorChange}
    init={{
        height: '100%',
        plugins: 'table lists image',
        toolbar: `formatselect | image |  bold italic strikethrough forecolor backcolor
        alignleft aligncenter alignright alignjustify
        numlist bullist outdent indent`,
        file_picker_types: 'image',
        // automatic_uploads={false}
        images_upload_url: '',
        image_uploadtab: true,     }}  />
        handleEditorChange = (content, editor) => {
        console.log('Content was updated:', content);
    }
很明显,这已经实现了你想要的功能!
images_upload_url写入你的图片接口,前端的同学可以自己写个上传接口,求人不如求自己啊!!!
4.上传接口
贴心的我还是决定直接贴个简单的上传接口,帮助你测试。以下为express。
// index.js
const express = require('express');
const bodyParser = require('body-parser');
const fs = require('fs');
const multer = require('multer');
const pathLib = require('path');
const app = express();
app.use(bodyParser.urlencoded({extended: false}));
app.use(multer({dest: './dist'}).array('file'));
app.use('*', function (req, res, next) {
    res.header("Access-Control-Allow-Origin", "*");
    res.header("Access-Control-Allow-Headers",
    "Content-Type,Content-Length, Authorization, Accept,X-Requested-With");
    res.header("Access-Control-Allow-Methods","PUT,POST,GET,DELETE,OPTIONS");
    res.header("X-Powered-By",' 3.2.1');
    if(req.method=="OPTIONS") res.send(200);
        else  next();
    });
    app.post('/file_upload', function(req, res){
        console.log(req.files[0]);
        fs.readFile(req.files[0].path, function(err, data){
            if(err){
                console.log('Error');
            }else{
                var dir_file = __dirname + '/' + req.files[0].originalname
                // console.log(dir_file);
                fs.writeFile(dir_file, data, function(err){
                var obj = {
                    msg: 'upload success',
                    filename: req.files[0].originalname,
                    location :"https://www.baidu.com/img/bd_logo1.png?where=super",
               }
            res.send(JSON.stringify(obj));
        })
      }
   })
})
var server = app.listen(8081, function(){
var host = server.address().address;
var port = server.address().port;
console.log('Server is running at http://127.0.0.1:8081');})
启动:node index.js
express你要问我怎么安装?看到我沙包大的拳头了吗!
看到location这个参数了吗?对的,这就是我要把接口给你的目的,服务端必须要这个参数,你的页面才会显示图片。
5.上传文件
闲言少叙,让我们来自己实现上传文件吧!
 <Editor
    inline={false}
    selector='editorStateRef'
    apiKey='your key'
    ref='tinyEditor'
    value={this.state.content}
    onEditorChange={this.handleEditorChange}
    init={{
        height: '100%',
        plugins: 'table lists link image',
        toolbar: `formatselect | link image |  bold italic strikethrough forecolor backcolor
        alignleft aligncenter alignright alignjustify
        numlist bullist outdent indent`,
        file_picker_types: 'file image media',
        file_picker_callback: this.file_picker_callback,
        // automatic_uploads={false}
        images_upload_url: '',
        image_uploadtab: true,
    }}  />
handleEditorChange = (content, editor) => {
    console.log('Content was updated:', content);
}
看到区别了吗?file_picker_types,plugins,toolbar改了一下。
file_picker_callback: function (callback, value, meta) {
        var filetype='.pdf, .txt, .zip, .rar, .7z, .doc, .docx, .xls, .xlsx, .ppt, .pptx, .mp3, .mp4';
        var upurl='/demo/upfile.php';
        switch(meta.filetype){
            case 'image':
                filetype='.jpg, .jpeg, .png, .gif';
                upurl='upimg.php';
                break;
            case 'media':
                filetype='.mp3, .mp4';
                upurl='upfile.php';
                break;
            case 'file':
            default:
        }
        //模拟出一个input用于添加本地文件
        var input = document.createElement('input');
            input.setAttribute('type', 'file');
            input.setAttribute('accept', filetype);
        input.click();
        input.onchange = function() {
            var file = this.files[0];

            var xhr, formData;
            console.log(file.name);
            xhr = new XMLHttpRequest();
            xhr.withCredentials = false;
            xhr.open('POST', upurl);
            xhr.onload = function() {
                var json;
                if (xhr.status != 200) {
                    failure('HTTP Error: ' + xhr.status);
                    return;
                }
                json = JSON.parse(xhr.responseText);
                if (!json || typeof json.location != 'string') {
                    failure('Invalid JSON: ' + xhr.responseText);
                    return;
                }
                callback(json.location);
            };
            formData = new FormData();
            formData.append('file', file, file.name );
            xhr.send(formData);
        };
这个栗子稍加修饰就行了。
上传成功后为啥是空白??
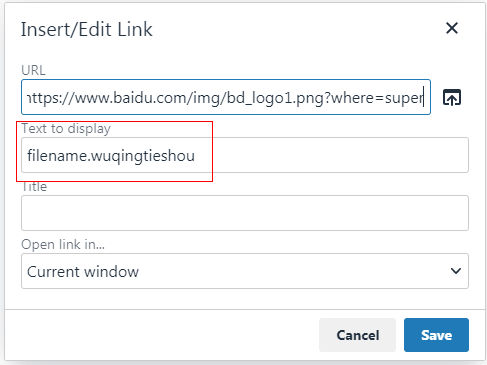
这里要填值哦!如果你想自动把文件名写到input中,有很多办法,我相信你可以的!
最后附上文档:
中文:tinymce.ax-z.cn/general/bas…
城南小陌又逢春,只见梅花不见人。人有生死三千疾,唯有贫穷不可医!
求得麻袋,你用的是Vue?同学莫慌,下期我们介绍更加强大的froala,心急的同学可先行一步,去吧!
各位看官,告辞!
