

为什么要前端来压缩图片
最近在做一个移动端h5上传图片的功能,本来这个功能并不复杂,只需要将图片文件通过axios传到服务端即可,但是考虑到现在手机设配的拍照功能十分强大,随便一张照片都能动辄五六兆,而服务端的要求是上传图片必须小于两兆,而且直接传这么大图片,带宽它也受不了,所以前端进行压缩图片就成了一个必要的环节。
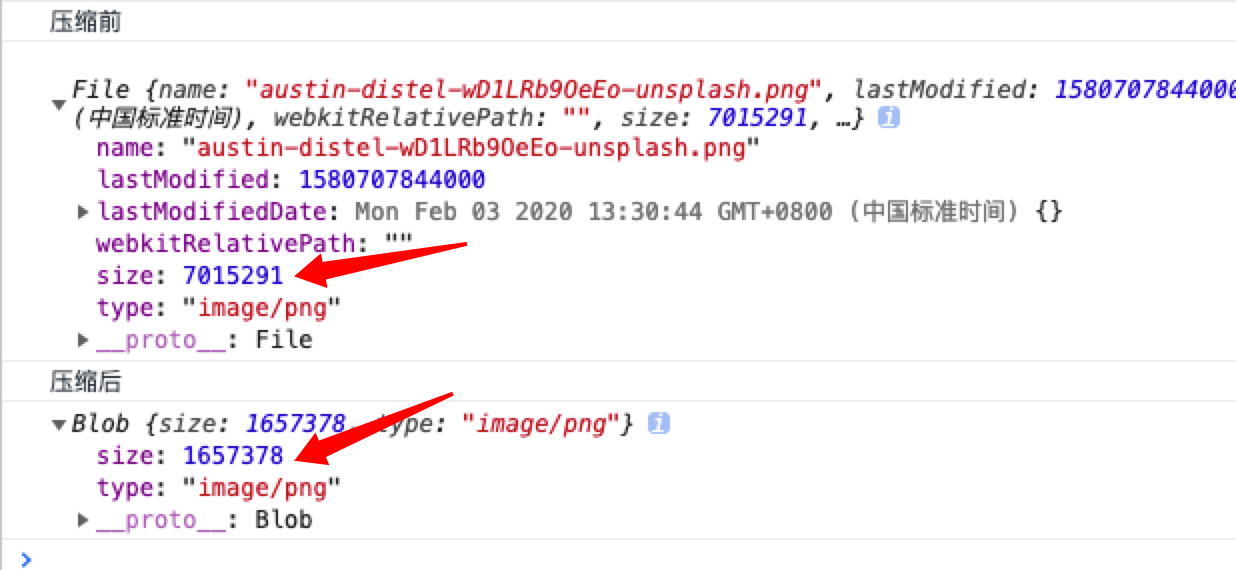
压缩效果
首先介绍下压缩的大概流程
- 通过原生的input标签拿到要上传的图片文件
- 将图片文件转化成img元素标签
- 在canvas上压缩绘制该HTMLImageElement
- 将canvas绘制的图像转成blob文件
- 最后将该blob文件传到服务端
- 完成!
接下来看下详细步骤
考虑到文章和步骤的完整性,所以我会把每个细节都写出来,即使有些东西很基础。
1. 使用Input标签来获取图片文件资源
这一步大家应该最熟悉不过了吧,原生input标签,通过设置type属性为file来让用户可以选择文件,设置accept限制选择的文件类型,绑定onchange事件,来获取确认选择后的文件
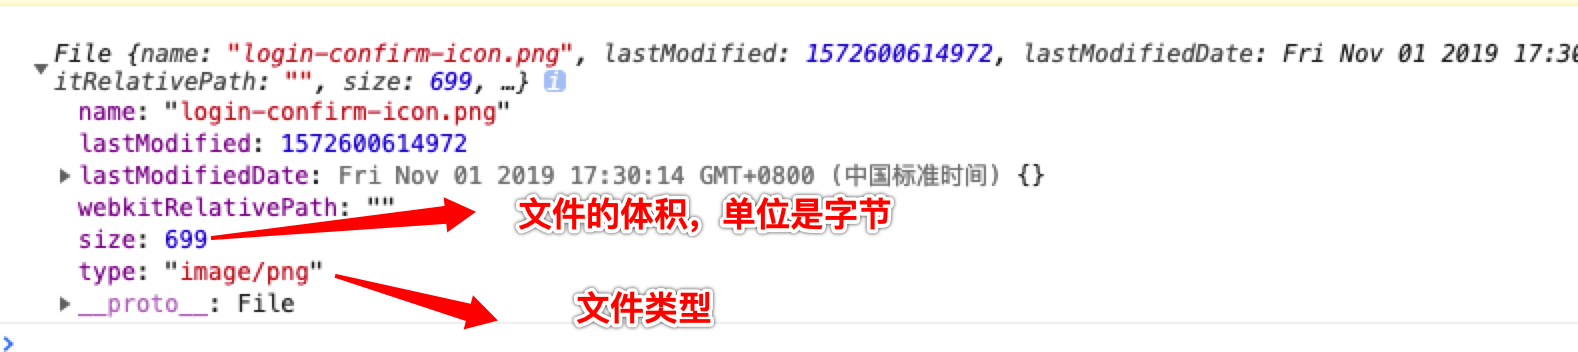
<input type="file" accept="image/*" />点击控件,触发焦点,打开文件资源管理器,选中文件并确认后,会触发change事件,所以可以在change事件的回调中获取选中文件,它长这个样
2. 读取文件转成img标签元素
拿到图片文件后,先将其转成HTMLImageElement,也就是普通的img标签,具体要使用FileReader构造函数。
先new出来一个img和fileReader的实例,通过fileReader的readAsDataURL这个api,来读取图片文件,其返回值是一个编码后的base64的字符串,然后将这个字符串赋值给img的src属性上,这样就完成了图片文件到HTMLImageElement的转化。
// 先new一个img和fileReader的实例
const img = new Image()
const reader = new FileReader()// 读取文件资源
reader.readAsDataURL(file)
reader.onload = function(e){
  img.src = e.target.result
}
转化的HTMLImageElement

3. canvas压缩,核心步骤
拿到转化后的img元素后,先取出该元素的宽高度,这个宽高度就是实际图片文件的宽高度。
const { width: originWidth, height: originHeight } = img然后定义一个最大限度的宽高度,如果超过这个限制宽高度,则进行等比例的缩放
 // 最大尺寸限制
 const maxWidth = 1000,maxHeihgt = 1000
 // 需要压缩的目标尺寸
 let targetWidth = originWidth, targetHeight = originHeight
 // 等比例计算超过最大限制时缩放后的图片尺寸
 if (originWidth > maxWidth || originHeight > maxHeight) {
      if (originWidth / originHeight > 1) {
        //  宽图片
        targetWidth = maxWidth
        targetHeight = Math.round(maxWidth * (originHeight / originWidth))
      } else {
        // 高图片
        targetHeight = maxHeight
        targetWidth = Math.round(maxHeight * (originWidth / originHeight))
      }
   }
计算好将要压缩的尺寸后,创建canvas实例,设置canvas的宽高度为压缩计算后的尺寸,并将img绘制到上面
// 创建画布
const canvas = document.createElement('canvas')
const context = canvas.getContext('2d')

// 设置宽高度为等同于要压缩图片的尺寸
 canvas.width = targetWidth
 canvas.height = targetHeight
 context.clearRect(0, 0, targetWidth, targetHeight)
 //将img绘制到画布上
 context.drawImage(img, 0, 0, targetWidth, targetHeight)
4. 转成blob文件
canvas绘制完成后,就可以使用toBlob来将图像转成blob文件了,这个api接受三个入参
canvas.toBlob(callback, type, encoderOptions);回调函数中可以得到转化后的blob文件,type为要转成的图片类型,默认png。
encoderOptions为当设置的图片格式为image/jpeg或者image/webp时用来指定图片展示质量。
所以如果我们只是要压缩jpg或者webp格式的图片的话,不需要进行第3部的操作,直接使用这个api,然后填入想要的质量参数就可以了。但实际上,我们还是要考虑多种的图片格式,因此很有必要使用第三部的过程。
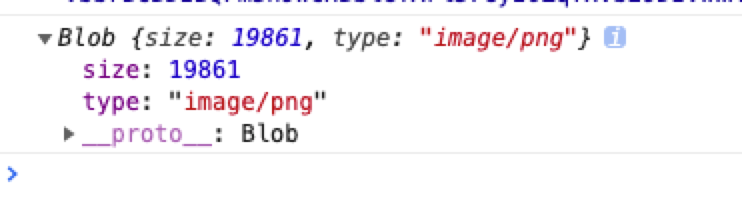
转成的blob长这个样子
5. 将blob上传,大功告成。
完整的代码实现
因为整个过程中都存在着异步回调操作,所以我使用了async,实现异步代码的同步执行
// 压缩前将file转换成img对象
function readImg(file)  {
  return new Promise((resolve, reject) => {
    const img = new Image()
    const reader = new FileReader()
    reader.onload = function(e) {
      img.src = e.target.result
    }
    reader.onerror = function(e) {
      reject(e)
    }
    reader.readAsDataURL(file)
    img.onload = function() {
      resolve(img)
    }
    img.onerror = function(e) {
      reject(e)
    }
  })
}
/**
* 压缩图片
*@param img 被压缩的img对象
* @param type 压缩后转换的文件类型
* @param mx 触发压缩的图片最大宽度限制
* @param mh 触发压缩的图片最大高度限制
*/
function compressImg(img, type, mx, mh) {
return new Promise((resolve, reject) => {
const canvas = document.createElement('canvas')
const context = canvas.getContext('2d')
const { width: originWidth, height: originHeight } = img
// 最大尺寸限制
const maxWidth = mx
const maxHeight = mh
// 目标尺寸
let targetWidth = originWidth
let targetHeight = originHeight
if (originWidth > maxWidth || originHeight > maxHeight) {
if (originWidth / originHeight > 1) {
// 宽图片
targetWidth = maxWidth
targetHeight = Math.round(maxWidth * (originHeight / originWidth))
} else {
// 高图片
targetHeight = maxHeight
targetWidth = Math.round(maxHeight * (originWidth / originHeight))
}
}
canvas.width = targetWidth
canvas.height = targetHeight
context.clearRect(0, 0, targetWidth, targetHeight)
// 图片绘制
context.drawImage(img, 0, 0, targetWidth, targetHeight)
canvas.toBlob(function(blob) {
resolve(blob)
}, type || 'image/png') })
}大致执行过程,具体可根据需求,自行改动
async function upload(file){
   const img = await readImg(file)
   const blob = await compressImg(img, file.type, 1000, 1000)
   const formData = new FormData()
   formData.append('file', blob, 'xxx.jpg')
    axios.post('http://xxx.com/api',formData)
}
upload(file).catch(e => console.log(e))
最后
感谢您的阅读,希望能和您共同进步,觉的有帮助的话,点个赞哦😁😁
