由于在之前的项目中出现了webpack3打包时由于依赖过多、uglify插件不可使用、imageloader插件不可使用等等巨坑,所以首先考虑是否将原有项目的webpack3升级为webpack4,然后出现了更多的问题,所以最终考虑自己从头搭建一个自己的React前端脚手架。
- 本文项目github地址:
https://github.com/SHENLing0628/React-Webpack4-Scaffold - 本文参考文档:
https://juejin.cn/post/6844903862898262024#heading-28
1. 项目特点
HMR: hot-module-replacement 热更替模块 - 可以在应用位于开发者模式时,不需要刷新页面即可直接替换增删模块,避免刷新页面导致的之前操作数据/state(状态)的丢失;happypack:由于webpack原有打包方式为单线程执行,所以采用优化的happyPack方式后,可以采用多线程的方式执行项目构建工作。默认线程为3个,可自定义。该方法对于大型项目较为友好;antd:利用babel-plugin-import的方法,通过修改.babelrc中的配置,引入antd样式,使各个组件均可直接使用antd的组件库;
2. 原理解释
- webpack的配置是为了快速构建项目和打包项目的,方便开发者进行实施开发调试和项目打包部署
3. 操作流程详解
- 初始化项目(并非使用CRA方式)
mkdir react-webpack4-scaffold
cd react-webpack4-scaffold
mkdir src
mkdir dist
npm init -y
- 安装react和react-router-dom
cd src
cnpm i react react-router-dom -S
创建如下文件结构(末尾3个webpack配置文件将在下一步骤中详解):
|--- src //用于存放网页的源代码各种文件
|   |--- api //存放api接口链接,便于统一管理
|   |   |--- index.js
|   |--- assets //存放图片、字体等文件
|   |   |--- images
|   |   |--- fonts
|   |--- components //存放公共组件,可供多个不同的页面复用
|   |   |--- sampleComponent
|   |   |   |--- index.js
|   |   |   |--- index.scss
|   |--- pages //存放页面组件
|   |   |--- Main
|   |   |   |--- index.js
|   |   |   |--- index.scss
|   |--- router //路由文件,用于不同的链接指向不同的页面组件
|   |   |--- index.js
|   |--- utils //存放axios接口请求配置文件
|   |--- index.js //页面入口
|   |--- index.html //页面入口html
|--- webpack.config.base.js
|--- webpack.dev.config.js
|--- webpack.prod.config.js
- 安装webpack、webpack-cli、webpack-dev-server(此处为webpack4和3最大的区别之一,即为4的版本将webpack拆分了)
npm install webpack webpack-cli webpack-dev-server -D
然后创建三个webpack配置文件:
|--- webpack.config.base.js //webpack通用基础设置
|--- webpack.dev.config.js //webpack在开发者模式的配置(适用于边开发边调试)
|--- webpack.prod.config.js //webpack的部署模式打包配置
(1) webpack.config.base.js文件详解:
- 首先,填充基本的webpack配置框架:
module.exports = {
    entry: ["./src/index.js"],
    output: {
        path: path.join(__dirname, "dist"),
    },
    module:{},
    plugins:[],
    devServer:{}
}
在基本配置中,我们需要将公共配置全部在此设置好,所以在这里需要先安装几个插件:
- clean-webpack-plugin 用于清除打包文件夹dist下的旧文件
- html-webpack-plugin 用于生成html,将打包的js文件插入到html中或采用制定模板生成html最终文件
- happypack 用于实现多线程的打包项目,面对大型项目时可以提高效率
npm install clean-webpack-plugin html-webpack-plugin happypack -D
const path = require('path')
const babelpolyfill = require("babel-polyfill") //用于全局引入babel-polyfill
const webpack = require('webpack')

const { CleanWebpackPlugin } = require('clean-webpack-plugin')
const HtmlWebpackPlugin = require('html-webpack-plugin')
const HappyPack = require('happypack')
const os = require('os')
const happyThreadPool = HappyPack.ThreadPool({ size: os.cpus().length })

module.exports = {
    entry: ["./src/index.js"],
    output: {
        path: path.join(__dirname, "dist"),
    },
    module:{},
    plugins:[
        new CleanWebpackPlugin(),
        new HtmlWebpackPlugin({
            filename: 'index.html', //最终创建的文件名
            template: path.join(__dirname, './src/index.html'), //制定模板路径
            favicon:path.resolve("./src/assets/images/logo.png"), //用于指定网页标签位置的logo
            minify: {
                collapseWhitespace: true //去除空白
            }
        }),
        new HappyPack({
            //用ID标识happypack处理的那些文件,id和rules中的相关设置相同
            id: 'happyBabel',
            loaders: [{
                loader: 'babel-loader?cacheDirectory=true',
            }],
            //共享进程池threadPool:HappyThreadPool代表共享进程池,即为多个happyPack实例使用同个进程池中的子进程去处理任务,防止资源占用过多
            threadPool: happyThreadPool,
            verbose: false //允许happyPack输出日志
        })
    ],
}
现在填充其他配置部分
- alias部分(放在output后面)- 方便在编写代码的时候不用反复思考相对路径:
resolve: {
    extensions: ['.js', '.jsx', '.scss'],
    alias: {
        src: path.resolve(__dirname, './src'),
        pages: path.resolve(__dirname, './src/pages'),
        router: path.resolve(__dirname, './src/router'),
        components: path.resolve(__dirname, './src/components'),
        serviceComponents: path.resolve(__dirname, './src/serviceComponents'),
        actions: path.resolve(__dirname, './src/actions'),
        api: path.resolve(__dirname, './src/api'),
        assets: path.resolve(__dirname, './src/assets')
	}
},
- 打包规则部分(放在上面的resolve后)
module: {
    //配置编译打包规则
    rules: [
        {
            test: /\.(jsx|js)?$/,
            exclude: /node_modules/,
            use: [{
                //使用happypack搭配webpack4,进行多线程打包,提高打包效率,面对大型项目效果明显
                //此处的id需与上面在plugin中自定义的id号码一致
                loader: 'happypack/loader?id=happyBabel'
            }],
        },
		{
		    test: /\.(sc|sas|c)ss$/,
		    use: [
		        'style-loader', // 创建style标签,并将css添加进去
		        'css-loader', // 编译css
		        'postcss-loader',
		        'sass-loader' // 编译scss
		    ]
		},
		{
			test: /\.(png|jpg|jpeg|gif|svg)/, //图片处理
			use: {
				loader: 'url-loader',
				options: {
				    esModule: false, //启用commonJS模块语法,则使用require导入图片时可成功显示
				    outputPath: 'images/', // 图片输出的路径
				    limit: 10 * 1024 //url-loader在图片较小的时候回把图片进行BASE64编码,大于limit的时候
				}
			}
		},
		{
		    test: /\.(eot|woff2?|ttf|svg)$/, //字体处理
		    use: [{
		            loader: 'url-loader',
		            options: {
		                name: '[name]-[hash:5].min.[ext]',
		                limit: 5000, // fonts file size <= 5KB, use 'base64'; else, output svg file
		                publicPath: 'fonts/',
		                outputPath: 'fonts/'
		            }
		        }]
		    }
		]
	},
(2) webpack.dev.config.js文件详解
-
需要import一个叫做webpack-merge的包,将上面的webpack.config.base.js内的文件内容合并
npm install webpack-merge -D -
(可选)引入portfinder包,为实现当当前设置端口被占用时自动选取新端口
-
(可选)引入friendly-errors-webpack-plugin的包,让webpack的日志报错可以更为友好
-
重点:需要在此处引入HMR模块,实现热更替
-
代码说明:
mode: 'development'即为使用webpack4中的开发者模式entry: ['react-hot-loader/path']为使用webpack中的HMR模块,实现热更替。配置该模块时,需要同时设置本处的devServer,设置hot:true,同时在本处的plugins中创建该模块,使其生效。并且在根目录创建.babelrc文件,在其中设置:"plugins":["react-hot-loader/babel"](.babelrc文件设置此后另外详谈)devServer中可以详细设置使用的host和port等
const path = require('path')
const merge = require('webpack-merge')
const commonConfig = require('./webpack.config.base')
const webpack = require('webpack')
const portfinder = require('portfinder')
const FriendlyErrorsPlugin = require("friendly-errors-webpack-plugin");

const devWebpackConfig = merge(commonConfig, { //引入webpack已配置好的通用设置
	mode: 'development',
	entry: [
		'react-hot-loader/patch'
	],
	devtool: 'inline-source-map',
	output: {
		//输出目录
		path: path.resolve(__dirname, './dist'),
		//文件名称
		filename: 'bundle.js',
	},
	plugins: [
		//开启HMR(热替换功能,替换更新部分,不重载页面)相当于在命令行加 --hot
		new webpack.HotModuleReplacementPlugin(),
	],
	devServer: {
		hot: true,
		contentBase: path.resolve(__dirname, './dist'),
		host: 'localhost',
		port: 8000,
		historyApiFallback: true, //所有404都连接到index.html
		proxy:{
			// 代理到后端的服务地址,会拦截所有以api开头的请求地址
			'/api': 'http://localhost:8000'
		},
		clientLogLevel: 'none'
	}
});

//使用portfinder,当默认端口被占用时,自动使用新端口并提示当前项目成功运行的位置链接
module.exports = new Promise((resolve, reject) => {
  portfinder.getPort((err, port) => {
    if (err) {
      reject(err)
    } else {
      // publish the new Port, necessary for e2e tests
      process.env.PORT = port
      // add port to devServer config
			devWebpackConfig.devServer.port = port

			// resolve(devWebpackConfig)
			devWebpackConfig.plugins.push(new FriendlyErrorsPlugin({
        // 清除控制台原有的信息
        clearConsole: true,
        // 打包成功之后在控制台给予开发者的提示
        compilationSuccessInfo: {
          messages: [`开发环境启动成功,项目运行在: http://${devWebpackConfig.devServer.host}:${port}`]
        },
        // 打包发生错误的时候
        onErrors: () => { console.log("打包失败") }
      }))
      resolve(devWebpackConfig)
    }
  })
})
(3) webpack.prod.config.js文件详解
- 此处为设置文件build的情况的输出位置和相应使用的配置
const path = require('path')
const webpack = require('webpack')
const merge = require('webpack-merge')
const commonConfig = require('./webpack.config.base')

module.exports = merge(commonConfig, {
	mode: 'production',
	output: {
		//输出目录
		path: path.resolve(__dirname, './dist'),
		//文件名称
		filename: '[name].[contenthash].js',
		chunkFilename: '[name].[contenthash].js'
	},
	optimization: {
		usedExports: true,
		splitChunks: {
			chunks: 'all',
			cacheGroups: {
				vendors: {
					test: /[\\/]node_modules[\\/]/,
					name: 'vendors'
				}
			}
		}
	},
	plugins: [
	]
})
- 在根目录创建文件
postcss.config.js文件,目的是为了解决代码工程上传git并pull后出现的postcss无法解析的问题
module.exports = {
  plugins: {
    'postcss-cssnext': {}
  }
}
- 在根目录创建
.babelrc文件,用于配置需要的babel-loader相关的信息:
//安装以下几个库:@babel/preset-env、@babel/preset-react、@babel/plugin-proposal-class-properties、react-hot-loader/babel

npm install @babel/preset-env @babel/preset-react @babel/plugin-proposal-class-properties react-hot-loader/babel -D

npm install babel-plugin-import
{
  "presets": [
    "@babel/preset-env",
    "@babel/preset-react"
  ],
  "plugins": [
    "react-hot-loader/babel", //配合HMR热更替而需要使用的插件,需要单独安装,在.babelrc文件配置后,就可以在入口文件index.js中调用进行设置,判断热更替的时机了
    "@babel/plugin-proposal-class-properties", //为了保证scss的样式可以使用而加入的插件
    //下面部分为为了引入antd而采用的设置,需要先安装babel-plugin-import插件,通过这种方法就可以作为全局引入了antd的样式,而不需要在入口文件顶部import样式了。
    //如果不使用antd的组件库,则无需配置下面的部分
    ["import", {
      "libraryName": "antd",
      "libraryDirectory": "es",
      "style": "css" // `style: true` 会加载 less 文件
    }]
  ]
}
关于antd的引入,可以参考如下两个文档:
- 创建入口文件
index.js,放置在src文件夹内部,作为整个webpack配置时,需要告诉webpack需要从哪个地方入手开始打包的文件。
- 首先,可以在上面的第二步内看到,我们在配置webpack的基础通用设置的时候,就确认了这个入口文件的位置:
entry: ["./src/index.js"] - 然后,我们在该文件内部,要创建一个基本的内容,主要是为了和我们的路由文件连接起来,这样我们服务启动的时候就能通过不同的路由访问不同的页面。但是同时,根据之前的设置,我们可以配置好HMR的内容,让我们的服务监控到是否有热更新的时候,用来刷新页面或者模块:
// src/index.js
import 'babel-polyfill' //全局引入babel-polyfill
import React from 'react' //引入react的模块
import ReactDOM from 'react-dom' //引入ReactDOM的模块
import Routes from './router' //引入路由文件

ReactDOM.render(
	<Routes/>,
	document.getElementById('root')
)

//热更替的简易使用方法:如果检测到module.hot,则更新hot模块
if (module.hot) {
	module.hot.accept()
}
同时,同样在src的文件夹创建index.html文件,作为index.js指向的html文件
// src/index.html

<!DOCTYPE html>

<head>
    <meta charset="UTF-8">
    <meta http-equiv="X-UA-Compatible" content="IE=edge">
    <meta name="viewport" content="width=device-width,initial-scale=1,user-scalable=no">
    <link rel="stylesheet" href="https://cdnjs.cloudflare.com/ajax/libs/Swiper/4.4.1/css/swiper.min.css">

    <title>网站名称</title>
    <style type="text/css">
      .icon {
        fill: currentColor;
        overflow: hidden;
      }
    </style>
</head>

<body style='min-height: 100vh'>
  <div id="root" style='min-height: 100vh'></div>
</body>

</html>
-
eslint的配置可以参考airbnb的eslint设置,或者依据自己的需求设置
参考资料:
router设置:
// src/router/index.js
import React from 'react'
import { Route, Redirect, Switch, HashRouter as Router } from 'react-router-dom'
import Main from 'pages/Main' //指向页面组件

console.log(module.hot)

const Routes = () => (
	<Router>
		<Switch>
			<Route exact path="/" render={() => (
				<Redirect to="/main"/>
			)}/>
			<Route path='/main' component={Main}/>
		</Switch>
	</Router>
)

export default Routes
- 写一个普通的page页面--main
import React from 'react'
import './index.scss'
import SampleAction from 'actions/sample'
import { Button } from 'antd' //引入antd组件
import Common from 'components/common' //引入公共组件

export default class Main extends React.Component {

	constructor (props) {
		super(props)
		this.state = {

		}
	}

	componentDidMount () {
		this.requestInfo()
	}

	requestInfo = async () => {
		console.log(SampleAction)
		let res = await SampleAction.getAlgorithmsInfo({ code:'simple2complex' })
		console.log(res)
	}

	render () {
		return (
			<div className='main'>
				<Common/>
				<Button type='primary'>TEST</Button>
				<button>normal button</button>
			</div>
		)
	}
}
- 公共组件common的页面:
import React from 'react'
import './index.scss'

export default class Common extends React.Component {
	constructor (props) {
		super(props)
		this.state = {

		}
	}

	render () {
		return (
			<div>
                COMMON COMPONENTS
			</div>
		)
	}
}
- 最后的配置重点:
package.json--- 设置运行的scripts
//在package.json里面添加下面一段话,配置我们运行或者打包项目时需要使用的scipts
"scripts": {
    "dev": "webpack-dev-server --config ./webpack.dev.config.js --color --progress --open",
    "start": "npm install && webpack-dev-server --config ./webpack.dev.config.js --color --progress --mode development --open",
    "build": "webpack --config ./webpack.prod.config.js --color --progress"
  },
4. 运行项目
- 启动项目:
yarn start - 调试项目:
yarn dev - 打包项目:
yarn build - 安装依赖:
yarn或npm install <--package name--->
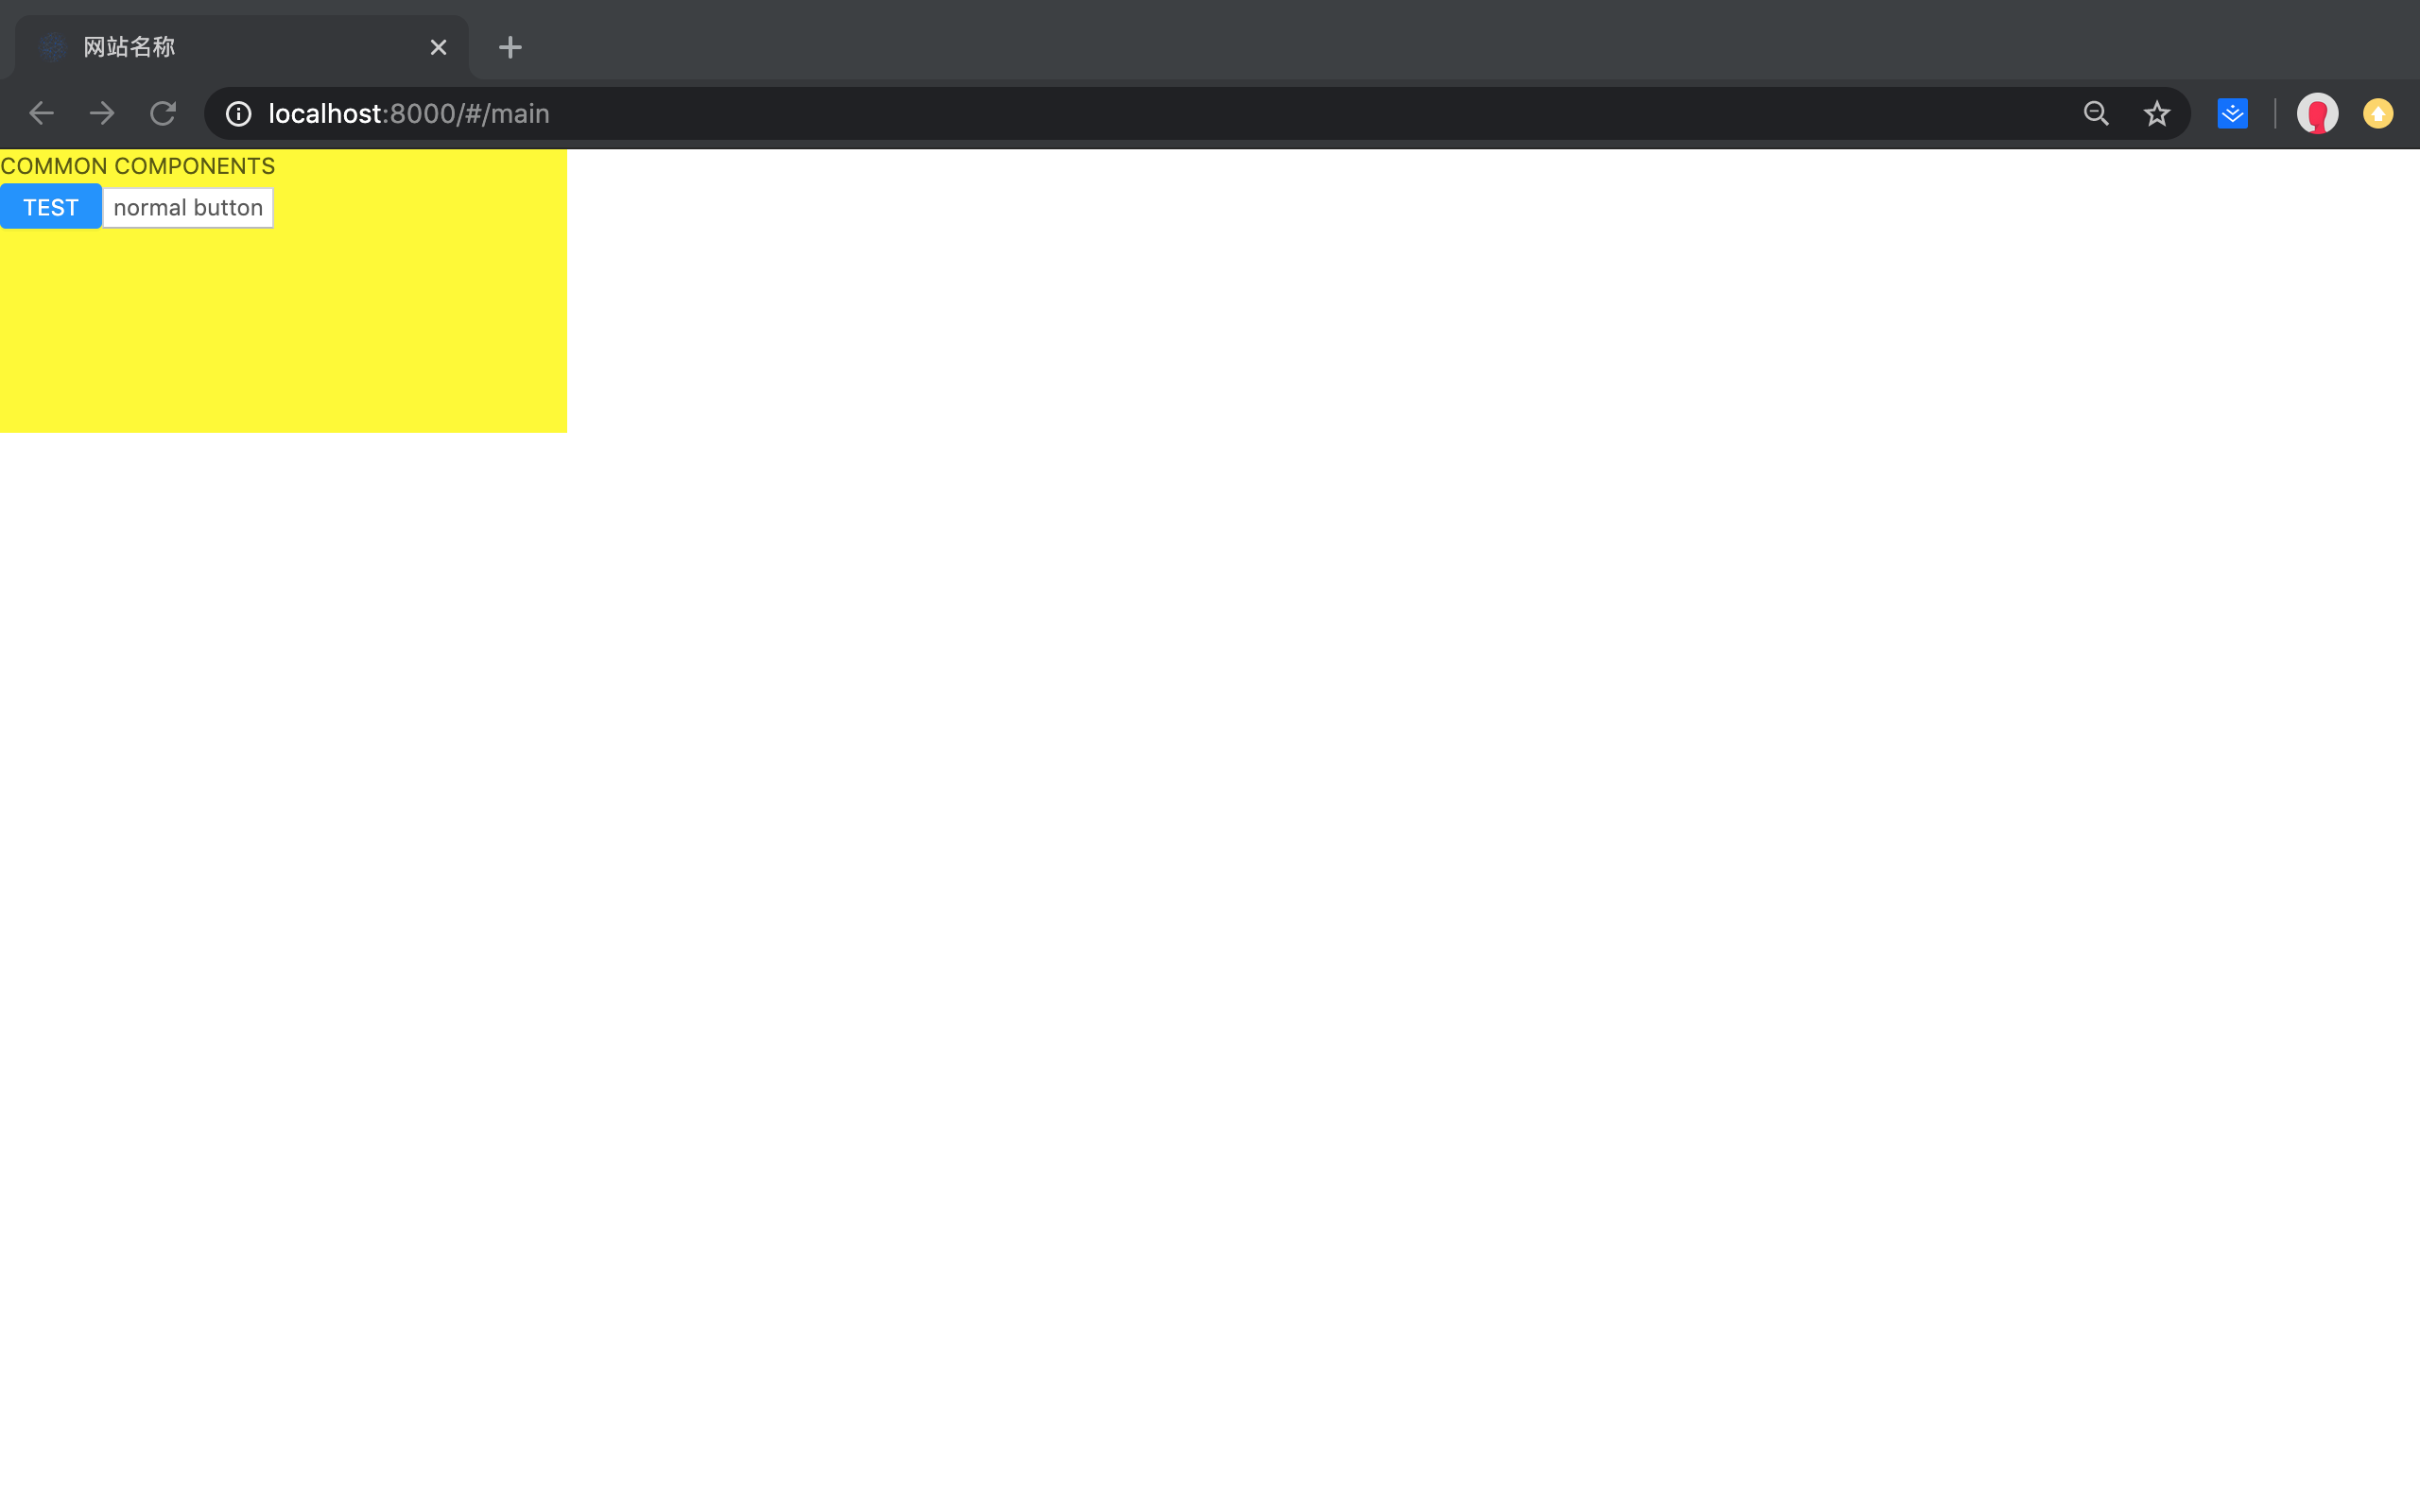
5. 运行结果
- 打开
http://localhost:8000/#/main - chrome页面: