

前言:为了做一个博客检索系统,需要将数据从数据库同步到elasticsearch
anal [kə'næl],译意为水道/管道/沟渠,主要用途是基于 MySQL 数据库增量日志解析,提供增量数据订阅和消费 早期阿里巴巴因为杭州和美国双机房部署,存在跨机房同步的业务需求,实现方式主要是基于业务 trigger 获取增量变更。从 2010 年开始,业务逐步尝试数据库日志解析获取增量变更进行同步,由此衍生出了大量的数据库增量订阅和消费业务。
mysql下载安装配置
- 当前的canal开源版本支持5.7及以下的版本(阿里内部mysql 5.7.13, 5.6.10, mysql 5.5.18和5.1.40/48) 我现在的第一个版本为 5.7.29一直无法成功,后面换成 5.7.13 此处有坑
- mysql官网地址
- 配置 首先查看mysql安装目录下support-files文件夹下是否有my-default.cnf这个文件
MacBook-Pro:local f$ cd  /usr/local/mysql/support-files
MacBook-Pro:support-files f$ ls
magic			mysql.server
mysql-log-rotate	mysqld_multi.server
ps:当然我这里没有是因为我已经移动了。
- 如果有,就好办了,直接转移到/etc下,并且修改名字为my.cnf
mv /usr/local/mysql/support-files/my-default.cnf /etc/my.cnf
- 如果没有则需要自己创建一个文件。
vim /etc/my.cnf #会打开创建一个新的文件,将下边的内容复制进去
# Example MySQL config file for small systems.
#
# This is for a system with little memory (<= 64M) where MySQL is only used
# from time to time and it's important that the mysqld daemon
# doesn't use much resources.
#
# MySQL programs look for option files in a set of
# locations which depend on the deployment platform.
# You can copy this option file to one of those
# locations. For information about these locations, see:
# http://dev.mysql.com/doc/mysql/en/option-files.html
#
# In this file, you can use all long options that a program supports.
# If you want to know which options a program supports, run the program
# with the "--help" option.

# The following options will be passed to all MySQL clients
[client]
default-character-set=utf8
#password   = your_password
port        = 3306
socket      = /tmp/mysql.sock

# Here follows entries for some specific programs

# The MySQL server
[mysqld]
#解决only_full_group_by的问题
#sql_mode=STRICT_TRANS_TABLES,NO_ZERO_IN_DATE,NO_ZERO_DATE,ERROR_FOR_DIVISION_BY_ZERO,NO_AUTO_CREATE_USER,NO_ENGINE_SUBSTITUTION

default-storage-engine=INNODB
character-set-server=utf8
collation-server=utf8_general_ci
port        = 3306
socket      = /tmp/mysql.sock
skip-external-locking
key_buffer_size = 16K
max_allowed_packet = 1M
table_open_cache = 4
sort_buffer_size = 64K
read_buffer_size = 256K
read_rnd_buffer_size = 256K
net_buffer_length = 2K
thread_stack = 128K

# Don't listen on a TCP/IP port at all. This can be a security enhancement,
# if all processes that need to connect to mysqld run on the same host.
# All interaction with mysqld must be made via Unix sockets or named pipes.
# Note that using this option without enabling named pipes on Windows
# (using the "enable-named-pipe" option) will render mysqld useless!
#
#skip-networking
server-id   = 1

# Uncomment the following if you want to log updates
#log-bin=mysql-bin

# binary logging format - mixed recommended
#binlog_format=mixed

# Causes updates to non-transactional engines using statement format to be
# written directly to binary log. Before using this option make sure that
# there are no dependencies between transactional and non-transactional
# tables such as in the statement INSERT INTO t_myisam SELECT * FROM
# t_innodb; otherwise, slaves may diverge from the master.
#binlog_direct_non_transactional_updates=TRUE

# Uncomment the following if you are using InnoDB tables
#innodb_data_home_dir = /usr/local/mysql/data
#innodb_data_file_path = ibdata1:10M:autoextend
#innodb_log_group_home_dir = /usr/local/mysql/data
# You can set .._buffer_pool_size up to 50 - 80 %
# of RAM but beware of setting memory usage too high
#innodb_buffer_pool_size = 16M
#innodb_additional_mem_pool_size = 2M
# Set .._log_file_size to 25 % of buffer pool size
#innodb_log_file_size = 5M
#innodb_log_buffer_size = 8M
#innodb_flush_log_at_trx_commit = 1
#innodb_lock_wait_timeout = 50

[mysqldump]
quick
max_allowed_packet = 16M

[mysql]
no-auto-rehash
# Remove the next comment character if you are not familiar with SQL
#safe-updates

[myisamchk]
key_buffer_size = 8M
sort_buffer_size = 8M

[mysqlhotcopy]
interactive-timeout
- 配置完成之后,还需要在my.cnf 文件中添加以下参数
[mysqld]
log-bin=mysql-bin # 开启 binlog
binlog-format=ROW # 选择 ROW 模式
server_id=1 # 配置 MySQL replaction 需要定义,不要和 canal 的 slaveId 重复
- 原因可参考 QuickStart
mac mysql命令行
MacBook-Pro:support-files f$ /usr/local/MySQL/bin/mysql -u root -p
Enter password:
mysql>
创建mysql的canal用户
mysql> CREATE USER 'canal'@'localhost' IDENTIFIED BY 'canal';
Query OK, 0 rows affected (0.00 sec)
mysql> GRANT ALL PRIVILEGES ON *.* TO 'canal'@'localhost' WITH GRANT OPTION;
Query OK, 0 rows affected (0.01 sec)
mysql> CREATE USER 'canal'@'%' IDENTIFIED BY 'canal';
Query OK, 0 rows affected (0.00 sec)
mysql> GRANT ALL PRIVILEGES ON *.* TO 'canal'@'%' WITH GRANT OPTION;
Query OK, 0 rows affected (0.00 sec)
mysql> flush privileges;
Query OK, 0 rows affected (0.00 sec)
canal下载和服务端配置
- 下载服务这里
- 解压之后
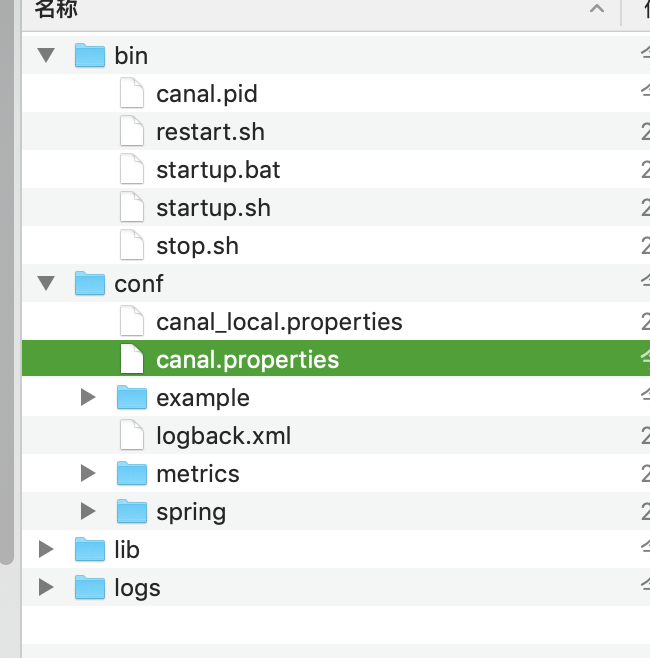
- 这里需要配置 log/canal.properties文件
我的配置如下
- 这里有一个坑就是 下面的需要改成自己的ip地址,而不能用 localhost 或者127.0.0.1.
canal.instance.master.address = 10.0.40.153:3306
#################################################
######### 		common argument		#############
#################################################
# tcp bind ip
canal.ip =
# register ip to zookeeper
canal.register.ip =
canal.port = 11111
canal.metrics.pull.port = 11112
# canal instance user/passwd
# canal.user = canal
# canal.passwd = E3619321C1A937C46A0D8BD1DAC39F93B27D4458

# canal admin config
#canal.admin.manager = 127.0.0.1:8089
canal.admin.port = 11110
canal.admin.user = admin
canal.admin.passwd = 4ACFE3202A5FF5CF467898FC58AAB1D615029441

canal.zkServers =
# flush data to zk
canal.zookeeper.flush.period = 1000
canal.withoutNetty = false
# tcp, kafka, RocketMQ
canal.serverMode = tcp
# flush meta cursor/parse position to file
canal.file.data.dir = ${canal.conf.dir}
canal.file.flush.period = 1000
## memory store RingBuffer size, should be Math.pow(2,n)
canal.instance.memory.buffer.size = 16384
## memory store RingBuffer used memory unit size , default 1kb
canal.instance.memory.buffer.memunit = 1024
## meory store gets mode used MEMSIZE or ITEMSIZE
canal.instance.memory.batch.mode = MEMSIZE
canal.instance.memory.rawEntry = true

## detecing config
canal.instance.detecting.enable = false
#canal.instance.detecting.sql = insert into retl.xdual values(1,now()) on duplicate key update x=now()
canal.instance.detecting.sql = select 1
canal.instance.detecting.interval.time = 3
canal.instance.detecting.retry.threshold = 3
canal.instance.detecting.heartbeatHaEnable = false

# support maximum transaction size, more than the size of the transaction will be cut into multiple transactions delivery
canal.instance.transaction.size =  1024
# mysql fallback connected to new master should fallback times
canal.instance.fallbackIntervalInSeconds = 60

# network config
canal.instance.network.receiveBufferSize = 16384
canal.instance.network.sendBufferSize = 16384
canal.instance.network.soTimeout = 30

# binlog filter config
canal.instance.filter.druid.ddl = true
canal.instance.filter.query.dcl = false
canal.instance.filter.query.dml = false
canal.instance.filter.query.ddl = false
canal.instance.filter.table.error = false
canal.instance.filter.rows = false
canal.instance.filter.transaction.entry = false

# binlog format/image check
canal.instance.binlog.format = ROW,STATEMENT,MIXED
canal.instance.binlog.image = FULL,MINIMAL,NOBLOB

# binlog ddl isolation
canal.instance.get.ddl.isolation = false

# parallel parser config
canal.instance.parser.parallel = false
## concurrent thread number, default 60% available processors, suggest not to exceed Runtime.getRuntime().availableProcessors()
#canal.instance.parser.parallelThreadSize = 16
## disruptor ringbuffer size, must be power of 2
canal.instance.parser.parallelBufferSize = 256

# table meta tsdb info
canal.instance.tsdb.enable = true
canal.instance.tsdb.dir = ${canal.file.data.dir:../conf}/${canal.instance.destination:}
canal.instance.tsdb.url = jdbc:h2:${canal.instance.tsdb.dir}/h2;CACHE_SIZE=1000;MODE=MYSQL;
canal.instance.tsdb.dbUsername = canal
canal.instance.tsdb.dbPassword = canal
# dump snapshot interval, default 24 hour
canal.instance.tsdb.snapshot.interval = 24
# purge snapshot expire , default 360 hour(15 days)
canal.instance.tsdb.snapshot.expire = 360

# aliyun ak/sk , support rds/mq
canal.aliyun.accessKey =
canal.aliyun.secretKey =

#################################################
######### 		destinations		#############
#################################################
canal.destinations = example
# conf root dir
canal.conf.dir = ../conf
# auto scan instance dir add/remove and start/stop instance
canal.auto.scan = true
canal.auto.scan.interval = 5

canal.instance.tsdb.spring.xml = classpath:spring/tsdb/h2-tsdb.xml
#canal.instance.tsdb.spring.xml = classpath:spring/tsdb/mysql-tsdb.xml

canal.instance.global.mode = spring
canal.instance.global.lazy = false
canal.instance.global.manager.address = ${canal.admin.manager}
#canal.instance.global.spring.xml = classpath:spring/memory-instance.xml
canal.instance.global.spring.xml = classpath:spring/file-instance.xml
#canal.instance.global.spring.xml = classpath:spring/default-instance.xml

##################################################
######### 		     MQ 		     #############
##################################################
canal.mq.servers = 127.0.0.1:6667
canal.mq.retries = 0
canal.mq.batchSize = 16384
canal.mq.maxRequestSize = 1048576
canal.mq.lingerMs = 100
canal.mq.bufferMemory = 33554432
canal.mq.canalBatchSize = 50
canal.mq.canalGetTimeout = 100
canal.mq.flatMessage = true
canal.mq.compressionType = none
canal.mq.acks = all
#canal.mq.properties. =
canal.mq.producerGroup = test
# Set this value to "cloud", if you want open message trace feature in aliyun.
canal.mq.accessChannel = local
# aliyun mq namespace
#canal.mq.namespace =

##################################################
#########     Kafka Kerberos Info    #############
##################################################
canal.mq.kafka.kerberos.enable = false
canal.mq.kafka.kerberos.krb5FilePath = "../conf/kerberos/krb5.conf"
canal.mq.kafka.kerberos.jaasFilePath = "../conf/kerberos/jaas.conf"
## mysql serverId
canal.instance.mysql.slaveId = 1234
#position info,需要改成自己的数据库信息
canal.instance.master.address = 10.0.40.153:3306
canal.instance.master.journal.name =
canal.instance.master.position =
canal.instance.master.timestamp =
#canal.instance.standby.address =
#canal.instance.standby.journal.name =
#canal.instance.standby.position =
#canal.instance.standby.timestamp =
#username/password,需要改成自己的数据库信息
canal.instance.dbUsername = canal
canal.instance.dbPassword = canal
canal.instance.defaultDatabaseName =
canal.instance.connectionCharset = UTF-8
#table regex
canal.instance.filter.regex = .\*\\\\..\*
服务运行
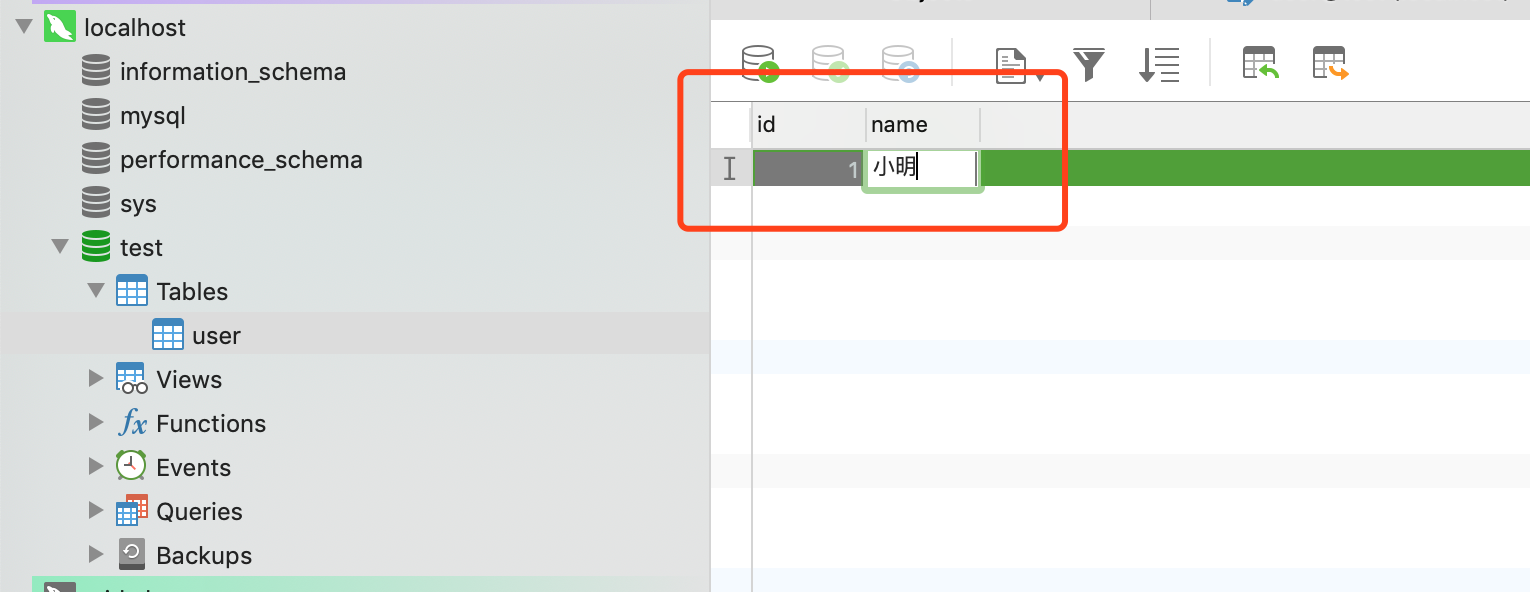
- 当我在 navicat客户端在数据中添加如下参数
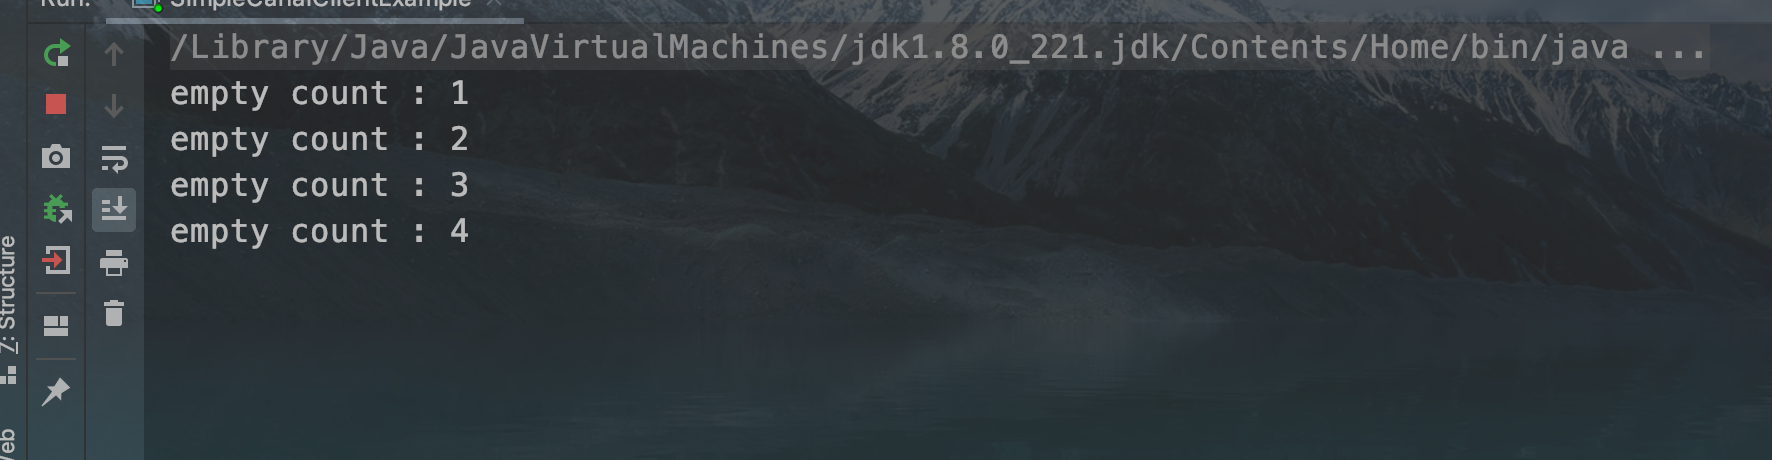
- 控制台打出如下命令
empty count : 69
empty count : 70
empty count : 71
empty count : 72
================> binlog[mysql-bin.000005:2110] , name[test,user] , eventType : INSERT
id : 1    update=true
name : 小明    update=true
empty count : 1
搜索公众号”会讲历史的程序员",关注并回复“谷歌"学习获取外网访问教程。我们一起学习成长。
