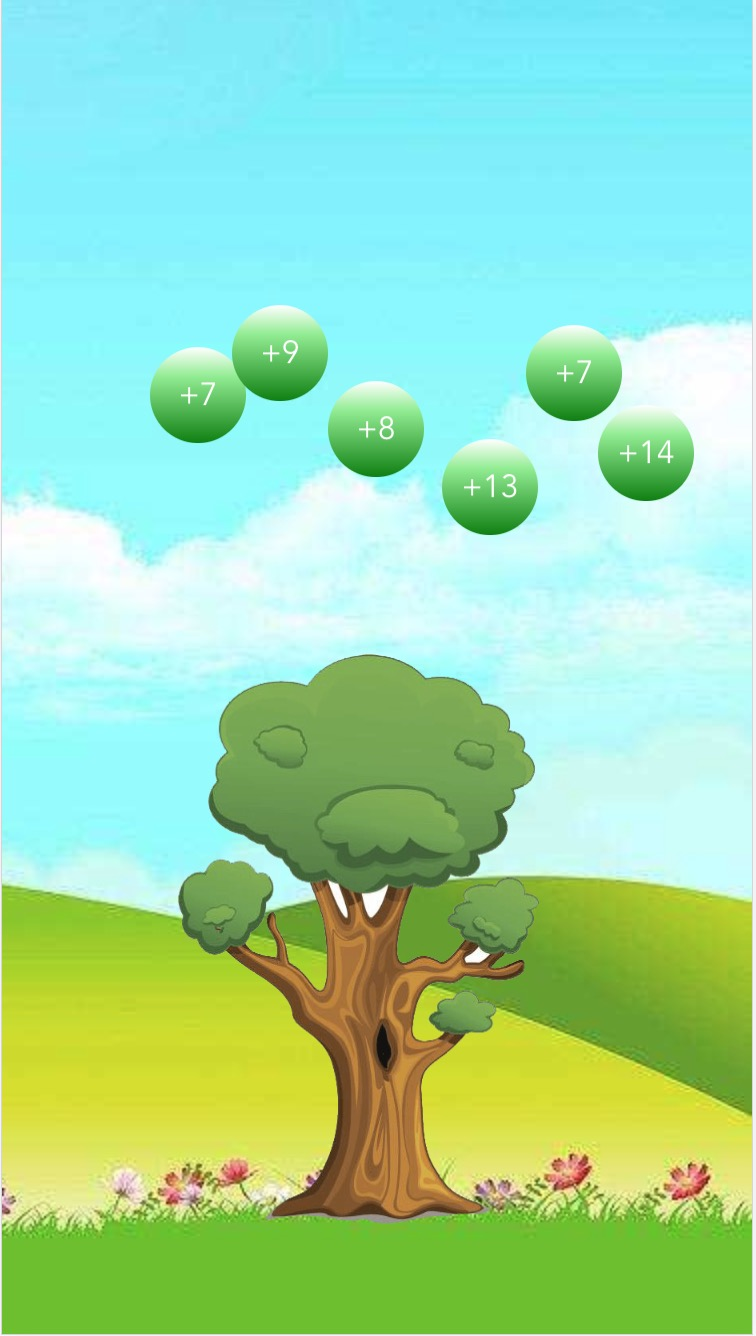
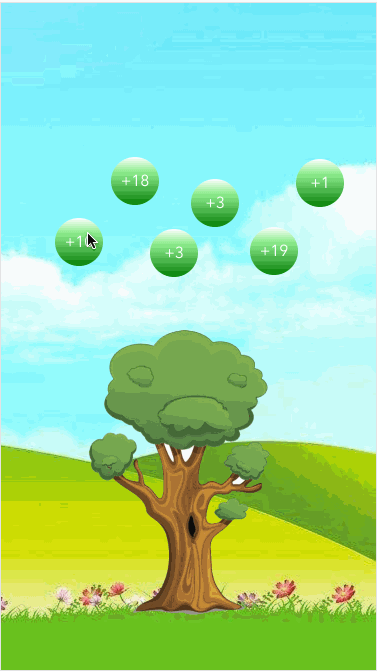
因为项目需要实现类似蚂蚁森林收集能量的效果,于是上网找了一波,没能找到完整的案例,于是自己着手写了一个,以供有需要的人参考,如有需要优化及不足的地方,欢迎指出。
github地址:github.com/Xiangfs/ant…
最开始想采用纯canvas实现,但是实现的过程中发现canvas实现有诸多问题点,于是最后还是放弃了
实现过程
实现思路:其实就是在树的上方生成若干个浮动的点,然后点击的时候以树中心为目标移动,到达之后消失的一个过程
定义变量:
export default {
    data() {
        return {
            cWitdh: window.innerWidth, // 屏幕宽度
            cHeight: window.innerHeight, // 屏幕高度
            circlePadding: 50, // 左右边距,也会影响到生成的球的横坐标边界
            treeWidth: 200, // 树的宽度
            treeHeight: 300, // 树的高度
            // 上面是基本的变量,下面的变量在点的移动和计算的时候需要用到
            moveTarget: null, // 移动对象
            targetIndex: null, // 被点击的对象的索引
            isMoving: false, // 是否在移动中
            moveEnd: false, // 移动结束状态,用于触发树的动画
            circleArr: [], // 所有点的集合数组
            xArr: [], // 所有点的横坐标数组
            easing: 0.15, // 阻尼系数
            r: 24 // 圆形半径
        }
    }
}
生成随机点
// 生成随机数方法
randomNum (from, to) {
    return Math.floor(Math.random() * (to - from + 1) + from)
},
createList(count) {
    let { cWidth, cHeight, circlePadding, treeHeight } = this
        let index = 0
        while (this.circleArr.length < count) {
            if (index > 100) return false // 防止死循环
            index++
            var x = this.randomNum(circlePadding, cWidth - circlePadding)
            // y的范围为树的最高点到屏幕顶部
            var y = this.randomNum(cHeight - treeHeight - 220, cHeight - treeHeight - 120)
            this.circleArr.push({
                x,
                y,
                r: this.r,
                count: this.randomNum(1, 20),
                scale: 1 // 用于动画缩放倍数的参数,默认为1
            )}
        }
      }
}
这样生成的点与点之间会存在太近导致重叠过多的问题,于是做了如下处理:
// 生成随机数方法
randomNum (from, to) {
    return Math.floor(Math.random() * (to - from + 1) + from)
},
// 生成圆点方法
createList (count) {
    let { cWidth, cHeight, circlePadding, treeHeight } = this
    let index = 0
    while (this.circleArr.length < count) {
        if (index > 100) return false // 防止死循环
        index++
        var x = this.randomNum(circlePadding, cWidth - circlePadding)
        // y的范围为树的最高点到屏幕顶部
        var y = this.randomNum(cHeight - treeHeight - 220, cHeight - treeHeight - 120)
        // 判断是否与已有的点太近
        if (!this.isNear(x)) {
            this.circleArr.push({
                x,
                y,
                r: this.r,
                count: this.randomNum(1, 20),
                scale: 1 // 用于动画缩放倍数的参数,默认为1
            })
            // xArr用于判断点与点是否太近
            this.xArr.push(x)
        }
    }
},
isNear (x) {
    var near = false
    this.xArr.forEach(val => {
        // 本来为至少要小于2倍半径,但如果其余的点把屏幕均分了,下一个点就永远满足不了条件,故改为小于1.5倍半径,即有多于4/3个圆的部分重叠,则判断为太近
        // 这里可以根据需要更改判断条件
        if (Math.abs(x - val) < (this.r * 3) / 2) {
            near = true
        }
    })
    return near
}
}
效果图:

实现动画
startMove (index) {
    if (!this.isMoving) {
        this.moveTarget = this.circleArr[index] // 保存要移动的目标对象
        this.targetIndex = index // 保存移动目标的索引
        this.isMoving = true
        this.move()
    }
},
move () {
    if (this.moveTarget) {
        let { moveTarget, centerX, centerY, easing } = this
        // 当目标距离中心点很近的时候停止动画,否则继续执行动画
        if (Math.abs(moveTarget.x - centerX) > 5 && Math.abs(moveTarget.y - centerY) > 5) {
            // 每次移动距离目标点剩余距离的阻尼倍数的距离,以此实现阻尼效果
            moveTarget.x += (centerX - moveTarget.x) * easing
            moveTarget.y += (centerY - moveTarget.y) * easing
            moveTarget.scale -= 0.02
            window.requestAnimationFrame(this.move)
        } else {
            // 重置移动相关参数
            this.isMoving = false
            this.moveTarget = null
            this.targetIndex = null
            this.circleArr.splice(this.targetIndex, 1) // 删除移动完成的点
        }
    }
},
附上圆点上下浮动以及收集完成后树弹动的动画
/* 圆点浮动 */
@keyframes wave {
  0% {
    transform: translateY(-3px);
  }
  50% {
    transform: translateY(3px);
  }
  100% {
    transform: translateY(-3px);
  }
}
/* 树的弹动 */
@keyframes treeFlip {
  from {
    transform: scale3d(1, 1, 1) translateX(-50%);
  }
  25% {
    transform: scale3d(1, 1.05, 1) translateX(-50%);
  }
  50% {
    transform: scale3d(1, 0.95, 1) translateX(-50%);
  }
  75% {
    transform: scale3d(1, 1.05, 1) translateX(-50%);
  }
  to {
    transform: scale3d(1, 1, 1) translateX(-50%);
  }
}
最终效果

后记
主要注重实现效果,所以背景图以及树的图片都比较粗糙~~敬请谅解(╹▽╹)
目前只能实现单个圆点动画完成后再执行下一个圆点的动画,如何让几个圆点的动画可以同时进行有待研究,希望有大神指点迷津。
如果觉得这篇文章对你有帮助,记得点star哦