

本文我们来介绍SpringBoot整合Shiro来实现授权的操作
一、注解的使用方式
1.配置类修改
在权限校验的时候,我们一般在控制中通过注解来实现权限的校验,但我们需要放开注解的使用,在配置文件中的使用方式如下:
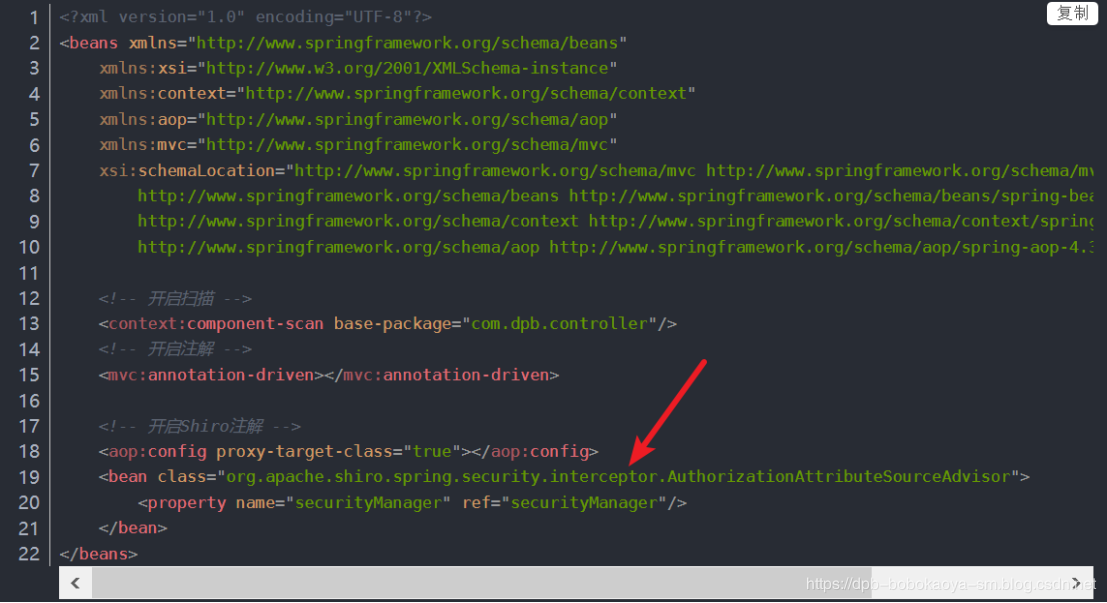
对应的在配置类中的设置如下:
/**
 * 开启授权注解使用方式
 * @param manager
 * @return
 */
@Bean
public AuthorizationAttributeSourceAdvisor authorizationAttributeSourceAdvisor(SecurityManager manager){
    AuthorizationAttributeSourceAdvisor advisor = new AuthorizationAttributeSourceAdvisor();
    advisor.setSecurityManager(manager);
    return advisor;
}
2.自定义realm方法
在自定义的realm中实现授权方法
**
 * 授权的方法
 * @param principalCollection
 * @return
 */
@Override
protected AuthorizationInfo doGetAuthorizationInfo(PrincipalCollection principalCollection) {
    User user = (User) principalCollection.getPrimaryPrincipal();
    System.out.println("授权的账号是:" + user.getUsername());
    // 模拟权限
    SimpleAuthorizationInfo info = new SimpleAuthorizationInfo();
    info.addRole("role1");
    return info;
}
3.业务处理
我们创建UserController,对相关的不同方法设置不同的访问权限,如下
package com.dpb.springboot41shiro.controller;

import org.apache.shiro.authz.annotation.Logical;
import org.apache.shiro.authz.annotation.RequiresRoles;
import org.springframework.stereotype.Controller;
import org.springframework.web.bind.annotation.RequestMapping;

/**
 * @program: springboot-41-shiro
 * @description:
 * @author: 波波烤鸭
 * @create: 2019-11-29 21:37
 */
@Controller
@RequestMapping("/user")
public class UserController {

    @RequiresRoles(value = {"role1"},logical = Logical.AND)
    @RequestMapping("/query")
    public String query(){
        System.out.println("用户查询...");
        return "/user";
    }

    @RequiresRoles(value = {"role2"},logical = Logical.AND)
    @RequestMapping("/update")
    public String update(){
        System.out.println("用户更新...");
        return "/user";
    }
}
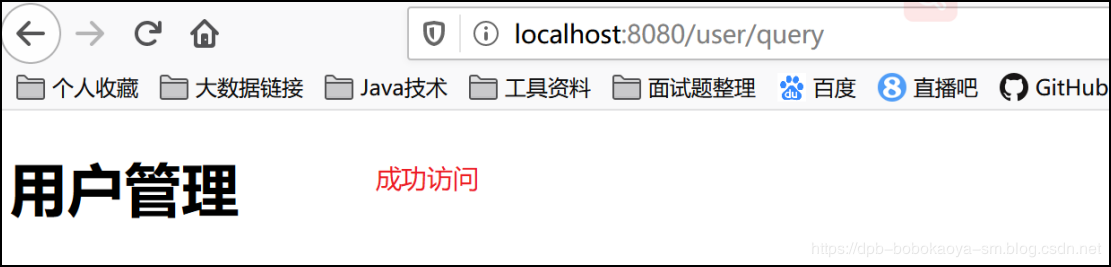
4.测试
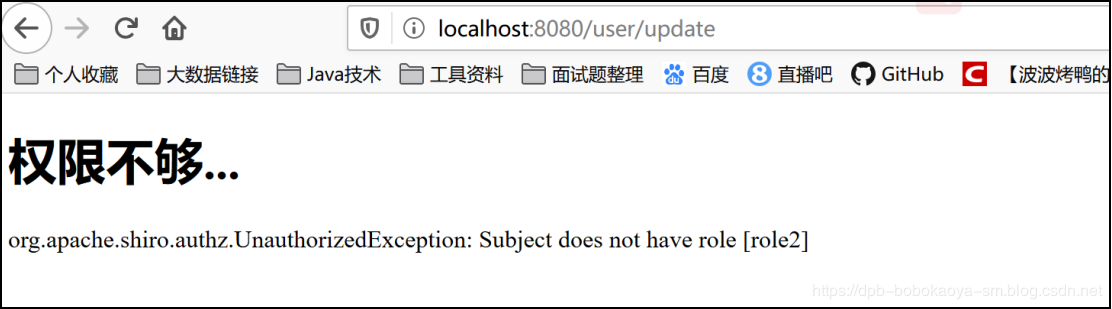
访问’/user/query’有权限,访问’/user/update’就没有权限。登录成功后访问
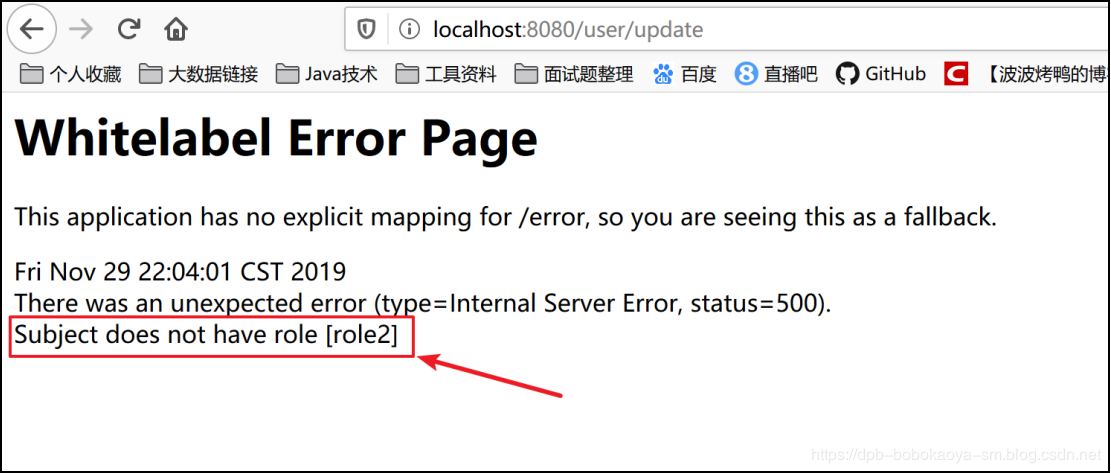
5.自定义异常类
当没有访问权限时,我们是直接通过系统error页面来提示的,我们可以通过自定义的异常页面来提示,用户体验会更好些,之前在配置文件中的配置方式是:
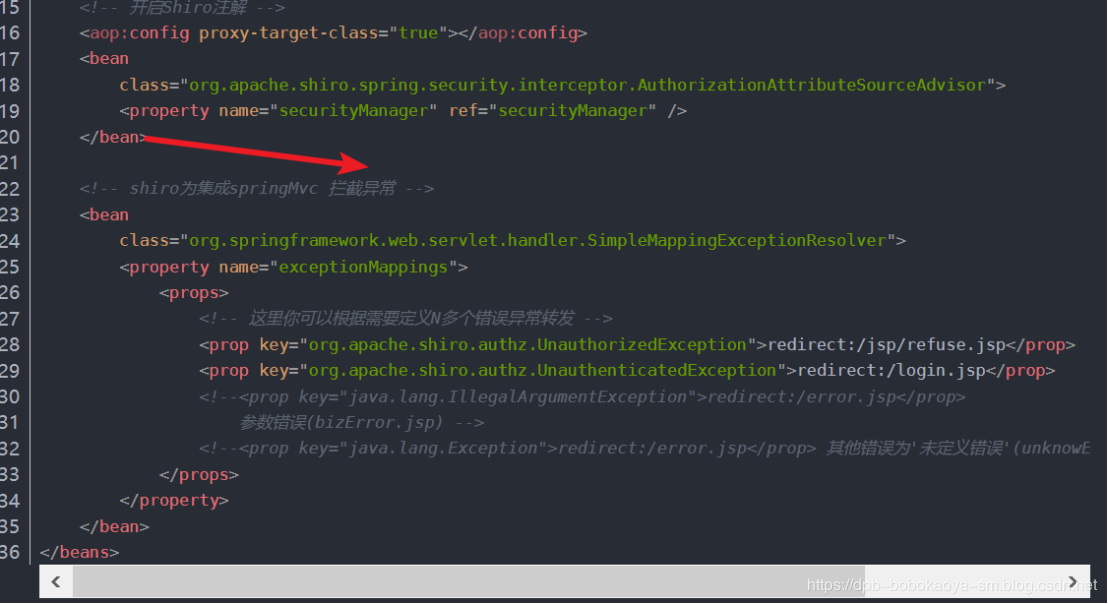
那么对于的在java配置类中。
/**
 * 全局异常处理器
 * @return
 */
@Bean
public SimpleMappingExceptionResolver simpleMappingExceptionResolver(){
    SimpleMappingExceptionResolver resolver = new SimpleMappingExceptionResolver();
    Properties mappings = new Properties();
    mappings.setProperty("UnauthorizedException","/403");
    resolver.setExceptionMappings(mappings);  // None by default
    resolver.setDefaultErrorView("error");    // No default
    resolver.setExceptionAttribute("exception");     // Default is "exception"
    return resolver;
}
效果:
二、Shiro标签的使用
除了通过注解来验证权限,我们在页面中对权限校验的时候通过shiro标签库会更方便些,所以我们来看下SpringBoot中结合Thymeleaf来使用shiro标签库要怎么使用
1.添加对应的依赖
使用shiro的标签库我们需要单独在引入如下的依赖。
<dependency>
    <groupId>com.github.theborakompanioni</groupId>
    <artifactId>thymeleaf-extras-shiro</artifactId>
    <version>2.0.0</version>
</dependency>
2.配置类修改
在配置类中我们需要注册 ShiroDialect对象
//用于thymeleaf模板使用shiro标签
@Bean
public ShiroDialect shiroDialect() {
    return new ShiroDialect();
}
3.在页面中配置及使用
我们需要在页面头部引入此
xmlns:shiro="http://www.pollix.at/thymeleaf/shiro"
Shiro便签的使用
<!DOCTYPE html>
<html lang="en" xmlns="http://www.w3.org/1999/xhtml" xmlns:th="http://www.thymeleaf.org"
      xmlns:shiro="http://www.pollix.at/thymeleaf/shiro" >
<head>
    <meta charset="UTF-8">
    <title>Title</title>
</head>
<body>
    <h1>用户管理</h1>
    <span shiro:hasRole="role1">权限1</span><br>
    <span shiro:hasRole="role2">权限2</span><br>
    <shiro:authenticated>
        已登录
    </shiro:authenticated>
    <shiro:principal property="username"></shiro:principal>
    <shiro:guest>游客</shiro:guest>
</body>
</html>
4.测试
登录后访问如下:
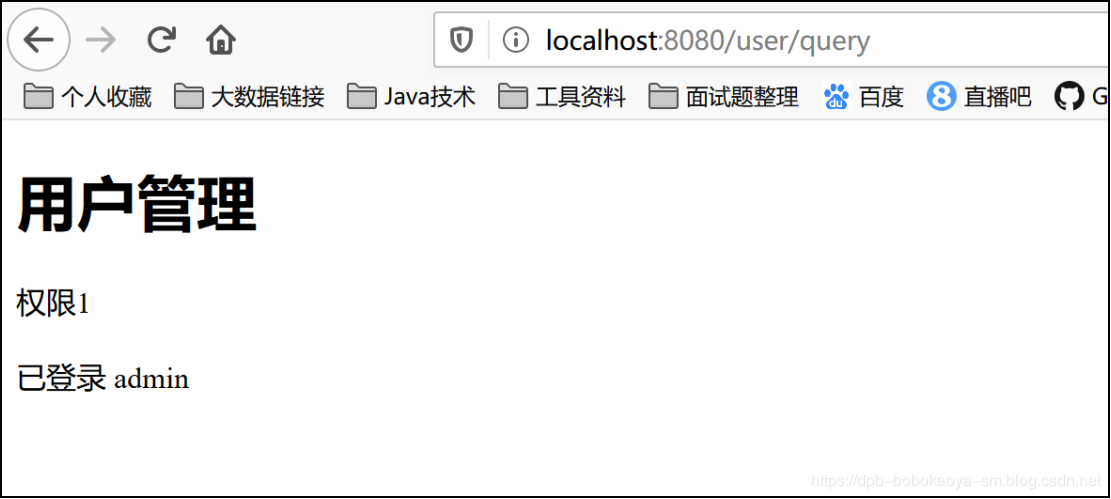
说明标签库起作用了!
