

基础篇讲到了如何使用 Hexo 建站。包括基本命令使用及获取到源码之后的一些简单工程配置。
下面将介绍,如何给博客添加 评论、背景音乐、点击特效、字数统计等功能。
文章内容多数内容皆来自于TRHX 的文章Hexo 博客主题个性化。
友情提示,本文篇幅太长,建议结合目录选择性的浏览。
1. 添加评论
material-x 主题已经集成了四个评论系统。暂时只介绍用过的两个。
1.1 使用 valine
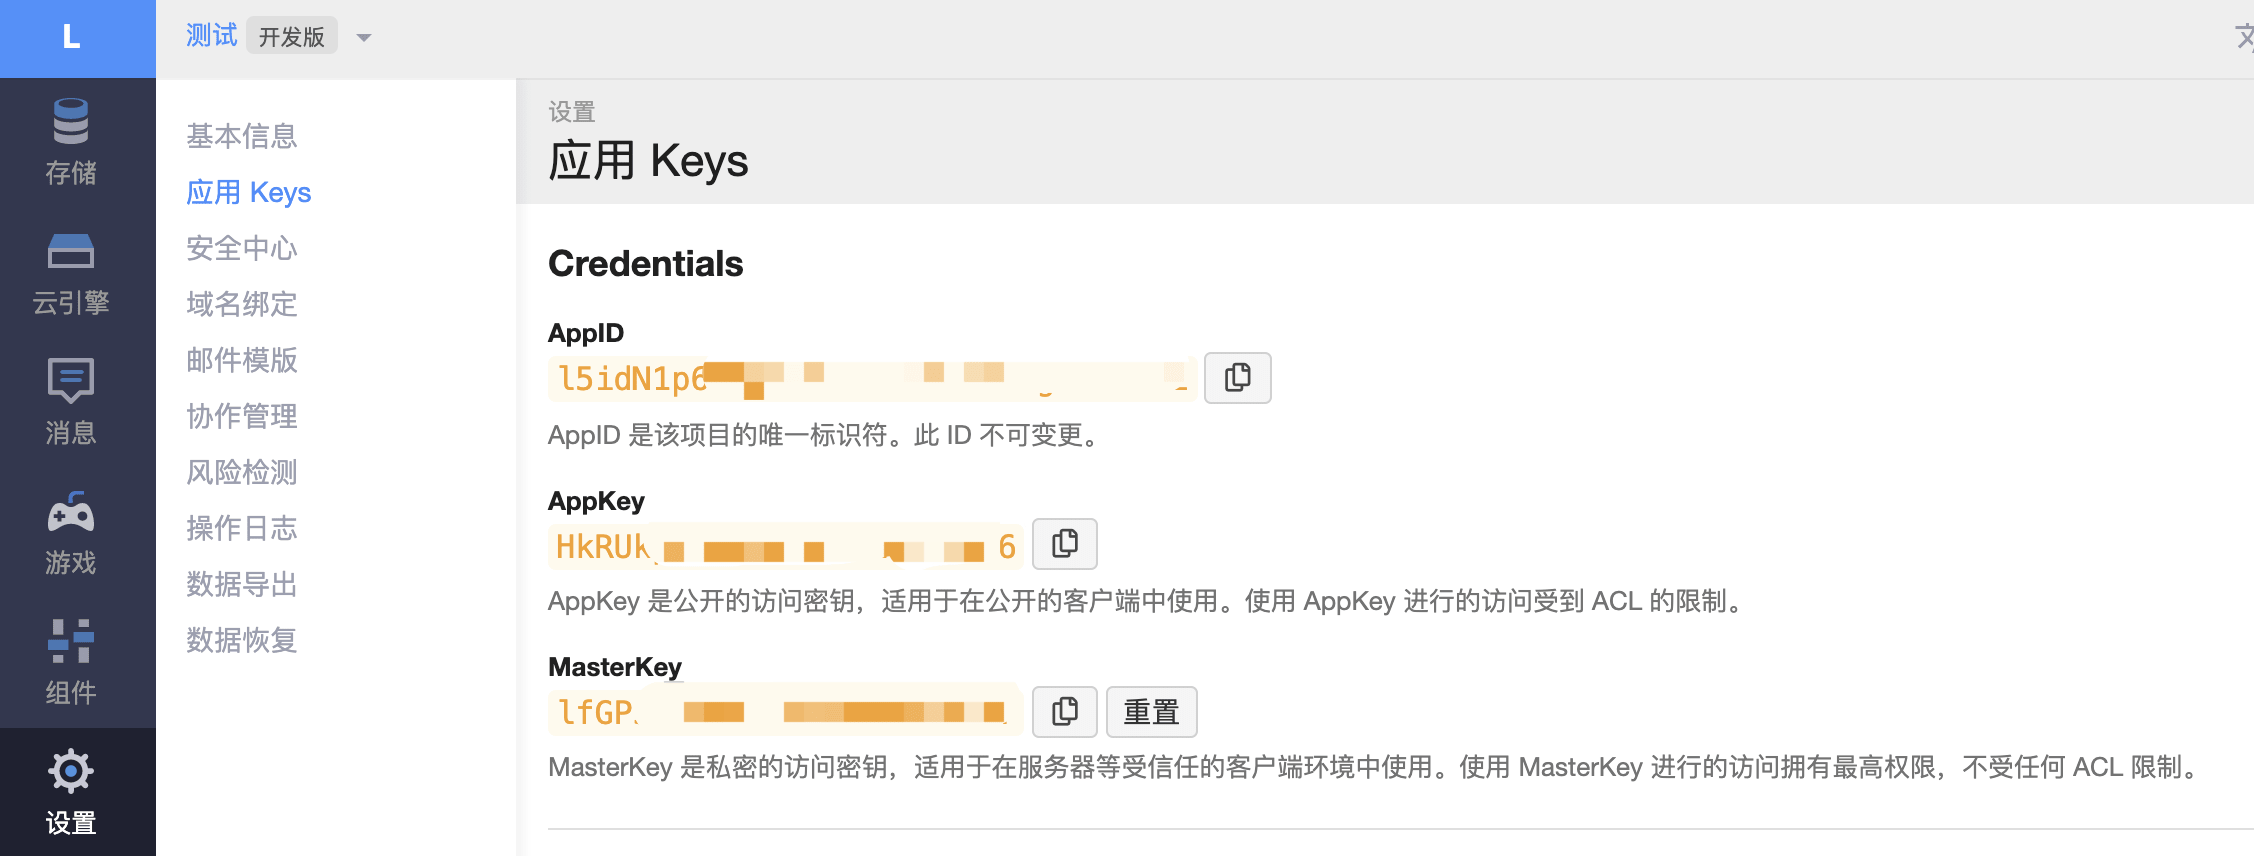
首先需要在 leancloud 上注册应用。在控制台中,点开注册的应用查看 AppID 和 AppKey。
在主题配置文件中
#valine配置
valine:
  enable: true # 如果你想用Valine评论系统,请设置enable为true
  volantis: true # 是否启用volantis版本(禁止匿名,增加若干贴吧、QQ表情)
  # 还需要在根目录配置文件中添加下面这三行内容
  # leancloud:
  #   app_id: 你的appId
  #   app_key: 你的appKey
  guest_info: nick,mail,link #valine comment header info
  placeholder: 快来评论吧~ # valine comment input placeholder(like: Please leave your footprints )
  avatar: mp # gravatar style https://valine.js.org/avatar
  pageSize: 10 # comment list page size
  verify: true # valine verify code (true/false)
  notify: true # valine mail notify (true/false)
  lang: zh-cn
  highlight: true
在博客配置文件中
leancloud:
  app_id: 你的appId
  app_key: 你的appKey
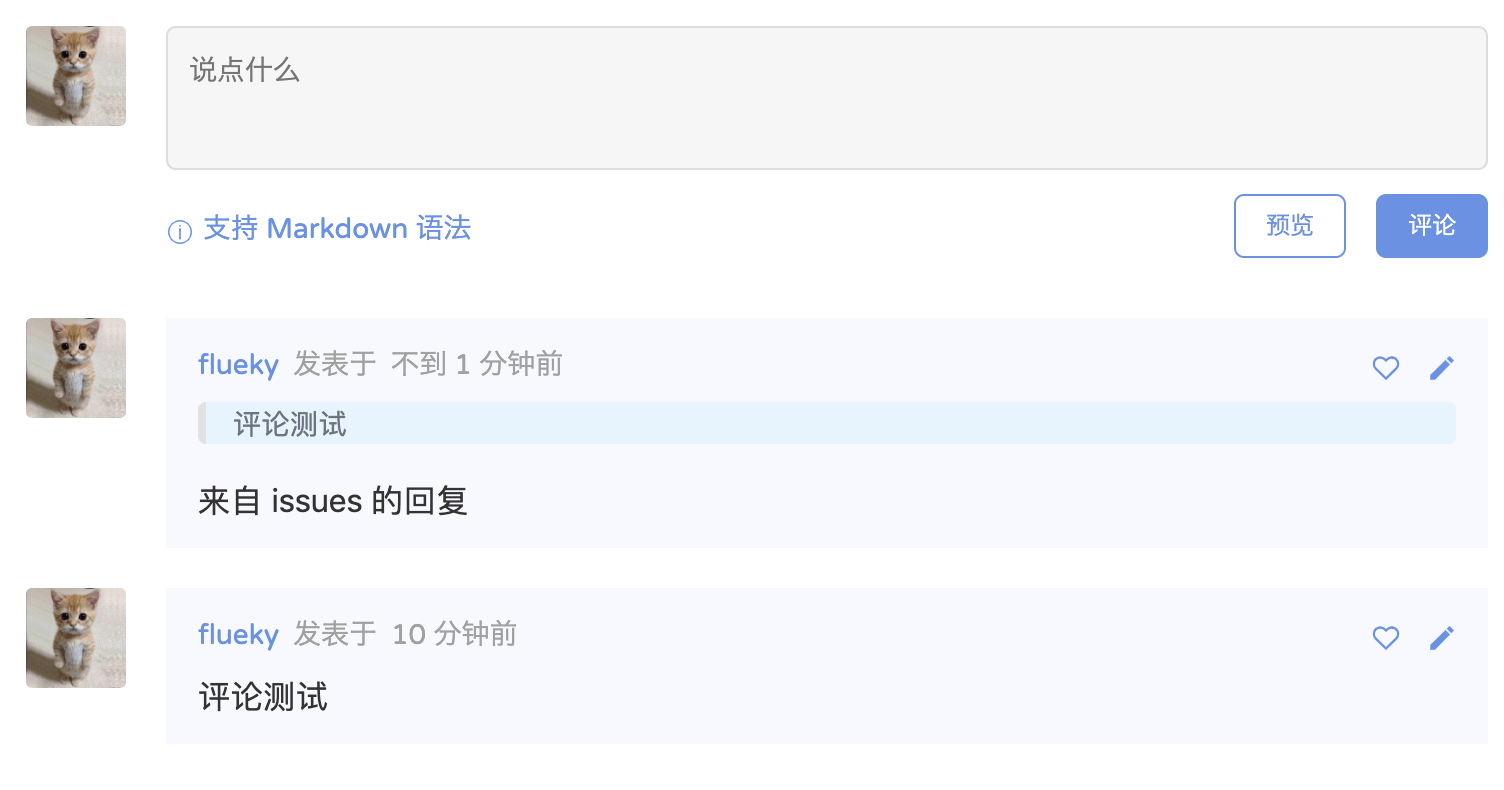
配置完成后,在文章底部出现评论界面。
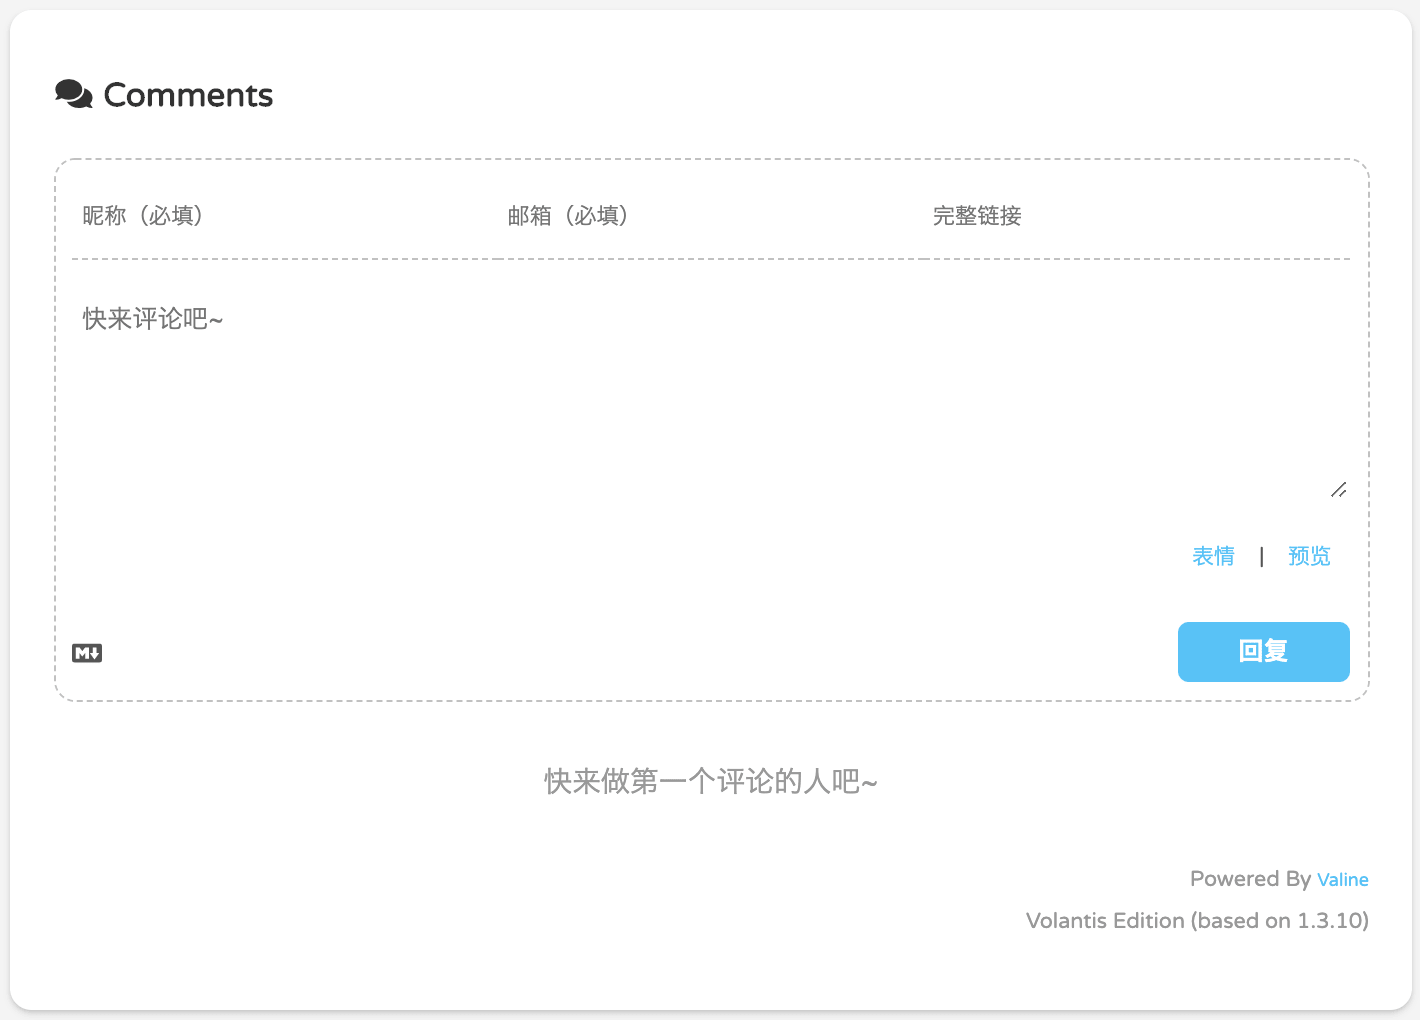
评论效果支持 Markdown 语法。
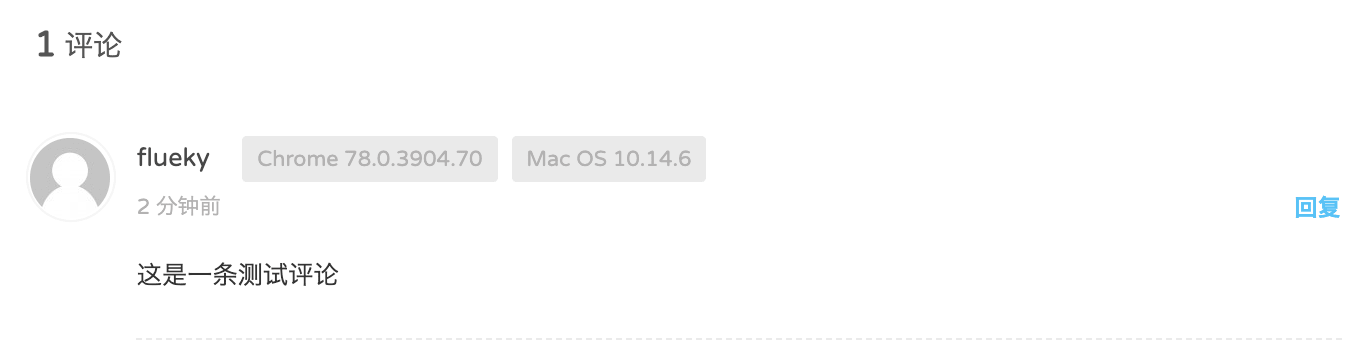
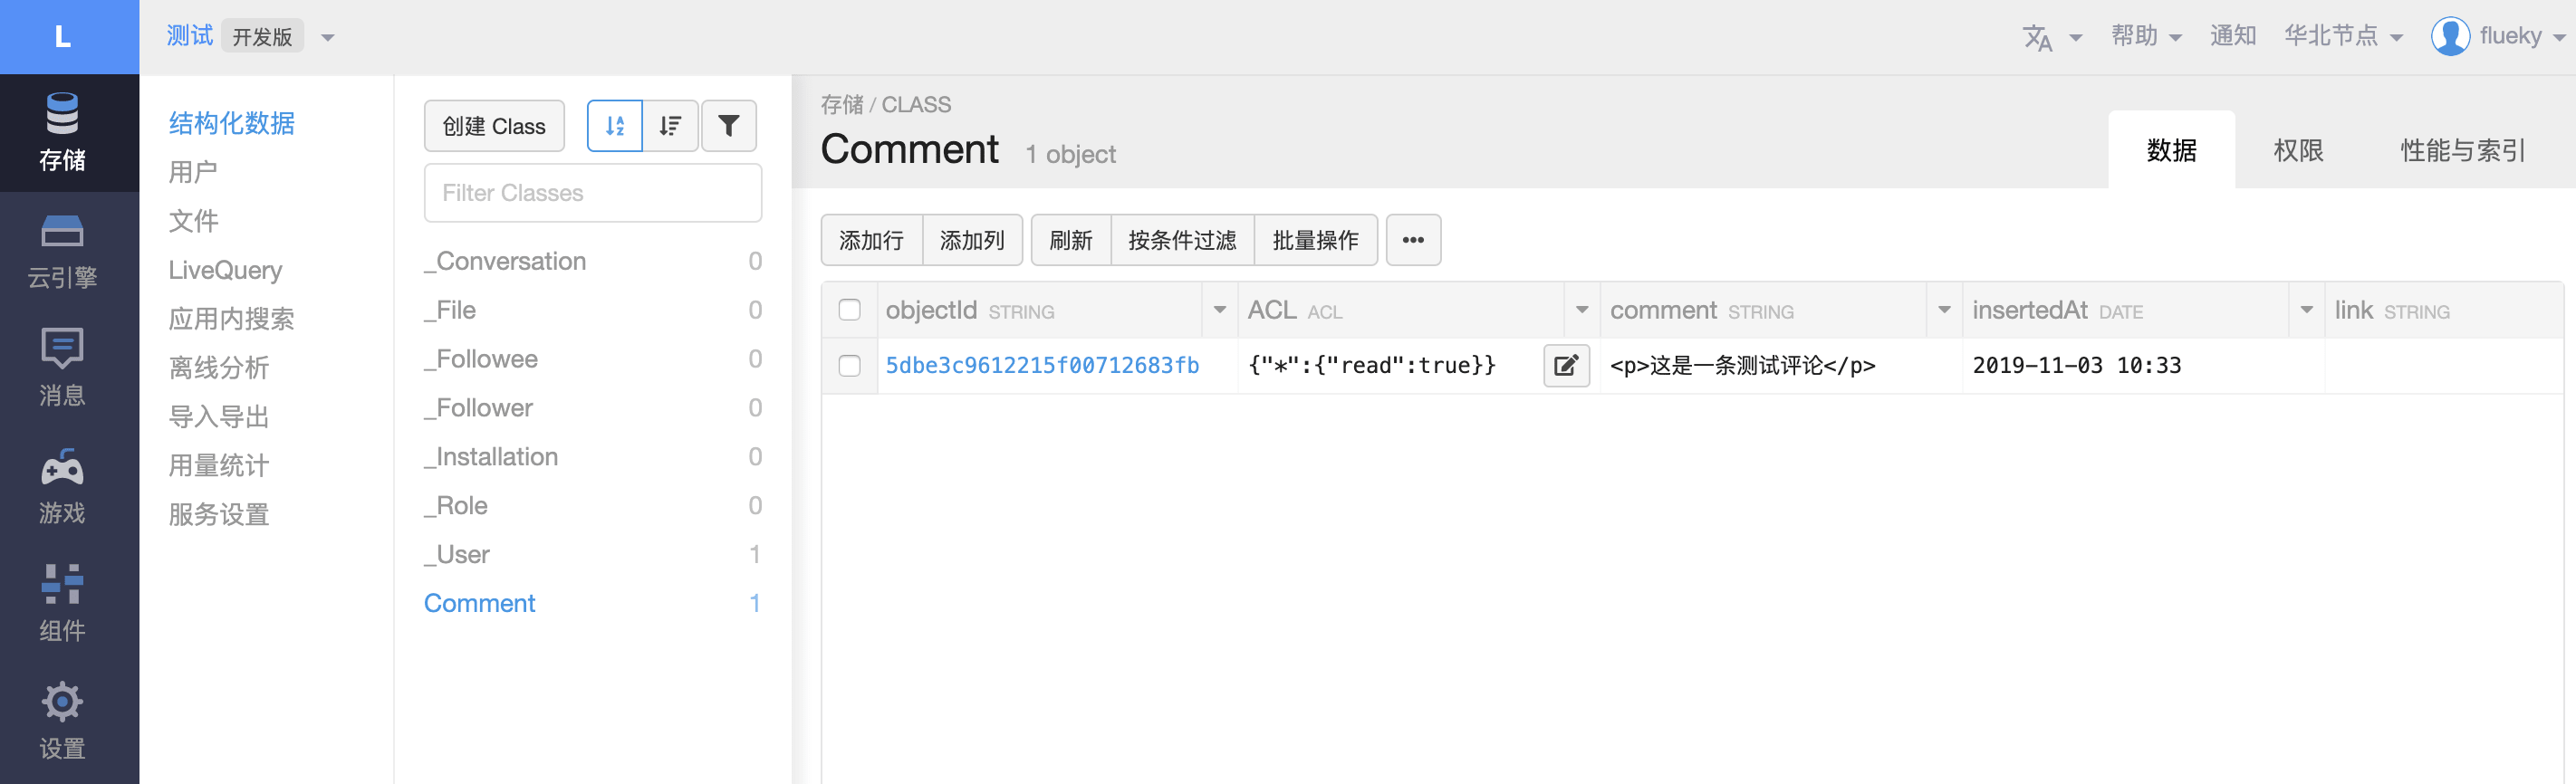
评论内容可以在 leancloud 控制台中管理。
1.2 使用 gitalk
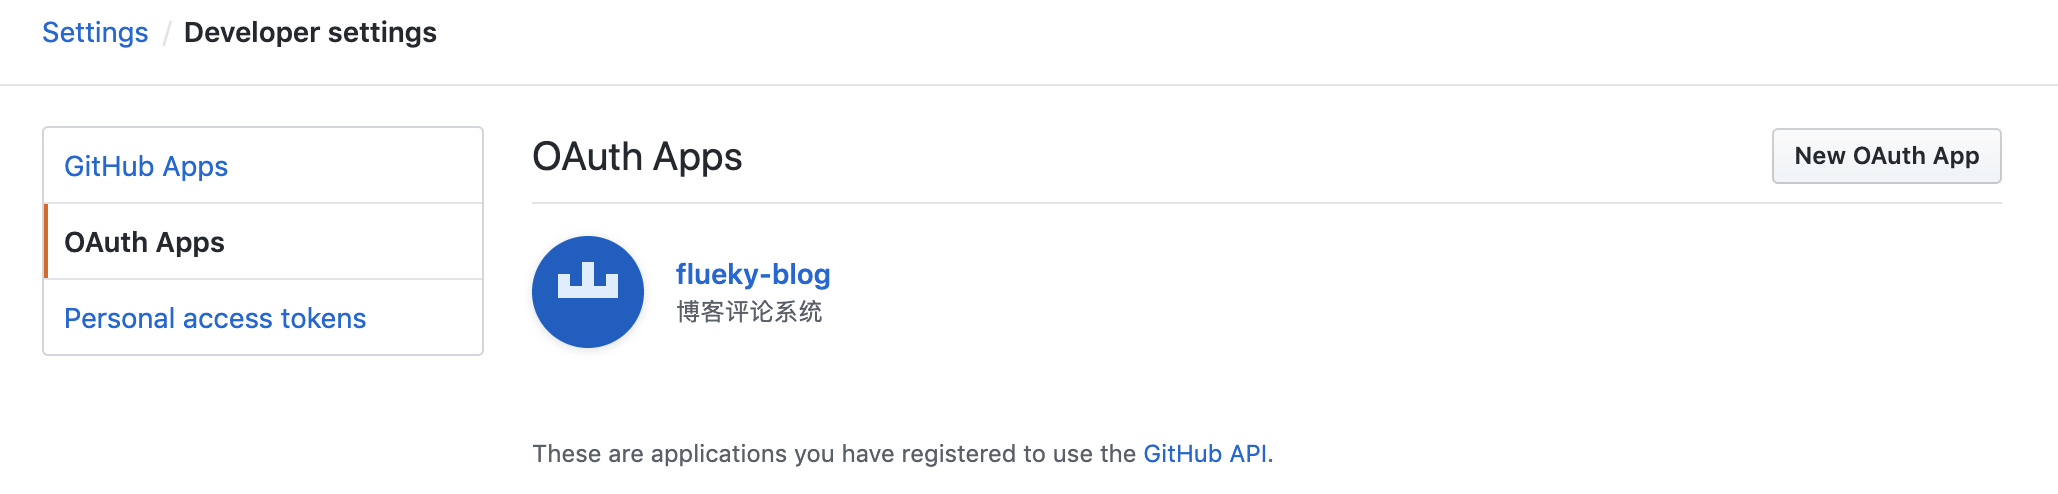
首先需要在 GitHub 中创建一个授权应用。此应用在访客评论时使用 GitHub 账户登录,进行授权。
创建授权应用地址:github.com/settings/ap…,亦可以在 GitHub 中通过 Settings -> Developer settings -> OAuth Apps ->New Auth App 访问 。
需要填写四条信息,以我的应用为例:
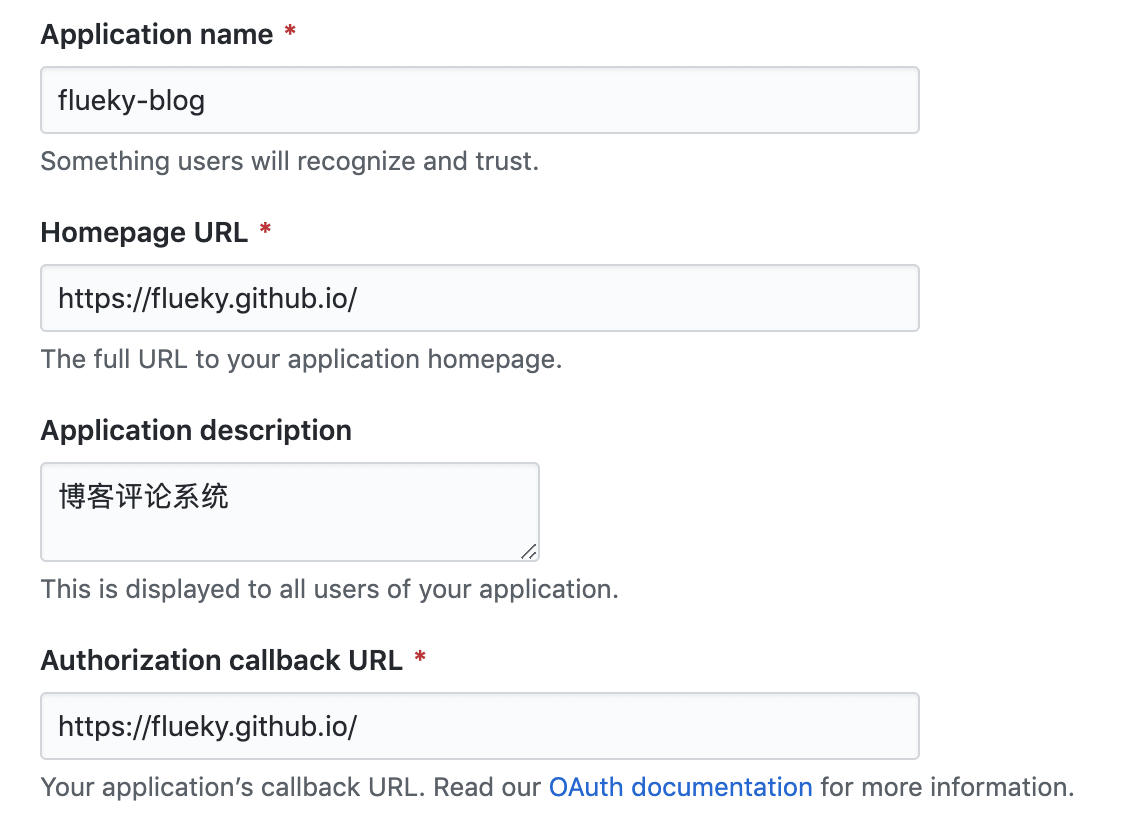
- 应用名称,授权时告知用户是哪个应用使用 GitHub 账户。
- 应用主页,使用博客站点主页 ,也可以换别的。
- 应用描述。
- 授权通过后的跳转页面。
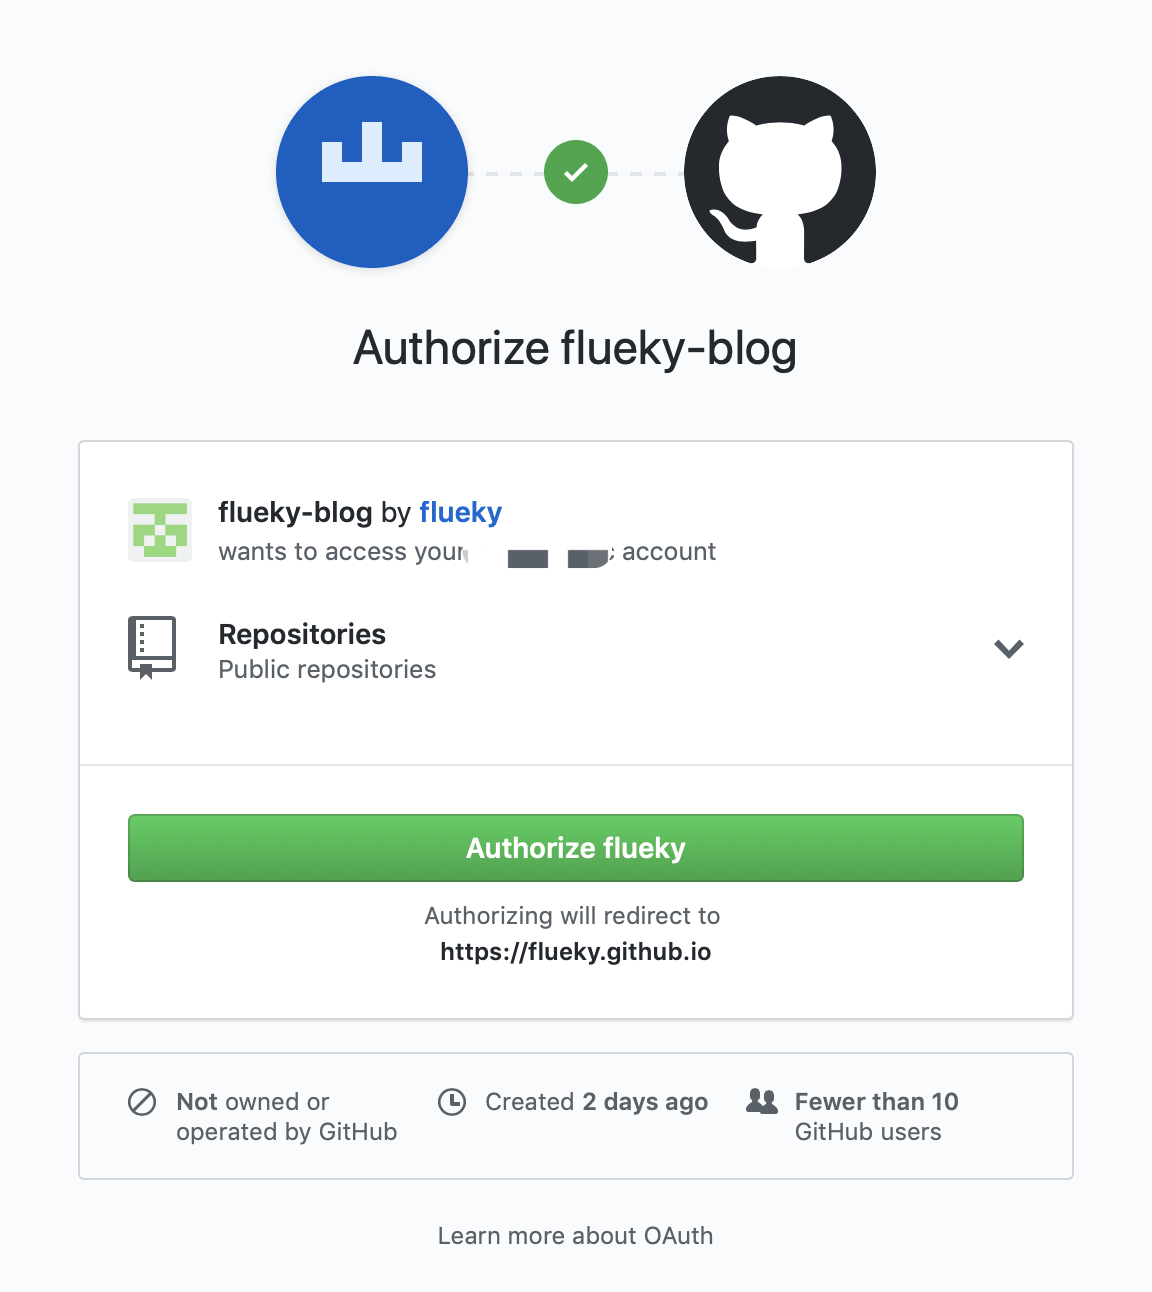
授权页面如图:
在应用中查看 Client ID 和 Client Secret 。
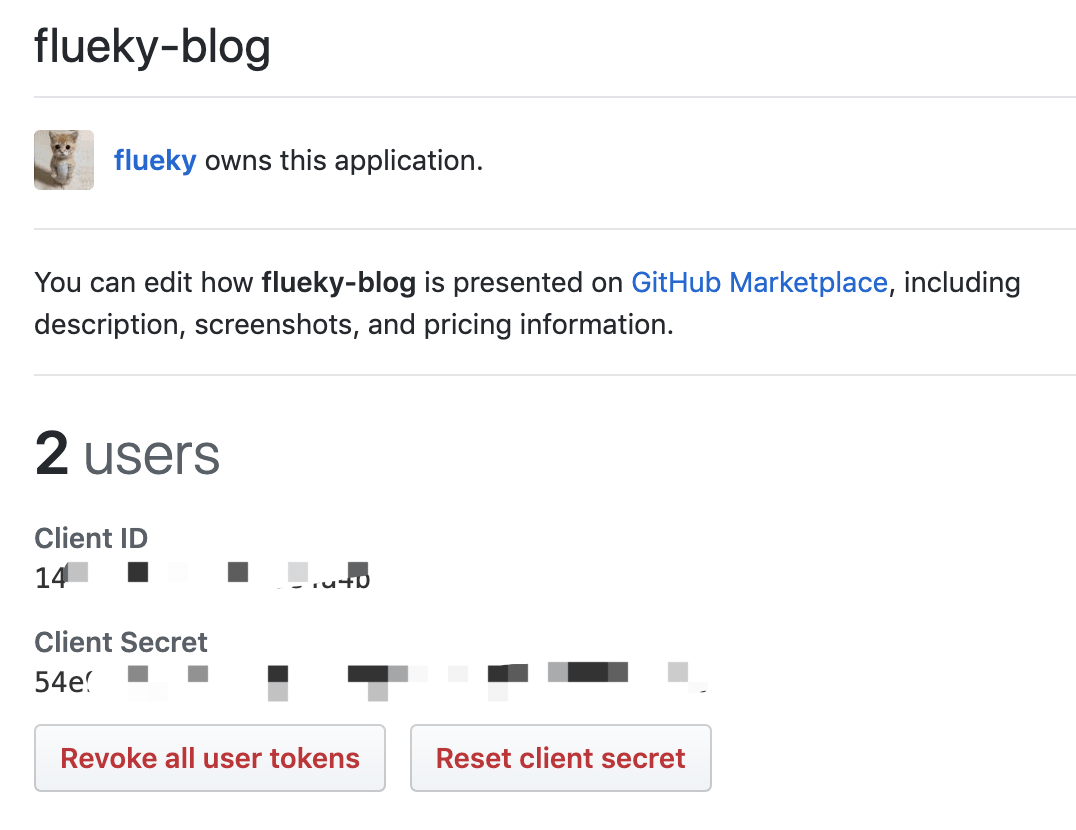
最后在博客配置文件中
gitalk:
  clientID: 你的clientID
  clientSecret: 你的clientSecret
  repo: 你的repo名
  owner: 你的GitHub名
  admin: [] 至少填写你的GitHub名
由于,gitalk 的评论方式是通过对 repo 提 issues 的方式。因此上面的 repo 即是查看 issues 的仓库地址。
评论界面如下:

在 issues 管理,通过最近更新的排序方式,查看最新的评论。
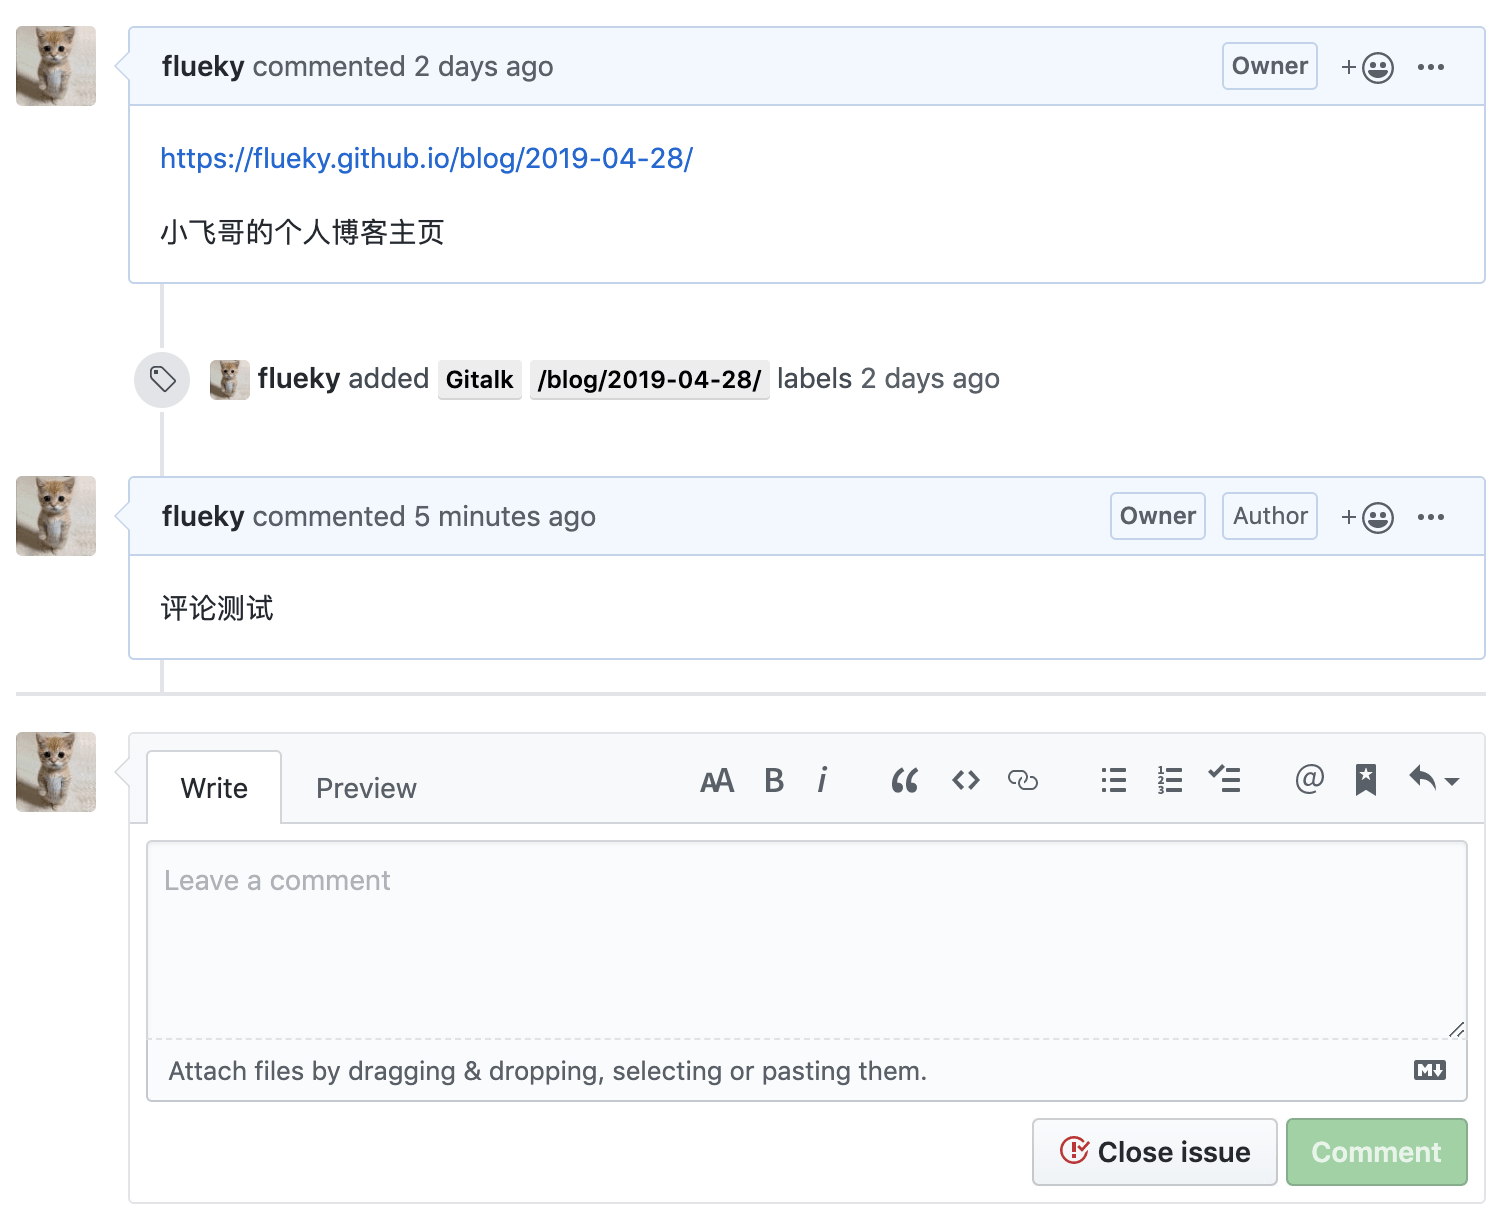
可以直接在 issues 中直接回复。这样的好处是,只要查看 issues 就可以知道有新的评论,便于实时互动。GitHub还会通过发送邮件的方式告知有新的 issues。
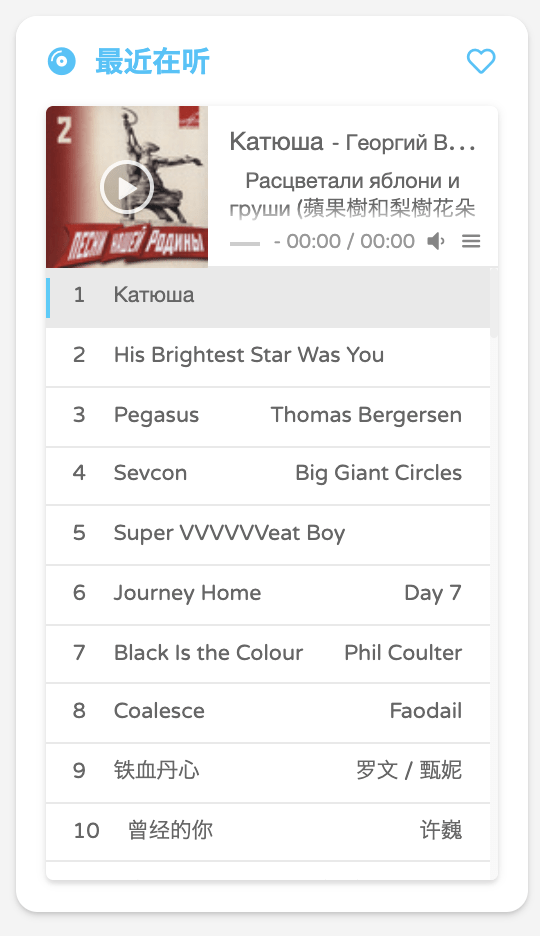
2. 添加BGM
在主题的配置文件中:
############################### 默认值 ###############################
# 音乐控件的默认配置,如果sidebar或者page里没有提供,就取这里的参数
music:
  enable: true      # 是否启用
  color: '#1BCDFC'  # 主题色
  mode: circulation # random (随机) single (单曲) circulation (列表循环) order (列表)
  server: netease   # netease(网易云音乐)tencent(QQ音乐) xiami(虾米) kugou(酷狗)
  type: playlist    # song (单曲) album (专辑) playlist (歌单) search (搜索)
  id: 2615636388    # 歌曲/专辑/歌单 ID
  volume: 0.7       # 音量, 0~1
  autoplay: false   # 自动播放
# sidebar 配置
sidebar:
  - widget: music
    icon: fas fa-compact-disc
    title: "最近在听"
    more:
      icon: far fa-heart
      url: https://music.163.com/#/user/home?id=63035382
      rel: external nofollow noopener noreferrer
      target: _blank
    server: netease   # netease(网易云音乐)tencent(QQ音乐) xiami(虾米) kugou(酷狗)
    type: playlist    # song (单曲) album (专辑) playlist (歌单) search (搜索)
    id: 2615636388     # 歌曲/专辑/歌单 ID
还要在 layout 中配置是否显示在侧边栏。
layout:
  # 文章列表(主页、自定义的列表)布局
  posts:
    # 列表类页面的侧边栏,显示 music 部件
    sidebar: [author, list, grid, music, category, tagcloud]
  # 文章页面布局
  article:
    # 文章页面的侧边栏,不显示 music 部件
    sidebar: [author, toc, grid, category, tagcloud, list, related_posts]
  # 其他的页面布局暂时等于文章列表
在文章 md 文件中:
# page中配置,用于文章标题
---
music:
  enable: true      # true(文章内和文章列表都显示) internal(只在文章内显示)
  server: netease   # netease(网易云音乐)tencent(QQ音乐) xiami(虾米) kugou(酷狗)
  type: song        # song (单曲) album (专辑) playlist (歌单) search (搜索)
  id: 558369602      # 歌曲/专辑/歌单 ID
---
3. 添加点击效果
3.1 点击弹出爱心
在主题文件夹,source/js 目录下,新建 love.js 。复制下面代码:
!function(e,t,a){function n(){c(".heart{width: 10px;height: 10px;position: fixed;background: #f00;transform: rotate(45deg);-webkit-transform: rotate(45deg);-moz-transform: rotate(45deg);}.heart:after,.heart:before{content: '';width: inherit;height: inherit;background: inherit;border-radius: 50%;-webkit-border-radius: 500%;-moz-border-radius: 50%;position: fixed;}.heart:after{top: -5px;}.heart:before{left: -5px;}"),o(),r()}function r(){for(var e=0;e<d.length;e++)d[e].alpha<=0?(t.body.removeChild(d[e].el),d.splice(e,1)):(d[e].y--,d[e].scale+=.004,d[e].alpha-=.013,d[e].el.style.cssText="left:"+d[e].x+"px;top:"+d[e].y+"px;opacity:"+d[e].alpha+";transform:scale("+d[e].scale+","+d[e].scale+") rotate(45deg);background:"+d[e].color+";z-index:99999");requestAnimationFrame(r)}function o(){var t="function"==typeof e.onclick&&e.onclick;e.onclick=function(e){t&&t(),i(e)}}function i(e){var a=t.createElement("div");a.className="heart",d.push({el:a,x:e.clientX-5,y:e.clientY-5,scale:1,alpha:1,color:s()}),t.body.appendChild(a)}function c(e){var a=t.createElement("style");a.type="text/css";try{a.appendChild(t.createTextNode(e))}catch(t){a.styleSheet.cssText=e}t.getElementsByTagName("head")[0].appendChild(a)}function s(){return"rgb("+~~(255*Math.random())+","+~~(255*Math.random())+","+~~(255*Math.random())+")"}var d=[];e.requestAnimationFrame=function(){return e.requestAnimationFrame||e.webkitRequestAnimationFrame||e.mozRequestAnimationFrame||e.oRequestAnimationFrame||e.msRequestAnimationFrame||function(e){setTimeout(e,1e3/60)}}(),n()}(window,document);
在主题目录,layout 文件夹中,layout.ejs 文件末尾添加:
<!-- 页面点击小红心 -->
<script type="text/javascript" src="/js/love.js"></script>
效果如图(盗图):

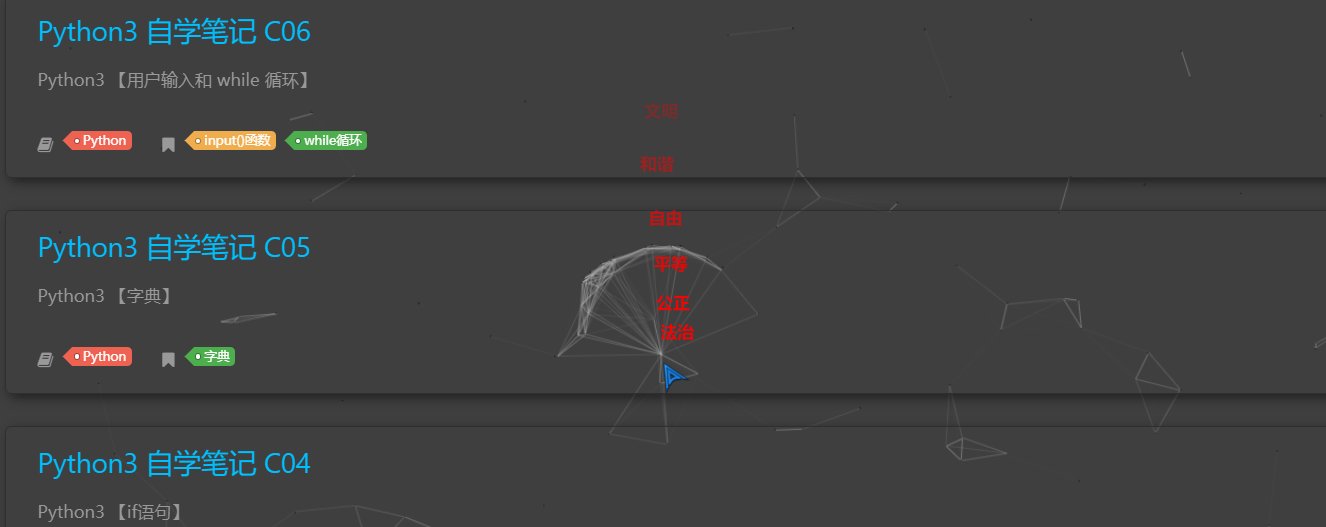
3.2 点击弹出文字
在主题文件夹,source/js 目录下,新建 click_show_text.js 。复制下面代码:
var a_idx = 0;
jQuery(document).ready(function($) {
    $("body").click(function(e) {
        var a = new Array
        ("富强", "民主", "文明", "和谐", "自由", "平等", "公正", "法治", "爱国", "敬业", "诚信", "友善");
        var $i = $("<span/>").text(a[a_idx]);
        a_idx = (a_idx + 1) % a.length;
        var x = e.pageX,
        y = e.pageY;
        $i.css({
            "z-index": 5,
            "top": y - 20,
            "left": x,
            "position": "absolute",
            "font-weight": "bold",
            "color": "#FF0000"
        });
        $("body").append($i);
        $i.animate({
            "top": y - 180,
            "opacity": 0
        },
			3000,
			function() {
			    $i.remove();
			});
    });
    setTimeout('delay()', 2000);
});

function delay() {
    $(".buryit").removeAttr("onclick");
}
在主题目录,layout 文件夹中,layout.ejs 文件末尾添加:
<!--单击显示文字-->
<script type="text/javascript" src="/js/click_show_text.js"></script>
核心价值观类文字可以自己替换,效果如图(盗图):
3.3 点击烟花
在主题文件夹,source/js 目录下,新建 fireworks.js 。复制下面代码:
"use strict";function updateCoords(e){pointerX=(e.clientX||e.touches[0].clientX)-canvasEl.getBoundingClientRect().left,pointerY=e.clientY||e.touches[0].clientY-canvasEl.getBoundingClientRect().top}function setParticuleDirection(e){var t=anime.random(0,360)*Math.PI/180,a=anime.random(50,180),n=[-1,1][anime.random(0,1)]*a;return{x:e.x+n*Math.cos(t),y:e.y+n*Math.sin(t)}}function createParticule(e,t){var a={};return a.x=e,a.y=t,a.color=colors[anime.random(0,colors.length-1)],a.radius=anime.random(16,32),a.endPos=setParticuleDirection(a),a.draw=function(){ctx.beginPath(),ctx.arc(a.x,a.y,a.radius,0,2*Math.PI,!0),ctx.fillStyle=a.color,ctx.fill()},a}function createCircle(e,t){var a={};return a.x=e,a.y=t,a.color="#F00",a.radius=0.1,a.alpha=0.5,a.lineWidth=6,a.draw=function(){ctx.globalAlpha=a.alpha,ctx.beginPath(),ctx.arc(a.x,a.y,a.radius,0,2*Math.PI,!0),ctx.lineWidth=a.lineWidth,ctx.strokeStyle=a.color,ctx.stroke(),ctx.globalAlpha=1},a}function renderParticule(e){for(var t=0;t<e.animatables.length;t++){e.animatables[t].target.draw()}}function animateParticules(e,t){for(var a=createCircle(e,t),n=[],i=0;i<numberOfParticules;i++){n.push(createParticule(e,t))}anime.timeline().add({targets:n,x:function(e){return e.endPos.x},y:function(e){return e.endPos.y},radius:0.1,duration:anime.random(1200,1800),easing:"easeOutExpo",update:renderParticule}).add({targets:a,radius:anime.random(80,160),lineWidth:0,alpha:{value:0,easing:"linear",duration:anime.random(600,800)},duration:anime.random(1200,1800),easing:"easeOutExpo",update:renderParticule,offset:0})}function debounce(e,t){var a;return function(){var n=this,i=arguments;clearTimeout(a),a=setTimeout(function(){e.apply(n,i)},t)}}var canvasEl=document.querySelector(".fireworks");if(canvasEl){var ctx=canvasEl.getContext("2d"),numberOfParticules=30,pointerX=0,pointerY=0,tap="mousedown",colors=["#FF1461","#18FF92","#5A87FF","#FBF38C"],setCanvasSize=debounce(function(){canvasEl.width=2*window.innerWidth,canvasEl.height=2*window.innerHeight,canvasEl.style.width=window.innerWidth+"px",canvasEl.style.height=window.innerHeight+"px",canvasEl.getContext("2d").scale(2,2)},500),render=anime({duration:1/0,update:function(){ctx.clearRect(0,0,canvasEl.width,canvasEl.height)}});document.addEventListener(tap,function(e){"sidebar"!==e.target.id&&"toggle-sidebar"!==e.target.id&&"A"!==e.target.nodeName&&"IMG"!==e.target.nodeName&&(render.play(),updateCoords(e),animateParticules(pointerX,pointerY))},!1),setCanvasSize(),window.addEventListener("resize",setCanvasSize,!1)}"use strict";function updateCoords(e){pointerX=(e.clientX||e.touches[0].clientX)-canvasEl.getBoundingClientRect().left,pointerY=e.clientY||e.touches[0].clientY-canvasEl.getBoundingClientRect().top}function setParticuleDirection(e){var t=anime.random(0,360)*Math.PI/180,a=anime.random(50,180),n=[-1,1][anime.random(0,1)]*a;return{x:e.x+n*Math.cos(t),y:e.y+n*Math.sin(t)}}function createParticule(e,t){var a={};return a.x=e,a.y=t,a.color=colors[anime.random(0,colors.length-1)],a.radius=anime.random(16,32),a.endPos=setParticuleDirection(a),a.draw=function(){ctx.beginPath(),ctx.arc(a.x,a.y,a.radius,0,2*Math.PI,!0),ctx.fillStyle=a.color,ctx.fill()},a}function createCircle(e,t){var a={};return a.x=e,a.y=t,a.color="#F00",a.radius=0.1,a.alpha=0.5,a.lineWidth=6,a.draw=function(){ctx.globalAlpha=a.alpha,ctx.beginPath(),ctx.arc(a.x,a.y,a.radius,0,2*Math.PI,!0),ctx.lineWidth=a.lineWidth,ctx.strokeStyle=a.color,ctx.stroke(),ctx.globalAlpha=1},a}function renderParticule(e){for(var t=0;t<e.animatables.length;t++){e.animatables[t].target.draw()}}function animateParticules(e,t){for(var a=createCircle(e,t),n=[],i=0;i<numberOfParticules;i++){n.push(createParticule(e,t))}anime.timeline().add({targets:n,x:function(e){return e.endPos.x},y:function(e){return e.endPos.y},radius:0.1,duration:anime.random(1200,1800),easing:"easeOutExpo",update:renderParticule}).add({targets:a,radius:anime.random(80,160),lineWidth:0,alpha:{value:0,easing:"linear",duration:anime.random(600,800)},duration:anime.random(1200,1800),easing:"easeOutExpo",update:renderParticule,offset:0})}function debounce(e,t){var a;return function(){var n=this,i=arguments;clearTimeout(a),a=setTimeout(function(){e.apply(n,i)},t)}}var canvasEl=document.querySelector(".fireworks");if(canvasEl){var ctx=canvasEl.getContext("2d"),numberOfParticules=30,pointerX=0,pointerY=0,tap="mousedown",colors=["#FF1461","#18FF92","#5A87FF","#FBF38C"],setCanvasSize=debounce(function(){canvasEl.width=2*window.innerWidth,canvasEl.height=2*window.innerHeight,canvasEl.style.width=window.innerWidth+"px",canvasEl.style.height=window.innerHeight+"px",canvasEl.getContext("2d").scale(2,2)},500),render=anime({duration:1/0,update:function(){ctx.clearRect(0,0,canvasEl.width,canvasEl.height)}});document.addEventListener(tap,function(e){"sidebar"!==e.target.id&&"toggle-sidebar"!==e.target.id&&"A"!==e.target.nodeName&&"IMG"!==e.target.nodeName&&(render.play(),updateCoords(e),animateParticules(pointerX,pointerY))},!1),setCanvasSize(),window.addEventListener("resize",setCanvasSize,!1)};
在主题目录,layout 文件夹中,layout.ejs 文件末尾添加:
  <!-- 单击烟花爆炸效果 -->
  <canvas class="fireworks" style="position: fixed;left: 0;top: 0;z-index: 1; pointer-events: none;" ></canvas>
  <script type="text/javascript" src="//cdn.bootcss.com/animejs/2.2.0/anime.min.js"></script>
  <script type="text/javascript" src="/js/fireworks.js"></script>
效果如图(盗图)
以上配置 ,修改过后及时生效,不需要重启服务。
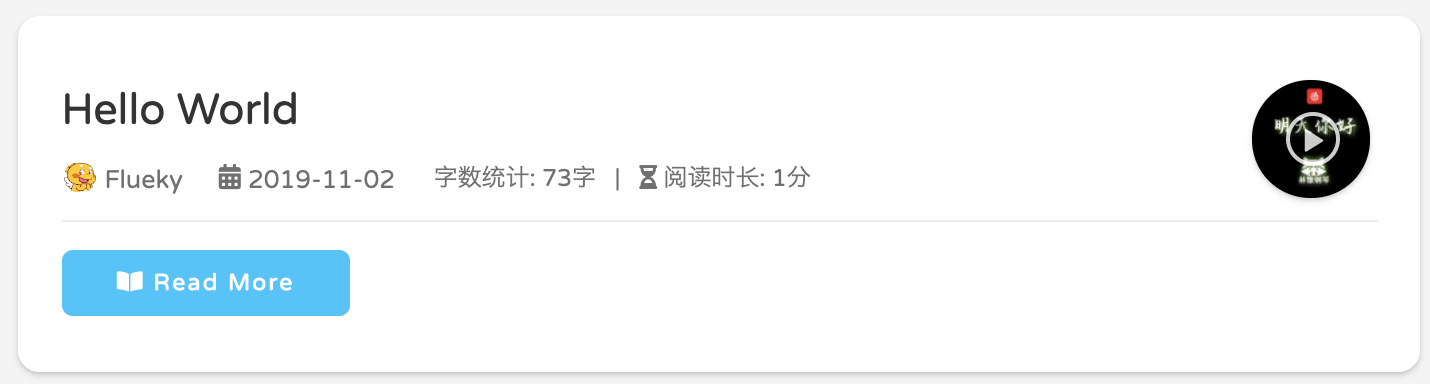
4. 添加字数统计和阅读时长
需要安装依赖,在博客根目录下:
npm i --save hexo-wordcount
在主题文件夹,layout/_partial/post 目录下,新建 word.ejs 。复制下面代码:
<div>
<span class="post-time">
<span class="post-meta-item-icon">
<i class="fa fa-keyboard-o"></i>
<span class="post-meta-item-text"> 字数统计: </span>
<span class="post-count"><%= wordcount(post.content) %>字</span>
</span>
</span>
<span class="post-time">
|
<span class="post-meta-item-icon">
<i class="fa fa-hourglass-half"></i>
<span class="post-meta-item-text"> 阅读时长: </span>
<span class="post-count"><%= min2read(post.content) %>分</span>
</span>
</span>
</div>
在主题文件夹下,layout/_partial 目录下修改 meta.ejs 文件。
<!-- 注意此 div -->
<div class='new-meta-box'>
  <% (topMetas).forEach(function(meta){ %>
  	<% if(meta != 'title'){ %>
  		<%- partial('../_meta/' + meta, {post: post, isPostList: isPostList}) %>
  	<% } %>
  <% }) %>
  <!-- 此为添加内容 -->
  <%if(theme.word_count){%>
  	<%- partial('post/word') %>
  <%}%>
  <!-- 以上是添加内容 -->
</div>
最后在主题配置文件的末尾,添加
# 显示字数统计
word_count: true
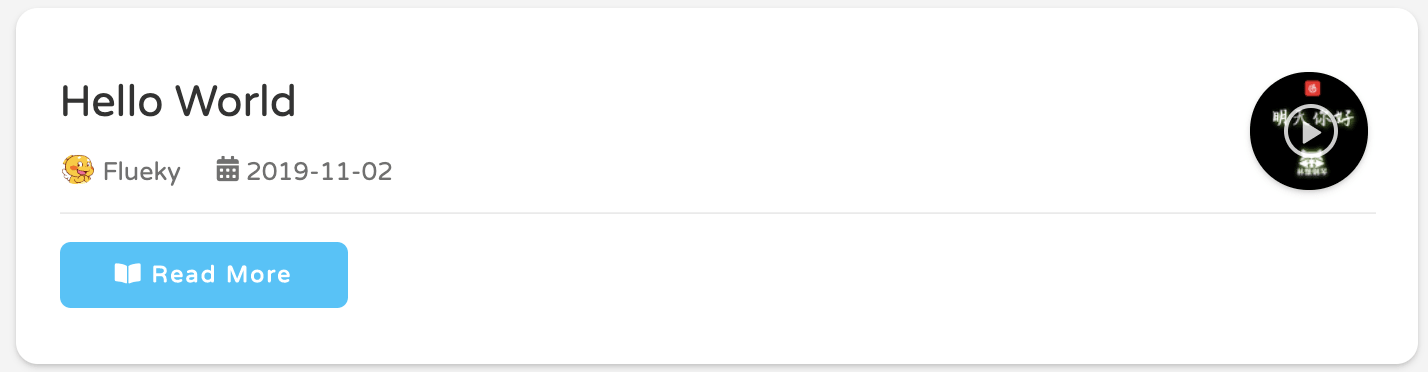
效果如图
5. 添加百度统计
百度统计是百度推出的一款免费的专业网站流量分析工具,能够告诉用户访客是如何找到并浏览用户的网站,在网站上做了些什么。
访问百度统计首页,注册账户,新增网站,输入你站点的域名。

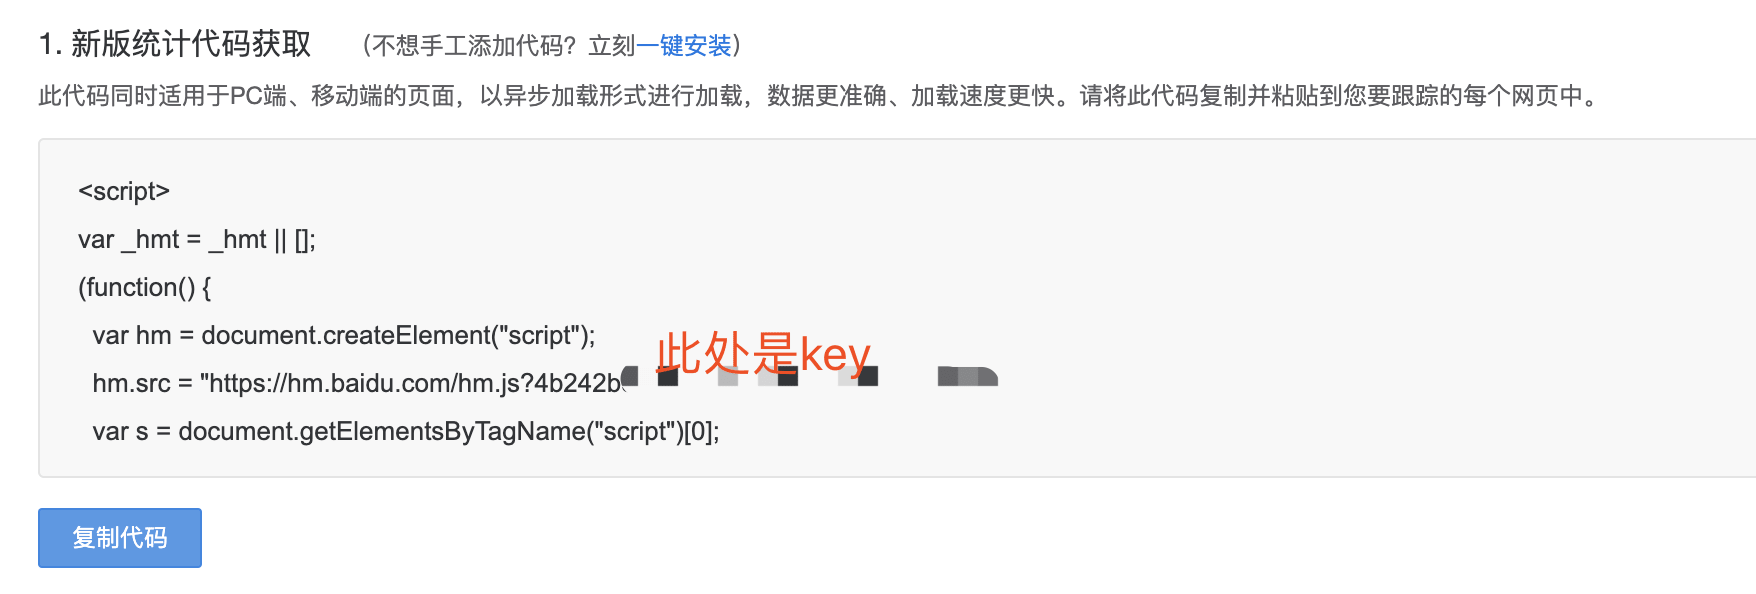
创建网站成功后,需要将需要将统计代码放在页面中,详见获取代码页面。由于 material-x 已经集成了此代码 ,见主题文件夹,layout/_partial 目录下, head.ejs 文件。
<% if (config.baidu_analytics_key) { %>
<!-- ba -->
<script>
  var _hmt = _hmt || [];
  (function() {
    var hm = document.createElement("script");
    hm.src = "https://hm.baidu.com/hm.js?<%= config.baidu_analytics_key %>";
    var s = document.getElementsByTagName("script")[0];
    s.parentNode.insertBefore(hm, s);
  })();
</script>
<% } %>
所以 ,只需要在博客配置目录下,
baidu_analytics_key: # 你的百度统计key
key在获取代码的位置,见图:
配置完成后,可执行代码安装检查判断是否集成成功。
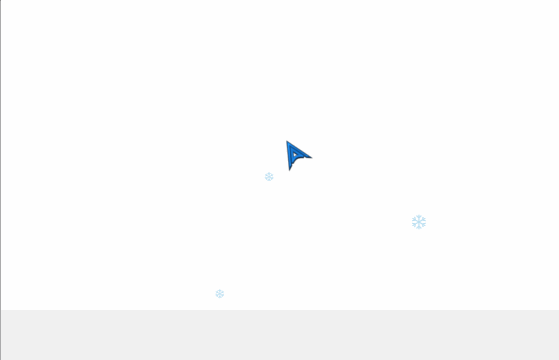
6. 添加雪花效果
雪花效果有两种,见下面盗图 :
样式一
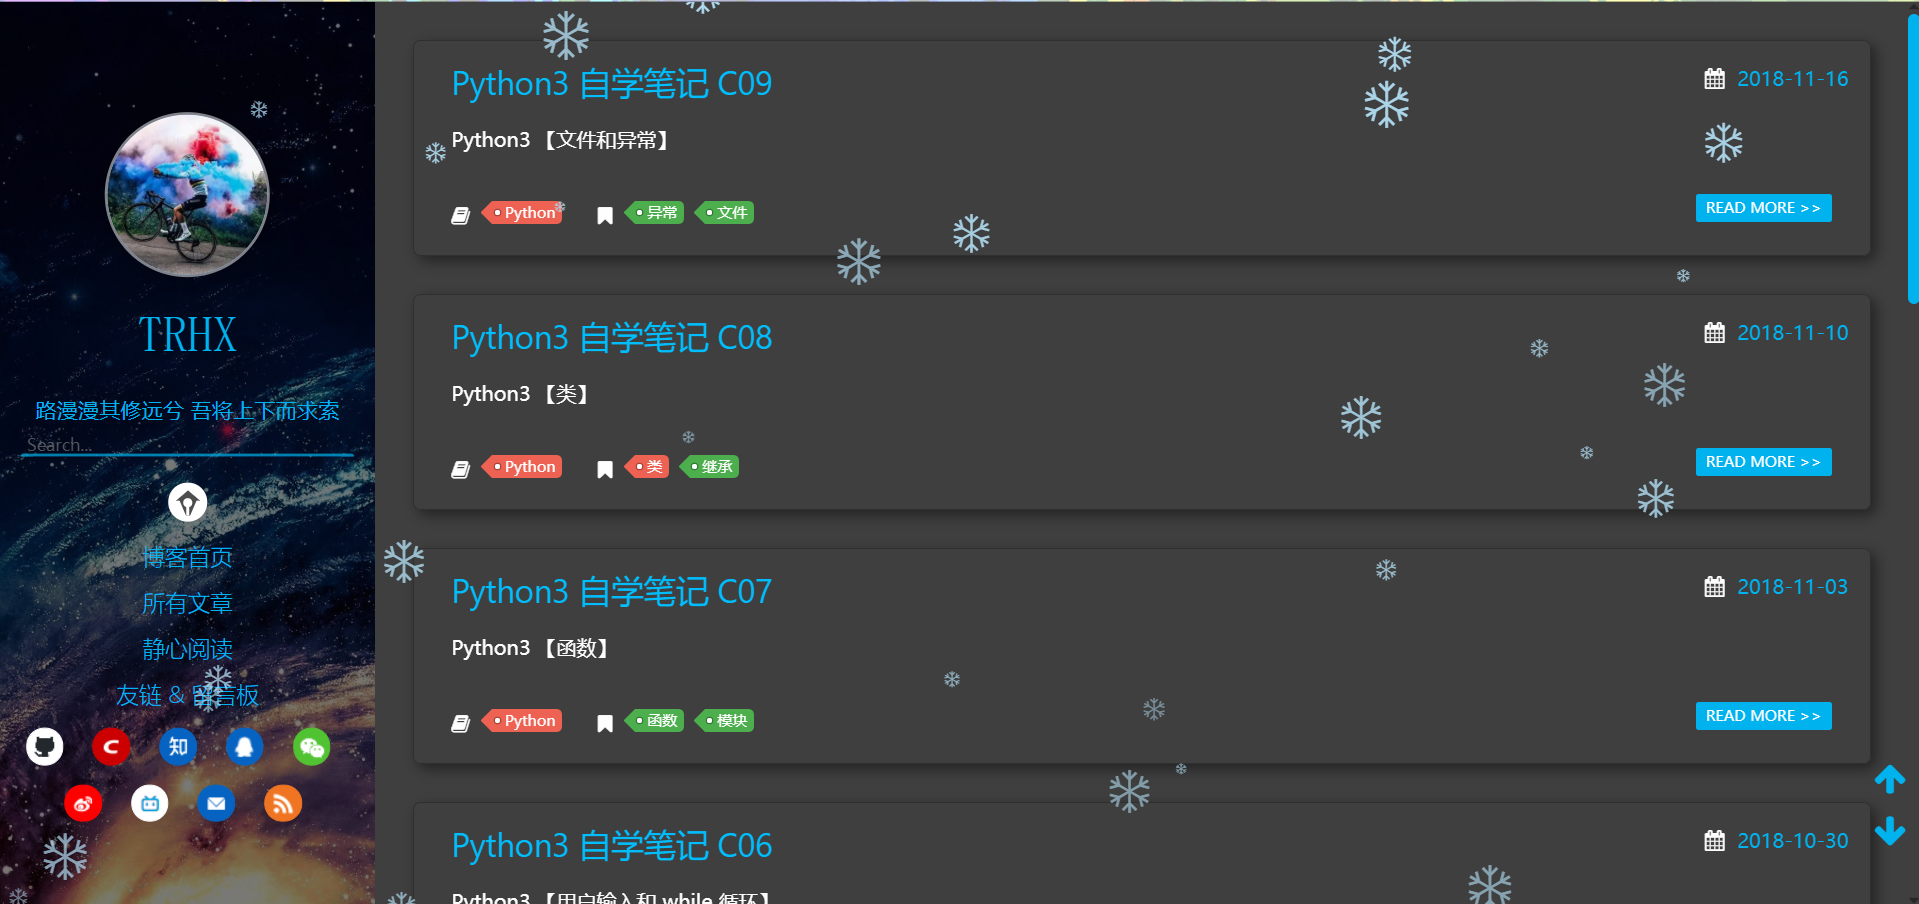
样式二
在主题文件夹 下,source/js 目录下新建 snow.js 复制下面代码。
样式一
/*样式一*/
(function($){
$.fn.snow = function(options){
var $flake = $('<div id="snowbox" />').css({'position': 'absolute','z-index':'9999', 'top': '-50px'}).html('❄'),
documentHeight = $(document).height(),
documentWidth = $(document).width(),
defaults = {
minSize : 10,
maxSize : 20,
newOn : 1000,
flakeColor : "#AFDAEF" /* 此处可以定义雪花颜色,若要白色可以改为#FFFFFF */
},
options = $.extend({}, defaults, options);
var interval= setInterval( function(){
var startPositionLeft = Math.random() * documentWidth - 100,
startOpacity = 0.5 + Math.random(),
sizeFlake = options.minSize + Math.random() * options.maxSize,
endPositionTop = documentHeight - 200,
endPositionLeft = startPositionLeft - 500 + Math.random() * 500,
durationFall = documentHeight * 10 + Math.random() * 5000;
$flake.clone().appendTo('body').css({
left: startPositionLeft,
opacity: startOpacity,
'font-size': sizeFlake,
color: options.flakeColor
}).animate({
top: endPositionTop,
left: endPositionLeft,
opacity: 0.2
},durationFall,'linear',function(){
$(this).remove()
});
}, options.newOn);
};
})(jQuery);
$(function(){
$.fn.snow({
minSize: 5, /* 定义雪花最小尺寸 */
maxSize: 50,/* 定义雪花最大尺寸 */
newOn: 300 /* 定义密集程度,数字越小越密集 */
});
});
样式二
/*样式二*/
/* 控制下雪 */
function snowFall(snow) {
    /* 可配置属性 */
    snow = snow || {};
    this.maxFlake = snow.maxFlake || 200;   /* 最多片数 */
    this.flakeSize = snow.flakeSize || 10;  /* 雪花形状 */
    this.fallSpeed = snow.fallSpeed || 1;   /* 坠落速度 */
}
/* 兼容写法 */
requestAnimationFrame = window.requestAnimationFrame ||
    window.mozRequestAnimationFrame ||
    window.webkitRequestAnimationFrame ||
    window.msRequestAnimationFrame ||
    window.oRequestAnimationFrame ||
    function(callback) { setTimeout(callback, 1000 / 60); };

cancelAnimationFrame = window.cancelAnimationFrame ||
    window.mozCancelAnimationFrame ||
    window.webkitCancelAnimationFrame ||
    window.msCancelAnimationFrame ||
	window.oCancelAnimationFrame;
/* 开始下雪 */
snowFall.prototype.start = function(){
    /* 创建画布 */
    snowCanvas.apply(this);
    /* 创建雪花形状 */
    createFlakes.apply(this);
    /* 画雪 */
    drawSnow.apply(this)
}
/* 创建画布 */
function snowCanvas() {
    /* 添加Dom结点 */
    var snowcanvas = document.createElement("canvas");
    snowcanvas.id = "snowfall";
    snowcanvas.width = window.innerWidth;
    snowcanvas.height = document.body.clientHeight;
    snowcanvas.setAttribute("style", "position:absolute; top: 0; left: 0; z-index: 1; pointer-events: none;");
    document.getElementsByTagName("body")[0].appendChild(snowcanvas);
    this.canvas = snowcanvas;
    this.ctx = snowcanvas.getContext("2d");
    /* 窗口大小改变的处理 */
    window.onresize = function() {
        snowcanvas.width = window.innerWidth;
        /* snowcanvas.height = window.innerHeight */
    }
}
/* 雪运动对象 */
function flakeMove(canvasWidth, canvasHeight, flakeSize, fallSpeed) {
    this.x = Math.floor(Math.random() * canvasWidth);   /* x坐标 */
    this.y = Math.floor(Math.random() * canvasHeight);  /* y坐标 */
    this.size = Math.random() * flakeSize + 2;          /* 形状 */
    this.maxSize = flakeSize;                           /* 最大形状 */
    this.speed = Math.random() * 1 + fallSpeed;         /* 坠落速度 */
    this.fallSpeed = fallSpeed;                         /* 坠落速度 */
    this.velY = this.speed;                             /* Y方向速度 */
    this.velX = 0;                                      /* X方向速度 */
    this.stepSize = Math.random() / 30;                 /* 步长 */
    this.step = 0                                       /* 步数 */
}
flakeMove.prototype.update = function() {
    var x = this.x,
        y = this.y;
    /* 左右摆动(余弦) */
    this.velX *= 0.98;
    if (this.velY <= this.speed) {
        this.velY = this.speed
    }
    this.velX += Math.cos(this.step += .05) * this.stepSize;

    this.y += this.velY;
    this.x += this.velX;
    /* 飞出边界的处理 */
    if (this.x >= canvas.width || this.x <= 0 || this.y >= canvas.height || this.y <= 0) {
        this.reset(canvas.width, canvas.height)
    }
};
/* 飞出边界-放置最顶端继续坠落 */
flakeMove.prototype.reset = function(width, height) {
    this.x = Math.floor(Math.random() * width);
    this.y = 0;
    this.size = Math.random() * this.maxSize + 2;
    this.speed = Math.random() * 1 + this.fallSpeed;
    this.velY = this.speed;
    this.velX = 0;
};
// 渲染雪花-随机形状(此处可修改雪花颜色!!!)
flakeMove.prototype.render = function(ctx) {
    var snowFlake = ctx.createRadialGradient(this.x, this.y, 0, this.x, this.y, this.size);
    snowFlake.addColorStop(0, "rgba(255, 255, 255, 0.9)");  /* 此处是雪花颜色,默认是白色 */
    snowFlake.addColorStop(.5, "rgba(255, 255, 255, 0.5)"); /* 若要改为其他颜色,请自行查 */
    snowFlake.addColorStop(1, "rgba(255, 255, 255, 0)");    /* 找16进制的RGB 颜色代码。 */
    ctx.save();
    ctx.fillStyle = snowFlake;
    ctx.beginPath();
    ctx.arc(this.x, this.y, this.size, 0, Math.PI * 2);
    ctx.fill();
    ctx.restore();
};
/* 创建雪花-定义形状 */
function createFlakes() {
    var maxFlake = this.maxFlake,
        flakes = this.flakes = [],
        canvas = this.canvas;
    for (var i = 0; i < maxFlake; i++) {
        flakes.push(new flakeMove(canvas.width, canvas.height, this.flakeSize, this.fallSpeed))
    }
}
/* 画雪 */
function drawSnow() {
    var maxFlake = this.maxFlake,
        flakes = this.flakes;
    ctx = this.ctx, canvas = this.canvas, that = this;
    /* 清空雪花 */
    ctx.clearRect(0, 0, canvas.width, canvas.height);
    for (var e = 0; e < maxFlake; e++) {
        flakes[e].update();
        flakes[e].render(ctx);
    }
    /*  一帧一帧的画 */
    this.loop = requestAnimationFrame(function() {
        drawSnow.apply(that);
    });
}
/* 调用及控制方法 */
var snow = new snowFall({maxFlake:60});
snow.start();
在主题文件夹,layout 目录中,layout.ejs 文件末尾添加:
<!-- 雪花特效 -->
<script type="text/javascript" src="\js\snow.js"></script>
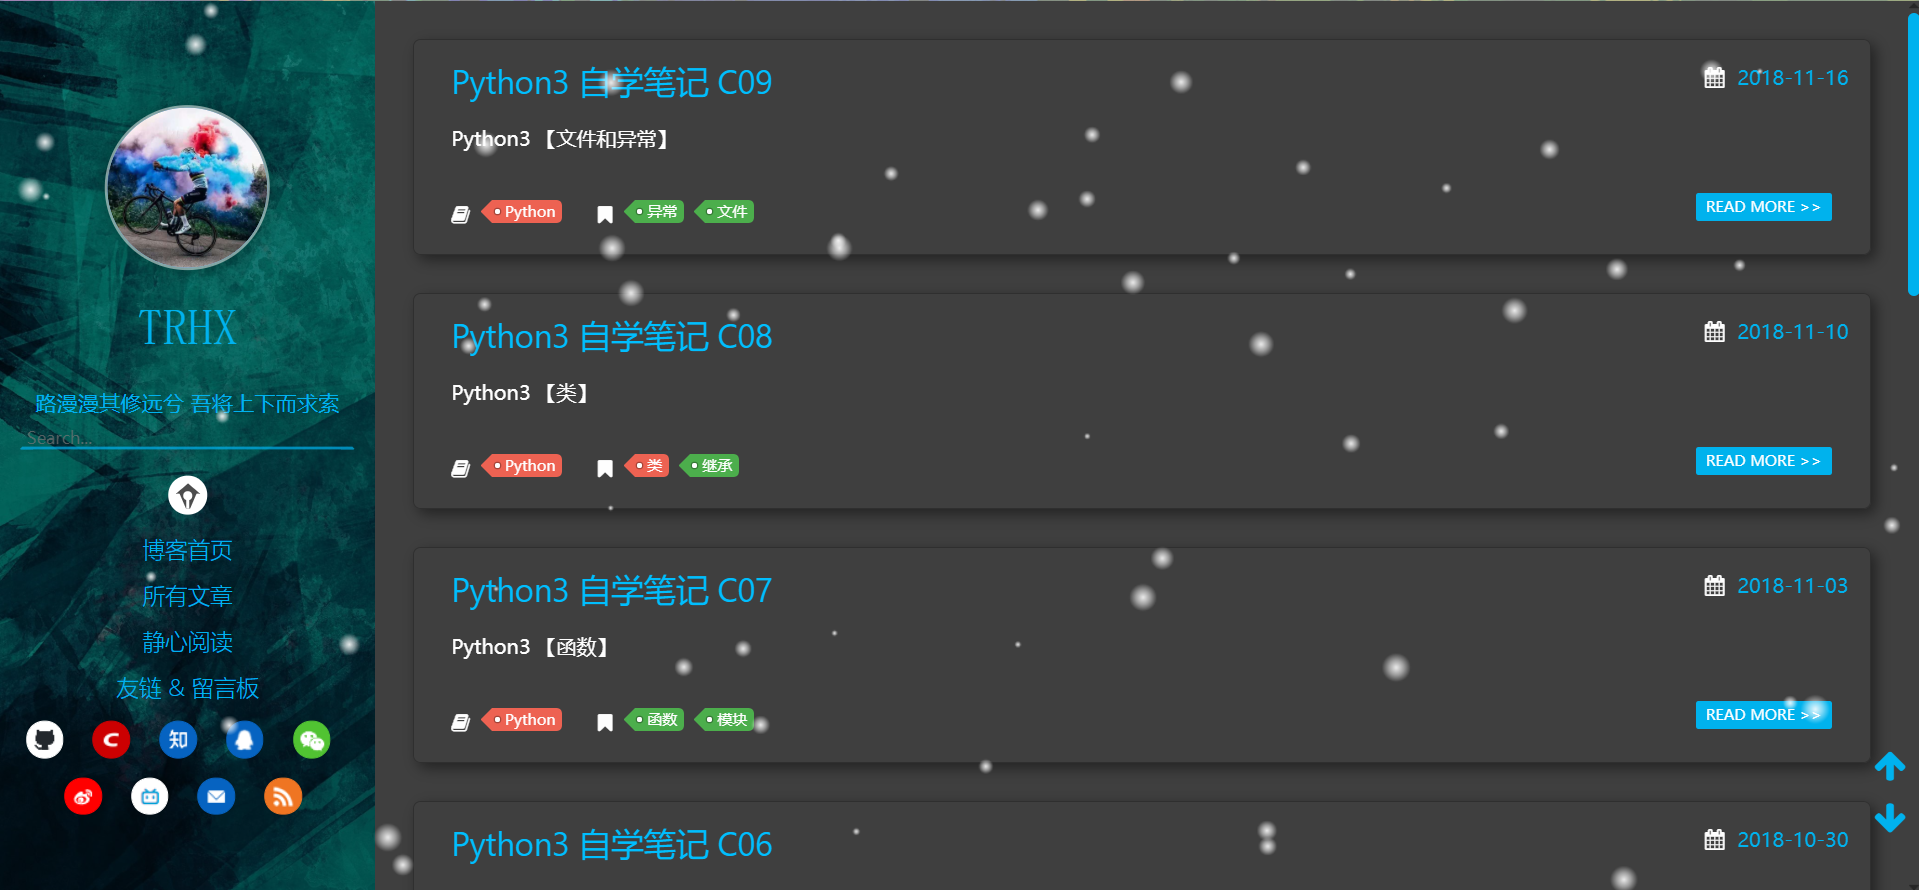
7. 添加背景动态线条
在主题文件夹,layout 目录中,layout.ejs 文件末尾添加:
<!--动态线条背景,线条颜色 220,220,220 可以换成喜欢的-->
<script type="text/javascript" color="92,210,245" opacity='0.7' zIndex="-2" count="200" src="//cdn.bootcss.com/canvas-nest.js/1.0.0/canvas-nest.min.js"></script>
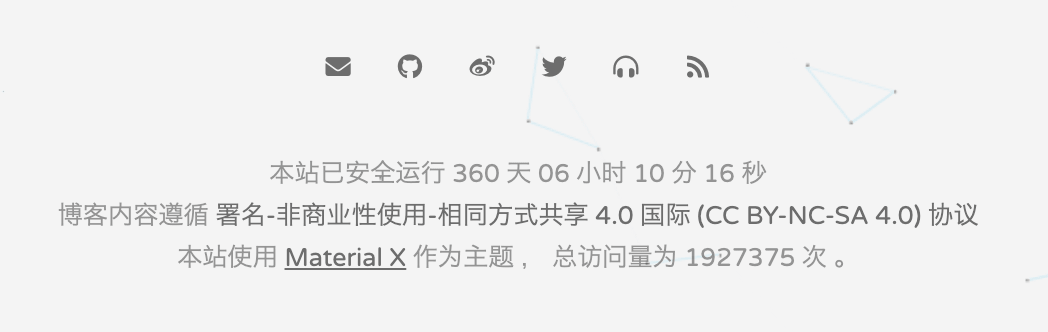
8. 添加网站运行时间
在主题文件夹下,layout/_partial 目录下修改 footer.ejs 文件中,添加 下面代码:
- 显示部分放在合适的位置。
- 脚本部分放在文件底部。
<!-- 显示部分 -->
<span id="timeDate">载入天数...</span><span id="times">载入时分秒...</span>
<!-- 脚本部分 -->
<script>
  var now = new Date();
  function createtime() {
      var grt= new Date("11/03/2019 14:42:00");//在此处修改你的建站时间
      now.setTime(now.getTime()+250);
      days = (now - grt ) / 1000 / 60 / 60 / 24; dnum = Math.floor(days);
      hours = (now - grt ) / 1000 / 60 / 60 - (24 * dnum); hnum = Math.floor(hours);
      if(String(hnum).length ==1 ){hnum = "0" + hnum;} minutes = (now - grt ) / 1000 /60 - (24 * 60 * dnum) - (60 * hnum);
      mnum = Math.floor(minutes); if(String(mnum).length ==1 ){mnum = "0" + mnum;}
      seconds = (now - grt ) / 1000 - (24 * 60 * 60 * dnum) - (60 * 60 * hnum) - (60 * mnum);
      snum = Math.round(seconds); if(String(snum).length ==1 ){snum = "0" + snum;}
      document.getElementById("timeDate").innerHTML = "本站已安全运行 "+dnum+" 天 ";
      document.getElementById("times").innerHTML = hnum + " 小时 " + mnum + " 分 " + snum + " 秒";
  }
  setInterval("createtime()",250);
</script>
效果如图:
9. 添加背景动态彩带
在主题文件夹,layout 目录中,layout.ejs 文件末尾添加:
<!-- 样式一(鼠标点击更换样式) -->
<script src="https://g.joyinshare.com/hc/ribbon.min.js" type="text/javascript"></script>
<!-- 样式二(飘动的彩带) -->
<script src="https://g.joyinshare.com/hc/piao.js" type="text/javascript"></script>
10. 添加RSS订阅
RSS订阅是站点用来和其他站点之间共享内容的一种简易方式,即Really Simple Syndication(简易信息聚合),如果不会使用,可以参见:百度百科 。
需要安装依赖
npm install hexo-generator-feed
在博客配置文件中,添加下面配置。
# Extensions
## Plugins: http://hexo.io/plugins/
#RSS订阅
plugin:
- hexo-generator-feed
#Feed Atom
feed:
  type: atom
  path: atom.xml
  limit: 20
在主题配置目录中,使用 atom.xml 。个人偏好放置后面。
# 社交信息
social:
  - icon: fas fa-envelope
    url: mailto:me@xaoxuu.com
  - icon: fab fa-github
    url: https://github.com/flueky
  - icon: fas fa-headphones-alt
    url: https://music.163.com/#/user/home?id=12143853
  - icon: fas fa-rss
    url: atom.xml
觉得有用?那打赏一个呗。去打赏
个人主页已经更新 ,欢迎收藏flueky.github.io/。
