一、几种node的典型应用
-
自动化脚手架工具:vue-cli、webpack-cli和定制化脚手架工具开发。
-
中间层:
保持前后端分离的前提下,使用node搭建Web Server简易服务器,用来做页面的服务端渲染和数据接口的合并。 -
灵活运用node辅助项目架构:
比如使用node做cache缓存。 -
全栈开发:
使用node做小型的商业项目、个人博客的全栈。
二、安装mysql
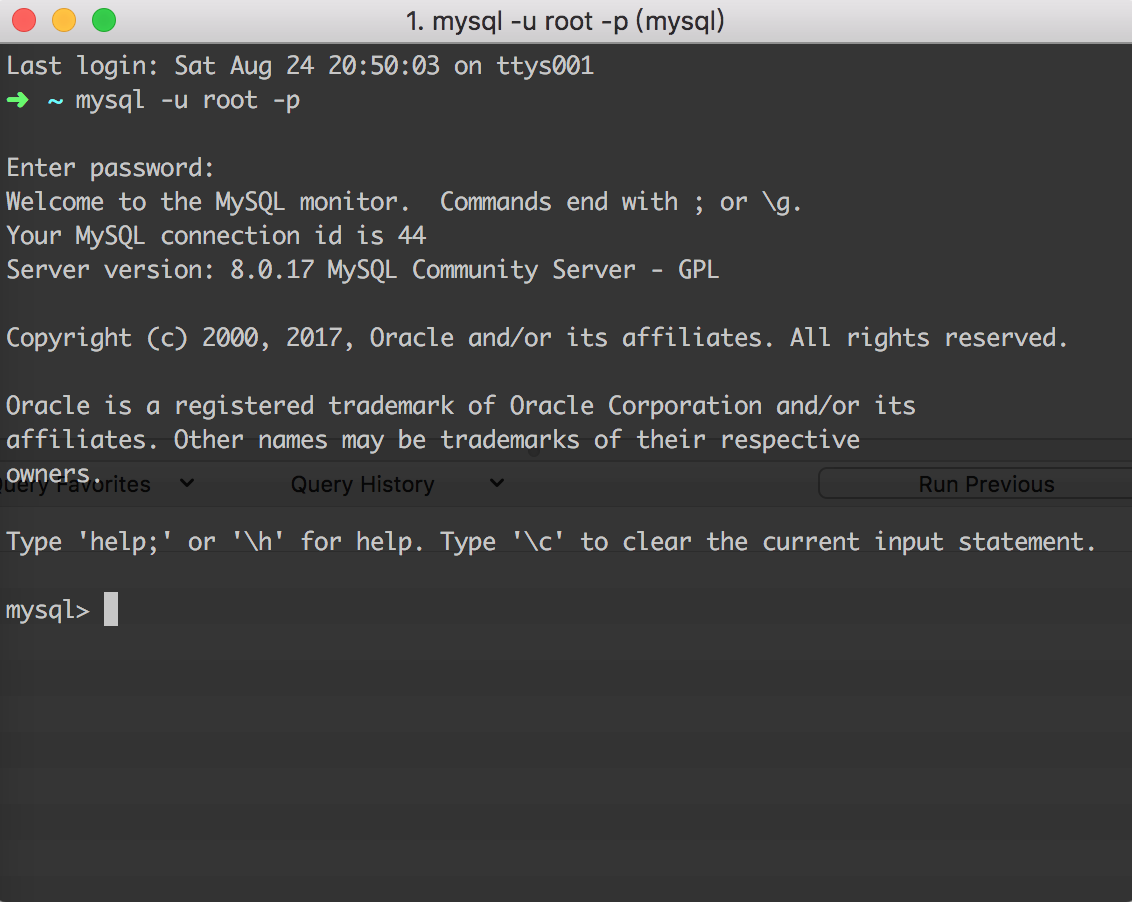
mysql官网下载安装MySQL Server。安装好后,登陆mysql,看mysql是否连接成功,如下图所示:
三、实现登录的简单功能
1、创建数据库和表
create DATABASE user;

use user;

create table userlist(
id int primary key auto_increment,
username char(30) unique,
password char(30)
);
2、向用户表中插入数据
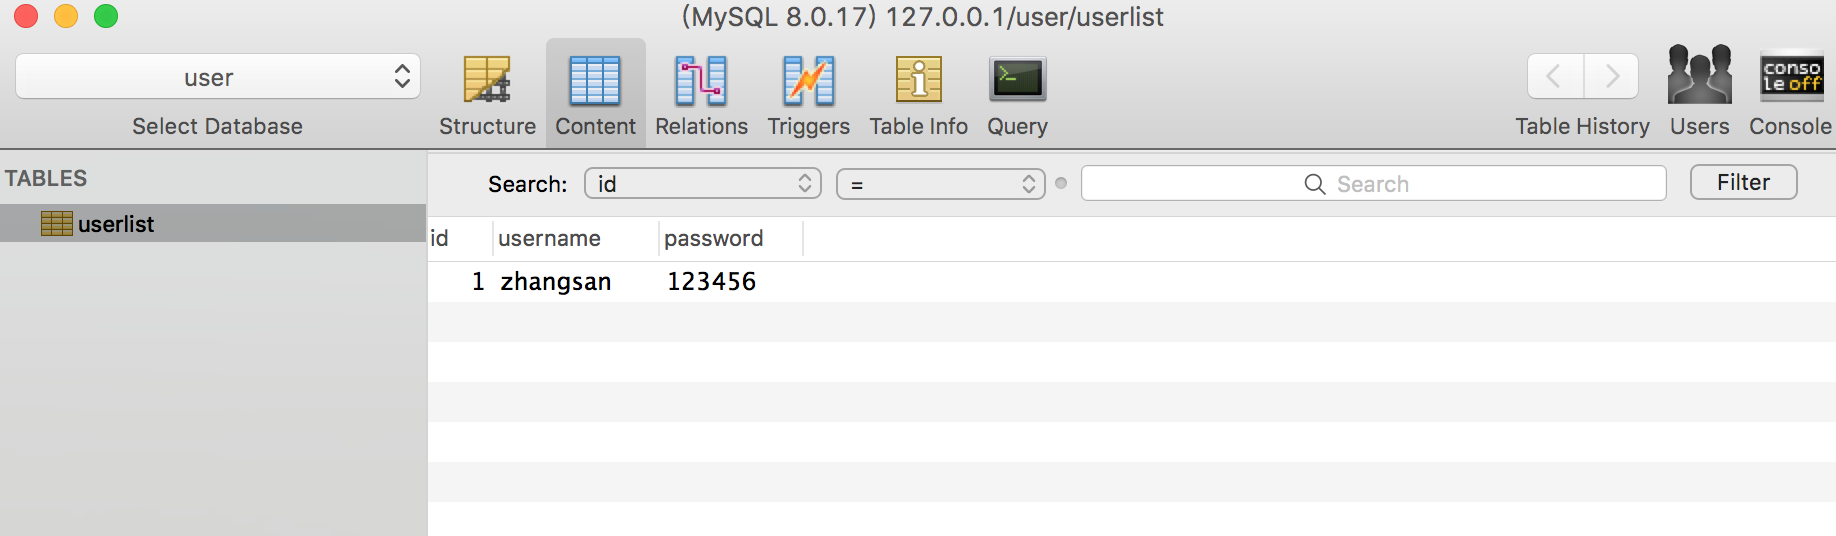
insert into userlist values(1,'zhangsan','123456');
执行插入SQL语句后,userlist表中有如下数据:
3、node项目中安装mysql包连接数据库
node项目中使用npm先安装mysql工具包:
npm install mysql --save
创建server.js,用mysql包连接mysql:
const mysql = require('mysql');

// 建立数据库连接池
const pool = mysql.createPool({
    host: '127.0.0.1',
    port: '3306',
    user: 'root',
    password: 'root123456',
    database: 'user'
})
4、使用express框架实现登录功能
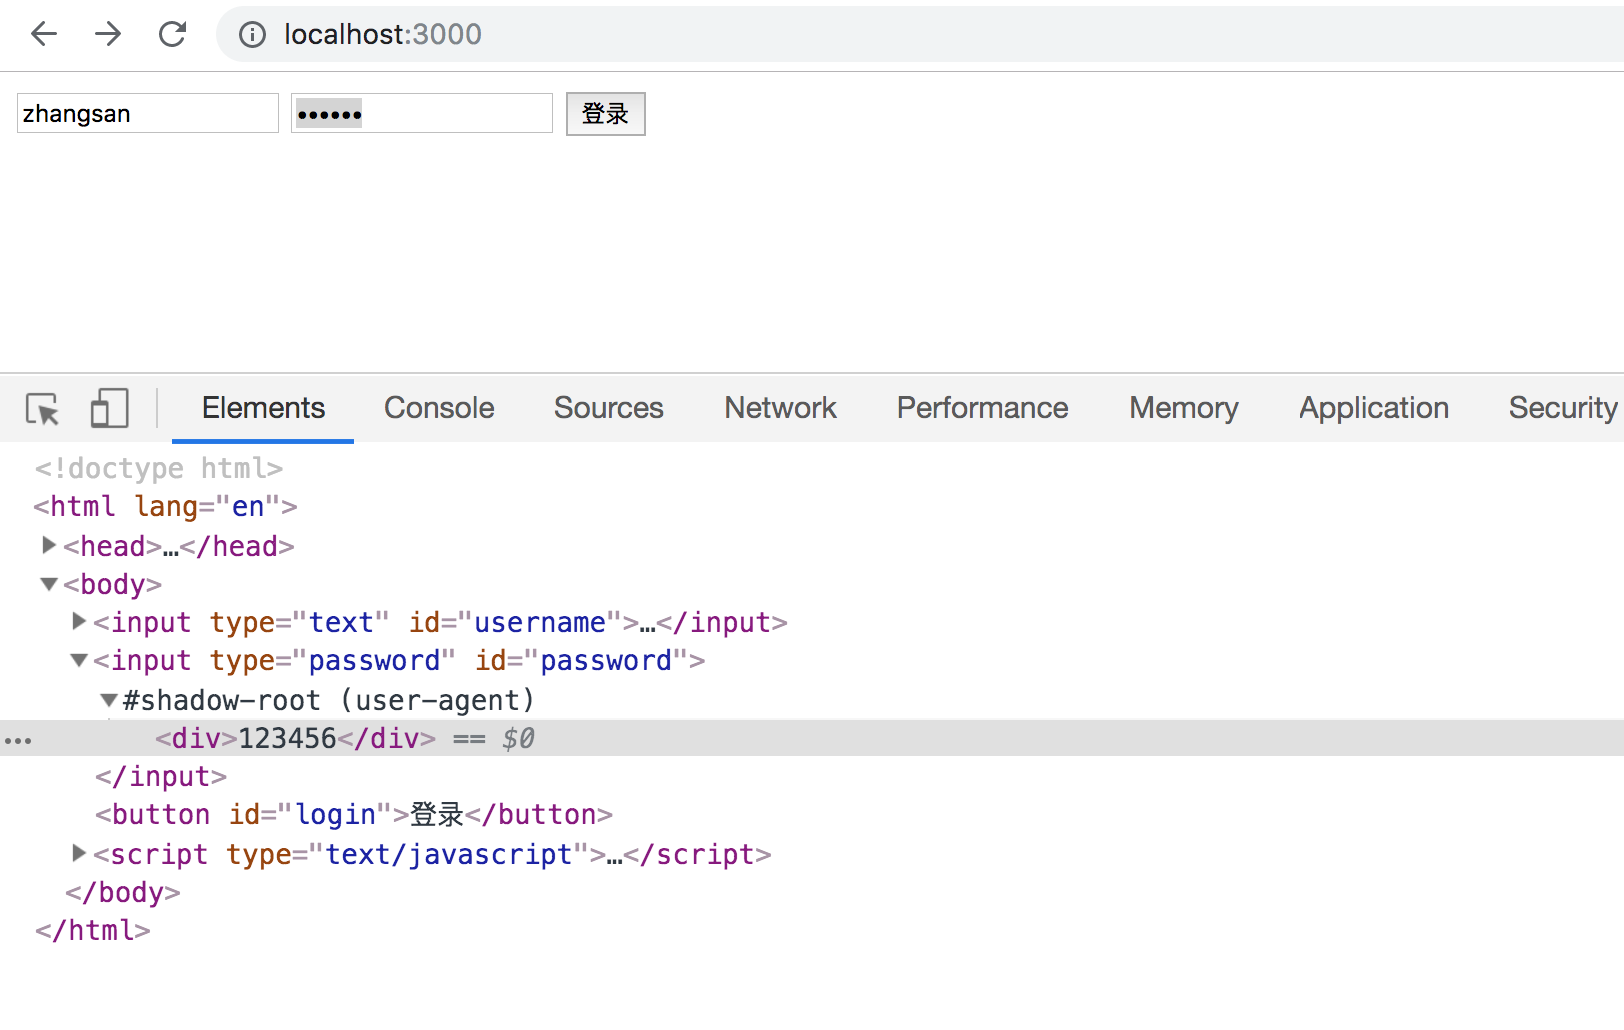
client端: 创建index.html
<!DOCTYPE html>
<html lang="en">
<head>
    <meta charset="UTF-8">
    <title>登录</title>
    <script src="https://cdn.bootcss.com/jquery/2.2.1/jquery.js"></script>
</head>
<body>
    <input type="text" id="username"/>
    <input type="password" id="password"/>
    <button id="login">登录</button>

    <script type="text/javascript">
    $('#login').click(function(){
        $.ajax({
            type: 'POST',
            url: '/login',
            dataType: 'json',
            data: JSON.stringify({
                username: $('#username').val(),
                password: $('#password').val()
            }),
            success: function (data) {
                if(data.success) {
                    window.location.href = '/welcome';
                }else{
                    alert('账号密码错误')
                }
            }
        });
    })
    </script>
</body>
</html>
server端:
// server.js
const fs = require('fs');
const express = require('express');
const app = express();
const { query } = require('./query-db');
app.get('/', function(req, res) {
let file = fs.readFileSync('./index.html');
let _data = file.toString();
res.setHeader('Content-type','text/html;charset=UTF-8')
res.send(_data);
})
app.post('/login', function(req, res) {
let reqData = "";
res.setHeader('Content-type','text/json;charset=UTF-8')
req.on('data', function(data){
reqData += data
});
req.on('end', async function(){
let dataOb = JSON.parse(reqData);
let word = "select * from userlist where username='";
word += dataOb.username + "'";
word += " and password='";
word += dataOb.password + "'";
let result = await query(word);
if(result && result.length > 0) {
// 如果要在express里面使用session需安装express-session
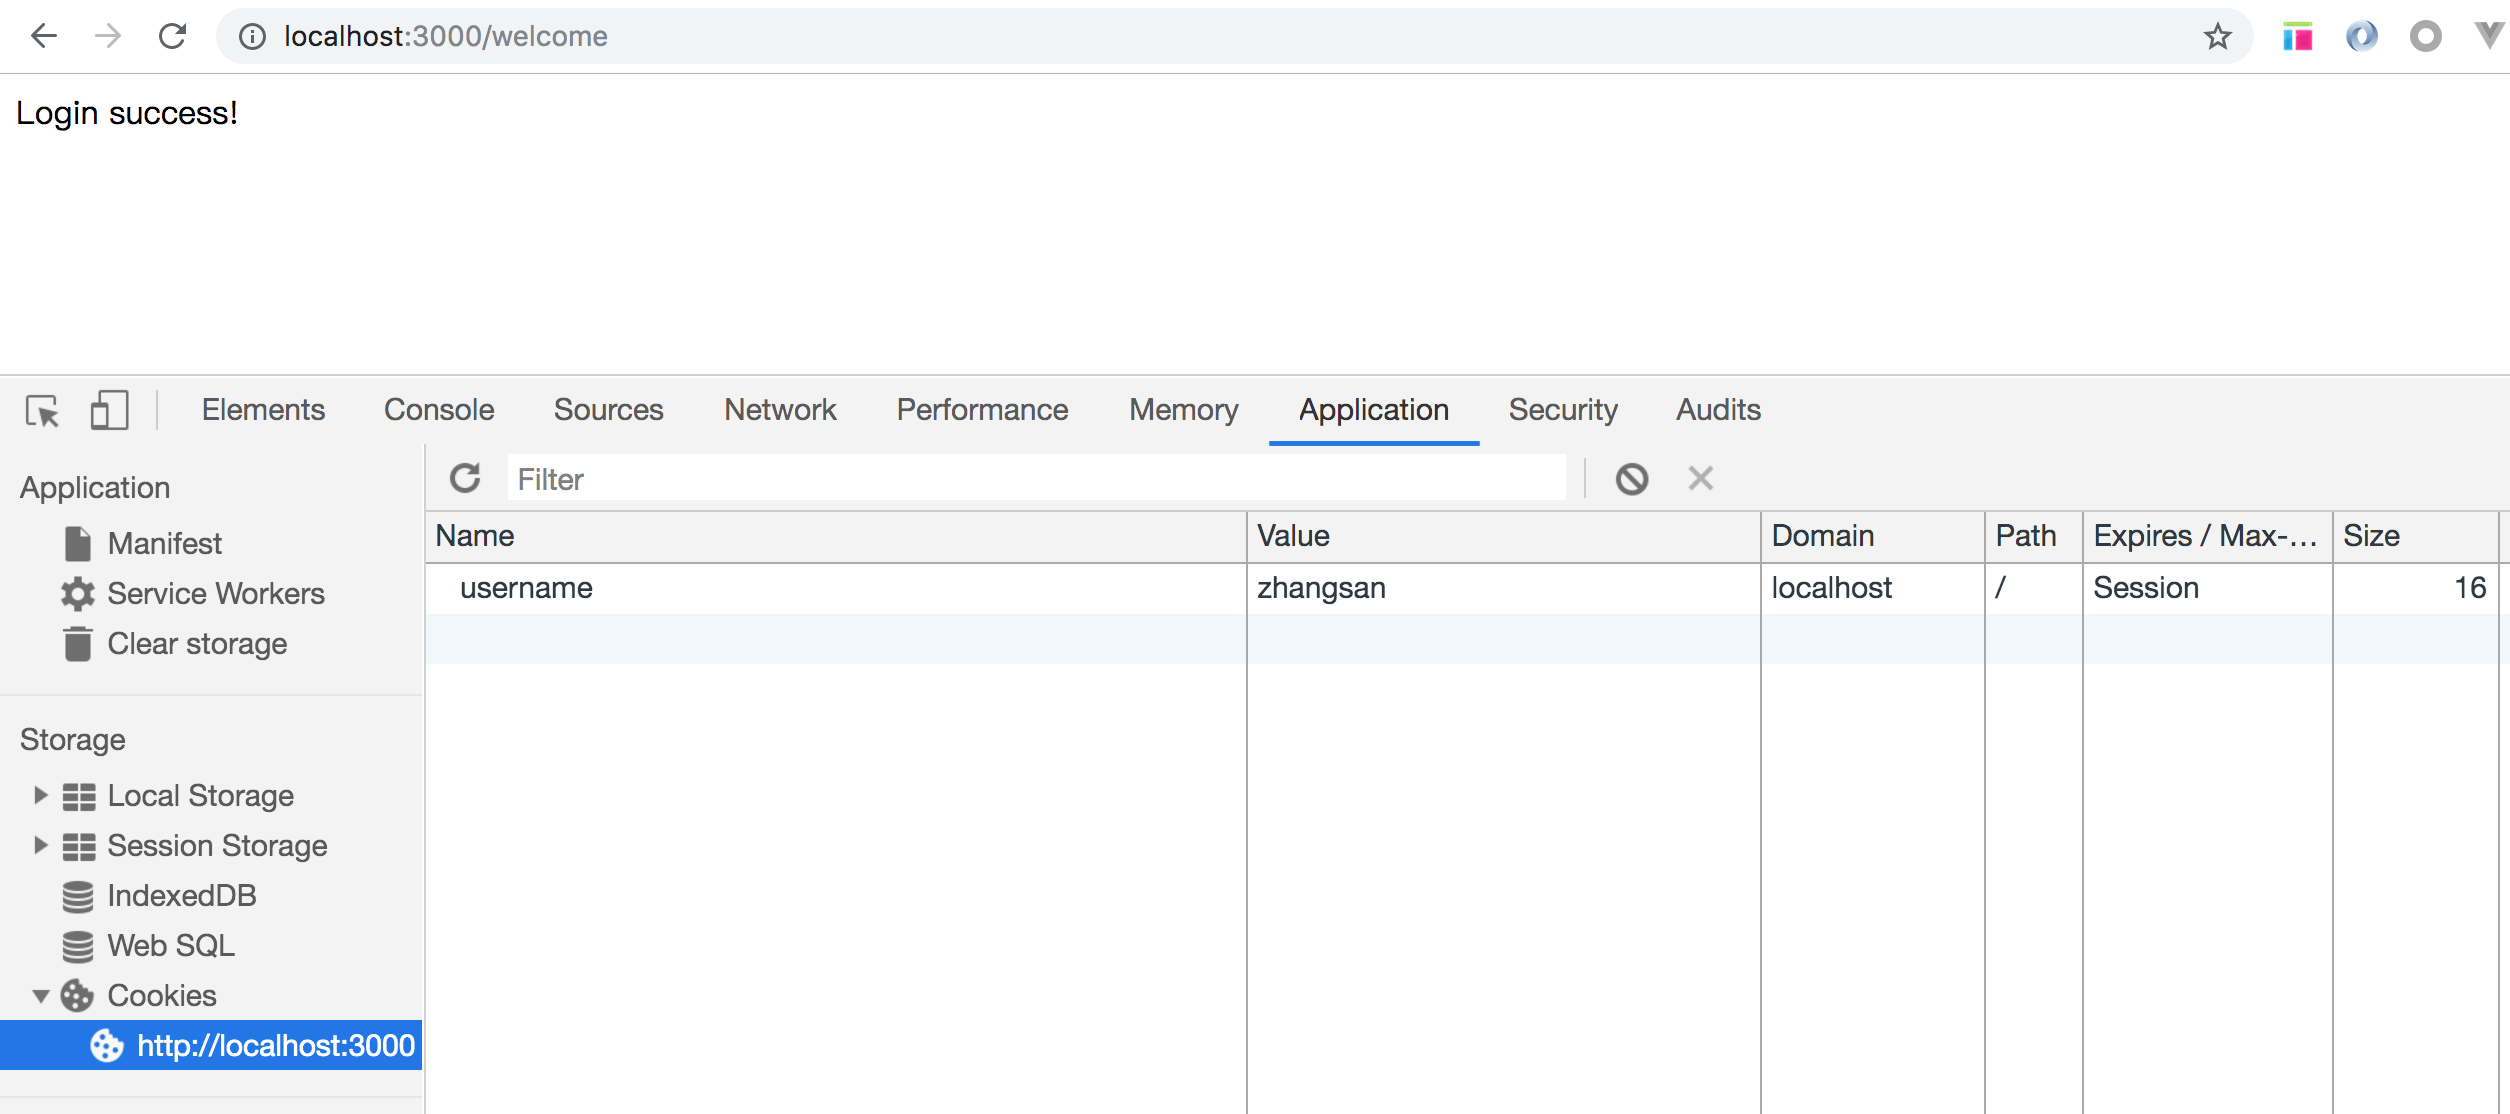
res.setHeader('Set-Cookie', 'username='+result[0].username)
res.send(JSON.stringify({
success: true,
message: '登录成功!'
}))
}else{
res.send(JSON.stringify({
success: false,
message: '登录失败!'
}))
}
})
})
app.get('/welcome', function(req, res) {
res.send('Login success!')
})
app.listen(3000);
// query-db.js
const mysql = require('mysql');
const pool = mysql.createPool({
    host: '127.0.0.1',
    port: '3306',
    user: 'root',
    password: 'root123456',
    database: 'user'
})

let query = function(sql) {
    return new Promise((resolve, reject) => {
        pool.query(sql, function(error, result, fields){
            if (error) throw error;
            resolve(result);
        })
    })
}

module.exports = { query };
登录功能结果图: