

1.Spring Boot对静态资源的映射规则
如果你并不了解SpringBoot的静态页面,请看我的Thymeleaf第一篇:
这是 Thymeleaf(一) 的链接 : aaatao66.github.io/2019/05/26/…
- 如果静态资源文件夹下有 index.html的话,直接访问localhost:8080的话,index就是欢迎页
使用自己的图标:

在静态资源文件夹放一个 favicon.ico 的图标,springboot底层会自动调用这个为我们的图标
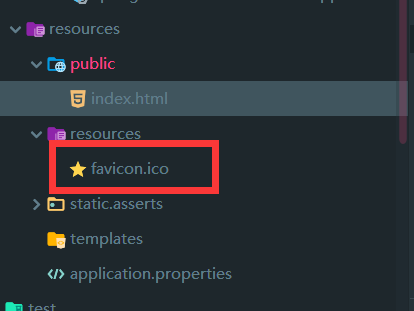
我找了个小叮当的图标
效果:

自定义静态资源文件夹
在你的 yml/properties下添加:
spring.resources.static-locations=classpath:/hello/,classpath:/carson/
定义之后,原来默认的就不可以使用了
2. 引入 Thymeleaf
SpringBoot推荐使用thymeleaf,因为语法简单,功能强大, 不推荐使用jsp,默认也不支持jsp
 <!-- 引入 thymeleaf 模板引擎-->
        <dependency>
            <groupId>org.springframework.boot</groupId>
            <artifactId>spring-boot-starter-thymeleaf</artifactId>
        </dependency>
新版本的Spring Boot会自动设置好版本,如果你是1.x的Spring Boot,可能要自己更改版本了
3. Thymeleaf 使用&语法
源码:
@ConfigurationProperties(
    prefix = "spring.thymeleaf"
)
public class ThymeleafProperties {
    private static final Charset DEFAULT_ENCODING;
    public static final String DEFAULT_PREFIX = "classpath:/templates/";
    public static final String DEFAULT_SUFFIX = ".html";
    private boolean checkTemplate = true;
    private boolean checkTemplateLocation = true;

    // 下面是前后缀,也就是说只要放在 prefix 目录下,就可以被渲染了
    private String prefix = "classpath:/templates/";
    private String suffix = ".html";
- 写一个 controller 方法:
  @RequestMapping("nice")
    public String nice(){
        return "nice";
    }
- 在 resources下的 templates目录下创建nice.html
<!DOCTYPE html>
<html lang="en">
<head>
<meta charset="UTF-8">
<title>Title</title>
</head>
<body>
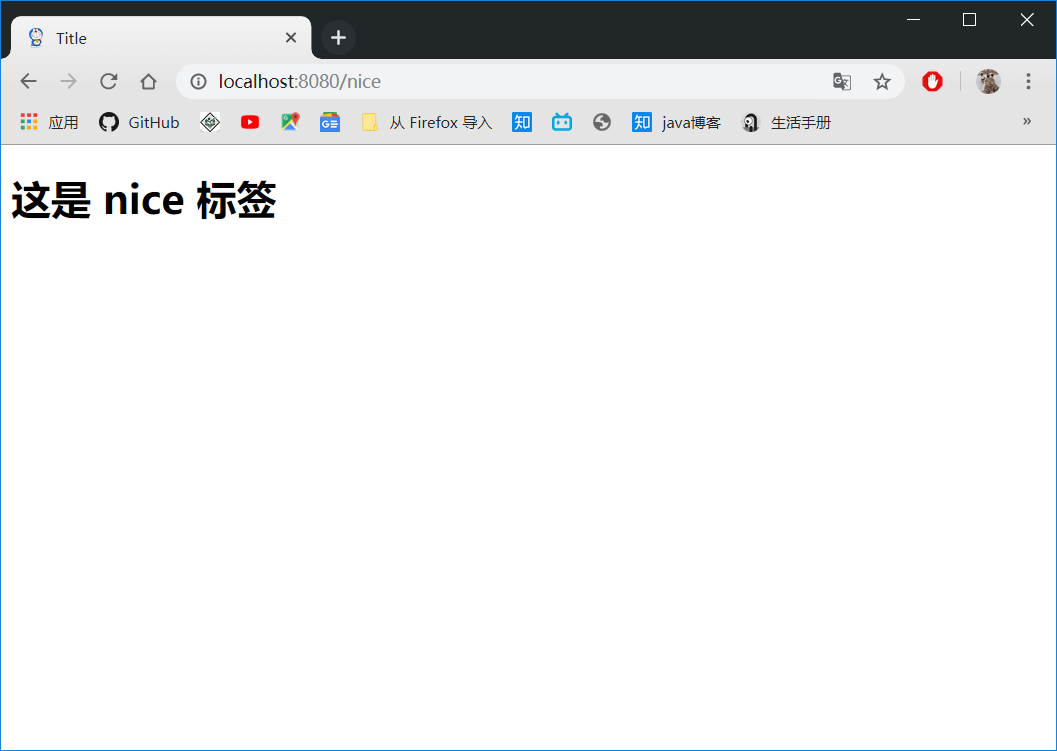
<h1>这是 nice 标签</h1>
</body>
</html>
- 启动程序,访问 localhost:8080/nice
使用:
1.html页面 导入 thymeleaf 的名称空间
<html lang="en" xmlns:th="http://www.thymeleaf.org">
2.使用thymeleaf语法
- controller:
 @RequestMapping("nice")
    public String nice(Map<String,Object> map){
        map.put("hello","你好");
        return "nice";
    }
- nice.html
<!DOCTYPE html>
<html lang="en" xmlns:th="http://www.thymeleaf.org">
<head>
    <meta charset="UTF-8">
    <title>Title</title>
</head>
<body>
<h1>这是 nice 标签</h1>
	<!--获取作用域的文本内容-->
<div th:text="${hello}"></div>
</body>
</html>

语法规则
1.th:text; 改变当前元素里面的内容;
th: 任意html属性,来替换原生属性
- HTML代码:
<div id="div01" class="mydiv" th:id="${hello}" th:class="${hello}" th:text="${hello}"></div>
- Spring Boot解析后的源代码:
<!DOCTYPE html>
<html lang="en">
<head>
    <meta charset="UTF-8">
    <title>Title</title>
</head>
<body>
<h1>这是 nice 标签</h1>

<div id="你好" class="你好">你好</div>
</body>
</html>
id 和 class都被替换了
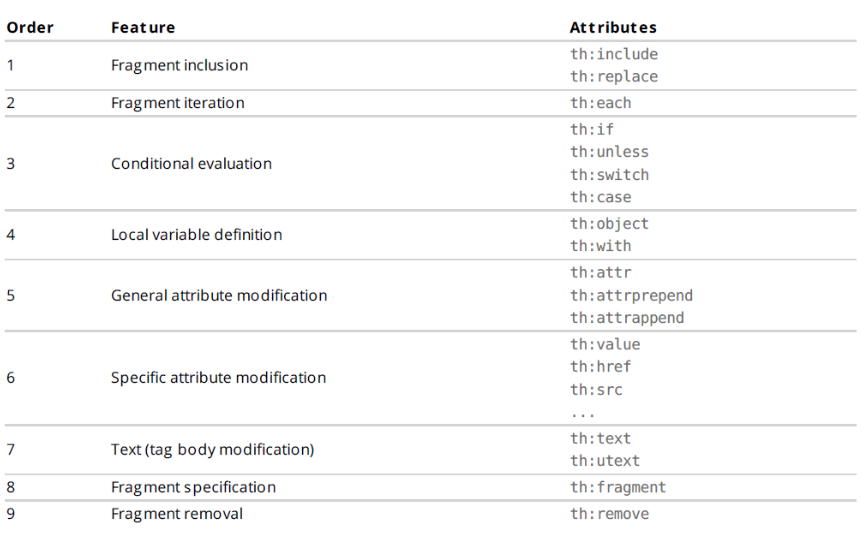
属性优先级
表达式
具体参考: 官方文档
Simple expressions:(表达式语法)
Variable Expressions: ${...} : 获取变量值; OGNL
	1. 获取对象的属性,调用方法
	2. 使用内置的基本对象
        #ctx : the context object.
        #vars: the context variables.
        #locale : the context locale.
        #request : (only in Web Contexts) the HttpServletRequest object.
        #response : (only in Web Contexts) the HttpServletResponse object.
        #session : (only in Web Contexts) the HttpSession object.
        #servletContext : (only in Web Contexts) the ServletContext object
Selection Variable Expressions: *{...} 选择表达式: 和${}在功能上是一样的
Message Expressions: #{...} 获取国际化内容
Link URL Expressions: @{...} 定义URL
Fragment Expressions: ~{...}

Literals (字面量)
Text literals: 'one text' , 'Another one!' ,…
Number literals: 0 , 34 , 3.0 , 12.3 ,…
Boolean literals: true , false
Null literal: null
Literal tokens: one , sometext , main ,…

Text operations: (文本操作
String concatenation: +
Literal substitutions: |The name is ${name}|

Arithmetic operations: 数学运算
Binary operators: + , - , * , / , %
Minus sign (unary operator): -

Boolean operations: (布尔运算)
Binary operators: and , or
Boolean negation (unary operator): ! , not

Comparisons and equality: 比较运算
Comparators: > , < , >= , <= ( gt , lt , ge , le )
Equality operators: == , != ( eq , ne )

Conditional operators: (条件运算)
If-then: (if) ? (then)
If-then-else: (if) ? (then) : (else)
Default: (value) ?: (defaultvalue)

Special tokens:
Page 17 of 104
No-Operation: _
试验以下:
- controller代码:
@RequestMapping("nice")
    public String nice(Map<String,Object> map){
        map.put("hello","<h1>你好<h1/>");
        map.put("users", Arrays.asList("zhangsan","lisi","wangwu"));
        return "nice";
    }
- html 代码
<!DOCTYPE html>
<html lang="en" xmlns:th="http://www.thymeleaf.org">
<head>
    <meta charset="UTF-8">
    <title>Title</title>
</head>
<body>
<h1>这是 nice 标签</h1>

<div id="div01" class="mydiv" th:id="${hello}" th:class="${hello}" th:text="${hello}"></div>
<hr/>
<div th:text="${hello}"></div>
<div th:utext="${hello}"></div>
<hr/>
<!-- th:each 每次遍历都会生成当前这个标签-->
<h4 th:text="${user}" th:each="user:${users}"></h4>
<hr/>
<h4>
    <span th:each="user:${users}">[[${user}]]</span>
</h4>
</body>
</html>
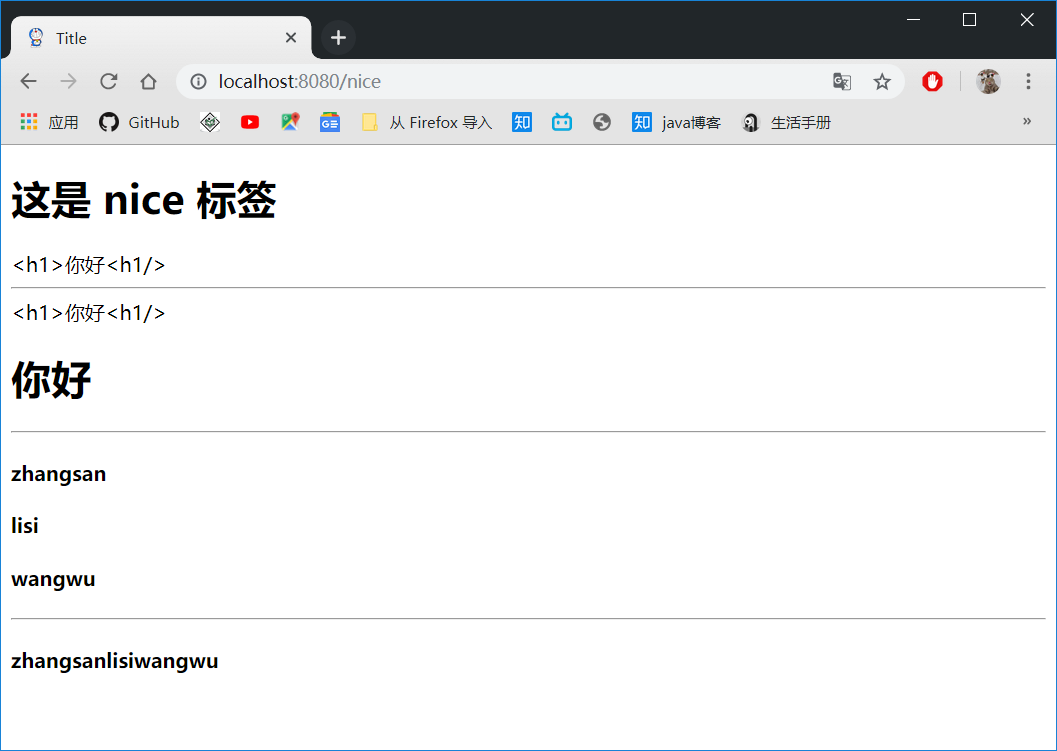
- 显示结果为:
- 网页源代码:
<!DOCTYPE html>
<html lang="en">
<head>
<meta charset="UTF-8">
<title>Title</title>
</head>
<body>
<h1>这是 nice 标签</h1>
<div id="<h1>你好<h1/>" class="<h1>你好<h1/>"><h1>你好<h1/></div>
<hr/>
<div><h1>你好<h1/></div>
<div><h1>你好<h1/></div>
<hr/>
<!-- th:each 每次遍历都会生成当前这个标签-->
<h4>zhangsan</h4>
<h4>lisi</h4>
<h4>wangwu</h4>
<hr/>
<h4>
<span>zhangsan</span><span>lisi</span><span>wangwu</span>
</h4>
</body>
</html>
小总结:
<div th:text="${hello}"></div>
<div th:utext="${hello}"></div>
th:text : 转义特殊字符,所以页面显示 <h1>你好</h1>
th:utext: 不转义特殊字符, 页面直接显示 h1标签 大标题 你好
th:each: 写在 h4 标签上,每次遍历都会产生一个新的 h4标签:
zhangsan
lisi
wangwu
而 写在 span里产生了3个span标签:zhangsan lisi wangwu
我的掘金: juejin.cn/user/536217…
个人博客: aaatao66.github.io/
欢迎关注点赞~~ 我会陆续记录自己的学习记录~
