

JavaScript 线性代数:使用 ThreeJS 制作线性变换动画
本文是“JavaScript 线性代数”教程的一部分。
最近我完成了一篇关于使用 JavaScript 进行线性变换的文章,并用 SVG 网格实现了 2D 的示例。你可以在此处查看之前的文章。但是,那篇文章没有三维空间的示例,因此本文将补全那篇文章的缺失。你可以在此处查看本系列文章的 GitHub 仓库,与本文相关的 commit 可以在此处查看。
目标
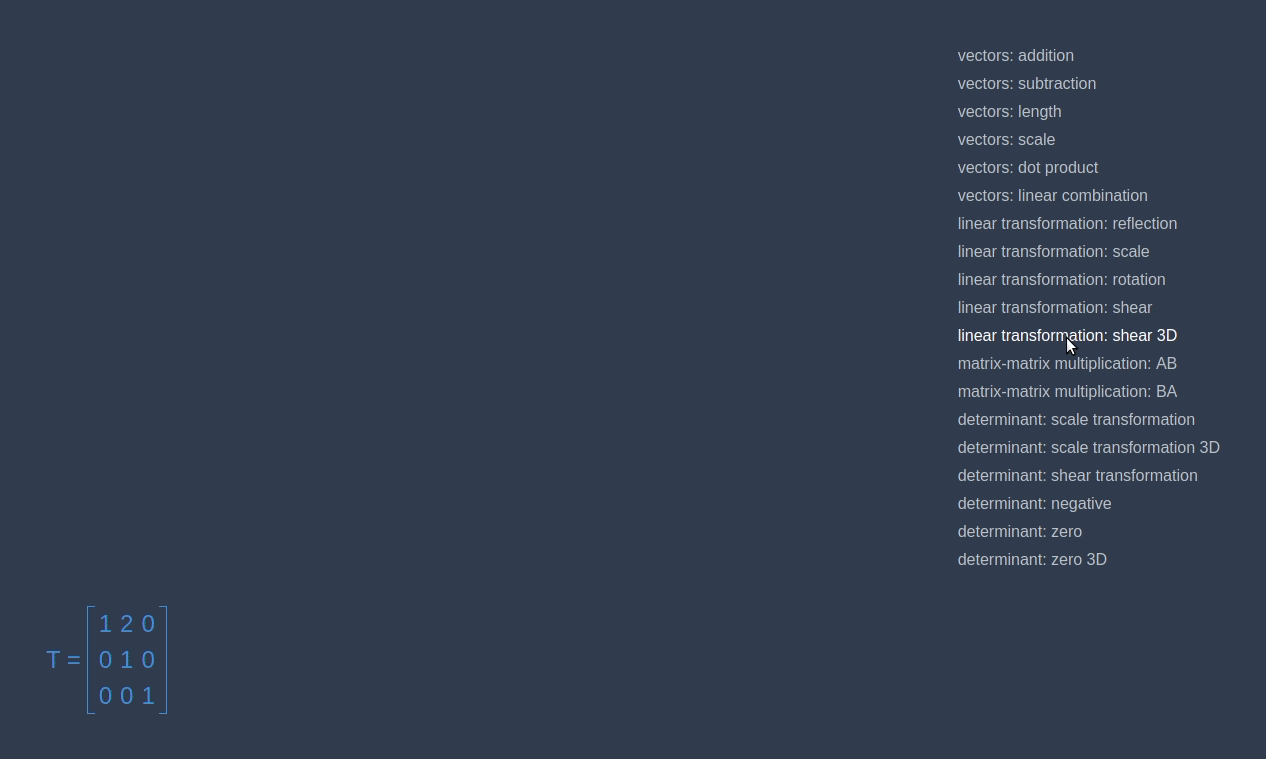
在本文中,我们将制作一个组件,用于对三维空间的对象的线性变换进行可视化。最终效果如下面的动图所示,或者你也可以在此网页体验。
组件
当我们要在浏览器中制作 3D 动画时,第一个想到的当然就是 three.js 库啦。所以让我们来安装它以及另一个可以让用户移动摄像机的库:
npm install --save three three-orbitcontrols
下面构建一个组件,它可以由父组件的属性中接收矩阵,并且渲染一个立方体的转换动画。下面代码展示了这个组件的结构。我们用 styled-components 和 react-sizeme 库中的函数对这个组件进行了包装,以访问颜色主题和检测组件尺寸的变化。
import React from 'react'
import { withTheme } from 'styled-components'
import { withSize } from 'react-sizeme'

class ThreeScene extends React.Component {
  constructor(props) {}
  render() {}

  componentDidMount() {}

  componentWillUnmount() {}

  animate = () => {}

  componentWillReceiveProps({ size: { width, height } }) {}
}

const WrappedScene = withTheme(withSize({ monitorHeight: true })(ThreeScene))
在构造函数中,我们对状态进行了初始化,其中包括了视图的大小。因此,我们当接收新的状态值时,可以在 componentWillReceiveProps 方法中与初始状态进行对比。由于需要访问实际的 DOM 元素以注入 ThreeJS 的 renderer,因此需要在 render 方法中用到 ref 属性:
const View = styled.div`
  width: 100%;
  height: 100%;
`
class ThreeScene extends React.Component {
  // ...
  constructor(props) {
    super(props)
    this.state = {
      width: 0,
      height: 0
    }
  }

  render() {
    return <View ref={el => (this.view = el)} />
  }
  // ...
}
在 componentDidMount 方法中,我们对方块变换动画所需要的所有东西都进行了初始化。首先,我们创建了 ThreeJS 的场景(scene)并确定好摄像机(camera)的位置,然后我们创建了 ThreeJS 的 renderer,为它设置好了颜色及大小,最后将 renderer 加入到 View 组件中。
接下来创建需要进行渲染的对象:坐标轴、方块以及方块的边。由于我们需要手动改变矩阵,因此将方块和边的 matrixAutoUpdate 属性设为 false。创建好这些对象后,将它们加入场景(scene)中。为了让用户可以通过鼠标来移动摄像机位置,我们还用到了 OrbitControls。
最后要做的,就是将我们的库输出的矩阵转换成 ThreeJS 的格式,然后获取根据时间返回颜色和转换矩阵的函数。在 componentWillUnmount,取消动画(即停止 anime frame)并从 DOM 移除 renderer。
class ThreeScene extends React.Component {
  // ...
  componentDidMount() {
    const {
      size: { width, height },
      matrix,
      theme
    } = this.props
    this.setState({ width, height })
    this.scene = new THREE.Scene()
    this.camera = new THREE.PerspectiveCamera(100, width / height)
    this.camera.position.set(1, 1, 4)

    this.renderer = new THREE.WebGLRenderer({ antialias: true })
    this.renderer.setClearColor(theme.color.background)
    this.renderer.setSize(width, height)
    this.view.appendChild(this.renderer.domElement)

    const initialColor = theme.color.red
    const axes = new THREE.AxesHelper(4)
    const geometry = new THREE.BoxGeometry(1, 1, 1)
    this.segments = new THREE.LineSegments(
      new THREE.EdgesGeometry(geometry),
      new THREE.LineBasicMaterial({ color: theme.color.mainText })
    )
    this.cube = new THREE.Mesh(
      geometry,
      new THREE.MeshBasicMaterial({ color: initialColor })
    )
    this.objects = [this.cube, this.segments]
    this.objects.forEach(obj => (obj.matrixAutoUpdate = false))
    this.scene.add(this.cube, axes, this.segments)

    this.controls = new OrbitControls(this.camera)

    this.getAnimatedColor = getGetAnimatedColor(
      initialColor,
      theme.color.blue,
      PERIOD
    )
    const fromMatrix = fromMatrix4(this.cube.matrix)
    const toMatrix = matrix.toDimension(4)
    this.getAnimatedTransformation = getGetAnimatedTransformation(
      fromMatrix,
      toMatrix,
      PERIOD
    )
    this.frameId = requestAnimationFrame(this.animate)
  }

  componentWillUnmount() {
    cancelAnimationFrame(this.frameId)
    this.view.removeChild(this.renderer.domElement)
  }
  // ...
}
不过此时我们还没有定义 animate 函数,因此什么也不会渲染。首先,我们更新立方体及其边缘的转换矩阵,并且更新立方体的颜色,然后进行渲染并且调用 window.requestAnimationFrame。
componentWillReceiveProps 方法将接收当前组件的大小,当它检测到组件尺寸发生了变化时,会更新状态,改变 renderer 的尺寸,并调整 camera 的方位。
class ThreeScene extends React.Component {
  // ...
  animate = () => {
    const transformation = this.getAnimatedTransformation()
    const matrix4 = toMatrix4(transformation)
    this.cube.material.color.set(this.getAnimatedColor())
    this.objects.forEach(obj => obj.matrix.set(...matrix4.toArray()))
    this.renderer.render(this.scene, this.camera)
    this.frameId = window.requestAnimationFrame(this.animate)
  }

  componentWillReceiveProps({ size: { width, height } }) {
    if (this.state.width !== width || this.state.height !== height) {
      this.setState({ width, height })
      this.renderer.setSize(width, height)
      this.camera.aspect = width / height
      this.camera.updateProjectionMatrix()
    }
  }
}
动画
为了将颜色变化以及矩阵变换做成动画,需要写个函数来返回动画函数。在写这块函数前,我们先要完成以下两种转换器:将我们库的矩阵转换为 ThreeJS 格式矩阵的函数,以及参考 StackOverflow 上代码的将 RGB 转换为 hex 的函数:
import * as THREE from 'three'
import { Matrix } from 'linear-algebra/matrix'

export const toMatrix4 = matrix => {
  const matrix4 = new THREE.Matrix4()
  matrix4.set(...matrix.components())
  return matrix4
}

export const fromMatrix4 = matrix4 => {
  const components = matrix4.toArray()
  const rows = new Array(4)
    .fill(0)
    .map((_, i) => components.slice(i * 4, (i + 1) * 4))
  return new Matrix(...rows)
}
颜色
首先,需要计算每种原色(RGB)变化的幅度。第一次调用 getGetAnimatedColor 时会返回新的色彩与时间戳的集合;并在后续被调用时,通过颜色变化的距离以及时间的耗费,可以计算出当前时刻新的 RGB 颜色:
import { hexToRgb, rgbToHex } from './generic'

export const getGetAnimatedColor = (fromColor, toColor, period) => {
  const fromRgb = hexToRgb(fromColor)
  const toRgb = hexToRgb(toColor)
  const distances = fromRgb.map((fromPart, index) => {
    const toPart = toRgb[index]
    return fromPart <= toPart ? toPart - fromPart : 255 - fromPart + toPart
  })
  let start
  return () => {
    if (!start) {
      start = Date.now()
    }
    const now = Date.now()
    const timePassed = now - start
    if (timePassed > period) return toColor

    const animatedDistance = timePassed / period
    const rgb = fromRgb.map((fromPart, index) => {
      const distance = distances[index]
      const step = distance * animatedDistance
      return Math.round((fromPart + step) % 255)
    })
    return rgbToHex(...rgb)
  }
}
线性变换
为了给线性变换做出动画效果,同样要进行上节的操作。我们首先找到矩阵变换前后的区别,然后在动画函数中,根据第一次调用 getGetAnimatedTransformation 时的状态,根据时间来更新各个组件的状态:
export const getGetAnimatedTransformation = (fromMatrix, toMatrix, period) => {
  const distances = toMatrix.subtract(fromMatrix)
  let start
  return () => {
    if (!start) {
      start = Date.now()
    }
    const now = Date.now()
    const timePassed = now - start
    if (timePassed > period) return toMatrix

    const animatedDistance = timePassed / period
    const newMatrix = fromMatrix.map((fromComponent, i, j) => {
      const distance = distances.rows[i][j]
      const step = distance * animatedDistance
      return fromComponent + step
    })
    return newMatrix
  }
}
如果发现译文存在错误或其他需要改进的地方,欢迎到 掘金翻译计划 对译文进行修改并 PR,也可获得相应奖励积分。文章开头的 本文永久链接 即为本文在 GitHub 上的 MarkDown 链接。
掘金翻译计划 是一个翻译优质互联网技术文章的社区,文章来源为 掘金 上的英文分享文章。内容覆盖 Android、iOS、前端、后端、区块链、产品、设计、人工智能等领域,想要查看更多优质译文请持续关注 掘金翻译计划、官方微博、知乎专栏。
