

jsbintask的博客,转载请注明出处。
netty介绍
Nowadays we use general purpose applications or libraries to communicate with each other. For example, we often use an HTTP client library to retrieve information from a web server and to invoke a remote procedure call via web services. However, a general purpose protocol or its implementation sometimes does not scale very well. It is like how we don't use a general purpose HTTP server to exchange huge files, e-mail messages, and near-realtime messages such as financial information and multiplayer game data. What's required is a highly optimized protocol implementation that is dedicated to a special purpose. For example, you might want to implement an HTTP server that is optimized for AJAX-based chat application, media streaming, or large file transfer. You could even want to design and implement a whole new protocol that is precisely tailored to your need. Another inevitable case is when you have to deal with a legacy proprietary protocol to ensure the interoperability with an old system. What matters in this case is how quickly we can implement that protocol while not sacrificing the stability and performance of the resulting application.
这是netty的官方介绍,大概意思就是: 我们经常希望我们的应用能够和其它应用互相通信。例如,我们经常使用http请求去查询信息或者使用rpc调用webservice,但是对于这种特定的协议(http,ftp等)来说,是不易于专门针对 自己应用程序进行扩展的。比方说我们不会使用http协议去传输大文件,邮件,即时通讯(金融信息),这需要对现有协议做出较大的优化!这样我们就可以使用netty定制属于你自己的协议!
为什么要学netty?
这里借用知乎上一个回答:
作为一个学Java的,如果没有研究过Netty,那么你对Java语言的使用和理解仅仅停留在表面水平,会点SSH,写几个MVC,访问数据库和缓存,这些只是初等Java程序员干的事。如果你要进阶,想了解Java服务器的深层高阶知识,Netty绝对是一个必须要过的门槛。有了Netty,你可以实现自己的HTTP服务器,FTP服务器,UDP服务器,RPC服务器,WebSocket服务器,Redis的Proxy服务器,MySQL的Proxy服务器等等。如果你想知道Nginx是怎么写出来的,如果你想知道Tomcat和Jetty,Dubbo是如何实现的,如果你也想实现一个简单的Redis服务器,那都应该好好理解一下Netty,它们高性能的原理都是类似的。
  while ture
      events = takeEvents(fds)  // 获取事件,如果没有事件,线程就休眠
      for event in events {
          if event.isAcceptable {
              doAccept() // 新链接来了
          } elif event.isReadable {
              request = doRead() // 读消息
              if request.isComplete() {
                  doProcess()
              }
          } elif event.isWriteable {
              doWrite()  // 写消息
          }
      }
 }
NIO的流程大致就是上面的伪代码描述的过程,跟实际真实的代码有较多差异,不过对于初学者,这样理解也是足够了。Netty是建立在NIO基础之上,Netty在NIO之上又提供了更高层次的抽象。在Netty里面,Accept连接可以使用单独的线程池去处理,读写操作又是另外的线程池来处理。Accept连接和读写操作也可以使用同一个线程池来进行处理。而请求处理逻辑既可以使用单独的线程池进行处理,也可以跟放在读写线程一块处理。线程池中的每一个线程都是NIO线程。用户可以根据实际情况进行组装,构造出满足系统需求的并发模型。Netty提供了内置的常用编解码器,包括行编解码器[一行一个请求],前缀长度编解码器[前N个字节定义请求的字节长度],可重放解码器[记录半包消息的状态],HTTP编解码器,WebSocket消息编解码器等等Netty提供了一些列生命周期回调接口,当一个完整的请求到达时,当一个连接关闭时,当一个连接建立时,用户都会收到回调事件,然后进行逻辑处理。Netty可以同时管理多个端口,可以使用NIO客户端模型,这些对于RPC服务是很有必要的。Netty除了可以处理TCP Socket之外,还可以处理UDP Socket。在消息读写过程中,需要大量使用ByteBuffer,Netty对ByteBuffer在性能和使用的便捷性上都进行了优化和抽象。总之,Netty是Java程序员进阶的必备神奇。如果你知其然,还想知其所以然,一定要好好研究下Netty。如果你觉得Java枯燥无谓,Netty则是重新开启你对Java兴趣大门的钥匙。
总结:程序员水平进阶的利器!
实践
note: 对于本例中除了非常重要的核心类会讲解外,其他类不会过多讲解,本章只做入门,其它章节会重点讲解! 我们已经知道了netty的作用(灵活优化定制你自己的协议),以及为什么要学习netty。那接下来我们就一步一步来定制自己的协议最后完成聊天室!
print协议
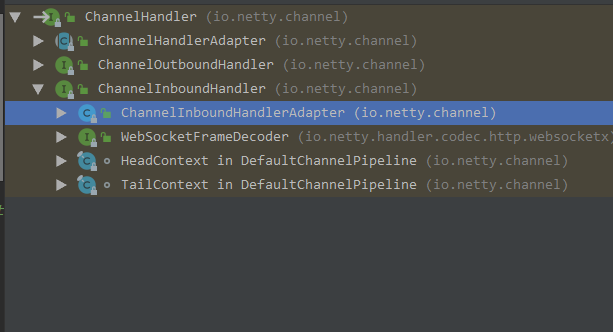
既然我们取名print协议,那就是打印的意思:服务端接受客服端的信息并且打印! 首先我们编写一个ChannelInboundHandlerAdapter,用于处理接收到的消息,我们首先分析下这个类的作用,继承关系如下:
public class EchoServerHandler extends ChannelInboundHandlerAdapter {

    @Override
    public void channelRead(ChannelHandlerContext ctx, Object msg) { // (2)
        ByteBuf byteBuf = (ByteBuf) msg;
        System.out.println(byteBuf.toString(Charset.forName("utf-8")));
        ctx.writeAndFlush(msg);
    }

    @Override
    public void exceptionCaught(ChannelHandlerContext ctx, Throwable cause) { // (4)
        // Close the connection when an exception is raised.
        cause.printStackTrace();
        ctx.close();
    }
}
收到消息后打印,接着继续编写一个启动类,用于启动一个开启我们自己协议的服务,PrintServerApp:
public class EchoServerApp {
    private int port;

    public EchoServerApp(int port) {
        this.port = port;
    }

    public void run() throws Exception {
        NioEventLoopGroup bossLoopGroup = new NioEventLoopGroup();
        NioEventLoopGroup workLoopGroup = new NioEventLoopGroup();

        try {
            ServerBootstrap serverBootstrap = new ServerBootstrap();
            serverBootstrap.group(bossLoopGroup, workLoopGroup)
                    .channel(NioServerSocketChannel.class)
                    .childHandler(new ChannelInitializer<SocketChannel>() {
                        @Override
                        protected void initChannel(SocketChannel ch) throws Exception {
                            ch.pipeline().addLast(new EchoServerHandler());
                        }
                    })
                    .option(ChannelOption.SO_BACKLOG, 128)
                    .childOption(ChannelOption.SO_KEEPALIVE, true);

            ChannelFuture channelFuture = serverBootstrap.bind(port).sync();

            channelFuture.channel().closeFuture().sync();
        } finally {
            bossLoopGroup.shutdownGracefully();
            workLoopGroup.shutdownGracefully();
        }
    }

    public static void main(String[] args) throws Exception {
        new EchoServerApp(8080).run();
    }
}
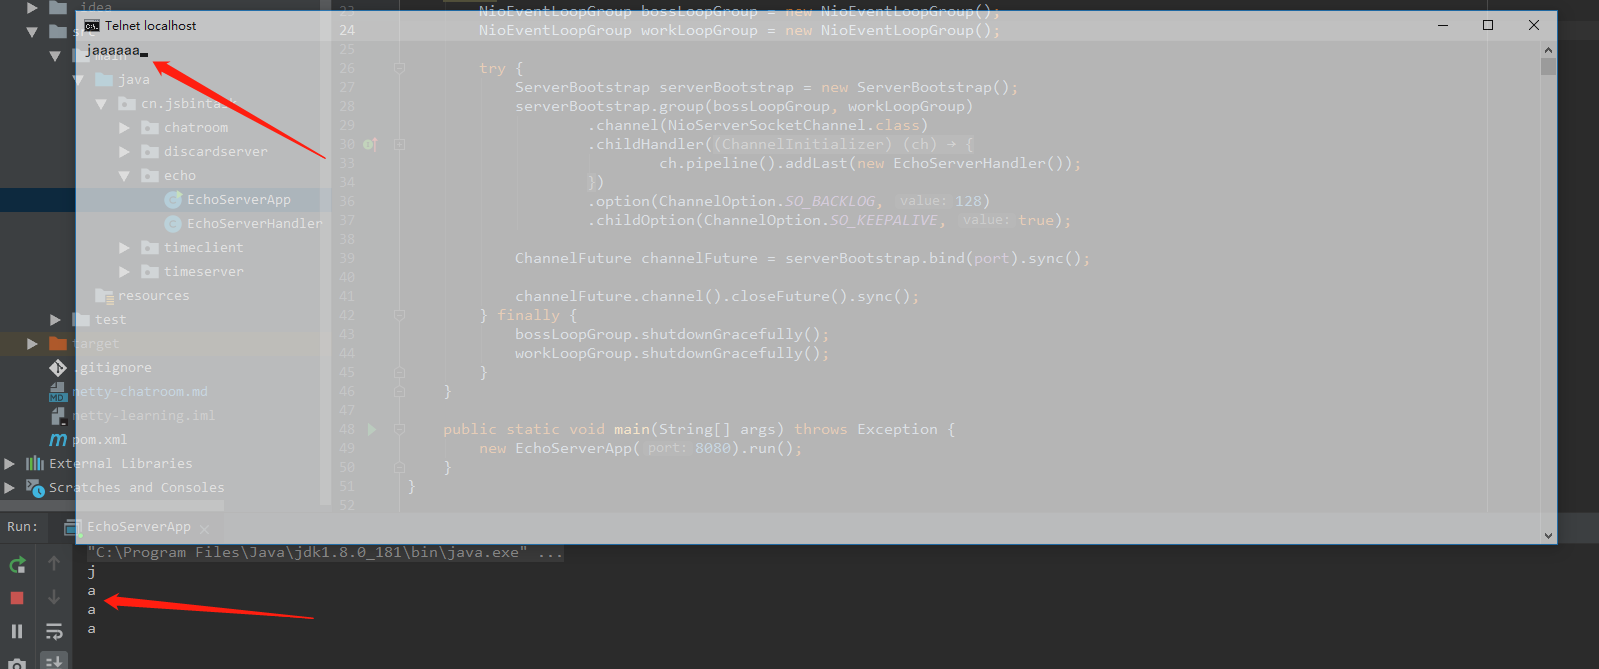
启动。然后我们使用win自带的telnet工具来测试(控制面板-》程序和控制-》开启或关闭window功能,勾选telnet)。打开cmd,输入
telnet localhost 8080
Time Protocol
首先同上面一样,写一个TimeServerHandler:
public class TimeServerHandler extends ChannelInboundHandlerAdapter {

    @Override
    public void channelActive(ChannelHandlerContext ctx) throws Exception {
        ByteBuf timeBuf = ctx.alloc().buffer();
        timeBuf.writeBytes(new SimpleDateFormat("yyyy-MM-dd HH:mm:ss").format(new Date()).getBytes());

        ChannelFuture channelFuture = ctx.writeAndFlush(timeBuf);
        channelFuture.addListener(new GenericFutureListener<Future<? super Void>>() {
            @Override
            public void operationComplete(Future<? super Void> future) throws Exception {
                assert channelFuture == future;

                // ctx.close();
            }
        });
    }

    @Override
    public void exceptionCaught(ChannelHandlerContext ctx, Throwable cause) { // (4)
        // Close the connection when an exception is raised.
        cause.printStackTrace();
        ctx.close();
    }
}
启动类同上,接下来,编写客户端TimeClientHandler:
public class TimeClientHandler extends ChannelInboundHandlerAdapter {

    @Override
    public void channelRead(ChannelHandlerContext ctx, Object msg) {
        try {
            ByteBuf byteBuf = (ByteBuf) msg;
            int length = byteBuf.readableBytes();
            byte[] buff = new byte[1024];
            byteBuf.readBytes(buff, 0, length);
            System.out.println("current time: " + new String(buff, 0, length));
            ctx.close();
        } finally {
            ReferenceCountUtil.release(msg);
        }
    }

    @Override
    public void exceptionCaught(ChannelHandlerContext ctx, Throwable cause) {
        // Close the connection when an exception is raised.
        cause.printStackTrace();
        ctx.close();
    }
}
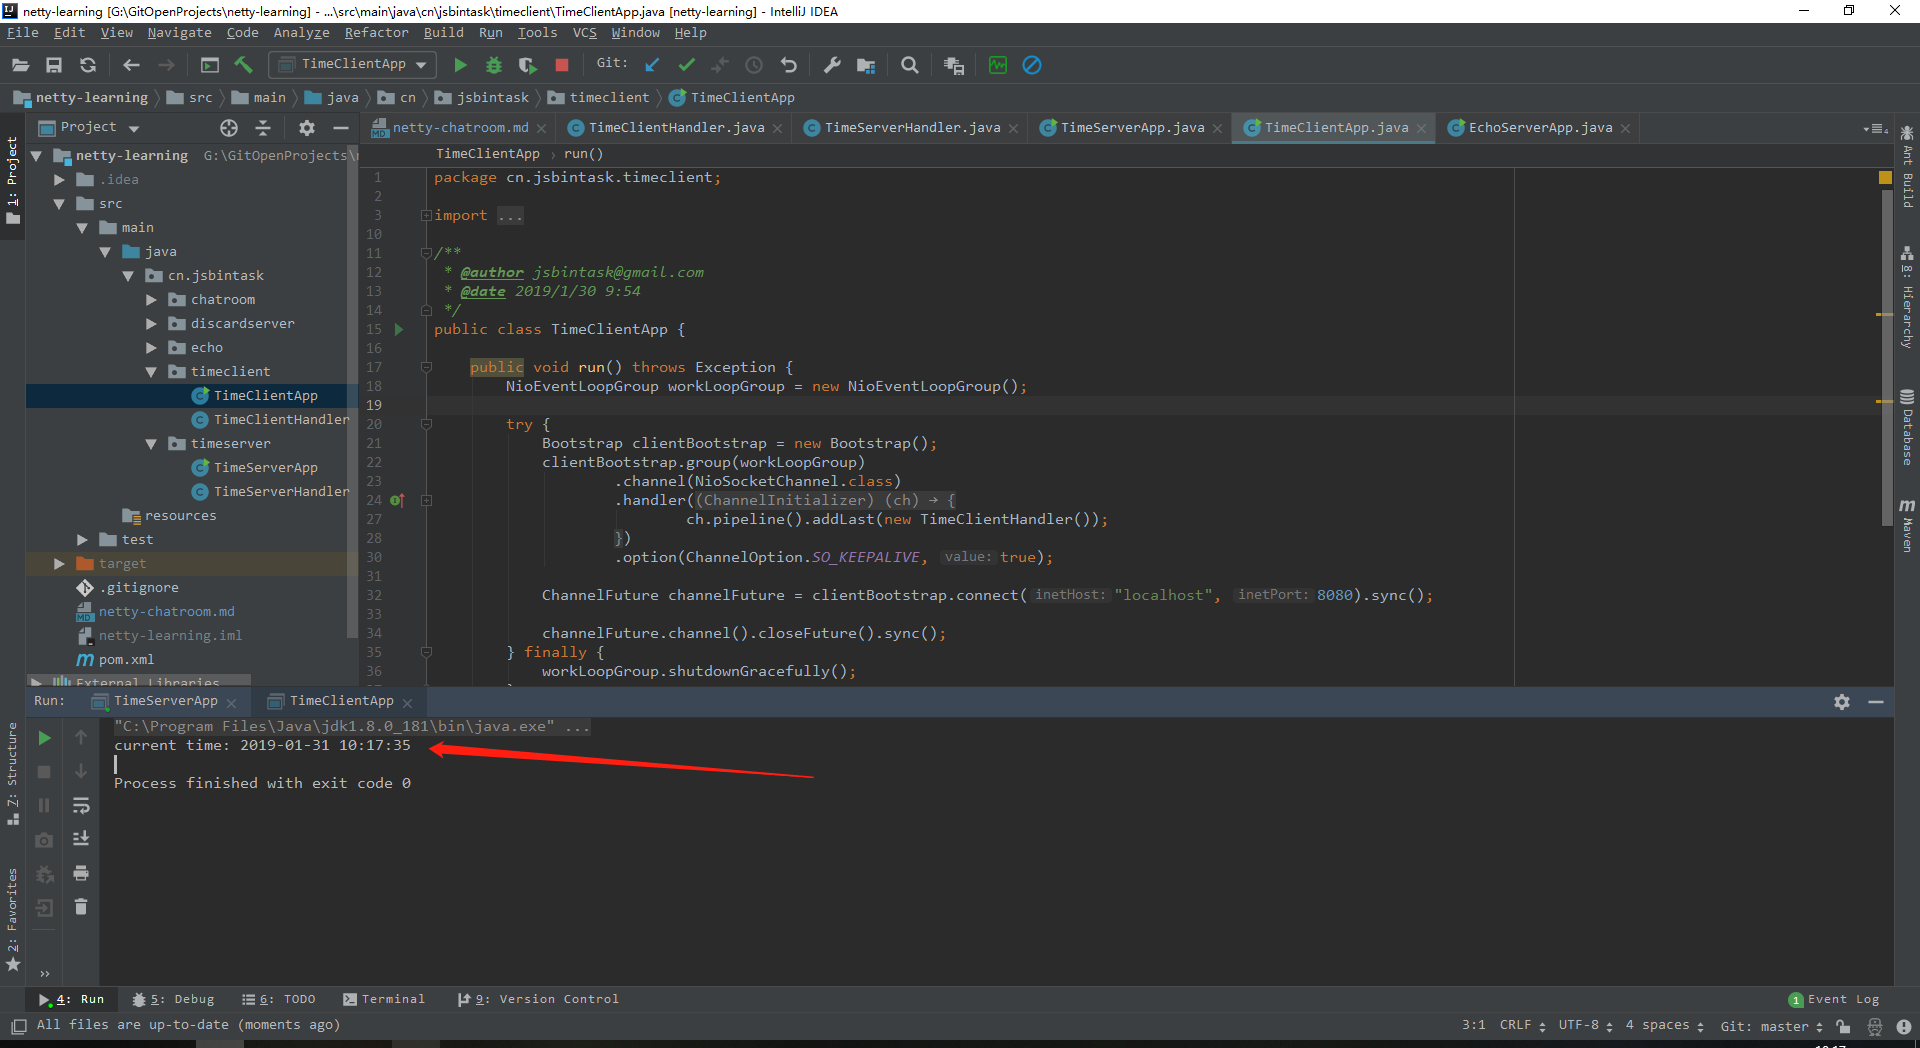
分别启动服务端,客户端。
chatroom server
首先,客户端与服务端通信的信息我们抽象出一个对象,Message以及工具类:
@Data
@NoArgsConstructor
@AllArgsConstructor
public class Message {
    private String username;
    private Date sentTime;
    private String msg;
}
public class Utils {
    public static String encodeMsg(Message message) {
        return message.getUsername() + "~" + (new SimpleDateFormat("yyyy-MM-dd HH:mm:ss").format(message.getSentTime())) + "~" + message.getMsg();
    }

    public static String formatDateTime(Date time) {
        return new SimpleDateFormat("yyyy-MM-dd HH:mm:ss").format(time);
    }

    public static Date parseDateTime(String time) {
        try {
            return new SimpleDateFormat("yyyy-MM-dd Hh:mm:ss").parse(time);
        } catch (ParseException e) {
            return null;
        }
    }

    public static void printMsg(Message msg) {
        System.out.println("=================================================================================================");
        System.out.println("                      " + Utils.formatDateTime(msg.getSentTime()) + "                     ");
        System.out.println(msg.getUsername() + ": " + msg.getMsg());
        System.out.println("=================================================================================================");

    }
}
三个属性分别代表用户名,发送时间,消息内容,接着编写一个用于处理输入消息的handler,用于将byte消息转换成Message,ServerTransferMsgHandler:
public class ServerTransferMsgHandler extends ByteToMessageDecoder {

    @Override
    protected void decode(ChannelHandlerContext ctx, ByteBuf in, List<Object> out) throws Exception {
        String totalMsg = in.readCharSequence(in.readableBytes(), Charset.forName("utf-8")).toString();
        String[] content = totalMsg.split("~");
        out.add(new Message(content[0], Utils.parseDateTime(content[1]), content[2]));
    }
}
接着,编写一个处理接收消息的Handler,用于打印客户端发送过来的消息,ServerMsgHandler:
public class ServerMsgHandler extends ChannelInboundHandlerAdapter {

    @Override
    public void channelActive(ChannelHandlerContext ctx) throws Exception {
        System.out.println("jsbintask-client进入聊天室。");

        Message message = new Message(Constants.SERVER, new Date(), "Hello, I'm jsbintask-server side.");
        ByteBuf buffer = ctx.alloc().buffer();
        String content = Utils.encodeMsg(message);
        buffer.writeBytes(content.getBytes());

        ctx.writeAndFlush(buffer);
    }


    @Override
    public void channelRead(ChannelHandlerContext ctx, Object msg1) throws Exception {
        try {
            Message msg = (Message) msg1;
            Utils.printMsg(msg);
            Scanner scanner = new Scanner(System.in);
            System.out.print("jsbintask-server, please input msg: ");
            String reply = scanner.nextLine();


            Message message = new Message(Constants.SERVER, new Date(), reply);
            ctx.writeAndFlush(message);
        } finally {
            ReferenceCountUtil.release(msg1);
        }
    }

    @Override
    public void exceptionCaught(ChannelHandlerContext ctx, Throwable cause) throws Exception {
        cause.printStackTrace();
        ctx.close();
    }
}
知道注意的是,channelActive方法,在客户端链接的时候,率先给客户端发送了一条消息,最后,在编写一个用户将服务端Message转成Byte消息的handler,MessageEncoder:
public class MessageEncoder extends MessageToByteEncoder<Message> {
    @Override
    protected void encode(ChannelHandlerContext ctx, Message message, ByteBuf out) throws Exception {
        ByteBuf buffer = ctx.alloc().buffer();
        String content = Utils.encodeMsg(message);
        buffer.writeBytes(content.getBytes(StandardCharsets.UTF_8));

        ctx.writeAndFlush(buffer);
    }
}
最后,编写server端启动类,ChatroomServerApp:
public class ChatroomServerApp {
    public static void main(String[] args) throws Exception {
        NioEventLoopGroup bossGroup = new NioEventLoopGroup();
        NioEventLoopGroup workGroup = new NioEventLoopGroup();

        try {
            ServerBootstrap serverBootstrap = new ServerBootstrap();
            serverBootstrap.group(bossGroup, workGroup)
                    .channel(NioServerSocketChannel.class)
                    .childHandler(new ChannelInitializer() {
                        @Override
                        protected void initChannel(Channel ch) throws Exception {
                            ch.pipeline().addLast(new MessageEncoder(), new ServerTransferMsgHandler(), new ServerMsgHandler());
                        }
                    })
                    .option(ChannelOption.SO_BACKLOG, 1024 * 10)
                    .childOption(ChannelOption.SO_KEEPALIVE, true);

            ChannelFuture channelFuture = serverBootstrap.bind(8888).sync();
            channelFuture.channel().closeFuture().sync();
        } finally {
            bossGroup.shutdownGracefully();
            workGroup.shutdownGracefully();
        }
    }
}
启动Server,继续编写ChatroomClient。
chatroom client
同server端一样,client的关键也是handler,ClientMsgHandler如下:
public class ClientMsgHandler extends SimpleChannelInboundHandler<Message> {
    @Override
    public void channelActive(ChannelHandlerContext ctx) throws Exception {
        super.channelActive(ctx);
    }

    @Override
    protected void channelRead0(ChannelHandlerContext ctx, Message msg) throws Exception {
        try {
            Utils.printMsg(msg);
            Scanner scanner = new Scanner(System.in);
            System.out.print("jsbintask-client, please input msg: ");
            String reply = scanner.nextLine();

            Message message = new Message(Constants.CLIENT, new Date(), reply);
            ByteBuf buffer = ctx.alloc().buffer();
            String content = message.getUsername() + "~" + Utils.formatDateTime(message.getSentTime()) + "~" + message.getMsg();
            buffer.writeBytes(content.getBytes(StandardCharsets.UTF_8));
            ctx.writeAndFlush(buffer);
        } finally {
            ReferenceCountUtil.release(msg);
        }
    }
}
接着,同样有将byte转换成Message的转换器,CliengMsgHandler:
public class ClientTransferMsgHandler extends ByteToMessageDecoder {
    @Override
    protected void decode(ChannelHandlerContext ctx, ByteBuf in, List<Object> out) throws Exception {
        byte[] buff = new byte[2024];
        int length = in.readableBytes();
        in.readBytes(buff, 0, length);

        String totalMsg = new String(buff, 0, length, StandardCharsets.UTF_8);
        String[] content = totalMsg.split("~");
        out.add(new Message(content[0], Utils.parseDateTime(content[1]), content[2]));
    }
}
最后,启动类ChatroomClientApp:
public class ChatroomClientApp {
    public static void main(String[] args) throws Exception {
        NioEventLoopGroup workLoopGroup = new NioEventLoopGroup();

        try {
            Bootstrap clientBootstrap = new Bootstrap();
            clientBootstrap.group(workLoopGroup)
                    .channel(NioSocketChannel.class)
                    .handler(new ChannelInitializer<SocketChannel>() {
                        @Override
                        protected void initChannel(SocketChannel ch) throws Exception {
                            ch.pipeline().addLast(new ClientTransferMsgHandler(), new ClientMsgHandler());
                        }
                    })
                    .option(ChannelOption.SO_KEEPALIVE, true);

            ChannelFuture channelFuture = clientBootstrap.connect("localhost", 8888).sync();

            channelFuture.channel().closeFuture().sync();
        } finally {
            workLoopGroup.shutdownGracefully();
        }
    }
}
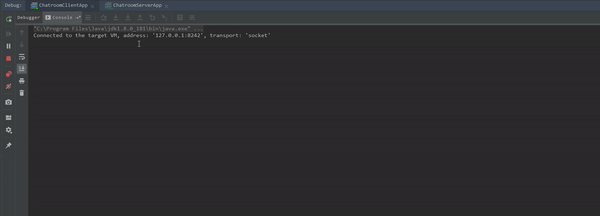
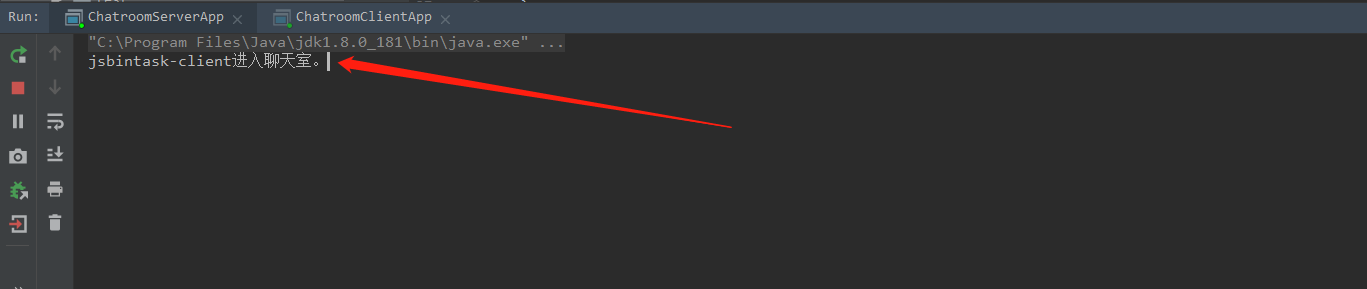
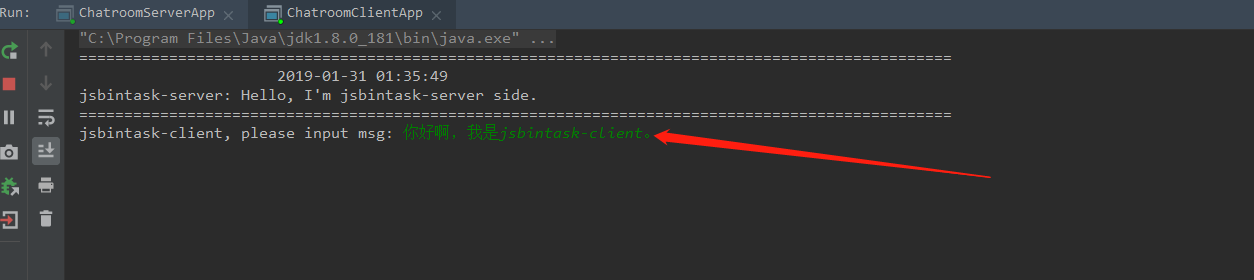
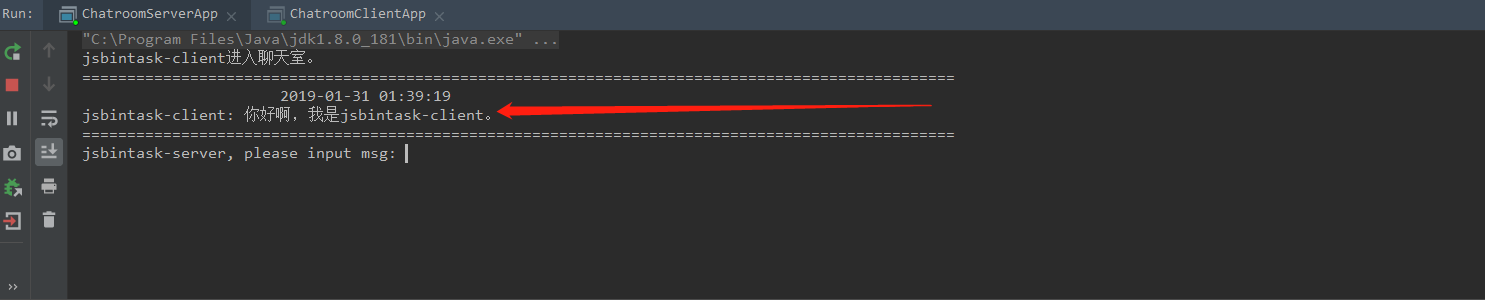
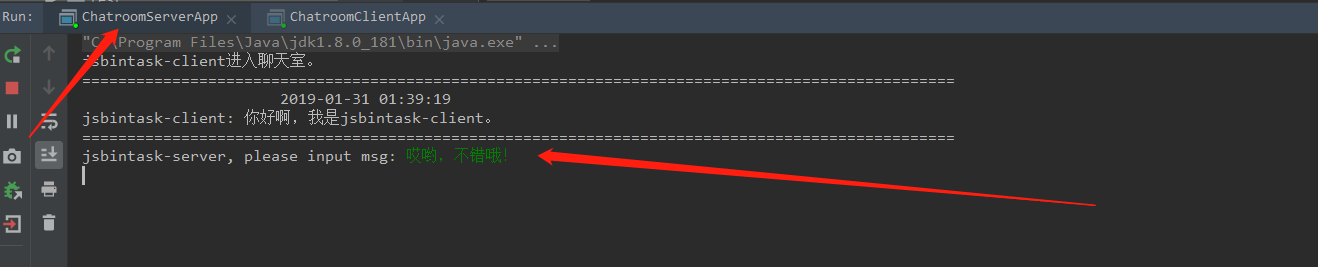
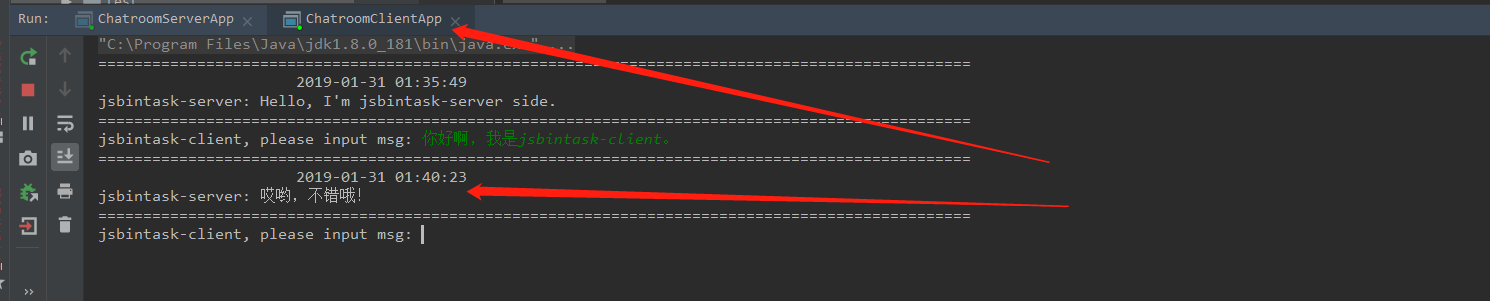
同样启动client,观察控制台。首先,server端提示client进入了聊天室,并且客户端看到了server端发送过来的”招呼“信息:

总结
本章,我们开启了学习netty的大门,首先介绍了netty,为什么要学netty,并且通过三个案例一步一步实现了自己的协议,打印,时间,消息转换协议,成功踏入了netty的大门,下一章,我们就来学习一下netty的架构!
关注我,这里只有干货!
