本文是阅读米凯莱·贝尔托利 《React设计模式与最佳实践》 一书的读书笔记,支持作者请点这里购买。
Talk is cheap, just show me the code.
废话不少说,直接上干货的哈。
关于 render 函数里面的条件判断
在 React 里,有一种情况是,我们经常需要根据条件判断决定是否渲染某些组件。就像是这样:
<div>
    { isLoggedIn ? <LogoutButton /> : <LoginButton /> }
    { visible && <Modal /> }
</div>
当条件判断变得更复杂的请求下,我们可以使用方法和计算属性来取代三目运算和与或判断。
handleShowLoginButton() {
    return this.isLoggedIn && this.isAuthed;
}
get getVisible() {
    return this.visible && this.displayMode === "normal"
}

render() {
    return (<div>
        { handleShowLoginButton() ? <LogoutButton /> : <LoginButton /> }
        { getVisible && <Modal /> }
    </div>)
}
然后黑科技来了,当我们想要把这些判断逻辑从 render 渲染函数里抽离出来以让渲染函数只负责渲染的时候。我们就需要用到 render-if render-only-if jsx-control-statements 这些辅助依赖了。
客官请看:
const isShowLoginButton = renderIf(
    this.isLoggedIn && this.isAuthed
)
return (<div>
    { isShowLoginButton(<LoginButton />) } {/* 完了结果 LogoutButton 我还需要另外写一个 isShowLogoutButton 的 renderIf 去判断显示与否吗 */}
</div>)
然后 render-only-if 本质上是一个高阶函数,它形式上会比 render-if 优雅些。
const LoginButtonOnlyIf = onlyIf(
    ({ isLoggedIn && isAuthed }) => {
        return isLoggedIn && isAuthed
    }
)(LoginButton)

return (
    <LoginButtonOnlyIf
        isLoggedIn={isLoggedIn}
        isAuthed={isAuthed}
    />
)
总结:
- 如果只是简单的条件判断,三目和与或运算符已经满足大多数人的需求;
- 如果想让关注点分离,renderIf 是个不错的注意;
- 最后如果你希望你的判断逻辑能够被复用(就好像多个页面多个组件都需要用到判断登录状态和用户权限的逻辑),可以使用 onlyIf 构建项目内可复用的高阶组件。
然后我们最后看看 jsx-control-statements 这个恶心东西的用法:
<If condition={this.handleShowLoginButton}>
    <LoginButton />
</If>

<When condition={this.handleShowLoginButton}>
    <LoginButton />
</When>
<When condition={!this.handleShowLoginButton}>
    <LogoutButton /> // => 好了这下终于看见我们的 LogoutButton 出现了
</When>
<Otherwise>
    <p>oops.. no condition matched.</p>
</Otherwise>


<ul>
    <For each="resultItem" of={this.resultList}>
        <li>{resultItem.name}</li>
    </For>
    // => {resultList.map(resultItem => <li>{resultItem.name}</li>)}
</ul>
开发可复用组件
这是关于性能和可维护性的课题呐。
始终牢记,设置状态会触发组件重新渲染。因此,应该只将渲染方法要用到的值保存在状态中。
以下是 Dan Abramov (我并不知道他是谁) 创建的帮助我们做出正确状态选择的步骤:
function shouldIKeepSomethingInReactState() {
    if (canICalculateItFromProps()) {
        // 不要把 props 属性直接在 state 状态中使用,
        // 应该直接在 render() 函数里计算使用它们
        return false
    }
    if (!amIUsingItInRenderMethod()) {
        // 不要把没有参与渲染的数据放进 state 状态里,
        // 换句话说就是只有需要涉及到组件 render 渲染更新的数据才放到 state 里
        return false
    }
    // 除了以上情况,都可以使用状态。
    return true;
}
关于 prop 类型检验,React 提供了组件的 propTypes 属性给我们使用:
const Button = ({text}) => <button>{text}</button>

Button.propTypes = {
    text: React.PropTypes.string
}
但其实在 TypeScript 的世界里,我们直接可以使用模板类的形式给我们 React 组件声明 prop 属性接口:
interface IButtonProps = {
    text: string;
}

class ButtonClass extend React.Component<IButtonProps, IButtonStates> {}
// => 顺带连 state 属性检验也可以加进来
接下来为组件自动生成文档,使用 react-docgen 这个工具。
import React from 'react';

/**
 * Sheet 组件
 */
const Sheet = ({title}) => <div>{title}</div>

Sheet.prototype = {
    /**
     * Sheet 标题
     */
    title: React.PropTypes.string
}
运行 react-docgen Sheet.js 后结果产出如下 json 描述:
{
    "description": "Sheet 组件",
    "displayName": "Sheet",
    "methods": [],
    "props": {
        "title": {
            "type": {
                "name": "string"
            },
            "required": false,
            "description": "Sheet 标题"
        }
    }
}
把这个 json 文件作为团队前端文档项目的输入,就可以自动化地生成可用的组件文档说明啦啦啦。
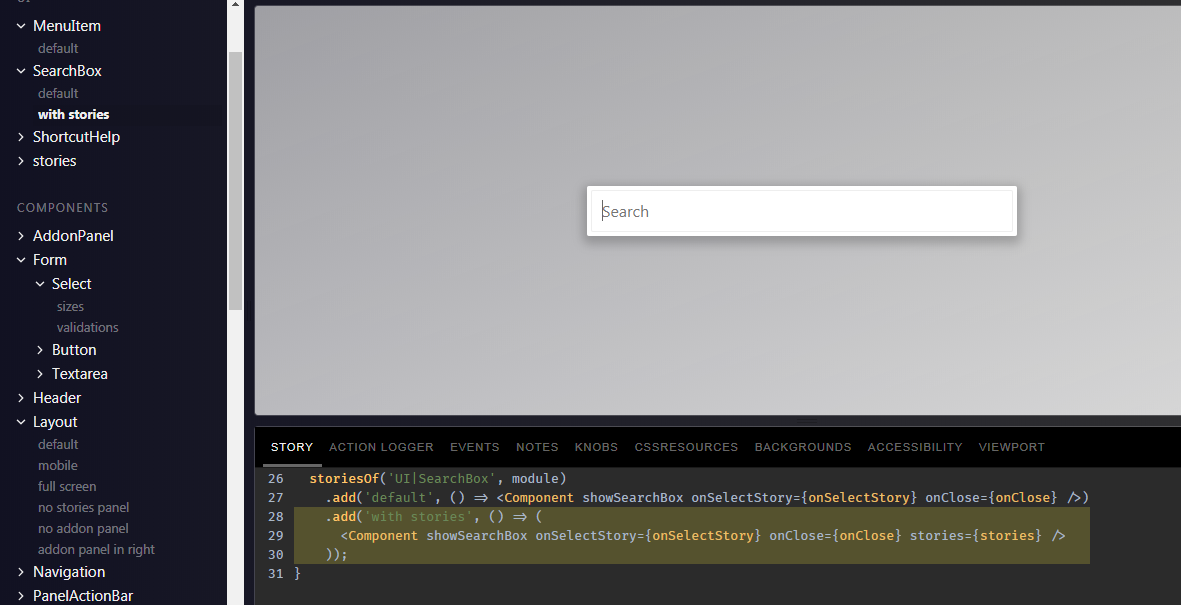
好了,接下来祭出业内大杀器 storybook。

npm i --save @kadira/react-storybook-addon
(貌似 @kadira/react-storybook-addon 已经报废了,建议小伙伴还是在官网按照文档写自己的 storybook 吧)
故事文档放在 stories 的文件夹中,我们在 stories 文件夹下创建 sheet.js 定义我们上面定义组件的故事文档。
// => stories/sheet.js
import React from 'react';
import Sheet from '../src/components/Sheet';
import { storiesOf } from '@kadira/storybook'

storiesOf('Sheet', module)
    .add('没有 title 属性的 Sheet 的故事..', () => (
        <Sheet/>
    ))
但是我们要写故事还得在根目录下先来配置好 storybook :
// => .storybook/config.js => 根目录下创建 .storybook 文件夹
import { configure } from '@kadira/storybook';

function loadStories() {
    require('../src/stories/sheet')
}

configure(loadStories, module)
最后我们给我们的 package.json 加上 script 来运行我们的故事。
"storybook": "start-storybook -p 9001"
运行之后在 9001 端口就可以看到故事文档啦啦啦。
我们再来深入地撸一下组件这个东西
关于容器组件和傻瓜组件,我在这里就不说了哈。毕竟是初级内容,不好滥竽充数。我们直接直奔主题。
比如,最简单的,实现一个给组件加上类名的高阶组件:
const withClassName = Component => props => (
    <Component {...props} className="my-class" />
)
上面只是动了一个 prop 而已哈,实际上除了 prop 其他的一切组件属性我们都可以动哈。
const withTimer = Component => (
    class extends React.Component {
        constructor(props) {
            super(props)
            this.state = {
                timer: null
            }
        }
        componentDidMount() {
            this.timer = setTimeInterval(() => {
                console.log('每个1.5s打印一次日志哈哈哈')
            }, 1500)
        }
        componentWillUnmount() {
            clearInterval(this.timer)
        }
        render() {
            // => 原封不动把接收到的 props 传给 Component
            //    state 传入 Compnent 其实是可选项,根据实际需求决定
            return <Component {...this.props} {...this.state} />
        }
    }
)

// => 然后我们就可以给普通的组件加上定时打印日志的功能啦
const SheetWithTimer = withTimer(Sheet);
然后 recompose 这个库已经帮我们提供了一些很实用场景的高阶组件,开箱即用哈。

接下来我们来搞点噱头,看看函数子组件怎么玩。首先,我们上面那个 withClassName 显然太 low 了,居然 className 是写死的!?凡事都不要写死,需求以后分分钟给你改。

显然,我们需要在 withClassName 组件里面再做多一层逻辑,判断好后再动态传 className 给子组件。这个时候我们为了搞噱头,决定采用函数子组件的模式。
const withClassName = ({children}) => children('my-class'); // => wft,这里 'my-class' 还不照样是写死的...

<withClassName>
    {(classname) => <Component className={classname} />}
</withClassName>
然后,我们就看到了无限可能... 虽然 withClassName 现在还是个无状态组件哈,但是我们完全可以像 withTimer 组件那样给它加上生命钩子和函数方法还有状态。然后在 render 里不同的是(我们不直接使用 <Component /> 而是执行 children()):
render() {
    return <Component {...props} /> // => 一般做法

    renturn {children(props)} // => 函数子组件做法
}
或许更贴切的例子是高阶组件需要做 http 请求的场景吧,把请求回来的数据再传入子组件进行渲染。
<Fetch url="...">
    {data => <MyComp data={data} />}
</Fetch>
最后我们来谈谈 CSS
首先,简单粗暴的我们可以在 html 元素里直接写 style,在 jsx 的世界里是长这样的:
<div style={{ fonSize: this.state.fontSize }} />
然后 style 行内样式有个缺点,就是你不能直接写媒体查询和伪类伪元素,当然动画(插播小广告:动画 react 库请使用 react-motion)你也没法写。
所以 Radium 应运而生。
有了 Radium ,你可以任性地这样操作:
import radium from 'radium'

const myStyle = {
    fontSize: '12px',
    ':hover': {
        color: '#abc'
    },
    '@media (min-width: 720px)': {
        color: '#121212'
    }
}

const Div = () => <div style={myStyle} />

export default radium(Div);
当然使用媒体查询你还需要在最外层保一个 styleroot 元素,要不然 Radium 哪知道你媒体查询根元素在哪里哟。
import { StyleRoot } from 'radium'

class App extends Component {
    render() {
        return (
            <StyleRoot>
                <router-view />
            </StyleRoot>
        )
    }
}
当然我们完全可以不使用行内样式,而是使用基于 className 的 css 模块。
import styles from './index.less'

render() {
    return {
        <div className={styles.myDiv} />
    }
}
/* index.less */
.myDiv {
    font-size: 12px
}

/* 默认模块会生成一堆我们看不懂的英文类名,如果想要让类名不作用在局部而是全局,可以使用 :global */
:global .myGlobalDiv {
    font-size: 15px
}

/* 我们还可以使用 composes 把其他类的样式混进来 */
.myDivCop {
    composes: .myDiv;
    color: '#101010'
}
再有,如果你的 className 不想写 style.[类名] 的形式而是想直接写字符串类名的形式,你可以借用 react-css-modules 这个库。
然后这种姿势使用:
import cssModules from 'react-css-modules'
import styles from './index.less'

class DivComp extends Component {
    render() {
        return (
            <div className='myDiv' />
        )
    }
}

export cssModules(DivComp, styles)
然后还有个可能是以后趋势的叫 styled-components 的家伙,因为楼主实在是学不动了所以这里就不展开讲了哈。
扫码打赏告诉我你下期想要阅读的内容主题(萌贱脸)
开玩笑的哈,欢迎评论区留言告诉我你想要阅读的内容主题,我会只选我会的,不会的都不选哈哈哈 我会尽量抽出时间来撸 demo 和进行延伸阅读的。也欢迎大家关注督促我下期更文。