canvas 实践
粒子效果
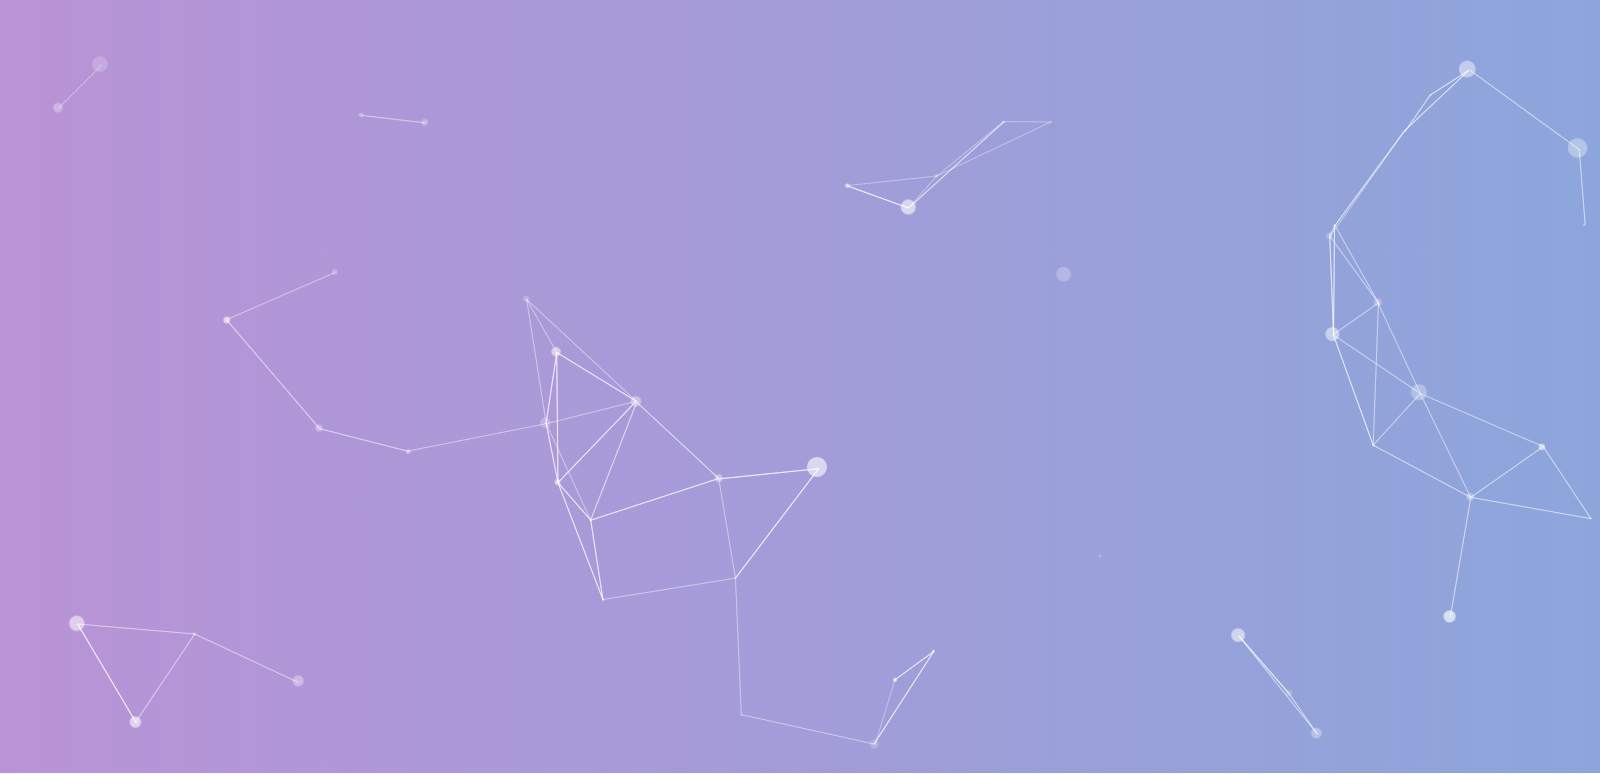
- 准备基础的
html跟css当背景 - 初始化
canvas - 准备一个粒子类
Particle - 编写粒子连线的函数
drawLine - 编写动画函数
animate - 添加鼠标和触摸移动事件、resize事件
- 离屏渲染优化、手机端的模糊处理
准备基础的 html 跟 css 当背景
<!DOCTYPE html>
<html lang="en">
<head>
    <meta charset="UTF-8">
    <meta http-equiv="X-UA-Compatible" content="IE=edge,chrome=1">
    <meta name="viewport"
          content="width=device-width, initial-scale=1.0, maximum-scale=1.0, minimum-scale=1.0, user-scalable=no"/>
    <meta name="apple-mobile-web-app-status-bar-style" content="black"/>
    <meta name="format-detection" content="email=no"/>
    <meta name="apple-mobile-web-app-capable" content="yes"/>
    <meta name="format-detection" content="telephone=no"/>
    <meta name="renderer" content="webkit">
    <meta name="apple-mobile-web-app-status-bar-style" content="black">
    <meta name="apple-mobile-web-app-title" content="Amaze UI"/>
    <meta http-equiv="Cache-Control" content="no-cache, no-store, must-revalidate"/>
    <meta http-equiv="Pragma" content="no-cache"/>
    <meta http-equiv="Expires" content="0"/>
    <title>canvas-粒子效果</title>
</head>
<body>
    <style>
        html,body {
            margin:0;
            overflow:hidden;
            width:100%;
            height:100%;
            background: #B993D6;
            background: -webkit-linear-gradient(to left, #8CA6DB, #B993D6);
            background: linear-gradient(to left, #8CA6DB, #B993D6);
            }
    </style>
    <!--高清屏兼容的hidpi.js-->
    <script src="hidpi-canvas.min.js"></script>
    <!--业务代码-->
    <script src="canvas-particle.js"></script>
</body>
</html>
这样之后你就得到了一个纯净的背景
初始化 canvas
首先准备一个可以将 context 变成链式调用的方法
// 链式调用
function Canvas2DContext(canvas) {
	if (typeof canvas === "string") {
		canvas = document.getElementById(canvas)
	}
	if (!(this instanceof Canvas2DContext)) {
		return new Canvas2DContext(canvas)
	}
	this.context = this.ctx = canvas.getContext("2d")
	if (!Canvas2DContext.prototype.arc) {
		Canvas2DContext.setup.call(this, this.ctx)
	}
}
Canvas2DContext.setup = function() {
	var methods = ["arc", "arcTo", "beginPath", "bezierCurveTo", "clearRect", "clip",
		"closePath", "drawImage", "fill", "fillRect", "fillText", "lineTo", "moveTo",
		"quadraticCurveTo", "rect", "restore", "rotate", "save", "scale", "setTransform",
		"stroke", "strokeRect", "strokeText", "transform", "translate"]

	var getterMethods = ["createPattern", "drawFocusRing", "isPointInPath", "measureText",
	// drawFocusRing not currently supported
	// The following might instead be wrapped to be able to chain their child objects
		"createImageData", "createLinearGradient",
		"createRadialGradient", "getImageData", "putImageData"
	]

	var props = ["canvas", "fillStyle", "font", "globalAlpha", "globalCompositeOperation",
		"lineCap", "lineJoin", "lineWidth", "miterLimit", "shadowOffsetX", "shadowOffsetY",
		"shadowBlur", "shadowColor", "strokeStyle", "textAlign", "textBaseline"]

	for (let m of methods) {
		let method = m
		Canvas2DContext.prototype[method] = function() {
			this.ctx[method].apply(this.ctx, arguments)
			return this
		}
	}

	for (let m of getterMethods) {
		let method = m
		Canvas2DContext.prototype[method] = function() {
			return this.ctx[method].apply(this.ctx, arguments)
		}
	}

	for (let p of props) {
		let prop = p
		Canvas2DContext.prototype[prop] = function(value) {
			if (value === undefined)
			{return this.ctx[prop]}
			this.ctx[prop] = value
			return this
		}
	}
}
接下来写一个 ParticleCanvas 函数
const ParticleCanvas = window.ParticleCanvas = function(){
    const canvas
    return canvas
}
const canvas = ParticleCanvas()
console.log(canvas)
ParticleCanvas 方法可能会接受很多参数
- 首先第一个参数必然是
id啦,不然你怎么获取到canvas。 - 还有宽高参数,我们把
canvas处理一下宽高。 - 可以使用
ES6的函数默认参数跟解构赋值的方法。 - 准备一个
init方法初始化画布
const ParticleCanvas = window.ParticleCanvas = function({
    id = "p-canvas",
    width = 0,
    height = 0
}){
    //这里是获取到 canvas 对象,如果没获取到我们就自己创建一个插入进去
    const canvas = document.getElementById(id) || document.createElement("canvas")
    if(canvas.id !== id){ (canvas.id = id) && document.body.appendChild(canvas)}

    //通过调用上面的方法来获取到一个可以链式操作的上下文
    const context = Canvas2DContext(canvas)
    //这里默认的是网页窗口大小,如果传入则取传入的值
    width = width || document.documentElement.clientWidth
    height = height || document.documentElement.clientHeight

    //准备一个 init() 方法 初始化画布
    const init = () => {
        canvas.width = width
	    canvas.height = height
    }
    init()
    return canvas
}
const canvas = ParticleCanvas({})
console.log(canvas)
写完之后就变成这样了
准备一个粒子类 Particle
接下来我们磨刀霍霍向粒子了,通过观察动画效果我们可以知道,首先这个核心就是粒子,且每次出现的随机的粒子,所以解决了粒子就可以解决了这个效果的 50% 啊 。那我们就开始来写这个类
我们先来思考一下,这个粒子类,目前最需要哪些参数初始化它
- 第一个当然是,绘制上下文 context
- 然后,这个粒子实际上其实就是画个圆,画圆需要什么参数?
- arc(x, y, radius, startAngle, endAngle, anticlockwise)
- 前三个怎么都要传进来吧,不然你怎么保证每个粒子实例
大小和位置不一样呢 - 头脑风暴结束后我们目前确定了四个参数
contextxyr - 所谓 万丈高楼平地起 要画一百个粒子,首先先画第一个粒子
class Particle {
	constructor({context, x, y, r}){
		context.beginPath()
    		.fillStyle("#fff")
    		.arc(x, y, r, 0, Math.PI * 2)
    		.fill()
    		.closePath()
	}
}
//准备一个 init() 方法 初始化画布
const init = () => {
	canvas.width = width
	canvas.height = height
	const particle = new Particle({
		context,
		x: 100,
		y: 100,
		r: 10
	})
}
init()
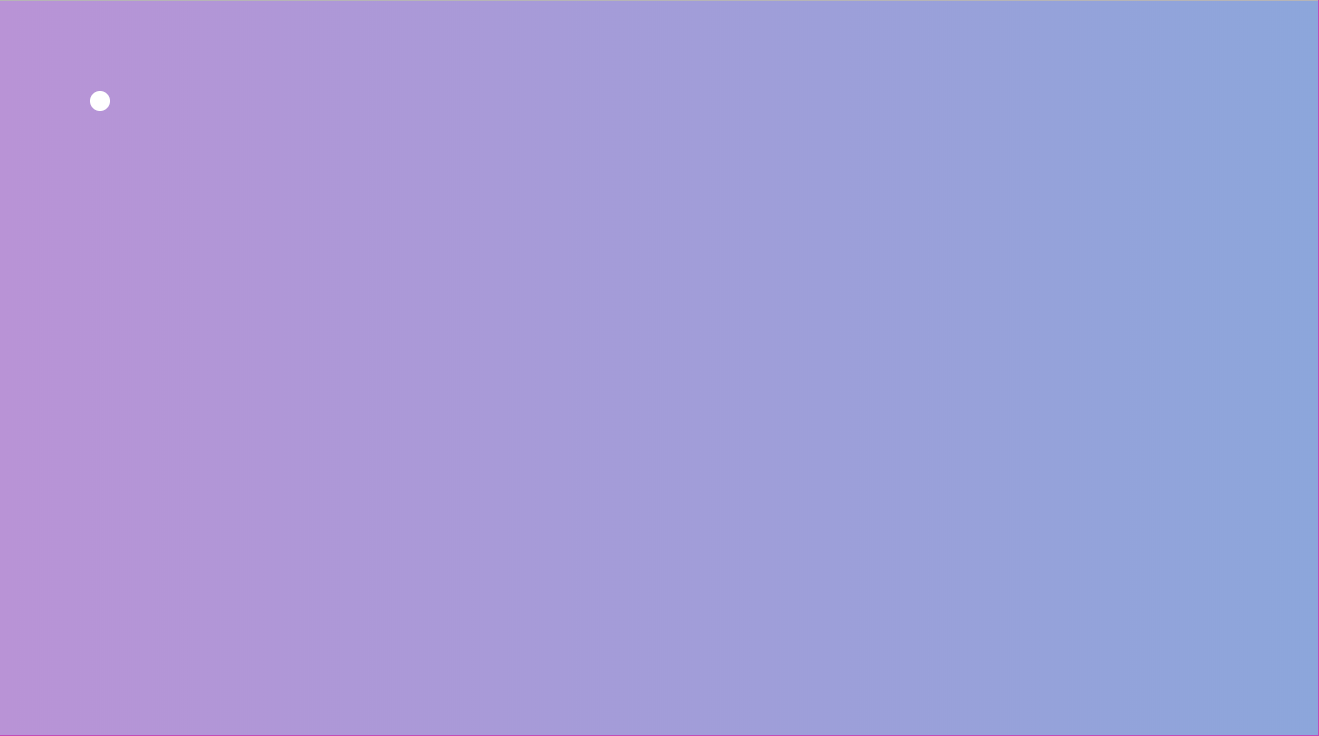
好的,你成功迈出了第一步
- 首先,我们可以通过一个循环去绘制一堆粒子
- 只要传值是随机的,那,不就是,随机的粒子吗!
- 随机的 x y 应该在屏幕内,而大小应该在一个数值以内
- 说写就写,用
Math.random不就解决需求了吗
const init = () => {
	canvas.width = width
	canvas.height = height
	for (let i = 0; i < 50; i++) {
		new Particle({
			context,
			x: Math.random() * width,
			y: Math.random() * height,
			r: Math.round(Math.random() * (10 - 5) + 10)
		})
	}
}
init()
好的,随机粒子也被我们撸出来了
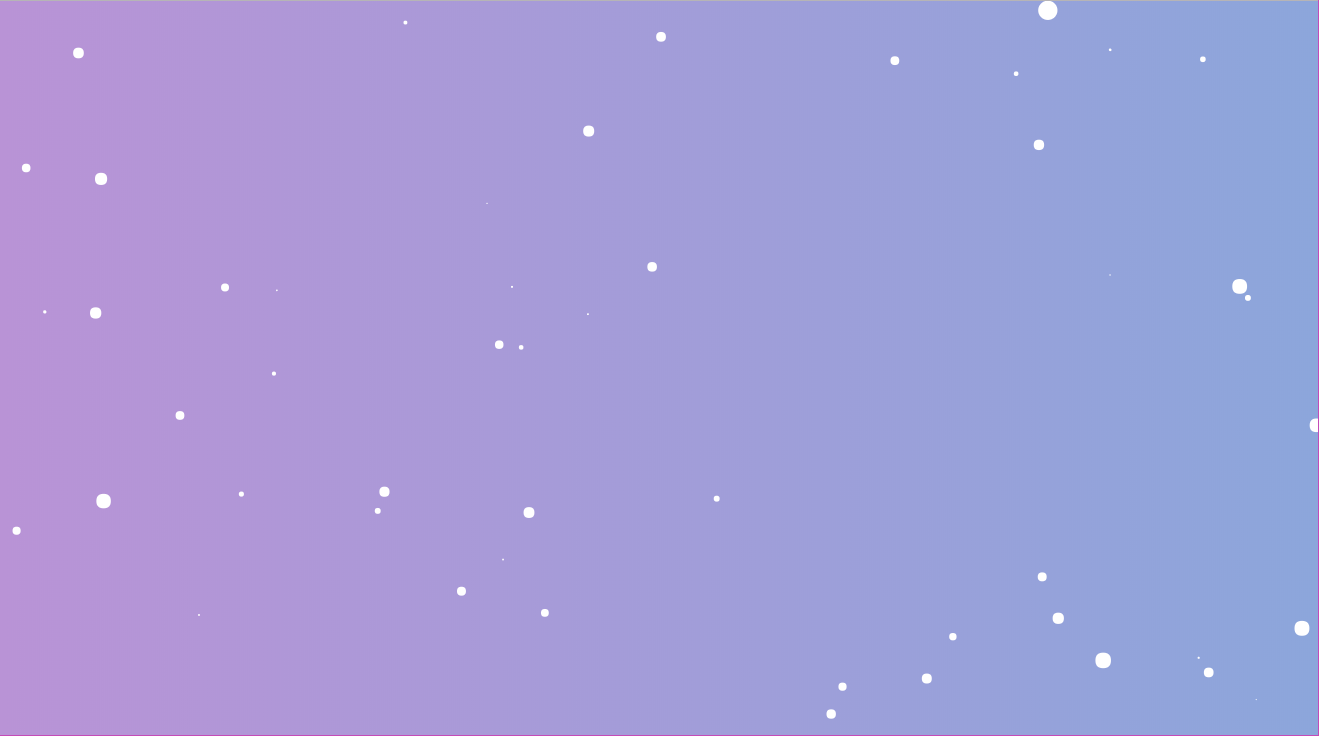
- 每次我们调用
Particle类的构造函数的时候,我们就去绘制,这就显得有些奇怪。 - 我们需要另外准备一个类的内部方法,让它去负责绘制,而构造函数存储这些参数值,各司其职
- 然后就是我们初始化的粒子,我们需要拿一个数组来装住这些粒子,方便我们的后续操作
- 然后机智的你又发现了,我们为什么不传个颜色,透明度进去让它更随机一点
- 我们确定了要传入
parColor,那我们分析一波这个参数,你有可能想传入的是一个十六进制的颜色码,也可能传一个 rgb 或者 rgba 形式的,我们配合透明度再来做处理,那就需要另外一个转换的函数,让它统一转换一下。 - 既然你都能传颜色值了,那支持多种颜色不也是手到擒来的事情,不就是传个数组进去么?
- 确定完需求就开写。
/*16进制颜色转为RGB格式 传入颜色值和透明度 */
const color2Rgb = (str, op) => {
	const reg = /^#([0-9a-fA-f]{3}|[0-9a-fA-f]{6})$/
	let sColor = str.toLowerCase()
	// 如果不传,那就随机透明度
	op = op || (Math.floor(Math.random() * 10) + 4) / 10 / 2
	let opStr = `,${op})`
	// 这里使用 惰性返回,就是存储一下转换好的,万一遇到转换过的就直接取值
	if (this[str]) {return this[str] + opStr}
	if (sColor && reg.test(sColor)) {
	    // 如果是十六进制颜色码
		if (sColor.length === 4) {
			let sColorNew = "#"
			for (let i = 1; i < 4; i += 1) {
				sColorNew += sColor.slice(i, i + 1).concat(sColor.slice(i, i + 1))
			}
			sColor = sColorNew
		}
		//处理六位的颜色值
		let sColorChange = []
		for (let i = 1; i < 7; i += 2) {
			sColorChange.push(parseInt("0x" + sColor.slice(i, i + 2)))
		}
		let result = `rgba(${sColorChange.join(",")}`
		this[str] = result
		return result + opStr
	}
	// 不是我就不想管了
	return sColor
}
// 获取数组中随机一个值
const getArrRandomItem = (arr) => arr[Math.round(Math.random() * (arr.length - 1 - 0) + 0)]

//函数添加传入的参数
const ParticleCanvas = window.ParticleCanvas = function({
    id = "p-canvas",
    width = 0,
    height = 0,
    parColor = ["#fff","#000"],
    parOpacity,
    maxParR = 10, //粒子最大的尺寸
    minParR = 5, //粒子最小的尺寸
}){
    ...
    let particles = []
    class Particle {
		constructor({context, x, y, r, parColor, parOpacity}){
			this.context = context
			this.x = x
			this.y = y
			this.r = r
			this.color = color2Rgb(typeof parColor === "string" ? parColor : getArrRandomItem(parColor), parOpacity) // 颜色
			this.draw()
		}
		draw(){
			this.context.beginPath()
				.fillStyle(this.color)
				.arc(this.x, this.y, this.r, 0, Math.PI * 2)
				.fill()
				.closePath()
		}
	}
	//准备一个 init() 方法 初始化画布
	const init = () => {
		canvas.width = width
		canvas.height = height
		for (let i = 0; i < 50; i++) {
			particles.push(new Particle({
				context,
				x: Math.random() * width,
				y: Math.random() * height,
				r: Math.round(Math.random() * (maxParR - minParR) + minParR),
				parColor,
				parOpacity
			}))
		}
	}
	init()
    return canvas
}
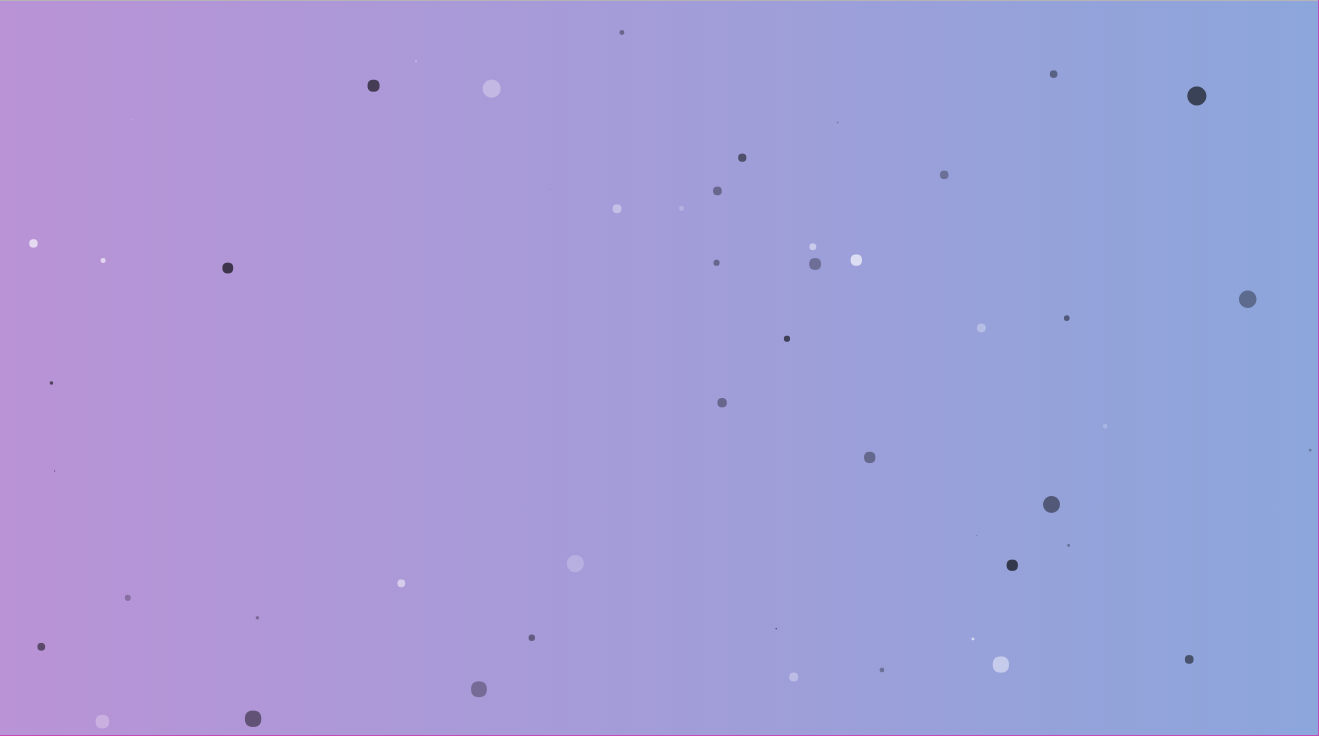
接下来你的页面就会长成这样子啦,基础的粒子类已经写好了,接下来我们先把连线函数编写一下
drawLine
两个点要如何连成线?我们查一下就知道,要通过调用 moveTo(x, y) 和 lineTo(x,y)
- 观察效果,思考一下连线的条件,我们发现在一定的距离两个粒子会连成线
- 首先线的参数就跟粒子的是差不多的,需要线宽
lineWidth, 颜色lineColor, 透明度lineOpacity - 那其实是不是再通过双层循环来调用
drawLine就可以让他们彼此连线 drawLine其实就需要传入另一个粒子进去,开搞
const ParticleCanvas = window.ParticleCanvas = function({
	id = "p-canvas",
	width = 0,
	height = 0,
	parColor = ["#fff","#000"],
	parOpacity,
	maxParR = 10, //粒子最大的尺寸
	minParR = 5, //粒子最小的尺寸
	lineColor = "#fff",
	lineOpacity,
	lineWidth = 1
}){
	...
	class Particle {
		constructor({context, x, y, r, parColor, parOpacity, lineWidth, lineColor, lineOpacity}){
			this.context = context
			this.x = x
			this.y = y
			this.r = r
			this.color = color2Rgb(typeof parColor === "string" ? parColor : getArrRandomItem(parColor), parOpacity) // 颜色
			this.lineColor = color2Rgb(typeof lineColor === "string" ? lineColor : getArrRandomItem(lineColor), lineOpacity)
			//这个判断是为了让线段颜色跟粒子颜色保持一致使用的,不影响整个逻辑
			if(lineColor != "#fff"){
				this.color = this.lineColor
			}else{
				this.lineColor = this.color
			}
			this.lineWidth = lineWidth
			this.draw()
		}
		draw(){
		    ...
		}
		drawLine(_round) {
			let dx = this.x - _round.x,
				dy = this.y - _round.y
			if (Math.sqrt(dx * dx + dy * dy) < 150) {
				let x = this.x,
					y = this.y,
					lx = _round.x,
					ly = _round.y
				this.context.beginPath()
					.moveTo(x, y)
					.lineTo(lx, ly)
					.closePath()
					.lineWidth(this.lineWidth)
					.strokeStyle(this.lineColor)
					.stroke()
			}
		}
	}
	//准备一个 init() 方法 初始化画布
	const init = () => {
		canvas.width = width
		canvas.height = height
		for (let i = 0; i < 50; i++) {
			particles.push(new Particle({
				context,
				x: Math.random() * width,
				y: Math.random() * height,
				r: Math.round(Math.random() * (maxParR - minParR) + minParR),
				parColor,
				parOpacity,
				lineWidth,
				lineColor,
				lineOpacity
			}))
		}
		for (let i = 0; i < particles.length; i++) {
			for (let j = i + 1; j < particles.length; j++) {
				particles[i].drawLine(particles[j])
			}
		}
	}
	...
}
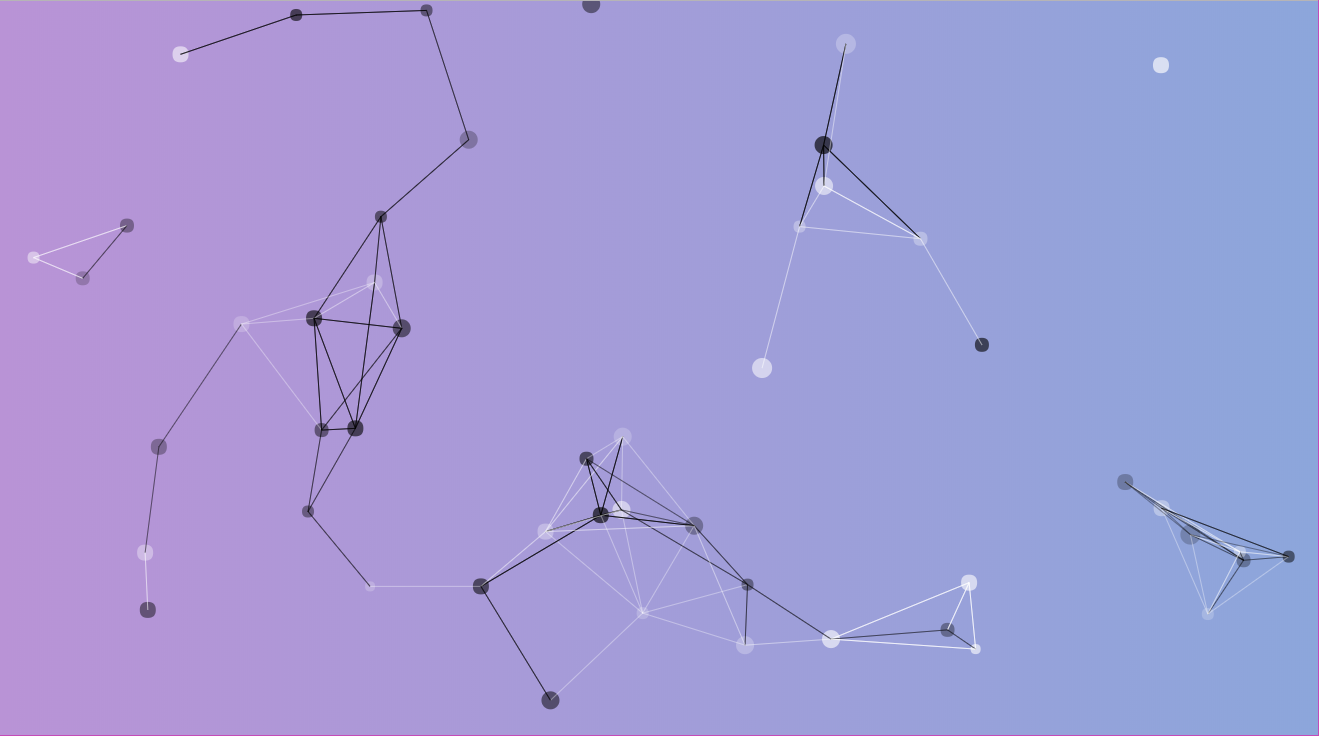
现在我们就得到一个连线的粒子了,接下来我们就要让我们的页面动起来了
animate
首先我们要认识到,canvas是通过我们编写的那些绘制函数绘制上去的,那么,我们如果使用一个定时器,定时的去绘制,不就是动画的基本原理了么
- 首先我们要写一个
animate函数,把我们的逻辑写进去,然后让定时器requestAnimationFrame去执行它
requestAnimationFrame是浏览器用于定时循环操作的一个接口,类似于setTimeout,主要用途是按帧对网页进行重绘。
设置这个API的目的是为了让各种网页动画效果(DOM动画、Canvas动画、SVG动画、WebGL动画)能够有一个统一的刷新机制,从而节省系统资源,提高系统性能,改善视觉效果。代码中使用这个API,就是告诉浏览器希望执行一个动画,让浏览器在下一个动画帧安排一次网页重绘。
- 看不明白的话,那你就把他当成一个不用你去设置时间的
setInterval - 那我们要通过动画去执行绘制,粒子要动起来,我们必须要再粒子类上再扩展一个方法
move,既然要移动了,那上下移动的偏移量必不可少moveX和moveY - 逻辑分析完毕,开炮
const ParticleCanvas = window.ParticleCanvas = function({
	id = "p-canvas",
	width = 0,
	height = 0,
	parColor = ["#fff","#000"],
	parOpacity,
	maxParR = 10, //粒子最大的尺寸
	minParR = 5, //粒子最小的尺寸
	lineColor = "#fff",
	lineOpacity,
	lineWidth = 1,
	moveX = 0,
	moveY = 0,
}){
    ...
	class Particle {
		constructor({context, x, y, r, parColor, parOpacity, lineWidth, lineColor, lineOpacity, moveX, moveY}){
			this.context = context
			this.x = x
			this.y = y
			this.r = r
			this.color = color2Rgb(typeof parColor === "string" ? parColor : getArrRandomItem(parColor), parOpacity) // 颜色
			this.lineColor = color2Rgb(typeof lineColor === "string" ? lineColor : getArrRandomItem(lineColor), lineOpacity)

			this.lineWidth = lineWidth
			//初始化最开始的速度
			this.moveX = Math.random() + moveX
			this.moveY = Math.random() + moveY

			this.draw()
		}
		draw(){
			this.context.beginPath()
				.fillStyle(this.color)
				.arc(this.x, this.y, this.r, 0, Math.PI * 2)
				.fill()
				.closePath()
		}
		drawLine(_round) {
			let dx = this.x - _round.x,
				dy = this.y - _round.y
			if (Math.sqrt(dx * dx + dy * dy) < 150) {
				let x = this.x,
					y = this.y,
					lx = _round.x,
					ly = _round.y

				if(this.userCache){
					x = this.x + this.r / this._ratio
					y = this.y + this.r / this._ratio
					lx = _round.x + _round.r / this._ratio
					ly = _round.y + _round.r / this._ratio
				}

				this.context.beginPath()
					.moveTo(x, y)
					.lineTo(lx, ly)
					.closePath()
					.lineWidth(this.lineWidth)
					.strokeStyle(this.lineColor)
					.stroke()
			}
		}
		move() {
			//边界判断
			this.moveX = this.x + this.r * 2 < width && this.x > 0 ? this.moveX : -this.moveX
			this.moveY = this.y + this.r * 2 < height && this.y > 0 ? this.moveY : -this.moveY
			//通过偏移量,改变x y的值,绘制
			this.x += this.moveX
			this.y += this.moveY
			this.draw()
		}
	}

	//动画函数
	const animate = () => {
		//每次调用要首先清除画布,不然你懂的
		context.clearRect(0, 0, width, height)
		for (let i = 0; i < particles.length; i++) {
			//粒子移动
			particles[i].move()
			for (let j = i + 1; j < particles.length; j++) {
				//粒子连线
				particles[i].drawLine(particles[j])
			}
		}
		requestAnimationFrame(animate)
	}

	//准备一个 init() 方法 初始化画布
	const init = () => {
		canvas.width = width
		canvas.height = height
		for (let i = 0; i < 50; i++) {
			particles.push(new Particle({
				context,
				x: Math.random() * width,
				y: Math.random() * height,
				r: Math.round(Math.random() * (maxParR - minParR) + minParR),
				parColor,
				parOpacity,
				lineWidth,
				lineColor,
				lineOpacity,
				moveX,
				moveY,
			}))
		}
		//执行动画
		animate()
	}
	init()
	return canvas
}
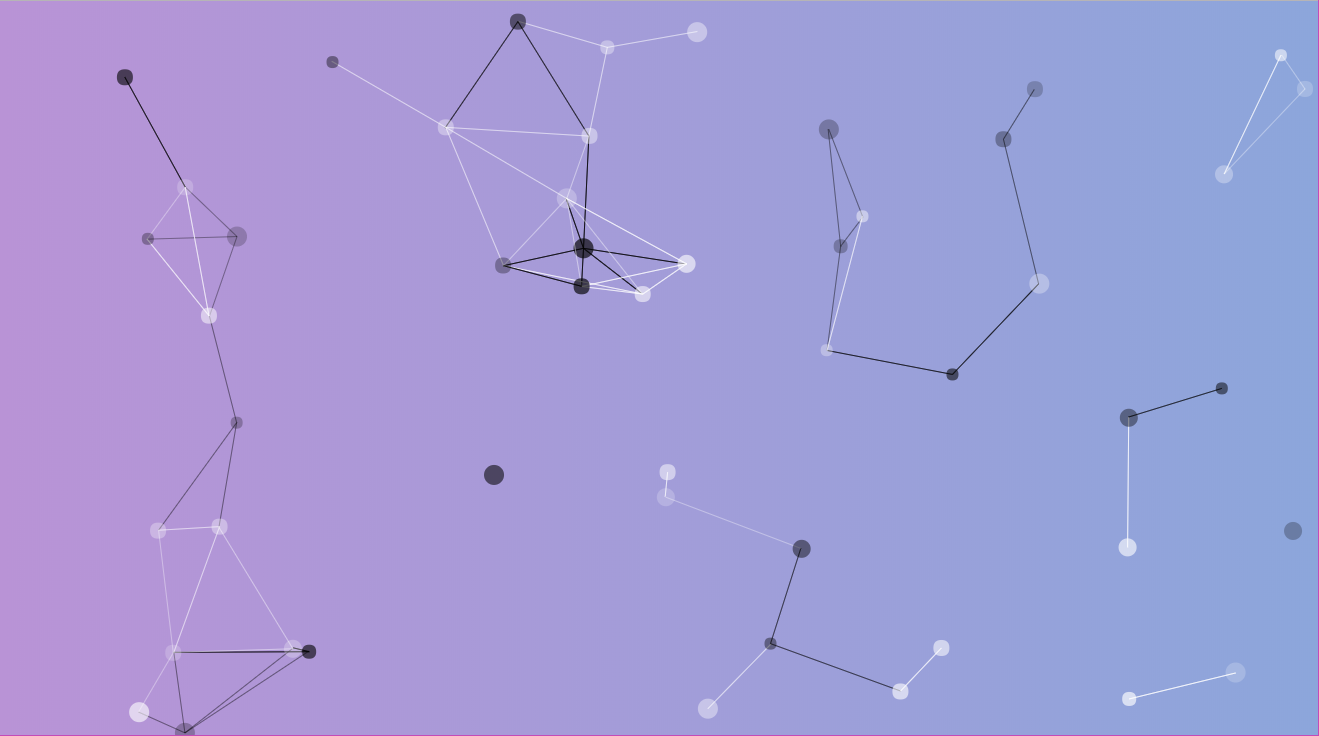
如果没有意外,你的页面应该动起来啦,是不是感觉很简单呢
添加鼠标和触摸移动事件
接下来我们要来添加鼠标和触摸移动的效果了
- 首先鼠标移动会有一个粒子跟随,我们单独初始化一个孤单的粒子出来
currentParticle,这个粒子跟上来自己动的妖艳贱货不一样的点在于,currentParticle的位置,我们需要通过监听事件返回的鼠标位置赋值给它,是的,这个需要你让他动。 - 既然是个独特的粒子,那么样式也要支持自定义啦
isMove(是否开启跟随)targetColortargetPpacitytargetR看你也知道是什么意思啦, 不解释了。 resize事件是监听浏览器窗口尺寸变化,这样子在用户变化尺寸的时候,我们的背景就不会变得不和谐- 实现的思路主要是通过监听
resize事件,重新调用一波init方法,来重新渲染画布,由于resize这个在事件在变化的时候回调非常的频繁,频繁的计算会影响性能,严重可能会卡死,所以我们通过防抖debounce或者节流throttle的方式来限制其调用。 - 了解完思路,那就继续写啦
/* 保留小数 */
const toFixed = (a, n) => parseFloat(a.toFixed(n || 1))
//节流,避免resize占用过多资源
const throttle = function (func,wait,options) {
	var context,args,timeout
	var previous = 0
	options = options || {}
	// leading:false 表示禁用第一次执行
	// trailing: false 表示禁用停止触发的回调
	var later = function(){
		previous = options.leading === false ? 0 : new Date().getTime()
		timeout = null
		func.apply(context, args)
	}
	var throttled = function(){
		var now = +new Date()
		if (!previous && options.leading === false) {previous = now}
		// 下次触发 func 的剩余时间
		var remaining = wait - (now - previous)
		context = this
		args = arguments
		// 如果没有剩余的时间了或者你改了系统时间
		if(remaining > wait || remaining <= 0){
			if (timeout) {
				clearTimeout(timeout)
				timeout = null
			}
			previous = now
			func.apply(context, args)
		}else if(!timeout && options.trailing !== false){
			timeout = setTimeout(later, remaining)
		}
	}
	throttled.cancel = function() {
		clearTimeout(timeout)
		previous = 0
		timeout = null
	}
	return throttled
}
//防抖,避免resize占用过多资源
const debounce = function(func,wait,immediate){
	//防抖
	//定义一个定时器。
	var timeout,result
	var debounced = function() {
		//获取 this
		var context = this
		//获取参数
		var args = arguments
		//清空定时器
		if(timeout){clearTimeout(timeout)}
		if(immediate){
			//立即触发,但是需要等待 n 秒后才可以重新触发执行
			var callNow = !timeout
			console.log(callNow)
			timeout = setTimeout(function(){
				timeout = null
			}, wait)
			if (callNow) {result = func.apply(context, args)}
		}else{
			//触发后开始定时,
			timeout = setTimeout(function(){
				func.apply(context,args)
			}, wait)
		}
		return result
	}
	debounced.cancel = function(){
		// 当immediate 为 true,上一次执行后立即,取消定时器,下一次可以实现立即触发
		if(timeout) {clearTimeout(timeout)}
		timeout = null
	}
	return debounced
}
const ParticleCanvas = window.ParticleCanvas = function({
	id = "p-canvas",
	width = 0,
	height = 0,
	parColor = ["#fff"],
	parOpacity,
	maxParR = 10, //粒子最大的尺寸
	minParR = 5, //粒子最小的尺寸
	lineColor = "#fff",
	lineOpacity,
	lineWidth = 1,
	moveX = 0,
	moveY = 0,
	isMove = true,
	targetColor = ["#000"],
	targetPpacity = 0.6,
	targetR = 10,
}){
	let currentParticle,
		isWResize = width,
		isHResize = height,
		myReq = null

	class Particle {
		...
	}

	//动画函数
	const animate = () => {
		//每次调用要首先清除画布,不然你懂的
		context.clearRect(0, 0, width, height)
		for (let i = 0; i < particles.length; i++) {
			//粒子移动
			particles[i].move()
			for (let j = i + 1; j < particles.length; j++) {
				//粒子连线
				particles[i].drawLine(particles[j])
			}
		}
            	/**
                 * 这个放在外面的原因
                 * 我不开启isMove的时候,或者currentParticle.x 没有值的情况
                 * 放在上面的循环需要每次走循环都判断一次
                 * 而放在下面的话只需要执行一次就知道有没有必要再执行 N 次
                 * 当然你也可以放里面,问题也不大
                */
		if (isMove && currentParticle.x) {
			for (let i = 0; i < particles.length; i++) {
				currentParticle.drawLine(particles[i])
			}
			currentParticle.draw()
		}
		myReq = requestAnimationFrame(animate)
	}

	//准备一个 init() 方法 初始化画布
	const init = () => {
		canvas.width = width
		canvas.height = height
		//独立粒子
		if (isMove && !currentParticle) {
			currentParticle = new Particle({
				x: 0,
				y: 0,
				r: targetR,
				parColor: targetColor,
				parOpacity: targetPpacity,
				lineColor,
				lineOpacity,
				lineWidth,
				context
			}) //独立粒子

			const moveEvent = (e = window.event) => {
				//改变 currentParticle 的 x y
				currentParticle.x = e.clientX || e.touches[0].clientX
				currentParticle.y = e.clientY || e.touches[0].clientY
			}
			const outEvent = () => {currentParticle.x = currentParticle.y = null}

			const eventObject = {
				"pc": {
					move: "mousemove",
					out: "mouseout"
				},
				"phone": {
					move: "touchmove",
					out: "touchend"
				}
			}
			const event = eventObject[/Android|webOS|iPhone|iPod|BlackBerry/i.test(navigator.userAgent) ? "phone" : "pc"]

			canvas.removeEventListener(event.move,moveEvent)
			canvas.removeEventListener(event.out, outEvent)
			canvas.addEventListener(event.move,moveEvent)
			canvas.addEventListener(event.out, outEvent)
		}
		//自由粒子
		for (let i = 0; i < 50; i++) {
			particles.push(new Particle({
				context,
				x: Math.random() * width,
				y: Math.random() * height,
				r: Math.round(Math.random() * (maxParR - minParR) + minParR),
				parColor,
				parOpacity,
				lineWidth,
				lineColor,
				lineOpacity,
				moveX,
				moveY,
			}))
		}
		//执行动画
		animate()
                /*
                    这个判断在于,假设用户只需要一个 500*500 的画布的时候。其实是不需要 resize 的
                    而用户如果只是输入其中一个值,另一个值自适应,则认为其需要 resize。
                    如果全部都自适应,那则肯定是需要 resize 的
                    此逻辑是我自己瞎想的,其实不用也行,只是我觉得这样更符合我自己的需求。
                    全部 resize 也是可以的。
                */
		if(!isWResize || !isHResize){window.addEventListener("resize",debounce(resize, 100))}
	}
	const resize = () => {
		//清除 定时器
		if(this.timeout){clearTimeout(this.timeout)}
		//清除 AnimationFrame
		if(myReq){window.cancelAnimationFrame(myReq)}
		//清空 粒子数组
		particles = []
		//设置新的 宽高
		width = isWResize ? width : document.documentElement.clientWidth
		height = isHResize ? height : document.documentElement.clientHeight
		this.timeout = setTimeout(init, 20)
	}
	init()
	return canvas
}
写到这里,这个东西差不多啦,接下来就是优化的问题了
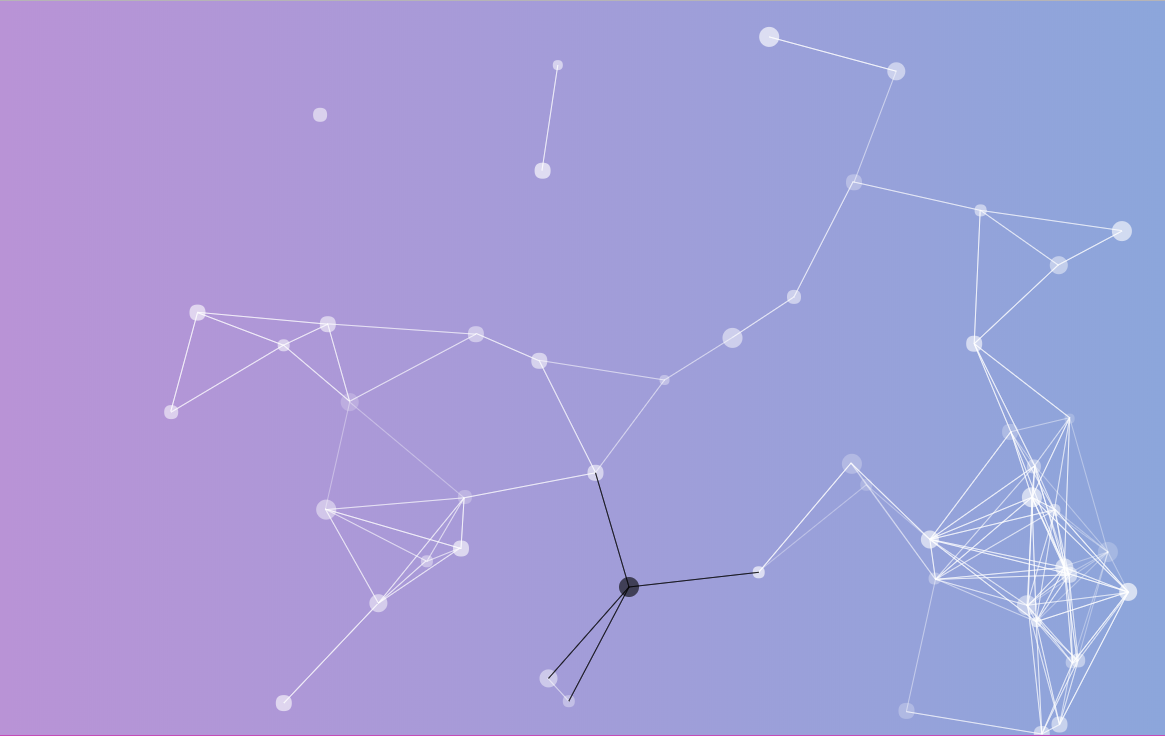
离屏渲染优化和手机端的模糊处理
离屏渲染
其实是指用离屏canvas上预渲染相似的图形或重复的对象,简单点说就是,你现在其他canvas对象上画好,然后再通过 drawImage() 放进去目标画布里面
- 我们需要提供一个方法,用于离屏渲染粒子,用于生成一个看不见的
canvas然后在上面画画画 - 最好能够提供一下缓存用过的
canvas用于节省空间性能,提高复用率 - 画的时候要注意,提供一个倍数,然后再缩小,看上去就比较清晰
- 这里的注意点是,理解这种渲染方式,以及倍数之间的关系
//离屏缓存
const getCachePoint = (r,color,cacheRatio) => {
	let key = r + "cache" + color
	//缓存一个 canvas  如果遇到相同的,直接从缓存取
	if(this[key]){return this[key]}
	//离屏渲染
	const _ratio = 2 * cacheRatio,
		width = r * _ratio,
		cacheCanvas = document.createElement("canvas"),
		cacheContext = Canvas2DContext(cacheCanvas)
	cacheCanvas.width = cacheCanvas.height = width
	cacheContext.save()
		.fillStyle(color)
		.arc(r * cacheRatio, r * cacheRatio, r, 0, 360)
		.closePath()
		.fill()
		.restore()
	this[key] = cacheCanvas

	return cacheCanvas
}


const ParticleCanvas = window.ParticleCanvas = function({
    ...
    useCache = true //新增一个useCache表示是否开启离屏渲染
}){
	...
	class Particle {
		constructor({context, x, y, r, parColor, parOpacity, lineWidth, lineColor, lineOpacity, moveX, moveY, useCache}){
			...
			this.ratio = 3
			this.useCache = useCache
		}
		draw(){
			if(this.useCache){
				this.context.drawImage(
					getCachePoint(this.r,this.color,this.ratio),
					this.x - this.r * this.ratio,
					this.y - this.r * this.ratio
				)
			}else{
				this.context.beginPath()
					.fillStyle(this.color)
					.arc(toFixed(this.x), toFixed(this.y), toFixed(this.r), 0, Math.PI * 2)
					.fill()
					.closePath()
			}
		}
		...
	}
    ...
	//准备一个 init() 方法 初始化画布
	const init = () => {
	    ...
		if (isMove && !currentParticle) {
			currentParticle = new Particle({
				...
				useCache
			}) //独立粒子
			...
		}
		//自由粒子
		for (let i = 0; i < 50; i++) {
			particles.push(new Particle({
				...
				useCache
			}))
		}
        ...
	}
    ...
}
高清屏的模糊处理
因为 canvas 绘制的图像并不是矢量图,而是跟图片一样的位图,所以在高 dpi 的屏幕上看的时候,就会显得比较模糊,比如 苹果的 Retina 屏幕,它会用两个或者三个像素来合成一个像素,相当于图被放大了两倍或者三倍,所以自然就模糊了
我们可以通过引入 hidpi-canvas.min.js 来处理在手机端高清屏绘制变得模糊的问题
这个插件的原理是通过这个方法来获取 dpi
getPixelRatio = (context) => {
	var backingStore = context.backingStorePixelRatio ||
            context.webkitBackingStorePixelRatio ||
            context.mozBackingStorePixelRatio ||
            context.msBackingStorePixelRatio ||
            context.oBackingStorePixelRatio ||
            context.backingStorePixelRatio || 1
	return (window.devicePixelRatio || 1) / backingStore
}
然后通过放大画布,再通过CSS的宽高缩小画布
//兼容 Retina 屏幕
const setRetina = (canvas,context,width,height) => {
	var ratio = getPixelRatio(context)
	ratio = 2
	if(context._retinaRatio && context._retinaRatio !== ratio){window.location.reload()}
	canvas.style.width = width * ratio + "px"
	canvas.style.height = height * ratio + "px"
	// 缩放绘图
	context.setTransform(ratio, 0, 0, ratio, 0, 0)
	canvas.width = width * ratio
	canvas.height = height * ratio
	context._retinaRatio = ratio
	return ratio
}
这个方法通过处理是可以兼容好手机模糊的问题,但是在屏幕比较好的电脑屏幕感觉还是有点模糊,所以我就改造了一下...
- 如果是手机端,放大三倍,电脑端则放大两倍,再缩小到指定大小
- 需要注意的是,
drawImage的倍数关系 - 如果有更好更优雅的办法,希望能交流一下
const PIXEL_RATIO = /Android|webOS|iPhone|iPod|BlackBerry/i.test(navigator.userAgent) ? 3 : 2
//hidpi-canvas.min.js 核心代码
;(function(prototype) {

	var forEach = function(obj, func) {
			for (var p in obj) {
				if (obj.hasOwnProperty(p)) {
					func(obj[p], p)
				}
			}
		},

		ratioArgs = {
			"fillRect": "all",
			"clearRect": "all",
			"strokeRect": "all",
			"moveTo": "all",
			"lineTo": "all",
			"arc": [0,1,2],
			"arcTo": "all",
			"bezierCurveTo": "all",
			"isPointinPath": "all",
			"isPointinStroke": "all",
			"quadraticCurveTo": "all",
			"rect": "all",
			"translate": "all",
			"createRadialGradient": "all",
			"createLinearGradient": "all"
		}

	forEach(ratioArgs, function(value, key) {
		prototype[key] = (function(_super) {
			return function() {
				var i, len,
					args = Array.prototype.slice.call(arguments)

				if (value === "all") {
					args = args.map(function(a) {
						return a * PIXEL_RATIO
					})
				}
				else if (Array.isArray(value)) {
					for (i = 0, len = value.length; i < len; i++) {
						args[value[i]] *= PIXEL_RATIO
					}
				}

				return _super.apply(this, args)
			}
		})(prototype[key])
	})

	// Stroke lineWidth adjustment
	prototype.stroke = (function(_super) {
		return function() {
			this.lineWidth *= PIXEL_RATIO
			_super.apply(this, arguments)
			this.lineWidth /= PIXEL_RATIO
		}
	})(prototype.stroke)

	// Text
	//
	prototype.fillText = (function(_super) {
		return function() {
			var args = Array.prototype.slice.call(arguments)

			args[1] *= PIXEL_RATIO // x
			args[2] *= PIXEL_RATIO // y

			this.font = this.font.replace(
				/(\d+)(px|em|rem|pt)/g,
				function(w, m, u) {
					return m * PIXEL_RATIO + u
				}
			)

			_super.apply(this, args)

			this.font = this.font.replace(
				/(\d+)(px|em|rem|pt)/g,
				function(w, m, u) {
					return m / PIXEL_RATIO + u
				}
			)
		}
	})(prototype.fillText)

	prototype.strokeText = (function(_super) {
		return function() {
			var args = Array.prototype.slice.call(arguments)

			args[1] *= PIXEL_RATIO // x
			args[2] *= PIXEL_RATIO // y

			this.font = this.font.replace(
				/(\d+)(px|em|rem|pt)/g,
				function(w, m, u) {
					return m * PIXEL_RATIO + u
				}
			)

			_super.apply(this, args)

			this.font = this.font.replace(
				/(\d+)(px|em|rem|pt)/g,
				function(w, m, u) {
					return m / PIXEL_RATIO + u
				}
			)
		}
	})(prototype.strokeText)
})(CanvasRenderingContext2D.prototype)

//兼容 Retina 屏幕
const setRetina = (canvas,context,width,height) => {
	var ratio = PIXEL_RATIO
	canvas.style.width = width + "px"
	canvas.style.height = height + "px"
	// 缩放绘图
	context.setTransform(ratio, 0, 0, ratio, 0, 0)
	canvas.width = width * ratio
	canvas.height = height * ratio
	context._retinaRatio = ratio
	return ratio
}

// 链式调用
function Canvas2DContext(canvas) {
	if (typeof canvas === "string") {
		canvas = document.getElementById(canvas)
	}
	if (!(this instanceof Canvas2DContext)) {
		return new Canvas2DContext(canvas)
	}
	this.context = this.ctx = canvas.getContext("2d")
	if (!Canvas2DContext.prototype.arc) {
		Canvas2DContext.setup.call(this, this.ctx)
	}
}
Canvas2DContext.setup = function() {
	var methods = ["arc", "arcTo", "beginPath", "bezierCurveTo", "clearRect", "clip",
		"closePath", "drawImage", "fill", "fillRect", "fillText", "lineTo", "moveTo",
		"quadraticCurveTo", "rect", "restore", "rotate", "save", "scale", "setTransform",
		"stroke", "strokeRect", "strokeText", "transform", "translate"]

	var getterMethods = ["createPattern", "drawFocusRing", "isPointInPath", "measureText",
	// drawFocusRing not currently supported
	// The following might instead be wrapped to be able to chain their child objects
		"createImageData", "createLinearGradient",
		"createRadialGradient", "getImageData", "putImageData"
	]

	var props = ["canvas", "fillStyle", "font", "globalAlpha", "globalCompositeOperation",
		"lineCap", "lineJoin", "lineWidth", "miterLimit", "shadowOffsetX", "shadowOffsetY",
		"shadowBlur", "shadowColor", "strokeStyle", "textAlign", "textBaseline"]

	for (let m of methods) {
		let method = m
		Canvas2DContext.prototype[method] = function() {
			this.ctx[method].apply(this.ctx, arguments)
			return this
		}
	}

	for (let m of getterMethods) {
		let method = m
		Canvas2DContext.prototype[method] = function() {
			return this.ctx[method].apply(this.ctx, arguments)
		}
	}

	for (let p of props) {
		let prop = p
		Canvas2DContext.prototype[prop] = function(value) {
			if (value === undefined)
			{return this.ctx[prop]}
			this.ctx[prop] = value
			return this
		}
	}
}

/*16进制颜色转为RGB格式 传入颜色值和透明度 */
const color2Rgb = (str, op) => {
	const reg = /^#([0-9a-fA-f]{3}|[0-9a-fA-f]{6})$/
	let sColor = str.toLowerCase()
	// 如果不传,那就随机透明度
	op = op || (Math.floor(Math.random() * 10) + 4) / 10 / 2
	let opStr = `,${op})`
	// 这里使用 惰性返回,就是存储一下转换好的,万一遇到转换过的就直接取值
	if (this[str]) {return this[str] + opStr}
	if (sColor && reg.test(sColor)) {
	// 如果是十六进制颜色码
		if (sColor.length === 4) {
			let sColorNew = "#"
			for (let i = 1; i < 4; i += 1) {
				sColorNew += sColor.slice(i, i + 1).concat(sColor.slice(i, i + 1))
			}
			sColor = sColorNew
		}
		//处理六位的颜色值
		let sColorChange = []
		for (let i = 1; i < 7; i += 2) {
			sColorChange.push(parseInt("0x" + sColor.slice(i, i + 2)))
		}
		let result = `rgba(${sColorChange.join(",")}`
		this[str] = result
		return result + opStr
	}
	// 不是我就不想管了
	return sColor
}
// 获取数组中随机一个值
const getArrRandomItem = (arr) => arr[Math.round(Math.random() * (arr.length - 1 - 0) + 0)]
/* 保留小数 */
const toFixed = (a, n) => parseFloat(a.toFixed(n || 1))
//节流,避免resize占用过多资源
const throttle = function (func,wait,options) {
	var context,args,timeout
	var previous = 0
	options = options || {}
	// leading:false 表示禁用第一次执行
	// trailing: false 表示禁用停止触发的回调
	var later = function(){
		previous = options.leading === false ? 0 : new Date().getTime()
		timeout = null
		func.apply(context, args)
	}
	var throttled = function(){
		var now = +new Date()
		if (!previous && options.leading === false) {previous = now}
		// 下次触发 func 的剩余时间
		var remaining = wait - (now - previous)
		context = this
		args = arguments
		// 如果没有剩余的时间了或者你改了系统时间
		if(remaining > wait || remaining <= 0){
			if (timeout) {
				clearTimeout(timeout)
				timeout = null
			}
			previous = now
			func.apply(context, args)
		}else if(!timeout && options.trailing !== false){
			timeout = setTimeout(later, remaining)
		}
	}
	throttled.cancel = function() {
		clearTimeout(timeout)
		previous = 0
		timeout = null
	}
	return throttled
}
//防抖,避免resize占用过多资源
const debounce = function(func,wait,immediate){
	//防抖
	//定义一个定时器。
	var timeout,result
	var debounced = function() {
		//获取 this
		var context = this
		//获取参数
		var args = arguments
		//清空定时器
		if(timeout){clearTimeout(timeout)}
		if(immediate){
			//立即触发,但是需要等待 n 秒后才可以重新触发执行
			var callNow = !timeout
			console.log(callNow)
			timeout = setTimeout(function(){
				timeout = null
			}, wait)
			if (callNow) {result = func.apply(context, args)}
		}else{
			//触发后开始定时,
			timeout = setTimeout(function(){
				func.apply(context,args)
			}, wait)
		}
		return result
	}
	debounced.cancel = function(){
		// 当immediate 为 true,上一次执行后立即,取消定时器,下一次可以实现立即触发
		if(timeout) {clearTimeout(timeout)}
		timeout = null
	}
	return debounced
}

//离屏缓存
const getCachePoint = (r,color,cacheRatio) => {
	let key = r + "cache" + color
	if(this[key]){return this[key]}
	//离屏渲染
	const _ratio = 2 * cacheRatio,
		width = r * _ratio,
		cR = toFixed(r * cacheRatio),
		cacheCanvas = document.createElement("canvas"),
		cacheContext = Canvas2DContext(cacheCanvas)
	setRetina(cacheCanvas,cacheContext,width,width)
	// cacheCanvas.width = cacheCanvas.height = width
	cacheContext.save()
		.fillStyle(color)
		.arc(cR, cR, cR, 0, 360)
		.closePath()
		.fill()
		.restore()
	this[key] = cacheCanvas

	return cacheCanvas
}


const ParticleCanvas = window.ParticleCanvas = function({
	id = "p-canvas",
	num = 30,
	width = 0,
	height = 0,
	parColor = ["#fff"],
	parOpacity,
	maxParR = 4, //粒子最大的尺寸
	minParR = 8, //粒子最小的尺寸
	lineColor = ["#fff"],
	lineOpacity = 0.3,
	lineWidth = 1,
	moveX = 0,
	moveY = 0,
	isMove = true,
	targetColor = ["#fff"],
	targetPpacity = 0.6,
	targetR = 6,
	useCache = false
}){
	//这里是获取到 canvas 对象,如果没获取到我们就自己创建一个插入进去
	const canvas = document.getElementById(id) || document.createElement("canvas")
	if(canvas.id !== id){ (canvas.id = id) && document.body.appendChild(canvas)}

	//通过调用上面的方法来获取到一个可以链式操作的上下文
	const context = Canvas2DContext(canvas)
	let currentParticle,
		isWResize = width,
		isHResize = height,
		myReq = null
	let particles = []
	//这里默认的是网页窗口大小,如果传入则取传入的值
	width = width || document.documentElement.clientWidth
	height = height || document.documentElement.clientHeight

	class Particle {
		constructor({context, x, y, r, parColor, parOpacity, lineWidth, lineColor, lineOpacity, moveX, moveY, useCache}){
			this.context = context
			this.x = x
			this.y = y
			this.r = toFixed(r)
			this.ratio = 3
			this.color = color2Rgb(typeof parColor === "string" ? parColor : getArrRandomItem(parColor), parOpacity) // 颜色
			this.lineColor = color2Rgb(typeof lineColor === "string" ? lineColor : getArrRandomItem(lineColor), lineOpacity)
			if(lineColor === "#fff"){
				this.color = this.lineColor
			}else{
				this.lineColor = this.color
			}
			this.lineWidth = lineWidth
			//防止初始化越界
			this.x = x > this.r ? x - this.r : x
			this.y = y > this.r ? y - this.r : y
			//初始化最开始的速度
			this.moveX = Math.random() + moveX
			this.moveY = Math.random() + moveY
			this.useCache = useCache
			this.draw()
		}
		draw(){
			if(this.x >= 0 && this.y >= 0){
				if(this.useCache){
					this.context.drawImage(
						getCachePoint(this.r,this.color,this.ratio),
						toFixed(this.x - this.r) * this.context._retinaRatio,
						toFixed(this.y - this.r) * this.context._retinaRatio,
						this.r * 2 * this.context._retinaRatio,
						this.r * 2 * this.context._retinaRatio
					)
				}else{
					this.context.beginPath()
						.fillStyle(this.color)
						.arc(toFixed(this.x), toFixed(this.y), toFixed(this.r), 0, Math.PI * 2)
						.fill()
						.closePath()
				}
			}

		}
		drawLine(_round) {
			let dx = this.x - _round.x,
				dy = this.y - _round.y
			if (Math.sqrt(dx * dx + dy * dy) < 150) {
				let x = this.x,
					y = this.y,
					lx = _round.x,
					ly = _round.y


				if(this.userCache){
					x = this.x + this.r / this._ratio
					y = this.y + this.r / this._ratio
					lx = _round.x + _round.r / this._ratio
					ly = _round.y + _round.r / this._ratio
				}
				if(x >= 0 && y >= 0 && lx >= 0 && ly >= 0){
					this.context.beginPath()
						.moveTo(toFixed(x), toFixed(y))
						.lineTo(toFixed(lx), toFixed(ly))
						.closePath()
						.lineWidth(this.lineWidth)
						.strokeStyle(this.lineColor)
						.stroke()
				}

			}
		}
		move() {
			//边界判断
			this.moveX = this.x + this.r * 2 < width && this.x > 0 ? this.moveX : -this.moveX
			this.moveY = this.y + this.r * 2 < height && this.y > 0 ? this.moveY : -this.moveY
			//通过偏移量,改变x y的值,绘制
			this.x += this.moveX
			this.y += this.moveY
			this.draw()
		}
	}

	//动画函数
	const animate = () => {
		//每次调用要首先清除画布,不然你懂的
		context.clearRect(0, 0, width, height)
		for (let i = 0; i < particles.length; i++) {
			//粒子移动
			particles[i].move()
			for (let j = i + 1; j < particles.length; j++) {
				//粒子连线
				particles[i].drawLine(particles[j])
			}
		}
                /**
                 * 这个放在外面的原因
                 * 我不开启isMove的时候,或者currentParticle.x 没有值的情况
                 * 放在上面的循环需要每次走循环都判断一次
                 * 而放在下面的话只需要执行一次就知道有没有必要再执行 N 次
                 * 当然你也可以放里面,问题也不大
                */
		if (isMove && currentParticle.x) {
			for (let i = 0; i < particles.length; i++) {
				currentParticle.drawLine(particles[i])
			}
			currentParticle.draw()
		}
		myReq = requestAnimationFrame(animate)
	}

	//准备一个 init() 方法 初始化画布
	const init = () => {
		// canvas.width = width
		// canvas.height = height
		setRetina(canvas, context, width, height)
		//独立粒子
		if (isMove && !currentParticle) {
			currentParticle = new Particle({
				x: 0,
				y: 0,
				r: targetR,
				parColor: targetColor,
				parOpacity: targetPpacity,
				lineColor,
				lineOpacity,
				lineWidth,
				context,
				useCache
			}) //独立粒子

			const moveEvent = (e = window.event) => {
				//改变 currentParticle 的 x y
				currentParticle.x = e.clientX || e.touches[0].clientX
				currentParticle.y = e.clientY || e.touches[0].clientY
			}
			const outEvent = () => {currentParticle.x = currentParticle.y = null}

			const eventObject = {
				"pc": {
					move: "mousemove",
					out: "mouseout"
				},
				"phone": {
					move: "touchmove",
					out: "touchend"
				}
			}
			const event = eventObject[/Android|webOS|iPhone|iPod|BlackBerry/i.test(navigator.userAgent) ? "phone" : "pc"]

			canvas.removeEventListener(event.move,moveEvent)
			canvas.removeEventListener(event.out, outEvent)
			canvas.addEventListener(event.move,moveEvent)
			canvas.addEventListener(event.out, outEvent)
		}
		//自由粒子
		for (let i = 0; i < num; i++) {
			particles.push(new Particle({
				context,
				x: Math.random() * width,
				y: Math.random() * height,
				r: Math.round(Math.random() * (maxParR - minParR) + minParR),
				parColor,
				parOpacity,
				lineWidth,
				lineColor,
				lineOpacity,
				moveX,
				moveY,
				useCache
			}))
		}
		//执行动画
		animate()
                /*
                    这个判断在于,假设用户只需要一个 500*500 的画布的时候。其实是不需要 resize 的
                    而用户如果只是输入其中一个值,另一个值自适应,则认为其需要 resize。
                    如果全部都自适应,那则肯定是需要 resize 的
                    此逻辑是我自己瞎想的,其实不用也行,只是我觉得这样更符合我自己的需求。
                    全部 resize 也是可以的。
                */
		if(!isWResize || !isHResize){window.addEventListener("resize",debounce(resize, 100))}
	}
	const resize = () => {
		//清除 定时器
		if(this.timeout){clearTimeout(this.timeout)}
		//清除 AnimationFrame
		if(myReq){window.cancelAnimationFrame(myReq)}
		//清空 粒子数组
		particles = []
		//设置新的 宽高
		width = isWResize ? width : document.documentElement.clientWidth
		height = isHResize ? height : document.documentElement.clientHeight
		this.timeout = setTimeout(init, 20)
	}
	init()
	return canvas
}

const canvas = ParticleCanvas({})
console.log(canvas)
写到这里基本也就写完了...
溜了溜了