微服务是一个自包含的独立单元,跟其他的微服务共同组成一个大型应用。通过把应用拆分成小单元,每个单元都能独立部署和扩展,也能由不同的团队用不同的编程语言开发,还能独立测试。
micro 是一个很小的(大约100行代码)模块,它让我们用 Node.js 写微服务变得轻松有趣。它很容易使用,而且非常快。无论你之前是否用过 Node.js,看完这篇文章你就能写自己的微服务了!
上手准备
上手操作仅需两个小步骤,首先需要安装 micro:
npm install -g micro这里选择全局安装是为了确保我们能使用
micro命令。如果你知道如何使用 npm scripts,你可以随意使用它们。
第二步就是新建一个存放微服务的文件 index.js:
touch index.js初始步骤
这个 index.js 文件需要导出一个函数, micro 会把连接的请求和响应对象传给它:
module.exports = function (request, response) { // 微服务逻辑代码}我们用到 micro的最主要的方法是 send,用它可以向客户端发送响应。我们先require 它,并发送一个简单的“Hello World”,无论请求是什么:
const { send } = require('micro')module.exports = function (request, response) { send(response, 200, 'Hello World! 👋')}send 第一个参数是要发送的响应,第二个参数是 HTTP 状态码,第三个参数是响应内容(可以是JOSN)。
启动微服务只需要一个命令:
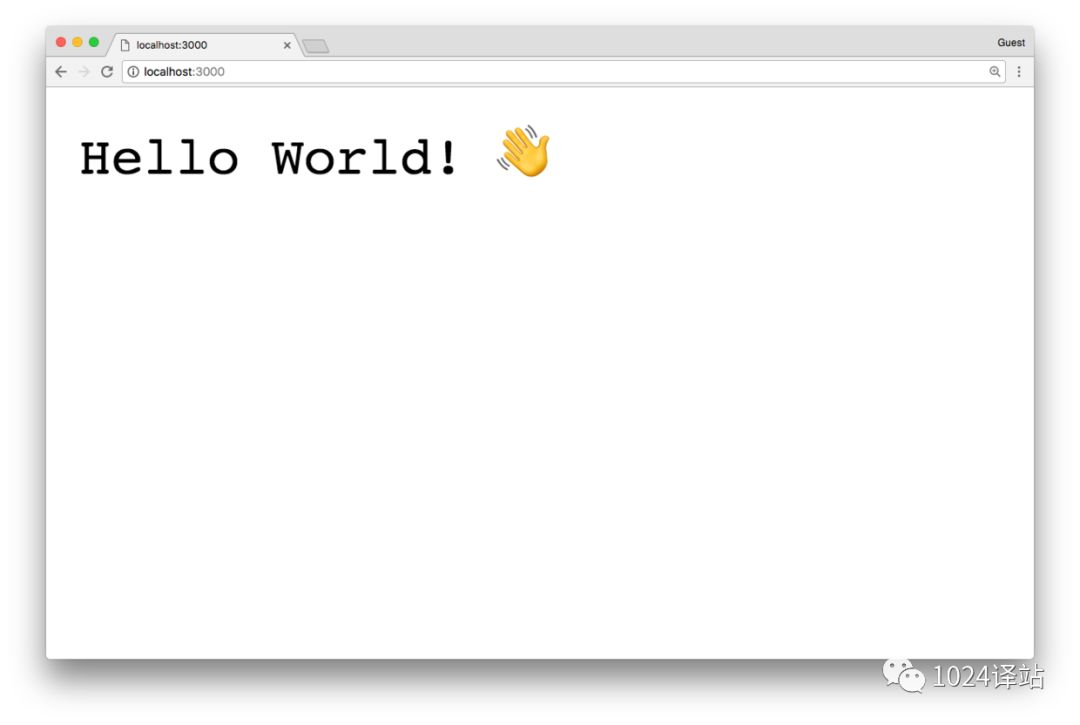
$ micro index.js Ready! Listening on http://0.0.0.0:3000用浏览器打开这个页面,你会看到:

做点有用的
前面做的有点枯燥,我们来做点有用的东西!我们想做个能记录指定路径被请求的次数的微服务。也就是当 /foo 第一次被请求时,返回 1,再一次请求时返回2,等等。
我们首先需要知道请求 URL 的pathname。从 request.url获得 URL,然后用 Node.js 核心库的url 模块(无需另外安装)解析它。
引入url模块并用它从 URL 解析获得 pathname:
const { send } = require('micro')const url = require('url')module.exports = function (request, response) { const { pathname } = url.parse(request.url) console.log(pathname) send(response, 200, 'Hello World! 👋')}重启微服务(按 CTRL+C,然后再次输入 micro index.js)试试看。请求localhost:3000/foo 会在控制台输出 /foo,请求localhost:3000/bar 输出 /bar。
有了 pathname,最后一步就是保存这个路径被请求的次数了。创建一个全局对象visits,用来保存所有访问记录:
const { send } = require('micro')const url = require('url')const visits = {}module.exports = function (request, response) { const { pathname } = url.parse(request.url) send(response, 200, 'Hello World! 👋')}每次请求到达的时候检查visits[pathname]是否存在。如果存在,就把访问次数递增并返回结果给客户端。否则就把它设置为 1并把它返回给客户端。
const { send } = require('micro')const url = require('url')const visits = {}module.exports = function (request, response) { const { pathname } = url.parse(request.url) if (visits[pathname]) { visits[pathname] = visits[pathname] + 1 } else { visits[pathname] = 1 } send(response, 200, `This page has ${visits[pathname]} visits!`)}再次重启服务,在浏览器打开localhost:3000/foo并刷新几次。你会看到:

这基本上是我在几个小时内构建
micro-analytics的方法。核心概念是一样的,只是多了一些功能。一旦弄清楚在做的东西,实现的代码还是挺简单的。
持久化数据
你可能也注意到了,每当我们重启服务的时候,数据都被删除了。我们并没有把访问数据保存到数据库,只是放在内存里。让我们解决这个问题!
我们将使用 level 持久化数据,它是一个基于文件的键值存储器。 micro内置对 async/await 的支持,这让异步代码更加优美。问题在于, level 是基于回调函数而不是 Promise的。😕
像往常一样,npm 里有我们需要的模块。 Forbes Lindesay 开发了 then-levelup,它允许我们通过 promise 的方式使用level 。如果不太理解,不用担心,很快你就能知道它是什么了!
先安装这些模块:
npm install level then-levelup为了创建数据库,我们先引入level,然后指定数据库的存储位置,存储内容为JSON格式。我们用 then-levelup 导出的方法 promisify包住这个数据库,然后导出一个 async 函数而不是普通函数,以便能使用 await 关键字:
const { send } = require('micro')const url = require('url')const level = require('level')const promisify = require('then-levelup')const db = promisify(level('visits.db', { valueEncoding: 'json'}))module.exports = async function (request, response) { /* ... */}对于数据库我们需要的两个方法是,db.put(key, value) 用来保存数据(等效于 visits[pathname] = x),db.get(key)用来获取数据(等效于 const x = visits[pathname])。
首先,我们想知道在数据库里是否存在该路径的访问记录。通过 db.get(pathname) 来实现,并用 await 关键字等待完成:
module.exports = async function (request, response) { const { pathname } = url.parse(request.url) const currentVisits = await db.get(pathname)}如果不加上
await,currentVisits就被赋值为一个 Promise,函数会继续执行,我们也就得不到数据库返回的值了——这不是我们想要的结果!
与之前相反,如果当前没有访问记录,db.get 会抛出一个 “NotFoundError” 异常。我们要用 try/catch 块来捕获,并用 db.put 设置初始值为1:
/* ... */module.exports = async function (request, response) { const { pathname } = url.parse(request.url) try { const currentVisits = await db.get(pathname) } catch (error) { if (error.notFound) await db.put(pathname, 1) }}继续完成它,如果已经有访问记录,我们需要增加访问次数并发送响应:
/* ... */module.exports = async function (request, response) { const { pathname } = url.parse(request.url) try { const currentVisits = await db.get(pathname) await db.put(pathname, currentVisits + 1) } catch (error) { if (error.notFound) await db.put(pathname, 1) } send(response, 200, `This page has ${await db.get(pathname)} visits!`)}这就是我们要做的所有事情!现在,页面的访问记录已经持久化保存到 vists.db 文件里了,服务重启也不受影响。试着重启服务,打开几次 localhost:3000/foo ,然后再重启服务,再访问同一个页面。你会发现之前的访问次数还在,尽管已经重启服务了。
恭喜你,在10分钟内就建立了一个页面计数器! 🎉
这就是 Node.js 中小型的、集中的模块的强大功能。无需折腾基础组件,我们只要专注于应用开发。