作者: 珈蓝 from 迅雷前端
当新建项目的时候,我们通常需要设计目录结构、配各种配置、处理打包编译,而且每次新建都要重来一遍,或把原来的项目 copy 一份再改改。那能不能自己写个模板,然后还可以支持个性化自动创建呢?今天我就来和大家一起分享如何定制一套自己的项目脚手架,提升开发效率。
这里需要引入脚手架的概念,什么是脚手架呢?脚手架如同一个项目的模板,可以帮我们快速开始项目,就像 vue-cli,提供一个终端的交互界面让用户自定义项目内容。
yeoman 介绍
Yeoman 是一个通用的脚手架系统,允许创建任何类型的应用程序(Web,Java,Python,C#等)。用 yeoman 写脚手架非常简单, yeoman 提供了 yeoman-generator 让我们快速生成一个脚手架模板,我们的主要工作就是把模板文件写好。现在我们来用 yeoman 写一个生成 javascript 插件的脚手架吧。
脚手架功能:
- 自动构建编译和打包
- 支持 es6 语法
- 支持单元测试
- 支持 jsdoc 生成文档
- 支持 eslint 语法检查
- 自动生成 changelog
准备工作
首先需要全局安装 yo 和 generator-generator
npm install yo -g
npm install generator-generator -g
生成脚手架模板
yo generator
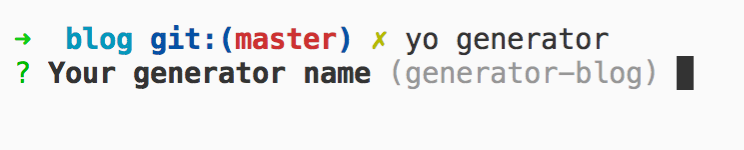
在这个终端界面里输入项目名、描述等项目信息。注意项目名称要写成generator-xxx的格式,这样用户就可以通过yo xxx安装你的脚手架了。
生成的脚手架模板目录结构如下:
.
├── generators/
│   └── app/
│       ├── index.js
│       └── templates/
│           └── dummyfile.txt
├── .editorconfig
├── .eslintignore
├── .gitattributes
├── .gitignore
├── .travis.yml
├── .yo-rc.json
├── LICENSE
├── README.md
├── package.json
└── __tests__/
    └── app.js
接下来我们就在generators/app/index.js里写脚手架的逻辑。
编写自己的脚手架
脚手架所做的事情:
- 接收用户输入
- 根据用户输入生成模板文件
- 将模板文件拷贝到目标目录(通常是用户运行脚手架的目录)
- 安装依赖
yeoman 提供了一个基本生成器,你可以扩展它以实现自己的行为。这个基础生成器将帮你减轻大部分工作量。在生成器的 index.js 文件中,以下是扩展基本生成器的方法:
var Generator = require("yeoman-generator");

module.exports = class extends Generator {};
yeoman 生命周期函数执行顺序如下:
- initializing - 初始化函数
- prompting - 接收用户输入阶段
- configuring - 保存配置信息和文件
- default - 执行自定义函数
- writing - 生成项目目录结构阶段
- conflicts - 统一处理冲突,如要生成的文件已经存在是否覆盖等处理
- install - 安装依赖阶段
- end - 生成器结束阶段
我们常用的就是 initializing、prompting、default、writing、install 这四种生命周期函数。看下例子:
"use strict";
const Generator = require("yeoman-generator");
const chalk = require("chalk"); // 让console.log带颜色输出
const yosay = require("yosay");
const mkdirp = require("mkdirp"); // 创建目录

module.exports = class extends Generator {
  initializing() {
    this.props = {};
  }

  // 接受用户输入
  prompting() {
    // Have Yeoman greet the user.
    this.log(
      yosay(
        `Welcome to the grand ${chalk.red(
          "generator-javascript-plugin"
        )} generator!`
      )
    );

    const prompts = [
      {
        type: "confirm",
        name: "someAnswer",
        message: "Would you like to enable this option?",
        default: true
      }
    ];

    return this.prompt(prompts).then(props => {
      // To access props later use this.props.someAnswer;
      this.props = props;
    });
  }

  // 创建项目目录
  default() {
    if (path.basename(this.destinationPath()) !== this.props.name) {
      this.log(`\nYour generator must be inside a folder named
        ${this.props.name}\n
        I will automatically create this folder.\n`);

      mkdirp(this.props.name);
      this.destinationRoot(this.destinationPath(this.props.name));
    }
  }
  // 写文件
  writing() {
    // 将templates目录的代码拷贝到目标目录
    // templates目录默认路径是generators/app/templates
    this.fs.copy(
      this.templatePath("dummyfile.txt"),
      this.destinationPath("dummyfile.txt")
    );
    this._writingPackageJSON();
  }

  // 以下划线_开头的是私有方法
  _writingPackageJSON() {
    // this.fs.copyTpl(from, to, context)
    this.fs.copyTpl(
      this.templatePath("_package.json"),
      this.destinationPath("package.json"),
      {
        name: this.props.name,
        description: this.props.description,
        keywords: this.props.keywords.split(","),
        author: this.props.author,
        email: this.props.email,
        repository: this.props.repository,
        homepage: this.props.homepage,
        license: this.props.license
      }
    );
  }

  // 安装依赖
  install() {
    this.installDependencies();
  }
};
编写模板代码
前面我们把一个脚手架的基本框架都写好了,它可以接受用户输入的内容,可以写文件,可以安装依赖,但接收用户输入的数据怎么用?写进什么文件?安装什么依赖呢?这些都是模板文件做的事情。现在就开始最主要的一部分:编写模板文件。
模板文件是你为用户生成的一个项目 demo,让用户看着这些示例代码就可以开工了,用户应该只需要专注于业务逻辑,而不用管打包构建这些事。
首先建好模板目录:
├── .editorconfig
├── .eslintignore
├── .eslintrc.js
├── .gitignore
├── .babelrc
├── jsdoc.json
├── README.md
├── package.json
├── build/
    └── rollup.js
├── src/
    └── index.js
├── test/
    └── index.js
我们的模板package.json里已经写好这些命令:
"scripts": {
  "prebuild": "npm run lint && npm run test && npm run doc",
  "build": "node ./build/rollup.js",
  "lint": "eslint --ext .js, src",
  "test": "mocha --require babel-register --require babel-polyfill --bail",
  "changelog": "conventional-changelog -p angular -i CHANGELOG.md -s",
  "doc": "jsdoc -c ./jsdoc.json"
}
npm run lint用 eslint 进行语法检查,在编译前就避免语法错误和统一代码风格。npm test运行单元测试npm run doc根据注释生成文档npm run changelog根据git log生成项目日志,改动记录一目了然npm run prebuild编译前的语法检查、 运行测试、生成文档npm run build编译打包
我们可以使用<%= name %>这样的模板语法使用脚手架中的context上下文,无论是用户输入的数据,还是程序自己的变量:
{
  "name": "<%= name %>",
  "description": "<%= description %>",
  "version": "1.0.0",
  "private": false,
  "main": "dist/<%= name %>.umd.js",
  "module": "dist/<%= name %>.es.js"
}
详细代码请到github查看。
运行测试用例
为了保证代码的健壮性,我们必须进行单元测试。其实我们用generator生成的脚手架代码中已经有测试代码示例了,改成自己的逻辑就可以测试我们的脚手架逻辑了。现在我们来测试下文件是否生成:
'use strict';
const path = require('path');
const assert = require('yeoman-assert');
const helpers = require('yeoman-test');

describe('generator-javascript-plugin:app', () => {
  beforeAll(() => {
    return helpers
      .run(path.join(__dirname, '../generators/app'))
      .withPrompts({ someAnswer: true });
  });

  it('creates files', () => {
    assert.file(['build/rollup.js']);
    assert.file(['dist']);
    assert.file(['src']);
    assert.file(['test']);
    assert.file(['package.json']);
    assert.file(['.babelrc']);
    ...
  });
});
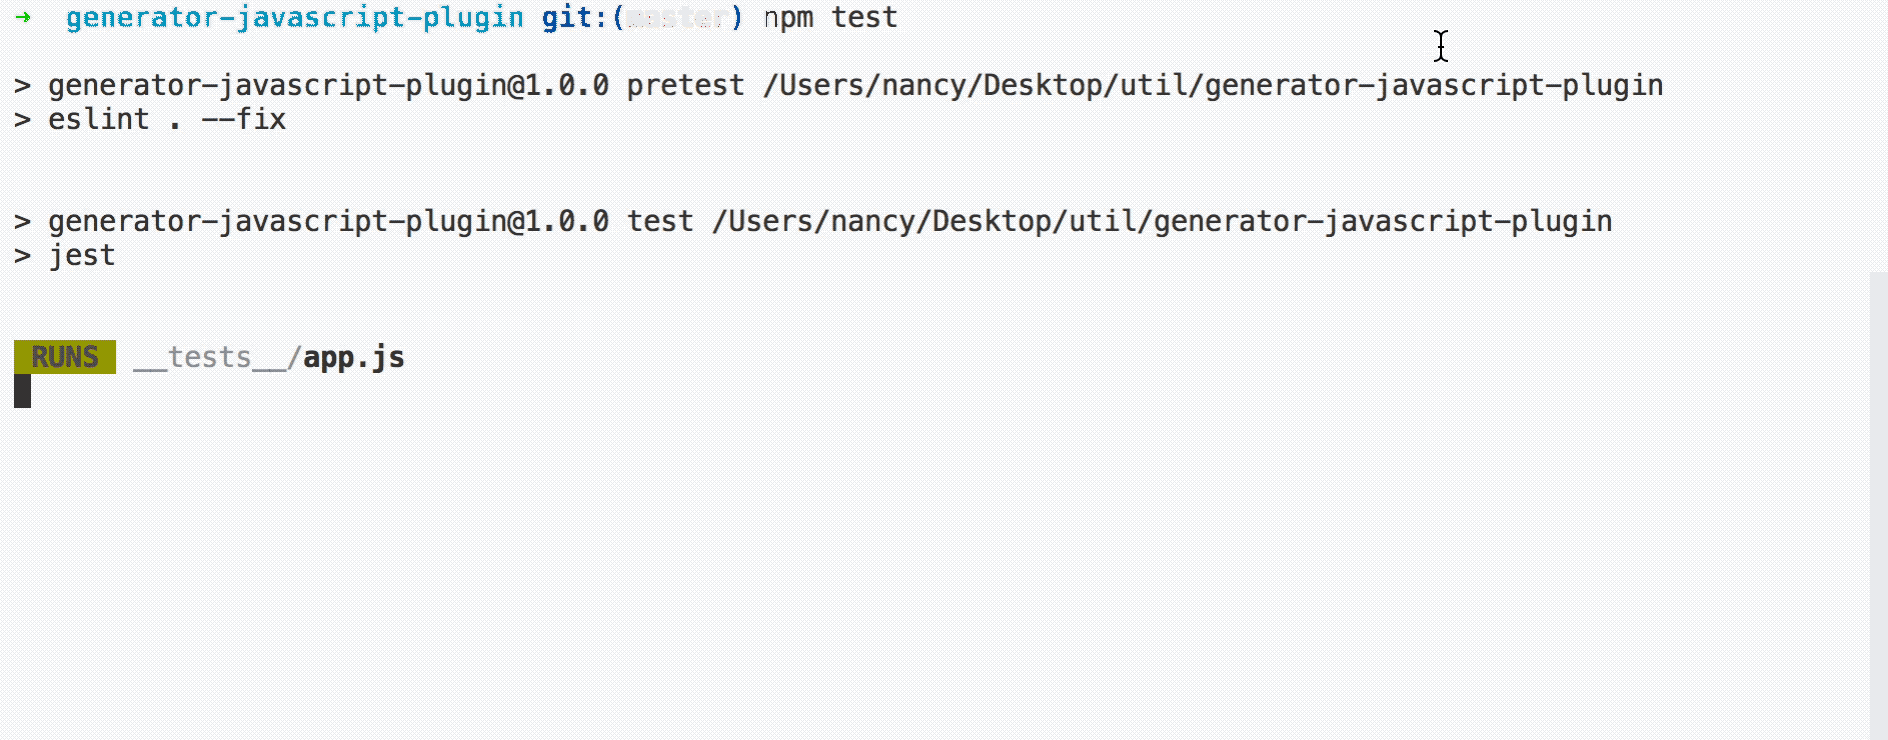
执行命令
npm test
运行脚手架
到此,我们的脚手架开发完了,接下来实际运行下看看是否正确。
由于我们的脚手架还是本地开发,它尚未作为全局 npm 模块提供。我们可以使用 npm 创建全局模块并将其符号链接到本地模块。在项目根目录运行:
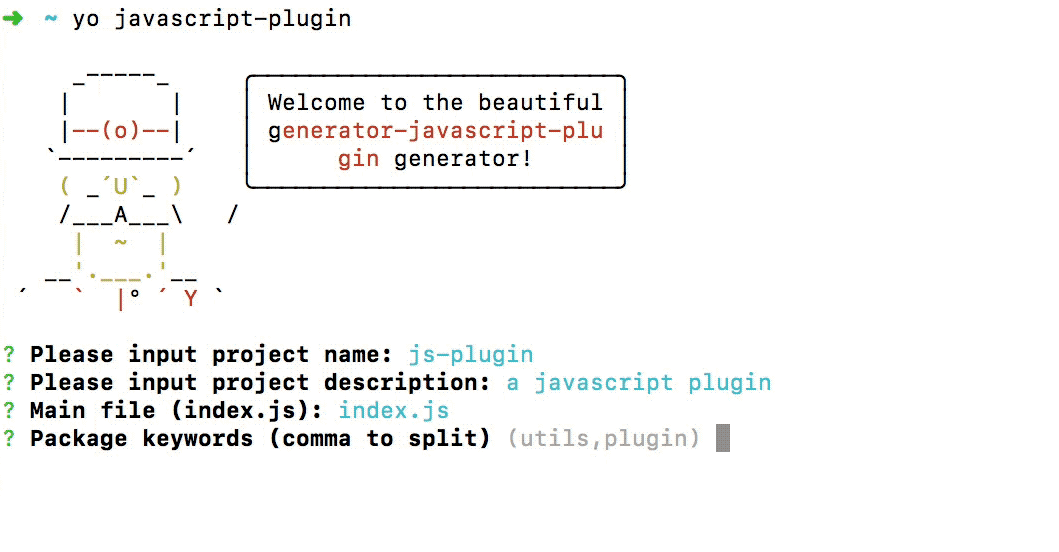
npm link
这样就可以调用yo javascript-plugin运行脚手架了。你可以在终端看到运行过程。
发布
写好的脚手架发布出去才能让更多的人使用,发布脚手架和发布其他 npm 包一样。如何发布?
github 地址
generator-javascript-plugin这个脚手架已经发布到npm上,可以下载或访问源码。
扫一扫关注迅雷前端公众号