
概述
在我之前的 《Spring Boot应用监控实战》 一文中,讲述了如何利用 Spring Boot Admin 1.5.X 版本来可视化地监控 Spring Boot 应用。说时迟,那时快,现在 Spring Boot Admin 都更新到 2.0 版本了,并且可以对当下热门的 Spring Boot 2.0 和 Spring Cloud Finchley.RELEASE 进行监控,因此本文就来了解并实践一下!
Spring Boot Admin 2.0新特性
Spring Boot Admin 2.0 变化还是挺多的,具体参考 官网说明,这里列几条主要的:
- 使用Vue.js重写了UI界面,漂亮得不像实力派
- 直接集成了基于 spring security 的认证,无需引入第三方模块
- 加入 session endpoint 的监控支持
等等...
下面就实际试验来操作感受一下!
搭建 Spring Boot Admin Server
- 创建一个 SpringBoot 2.0.3 RELEASE 工程并添加依赖
    <dependencies>
        <dependency>
            <groupId>de.codecentric</groupId>
            <artifactId>spring-boot-admin-starter-server</artifactId>
            <version>2.0.1</version>
        </dependency>

        <dependency>
            <groupId>de.codecentric</groupId>
            <artifactId>spring-boot-admin-server-ui</artifactId>
            <version>2.0.1</version>
        </dependency>

        <dependency>
            <groupId>org.springframework.boot</groupId>
            <artifactId>spring-boot-starter-web</artifactId>
        </dependency>
</dependencies>- 应用主类添加注解
@SpringBootApplication
@EnableAdminServer
public class SbaServer20Application {

    public static void main(String[] args) {
        SpringApplication.run(SbaServer20Application.class, args);
    }
}- 启动 Spring Boot Admin Server
浏览器打开 localhost:8080,就可以看到小清新的页面了
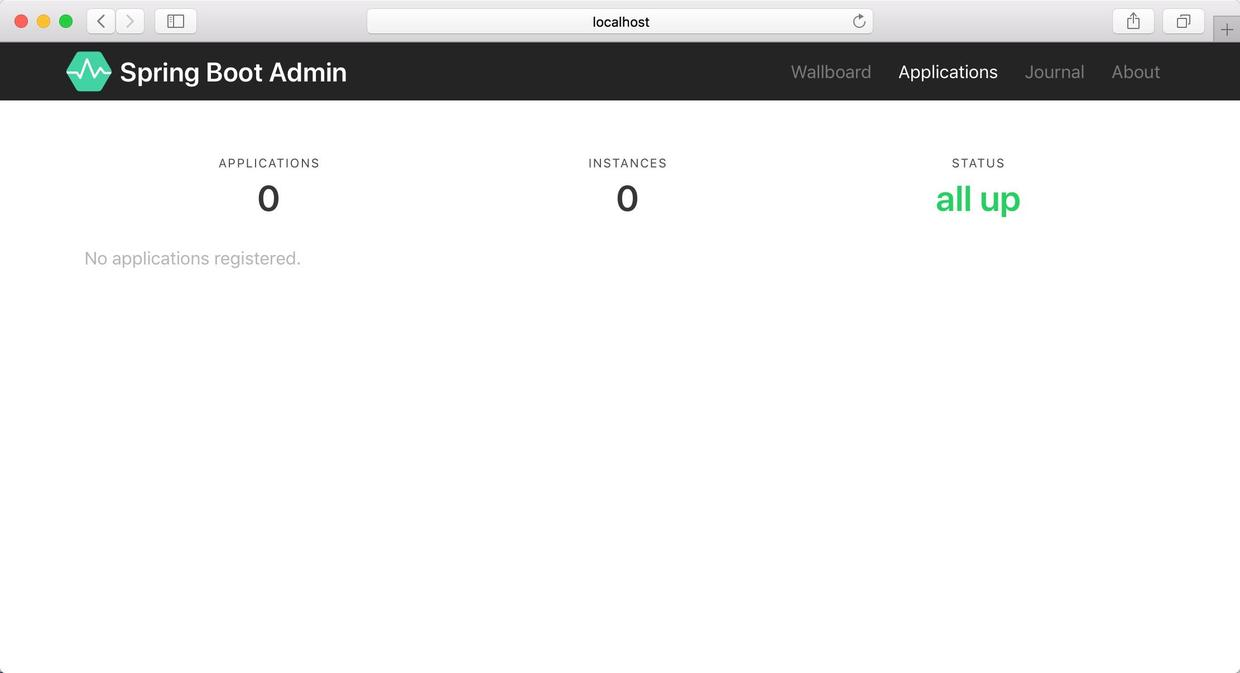
可以看到这个 UI 的变化和 1.5.X 时代的差距还是蛮大的,此时被监控的应用数目还为0。
接下来我们就来创建一个待监控的Spring Boot 2.0示例。
创建 Spring Boot Admin Client
此处我们依然创建一个 Spring Boot 2.0.3.RELEASE 的应用,然后加入到Spring Boot Admin之中进行监控
- pom.xml中添加依赖
    <dependencies>
        <dependency>
            <groupId>de.codecentric</groupId>
            <artifactId>spring-boot-admin-starter-client</artifactId>
            <version>2.0.1</version>
        </dependency>

        <dependency>
            <groupId>org.springframework.boot</groupId>
            <artifactId>spring-boot-starter-actuator</artifactId>
        </dependency>

        <dependency>
            <groupId>org.springframework.boot</groupId>
            <artifactId>spring-boot-starter-web</artifactId>
        </dependency>
    </dependencies>
- 编辑配置文件
server.port=8081
spring.application.name=Spring Boot Client
spring.boot.admin.client.url=http://localhost:8080
management.endpoints.web.exposure.include=*- 启动 Spring Boot Admin Client 应用
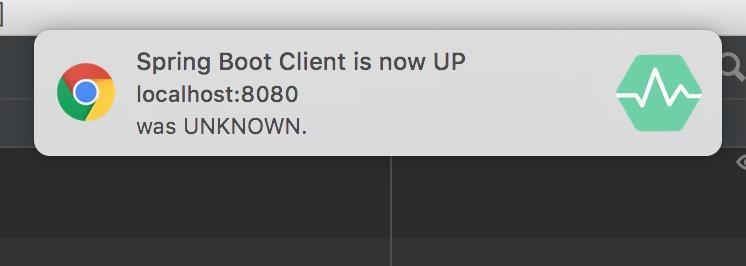
此时 Spring Boot Admin的页面上应用上线的消息推送过来了:
实际实验
被监控应用上线之后,我们进入 Spring Boot Admin页面鼓捣看看
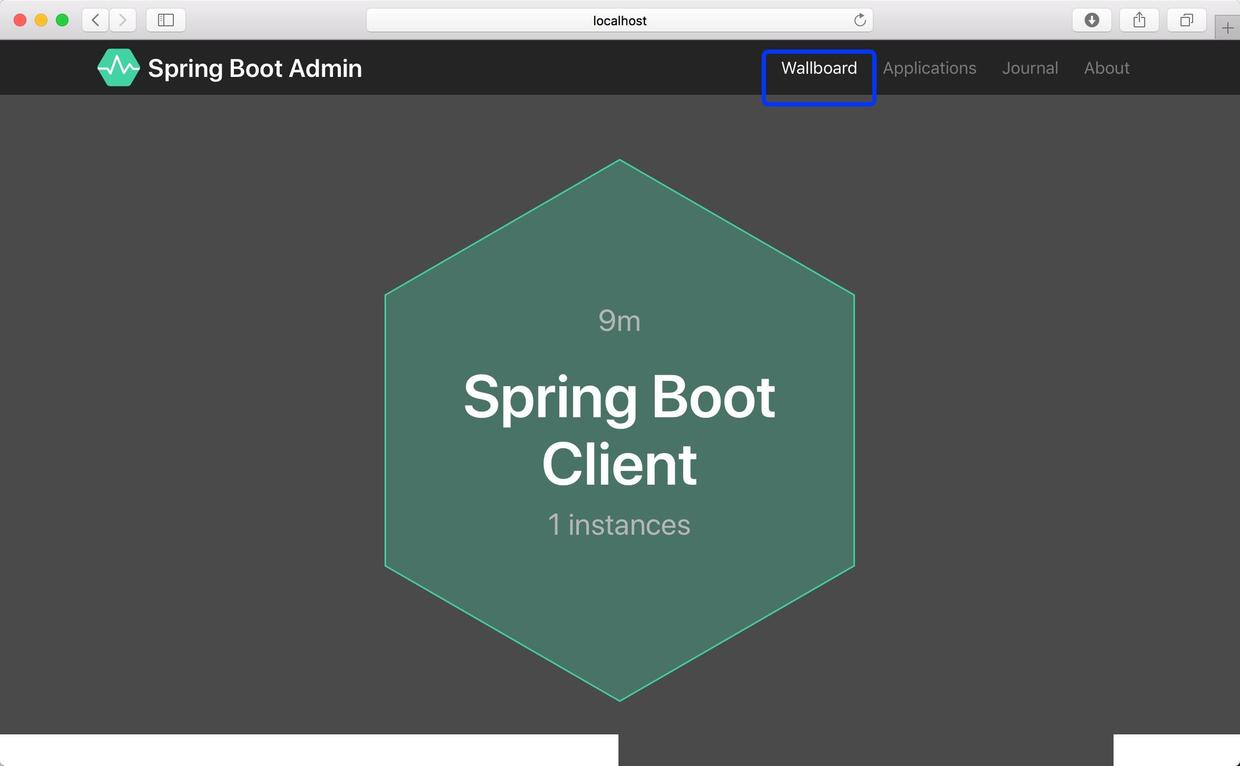
- Wallboard 有点小清新
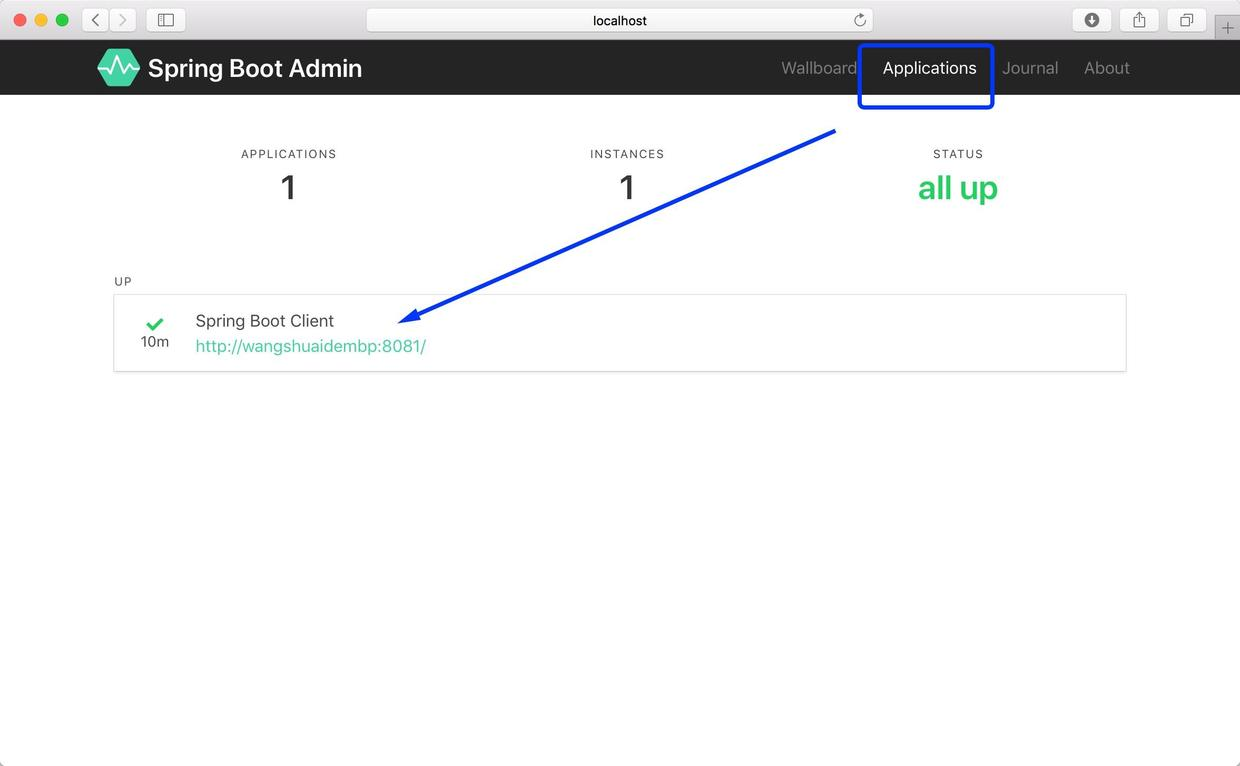
- Applications 概览
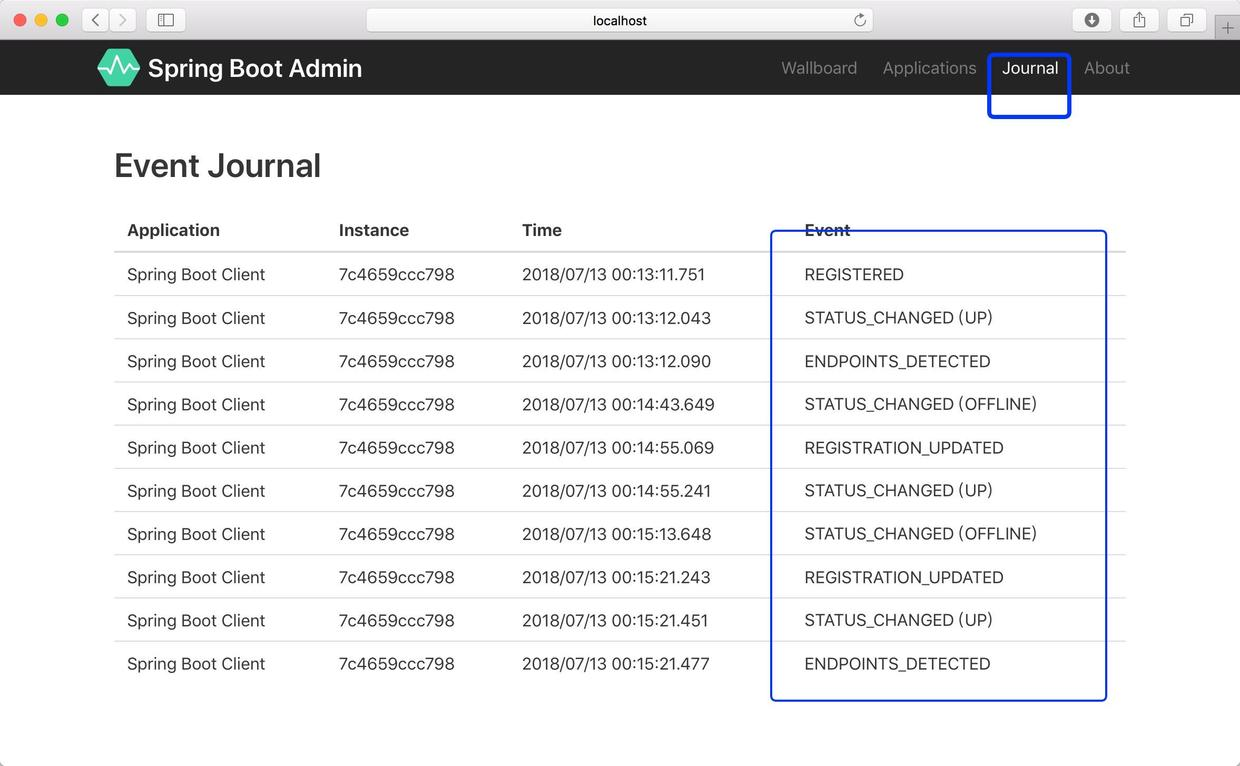
- Applications上线日志一目了然
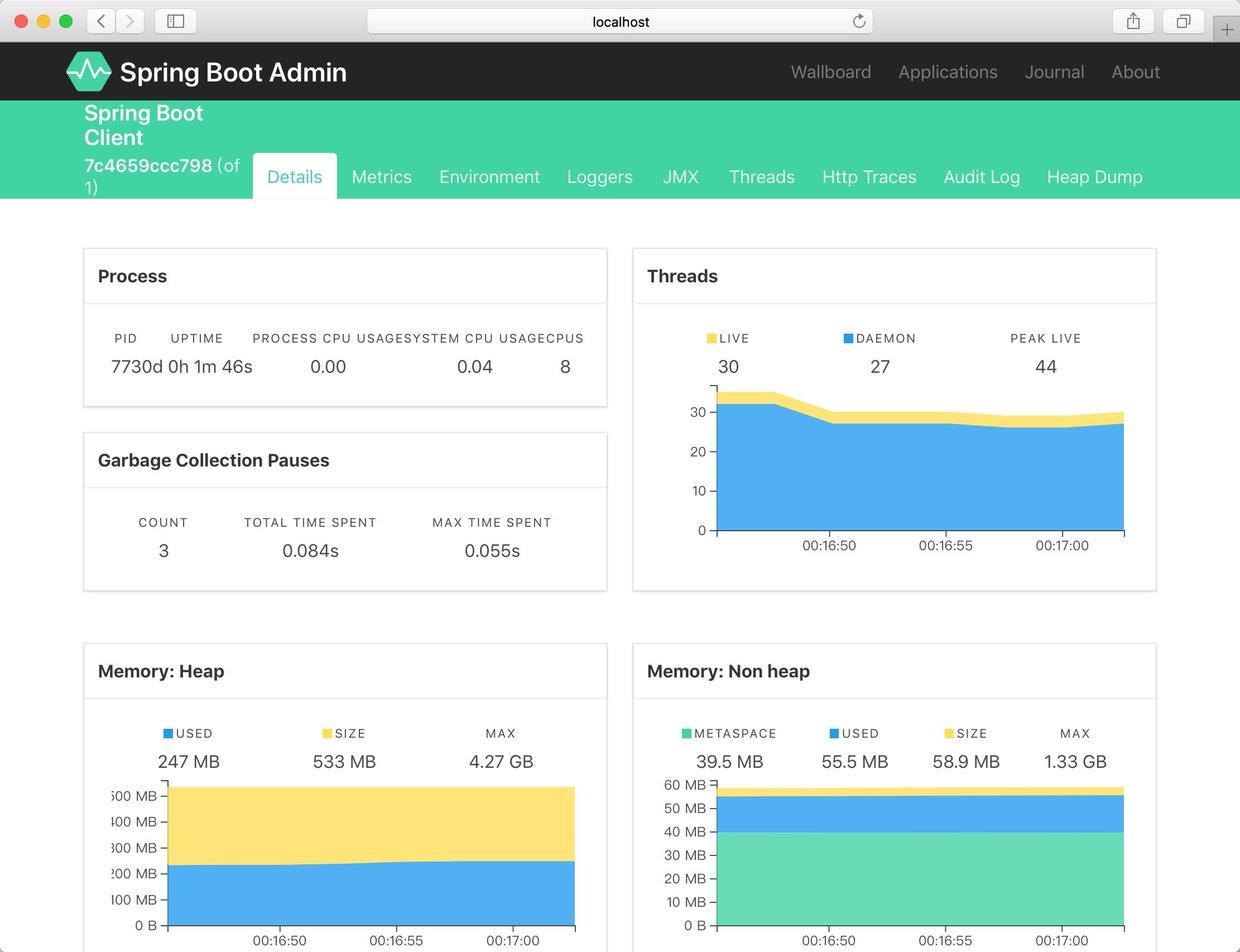
- Applications Details
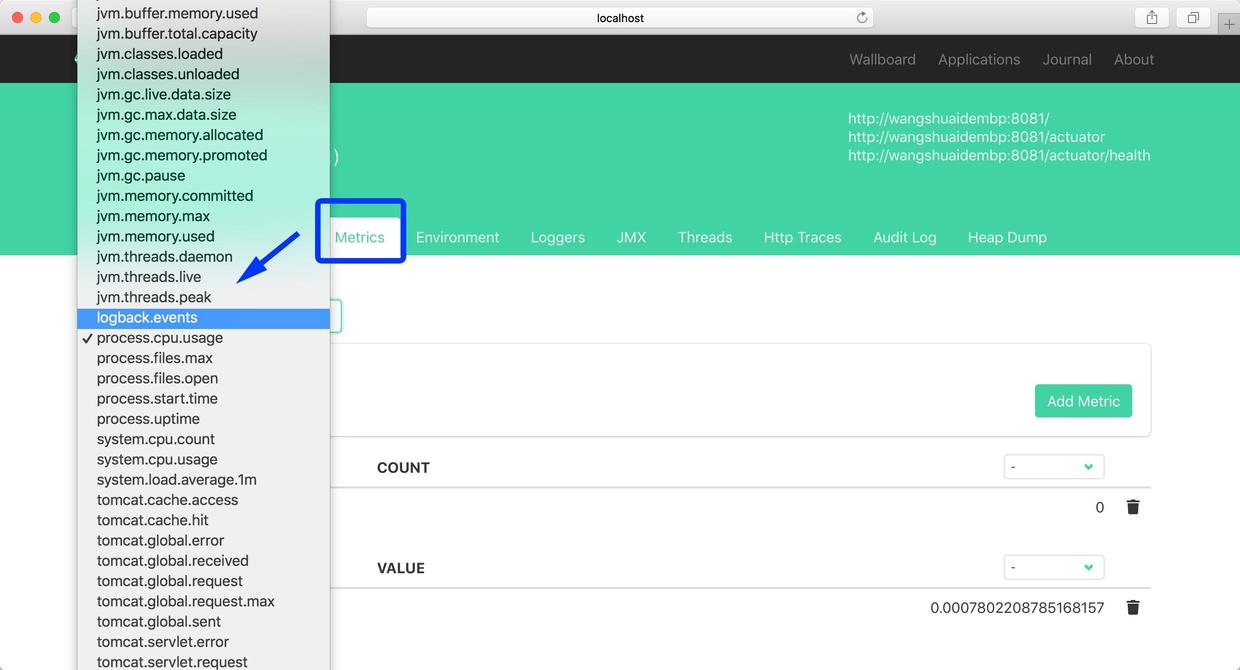
- Metrics
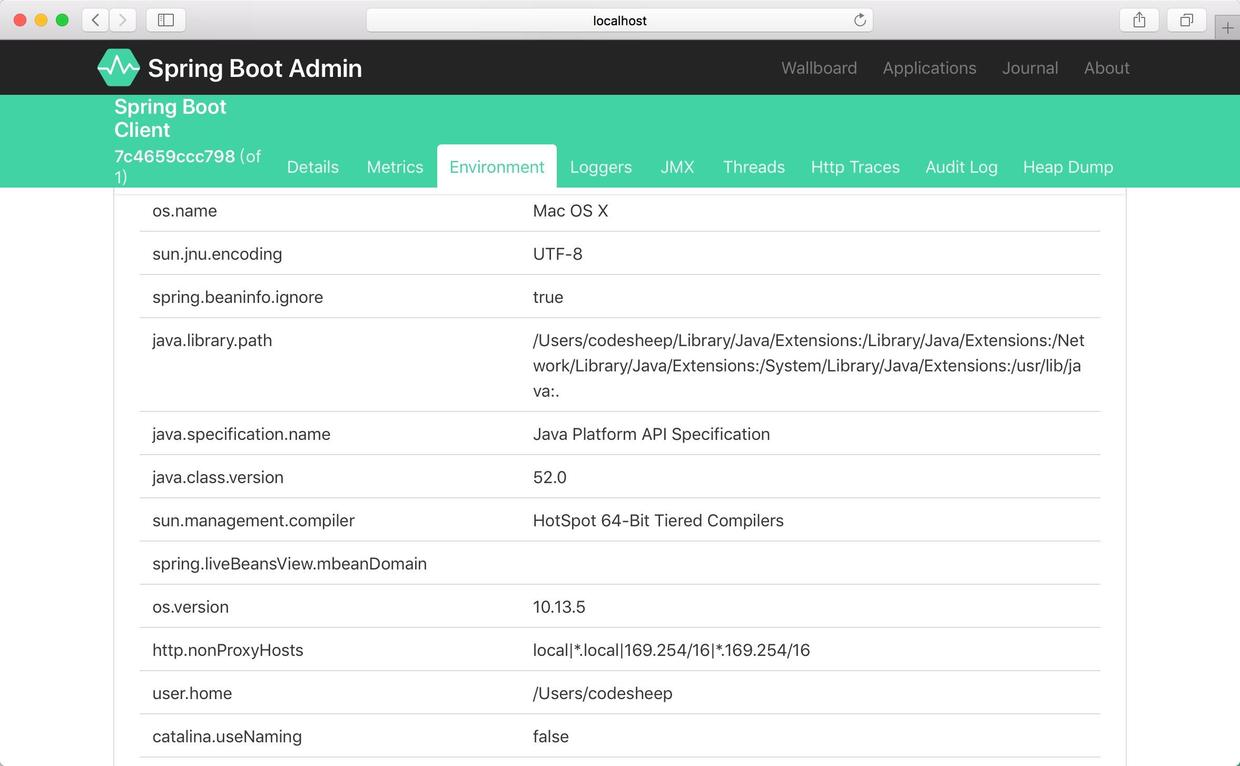
- Environment
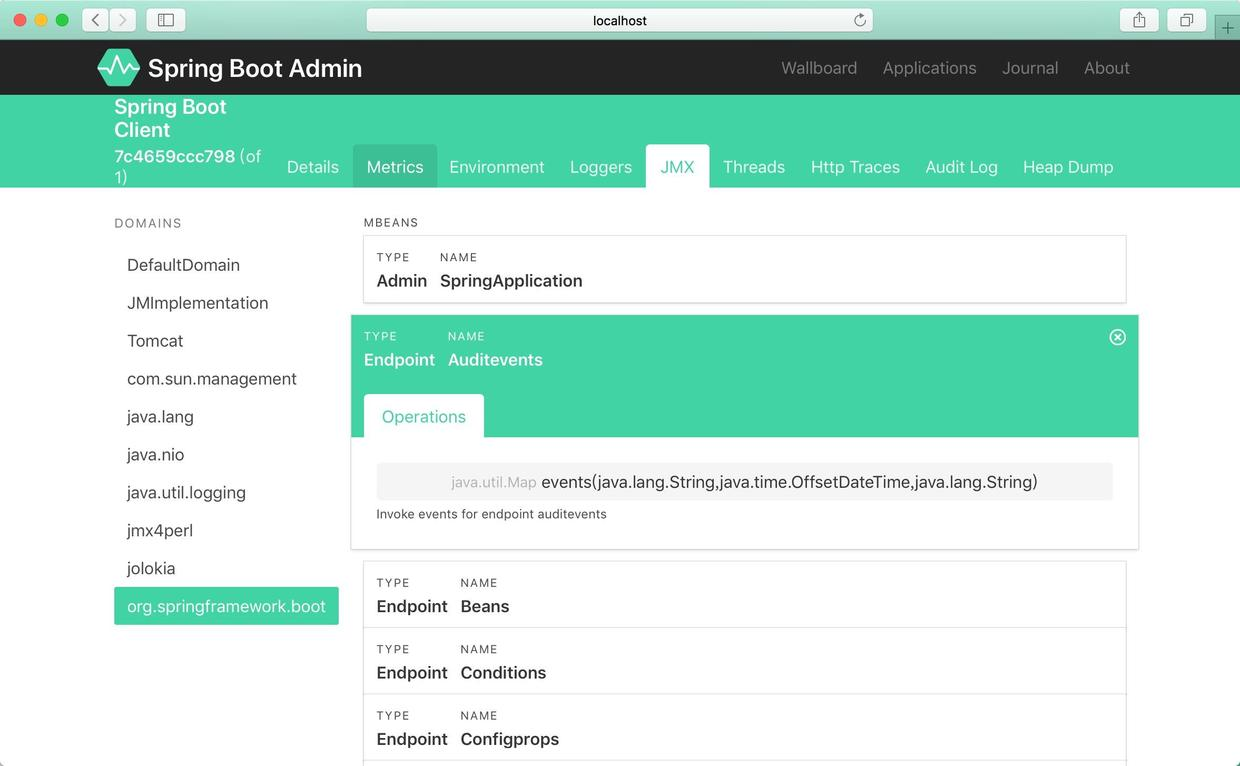
- JMX
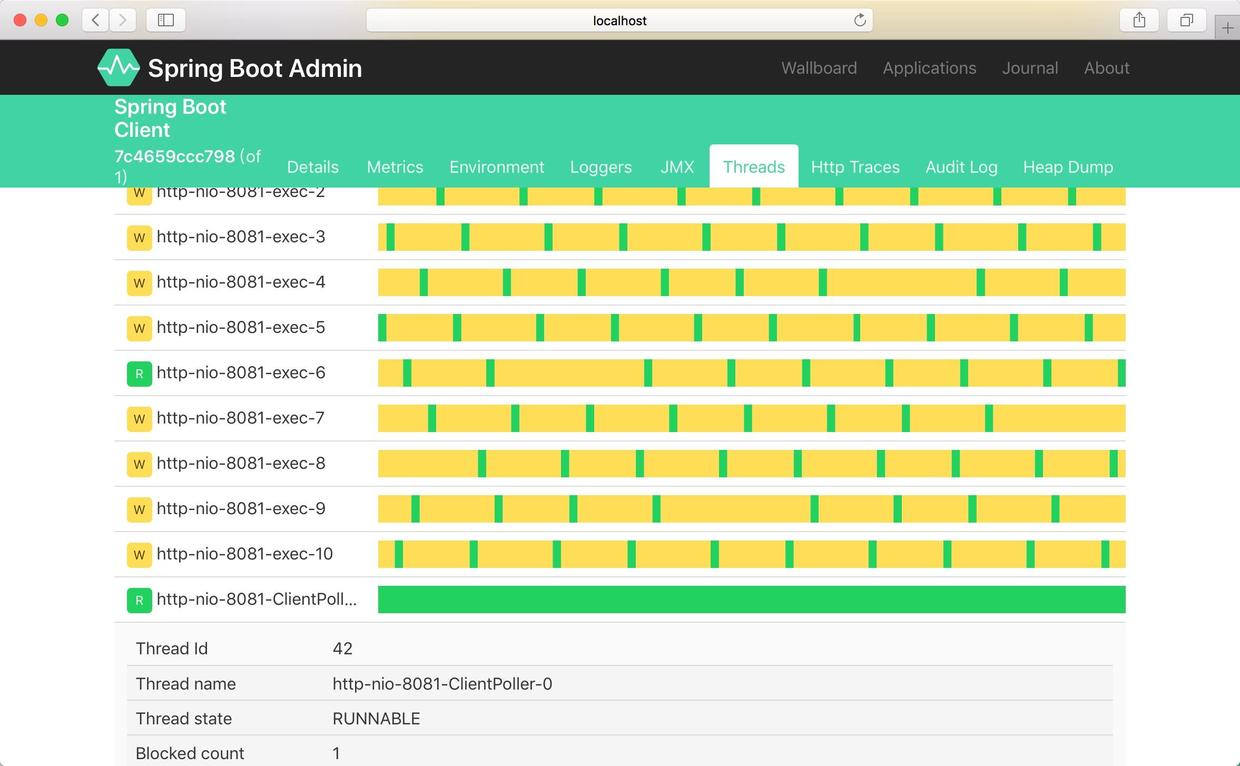
- Threads
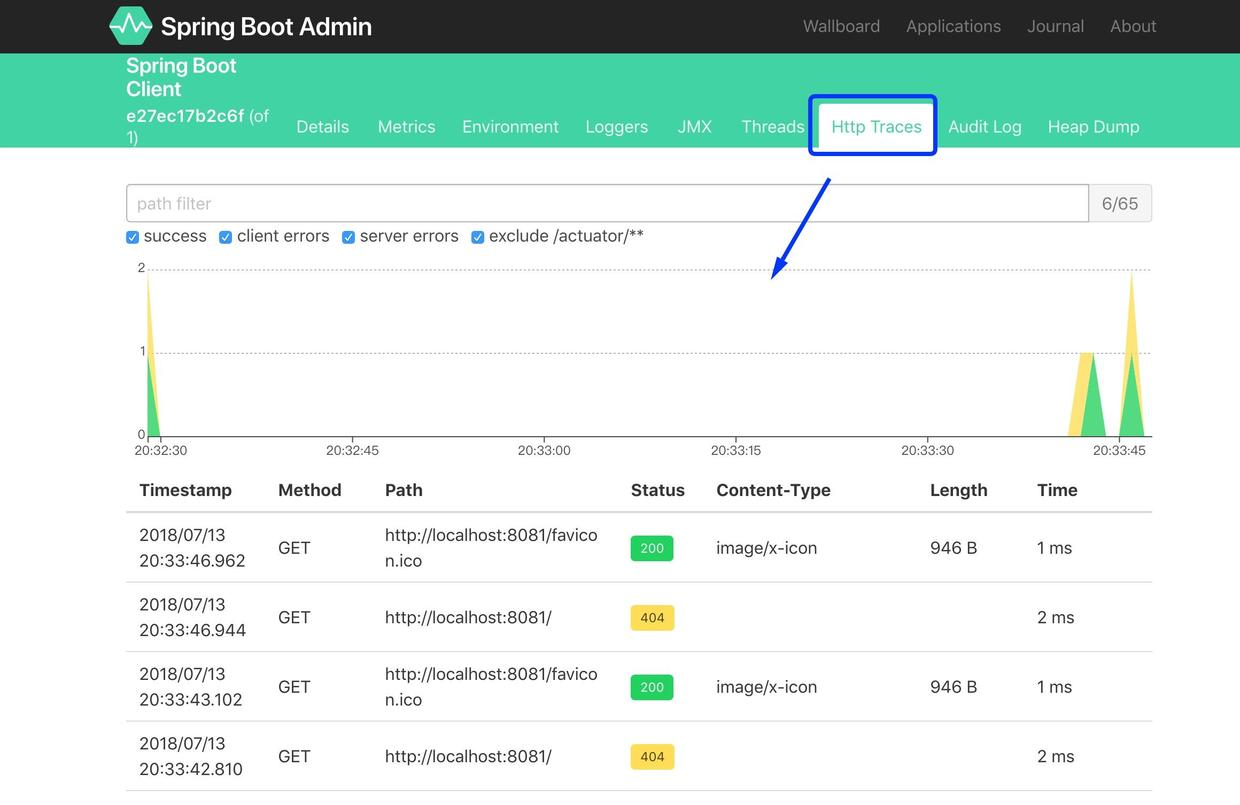
- Http Traces
后记
作者更多的SpringBt实践文章在此:
- Spring Boot应用监控实战
- SpringBoot应用部署于外置Tomcat容器
- ElasticSearch搜索引擎在SpringBt中的实践
- 初探Kotlin+SpringBoot联合编程
- Spring Boot日志框架实践
- SpringBoot优雅编码之:Lombok加持
如果有兴趣,也可以抽点时间看看作者一些关于容器化、微服务化方面的文章:
- 利用K8S技术栈打造个人私有云 连载文章
- 从一份配置清单详解Nginx服务器配置
- Docker容器可视化监控中心搭建
- 利用ELK搭建Docker容器化应用日志中心
- RPC框架实践之:Apache Thrift
- RPC框架实践之:Google gRPC
- 微服务调用链追踪中心搭建
- Docker容器跨主机通信
- Docker Swarm集群初探